Azure Data Lake Storage
How to use a Azure Data Lake Storage (ADLS) Connection in a Data Migration
Create a New Task.
Provide a name to identify this task and choose an agent.

Choose Data Migration as the task type.

Click Next.
Choose your Connections
Next you will need to choose a source and target connection.
Follow these steps if you would like to use Azure Data Lake Storage as: - The target connection - The source connection
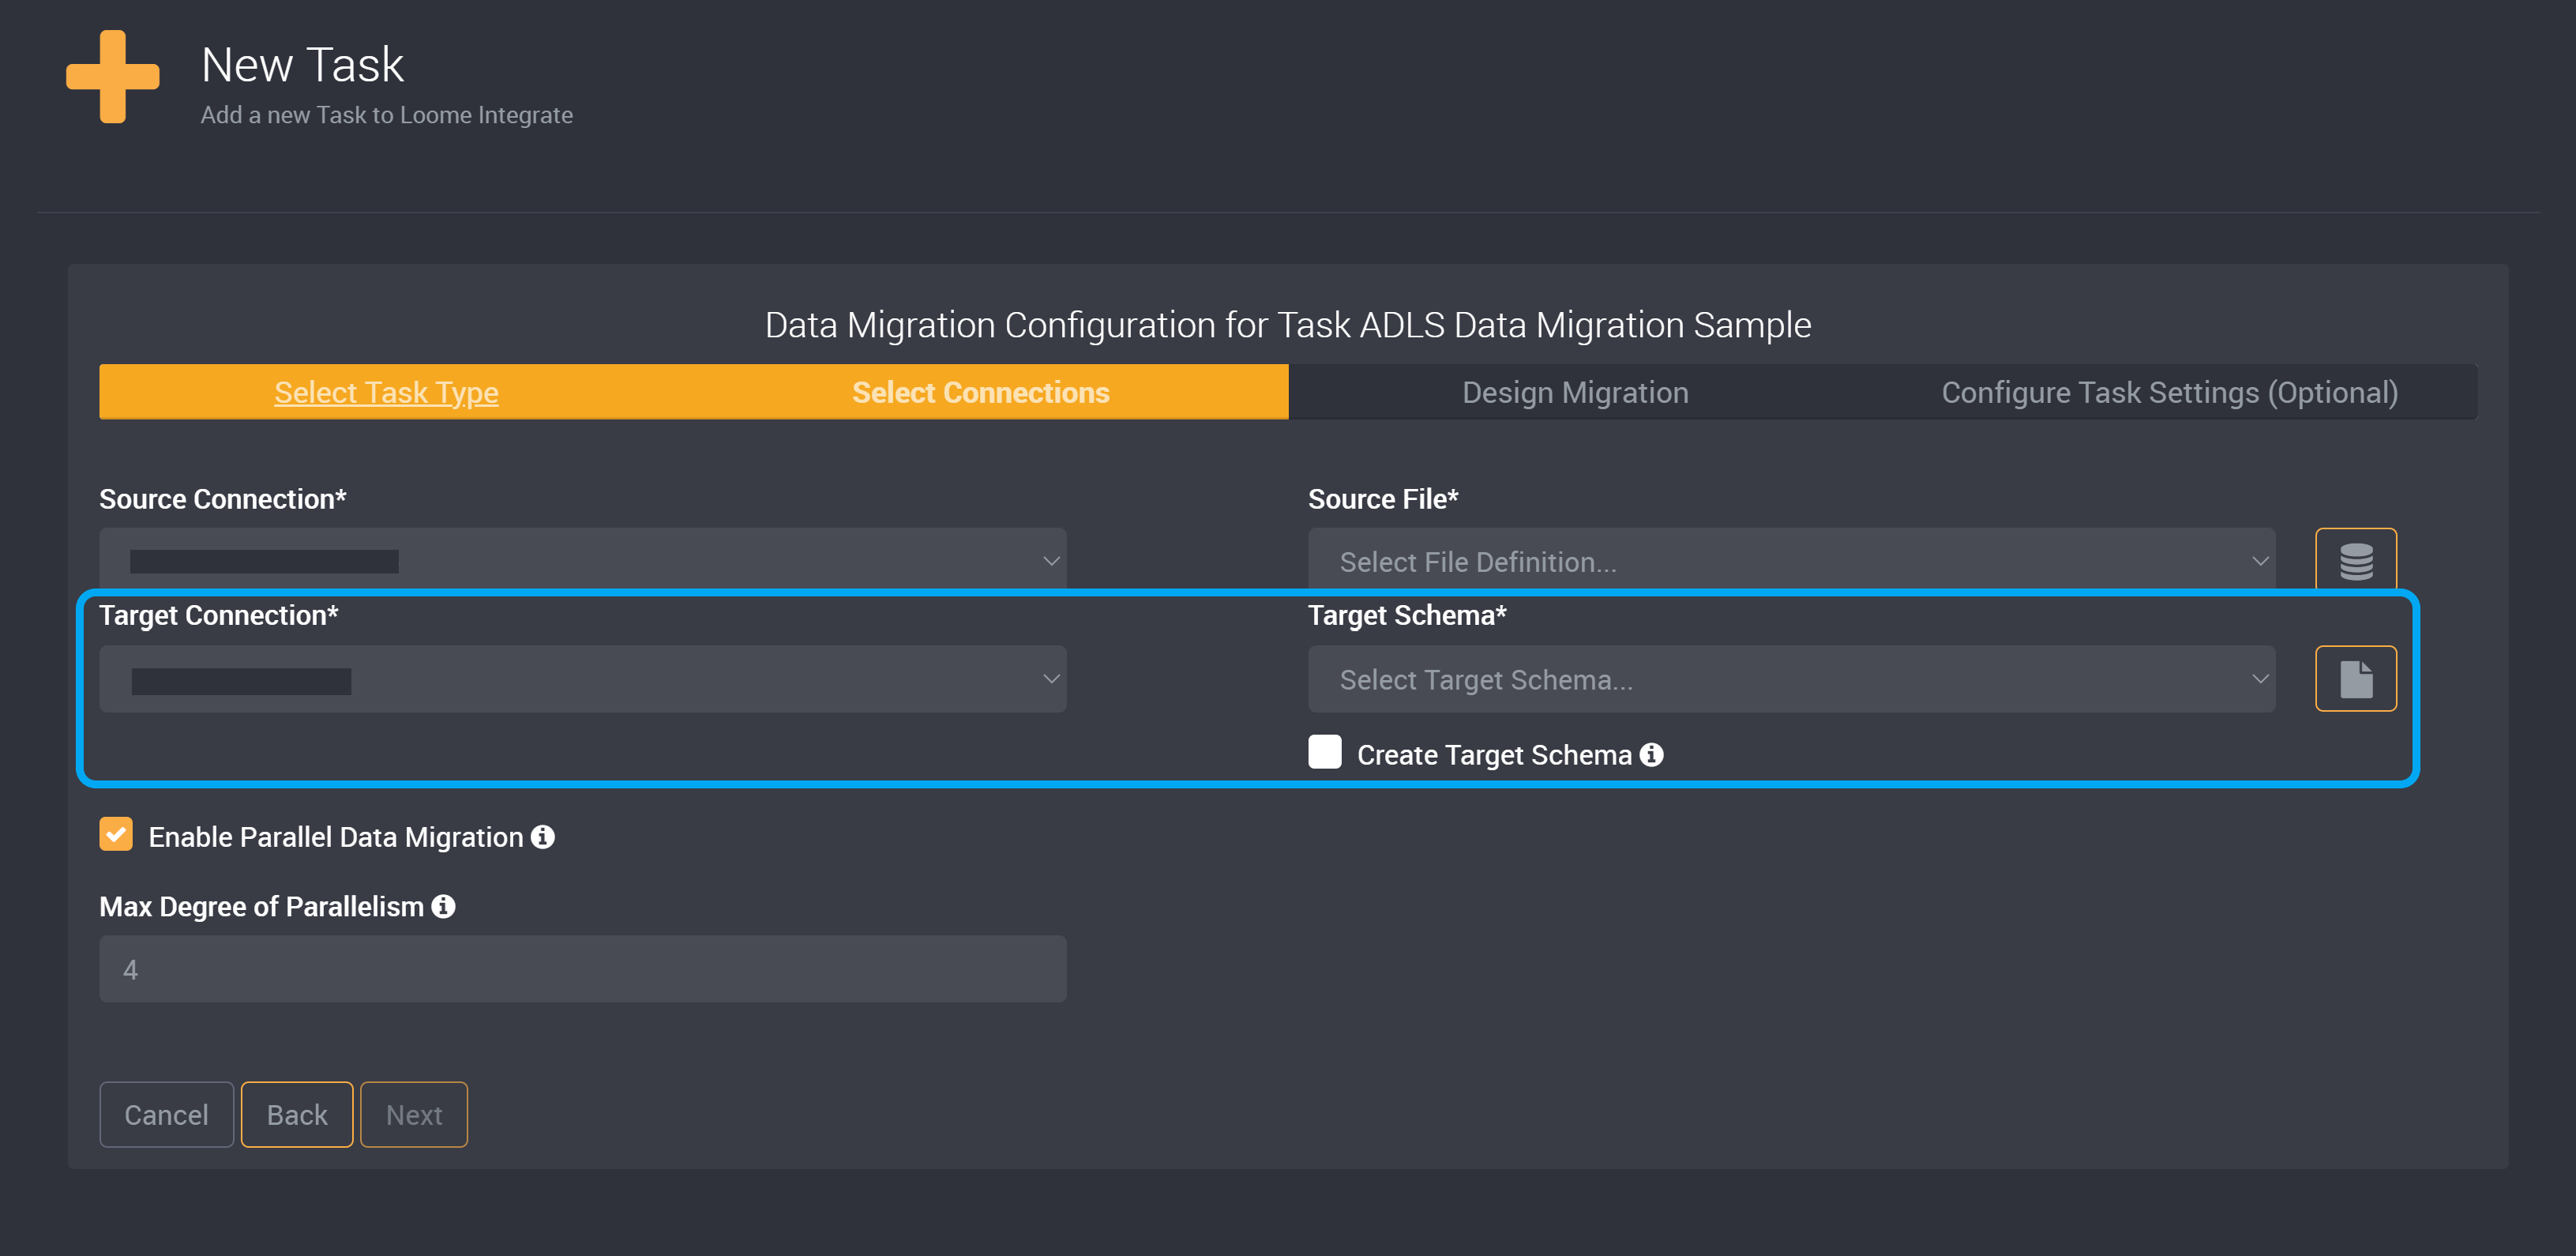
ADLS as the Target Connection
Choose your Source Connection and the Source Schema. This is where the data you want to extract is currently located.
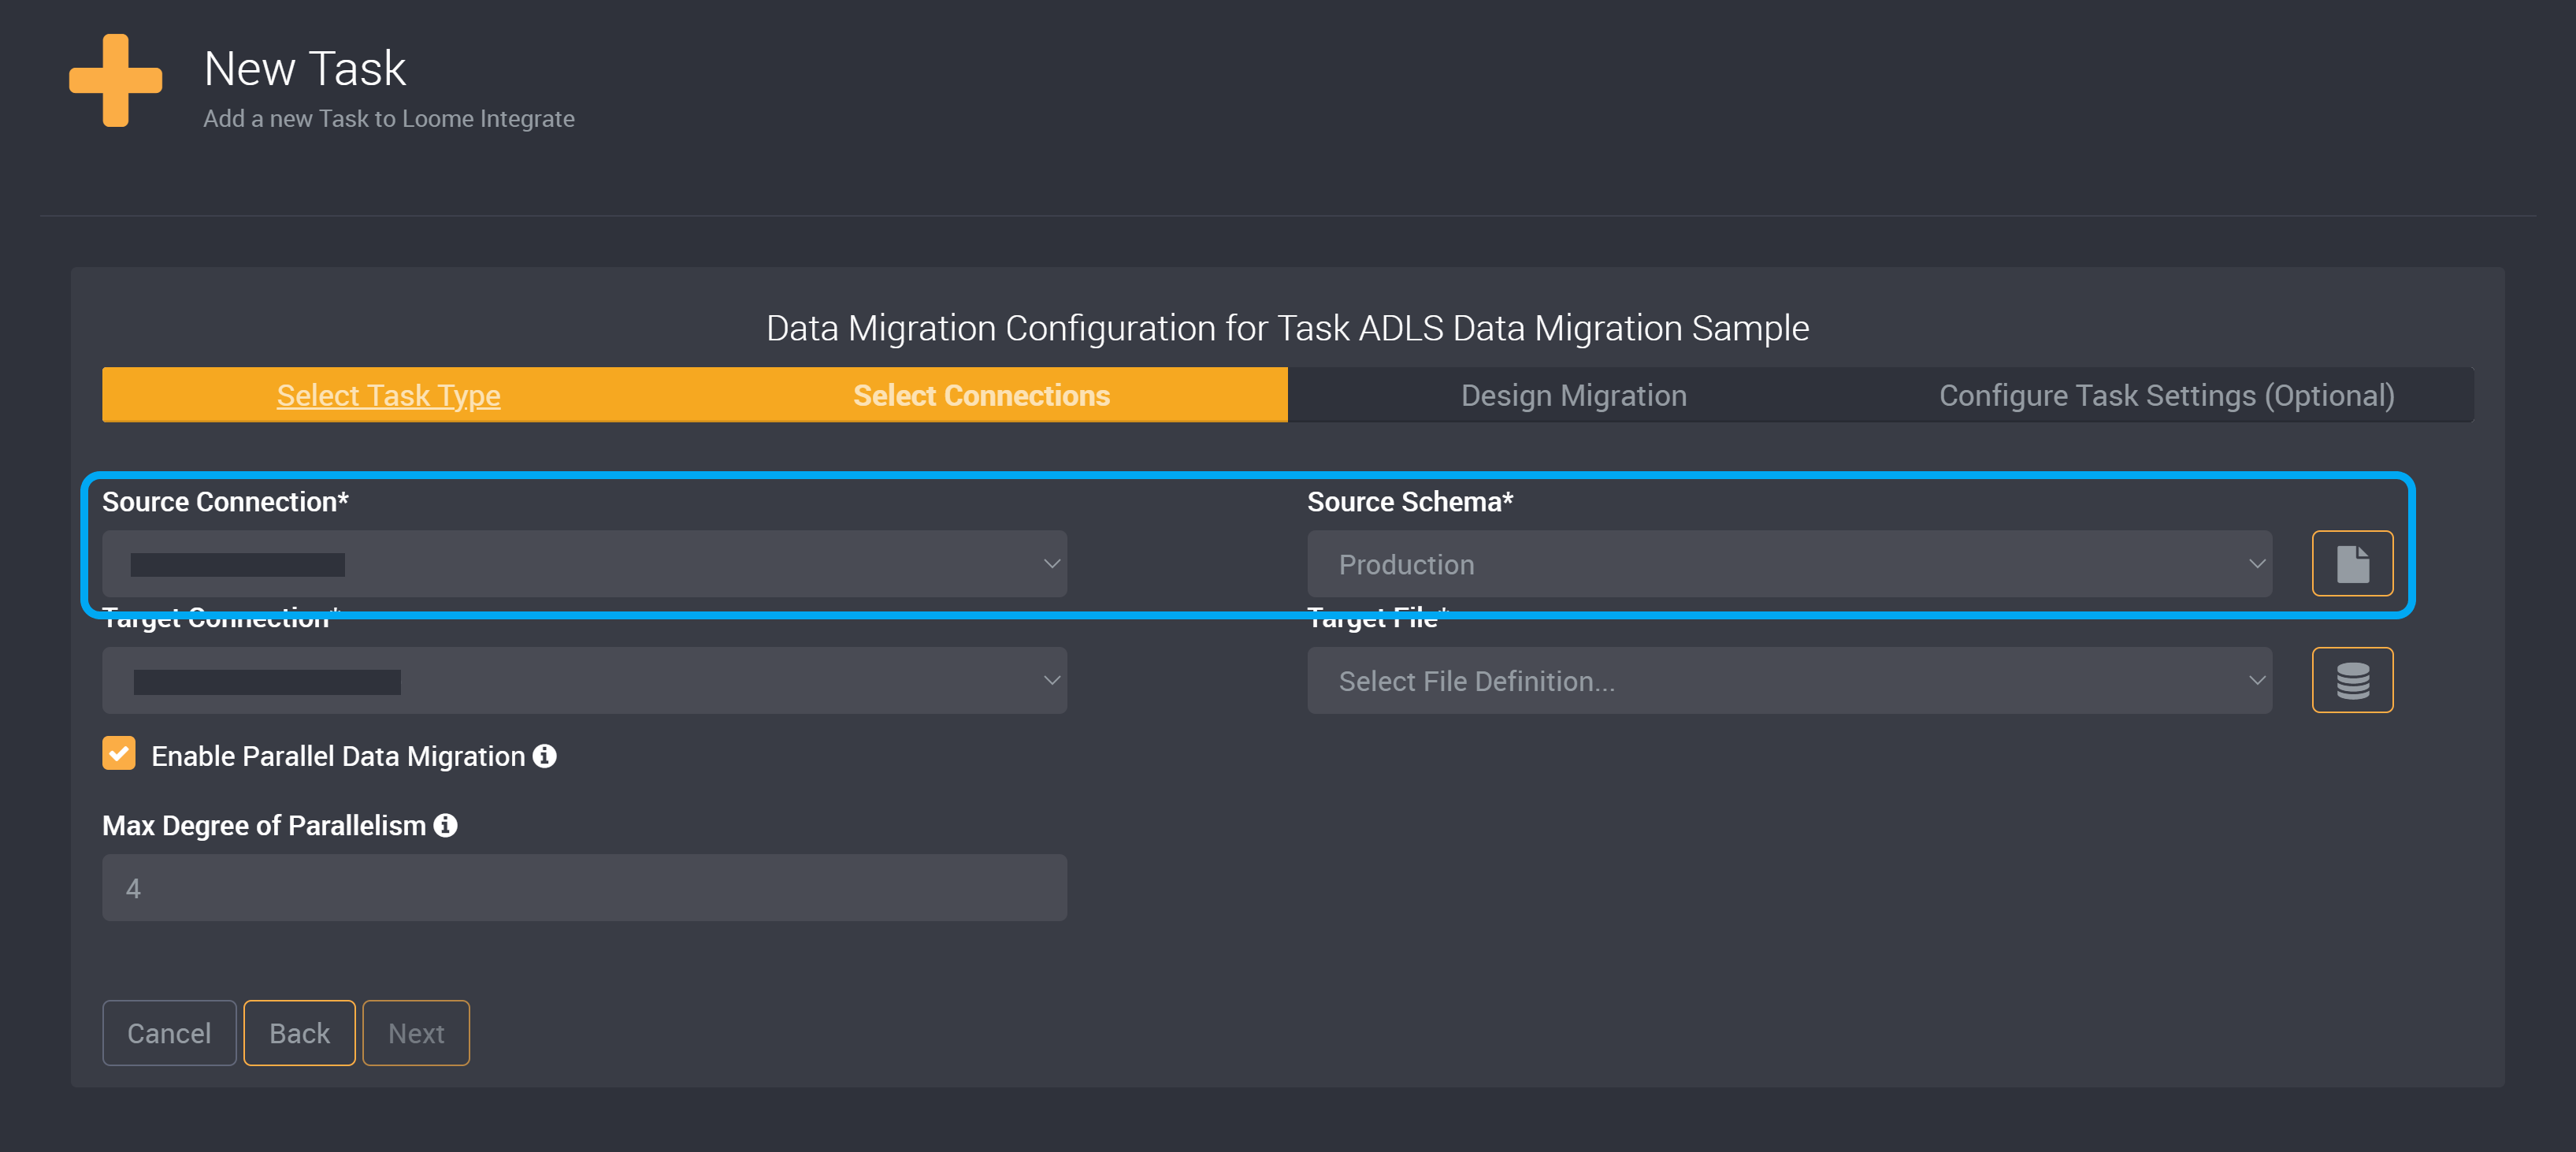
Choose your Azure Data Lake Storage Connection as your Target Connection. Learn how to add a connection here.
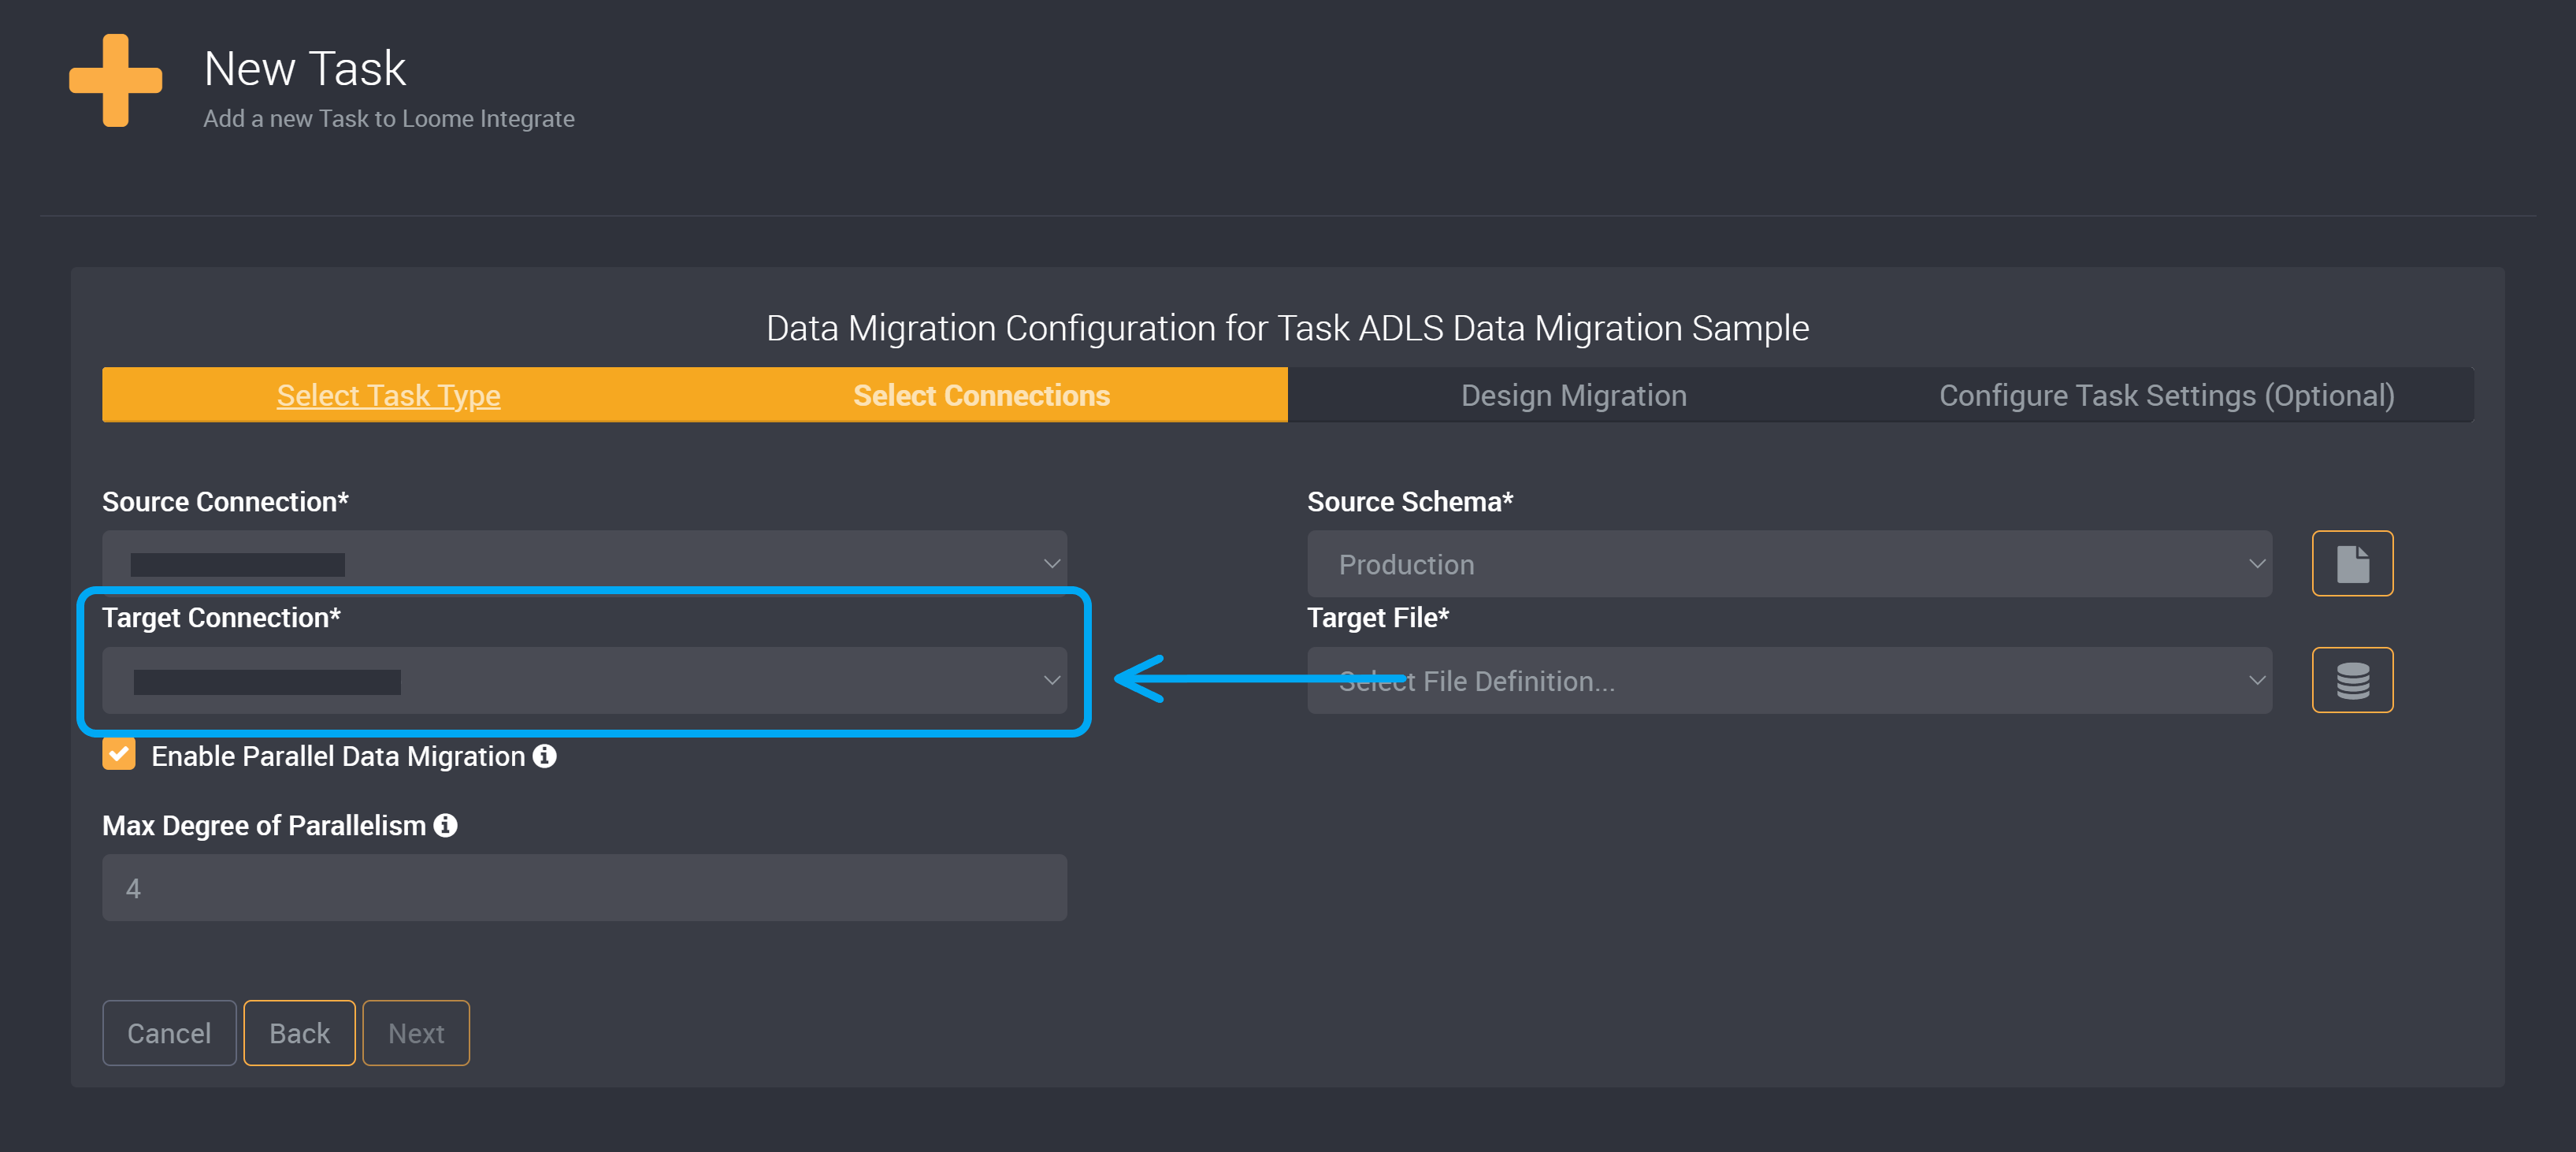
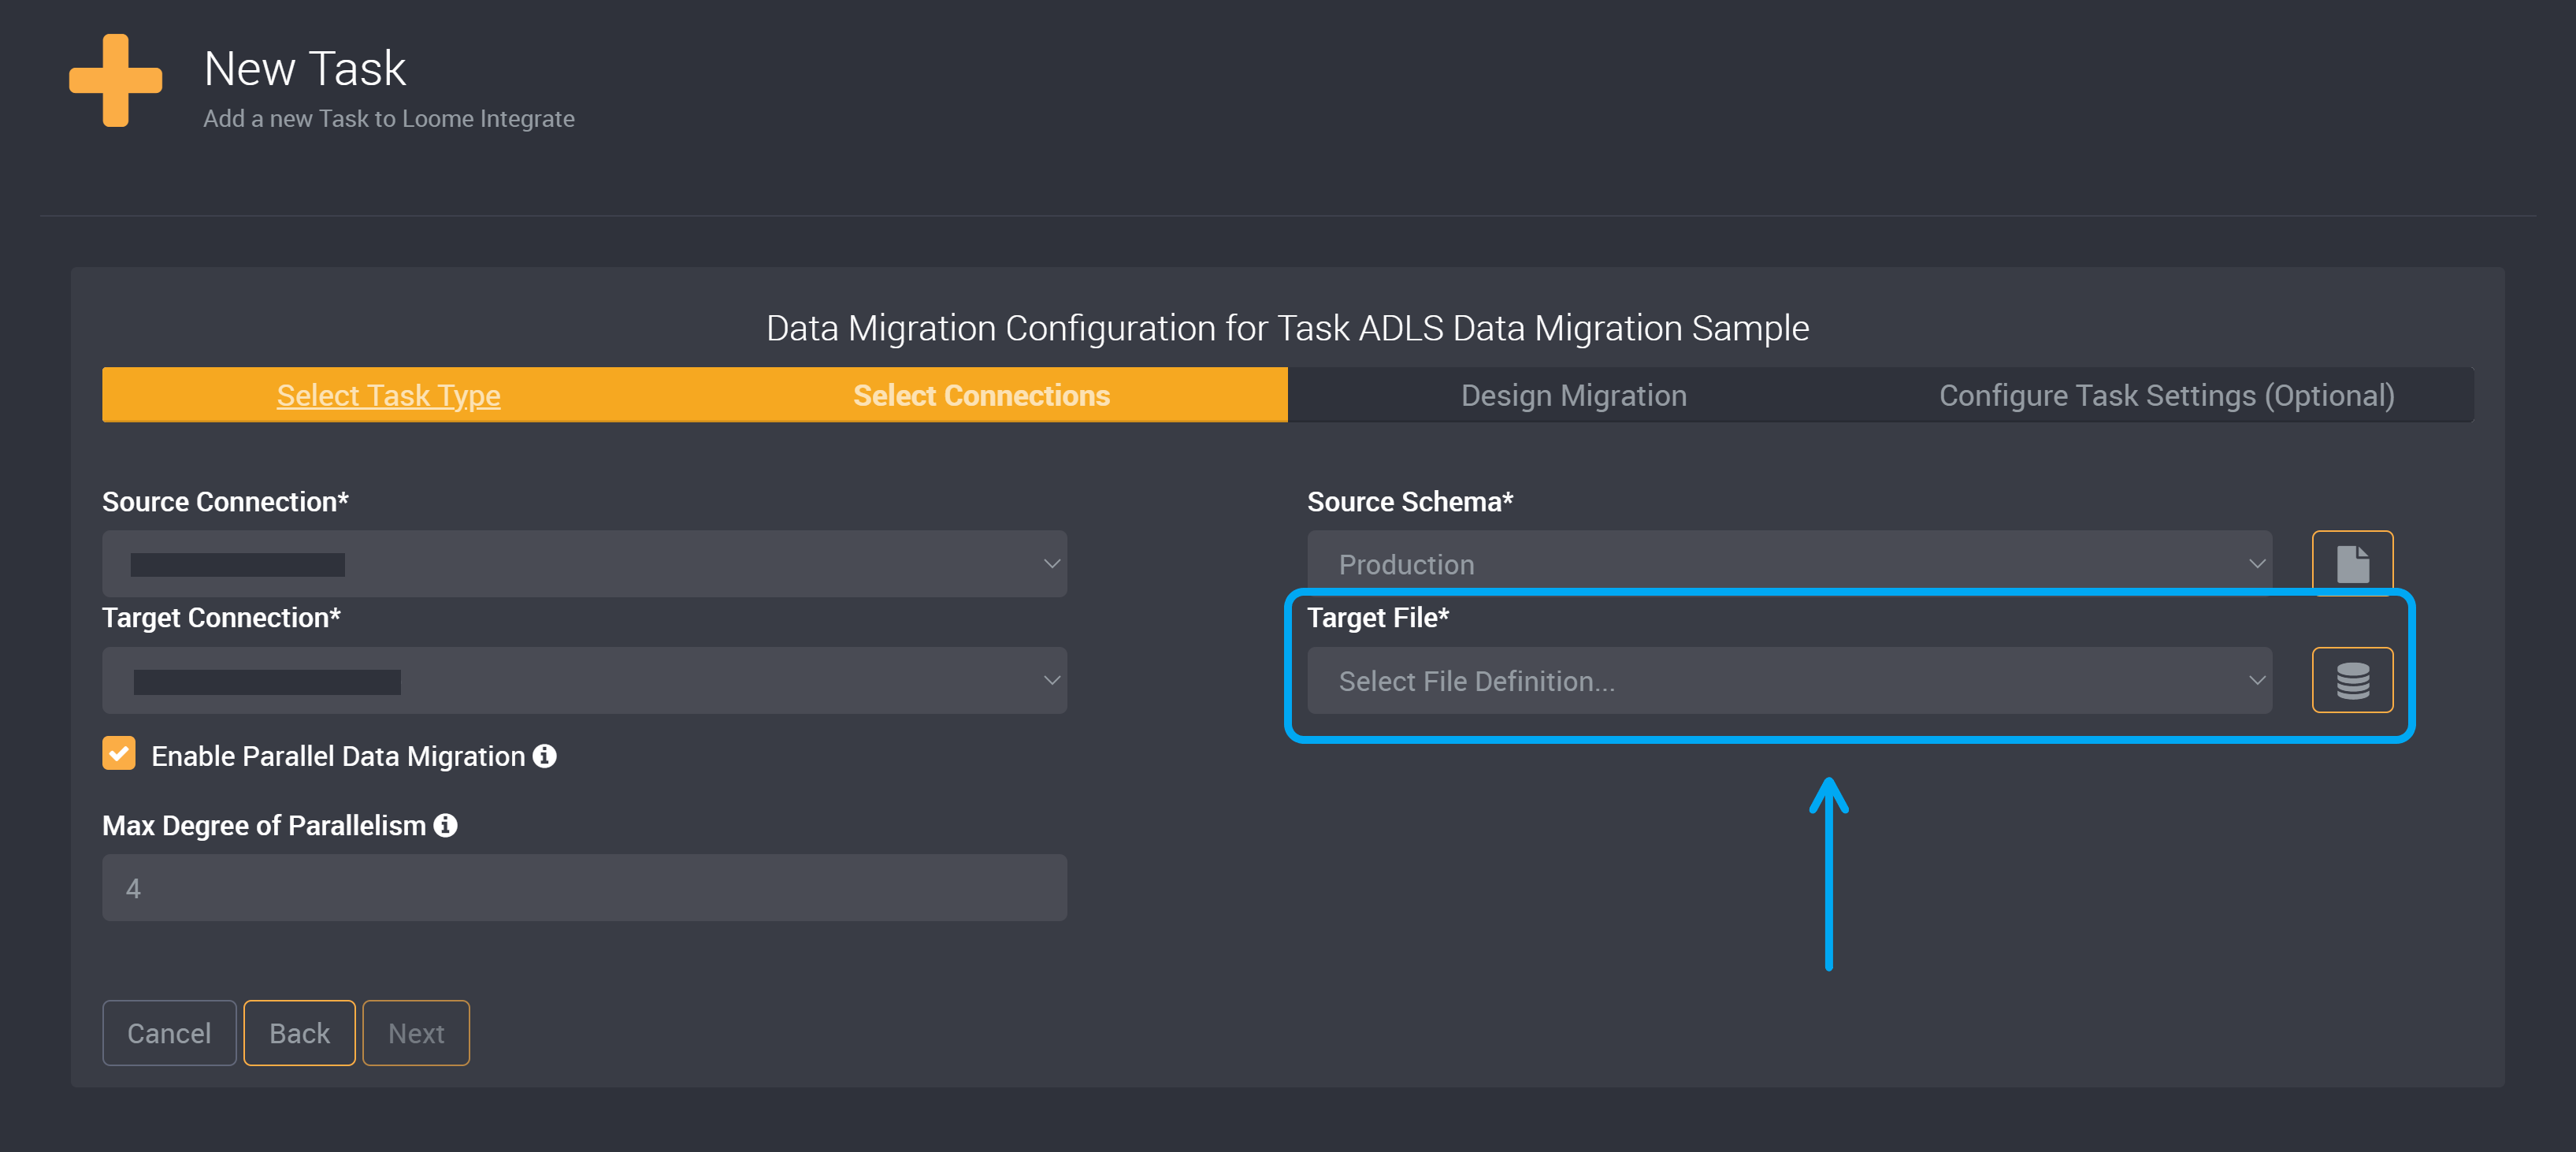
When using an Azure Data Lake Storage Connection, instead of a target schema you will need to provide a Target File.
From the Target File dropdown, you can choose a file definition that uses Cloud Blob Storage. Learn more about file definitions here.
Your file definition needs to specify a particular container or a directory in the container as the path. (If you specify a container or directory in your path that does not yet exist, it will be created in the Azure Data Lake Storage Connection when the task is run.)
You can then move on to choosing which tables will be migrated.
ADLS as the Source Connection
If you are using ADLS as the Target Connection, then you can skip ahead to adding which tables will be migrated.
Choose your Azure Data Lake Storage Connection as your Source Connection. Learn how to add a connection here.
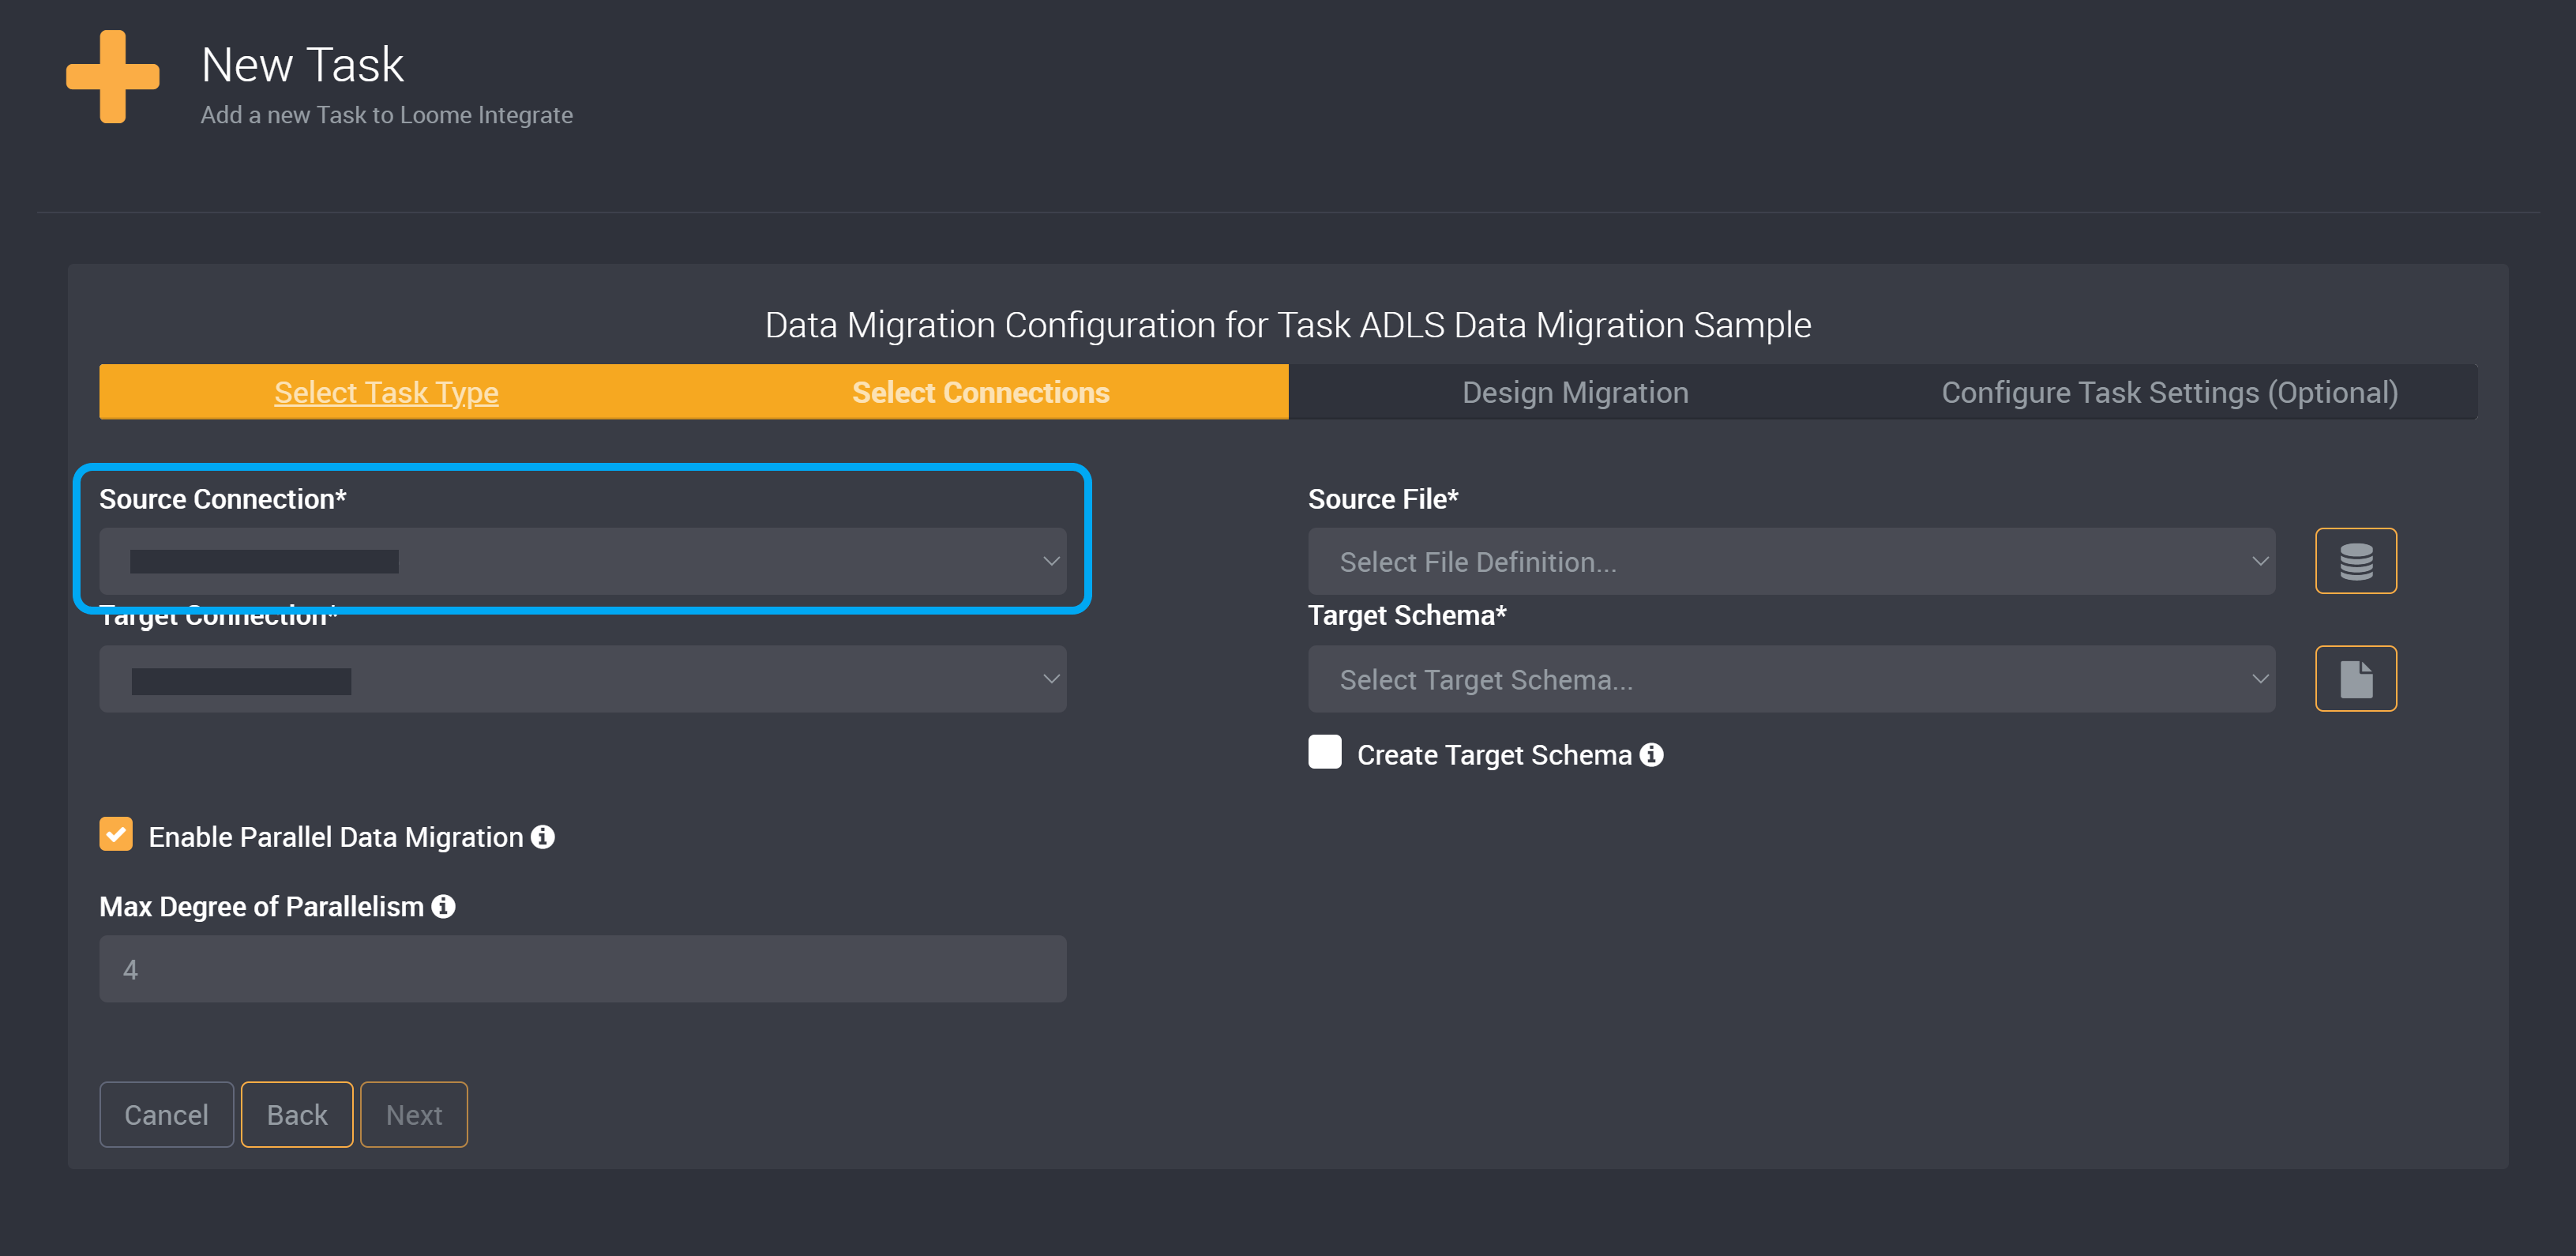
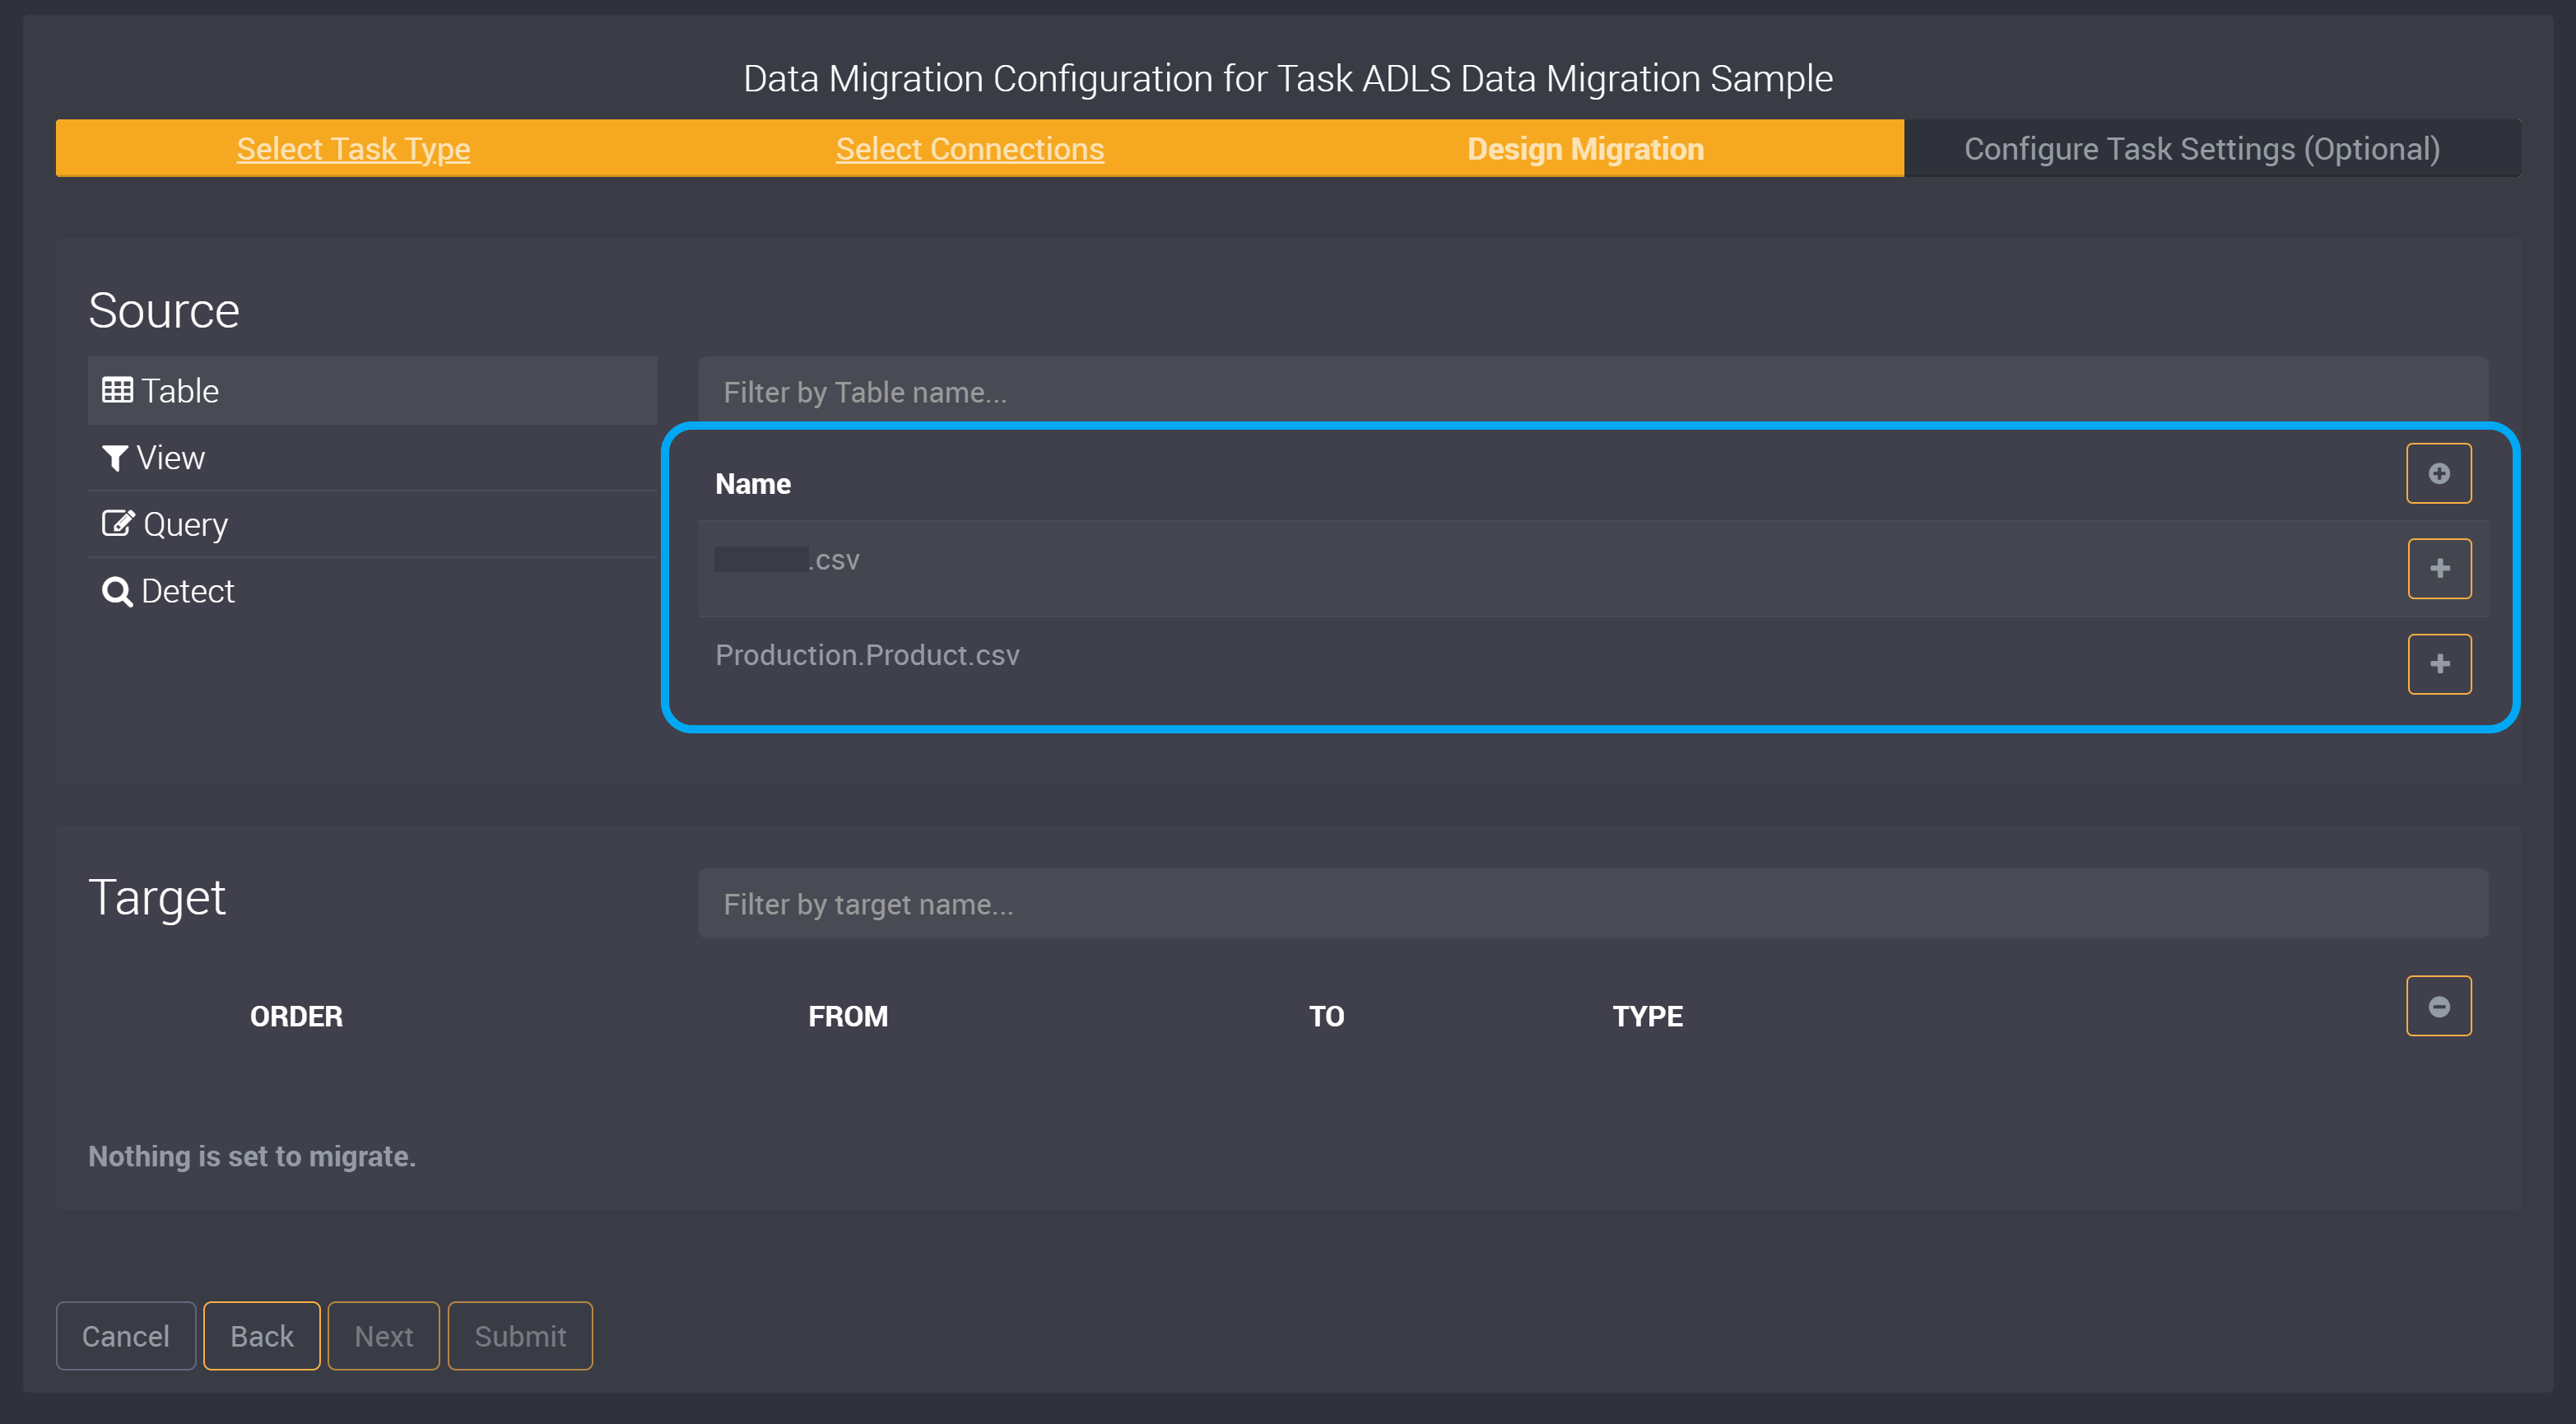
When you select an Azure Data Lake Storage Connection, you will also need to choose a file definition that uses Cloud Blob Storage as the Source File. Learn more about file definitions here.

Your file definition needs to specify a particular container or a directory in the container as the path. (If you specify a container or directory in your path that does not yet exist, it will be created in the Azure Data Lake Storage Connection when the task is run.)
Choose your Target Connection and the Target Schema.
Choose a File Definition for an Azure Data Lake Storage Connection
Your file definition path requires that you have a container within your storage container account. Your file definition must be in either csv or parquet form.
Please note that if you are using parquet format and have ‘datetime’ columns without an offset, it will be set to the LOCAL time that is used by the agent by default. Any ‘DateTimeOffset’ column type values are adjusted to a UTC date using the offset of the original datetimeoffset value. If you would like to change this to another format or learn more, please read our guide here.
The file definition needs to specify a particular container in the path. You can also use directories in the container. You must specify one level path, and every path you provide will create containers and directories in your connection if they do not already exist.
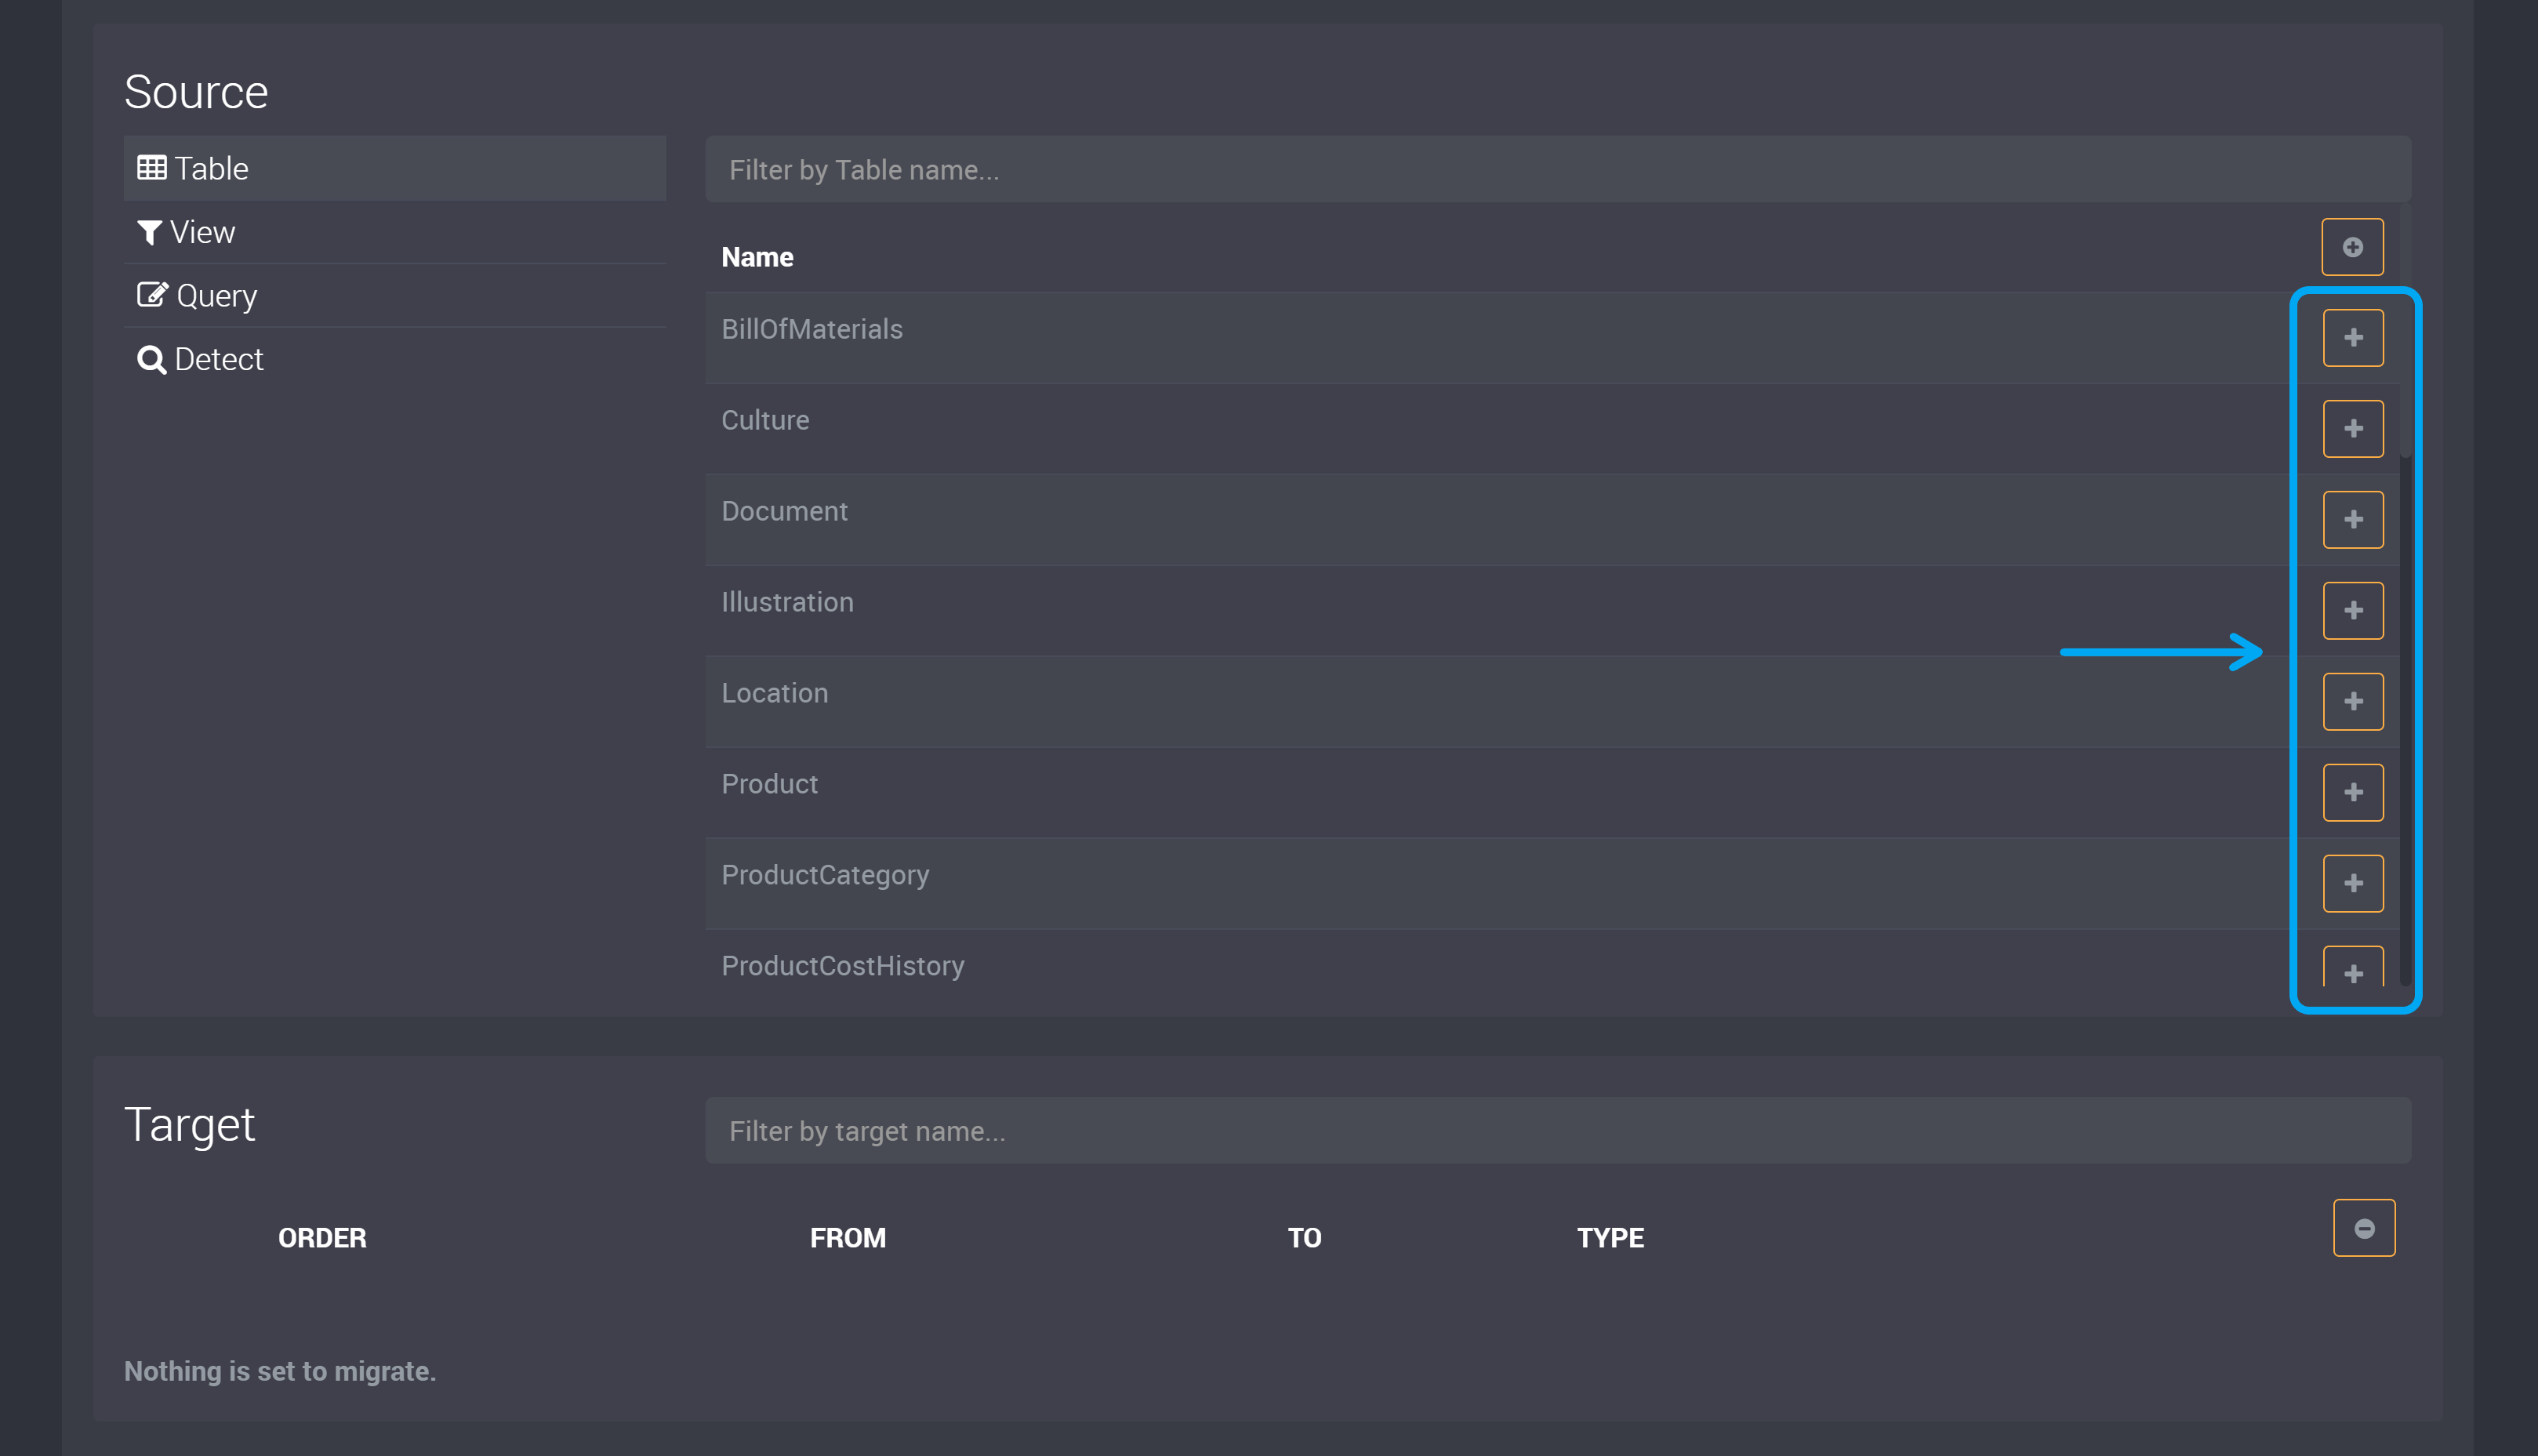
Choose the Data that will be Migrated
On the next page, you can choose the data that will be migrated.
Click Add on the right of the tables you wish to migrate.
The file definition in this example uses the csv file form.
Optionally, choose any actions on the right of a table’s row to customize these tables. (Please note that the Azure Data Lake connection cannot be used incrementally.)
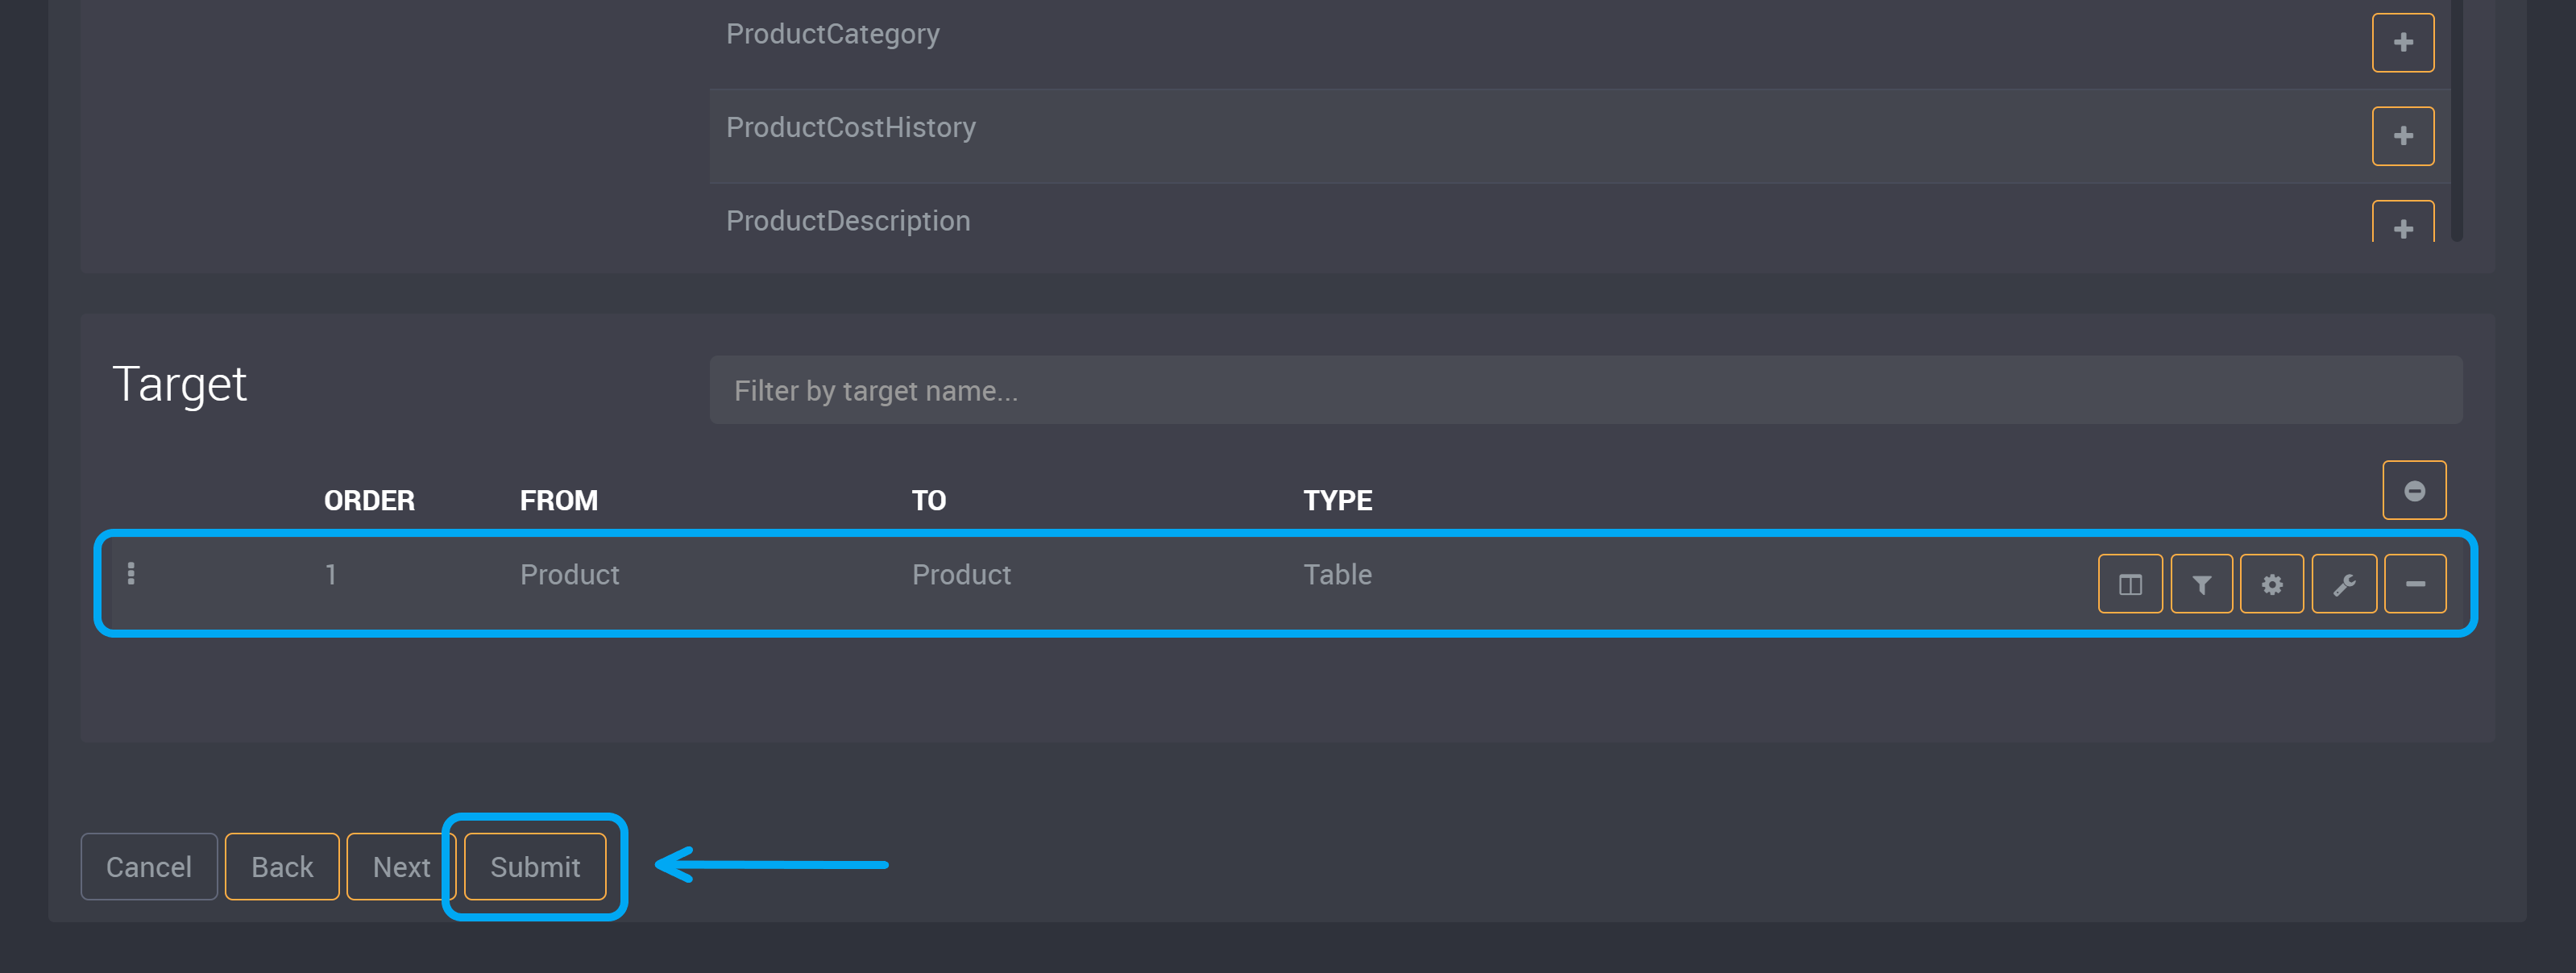
Submit this task or click Next to modify the task settings.
You can then run this task to migrate your data either right away using the Run Job button or you can create a schedule to run it at a later time.