Azure Storage
Introduction
The connector for Azure gives developers provide easy access to Azure table data, including table, entity, blob, and more. The Azure connector makes this Azure table data look like SQL tables in your applications.
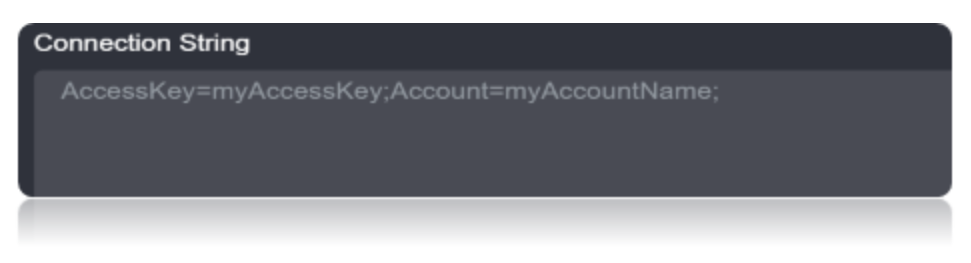
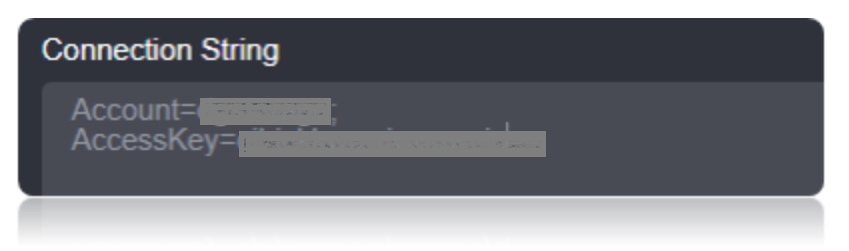
Connection String
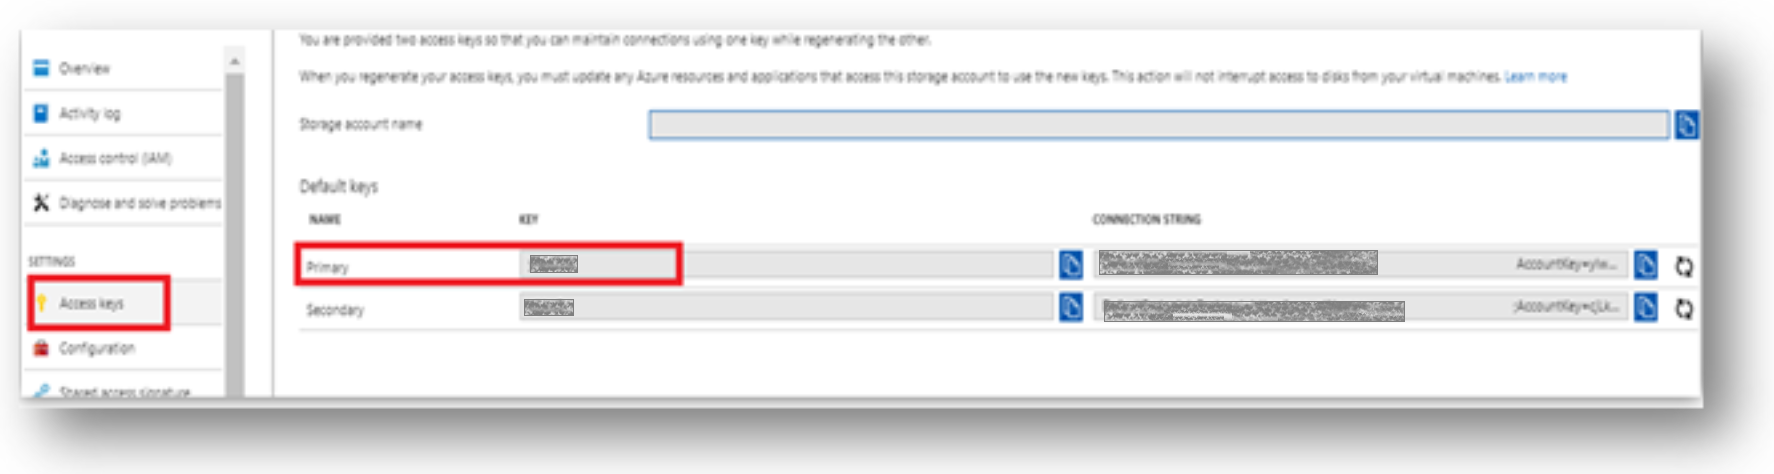
The connection to Azure is made using your AccessKey and your Account. These values can be found by navigating to the Storage tab in the Azure management console. Set the Account property to the Storage Account Name and set AccessKey to one of the Access Keys.
Connection String Parameters
| Parameter | Description |
|---|---|
AccessKey |
The Windows Azure shared base64-encoded key (either the primary or secondary access keys can be used). |
Account |
The Windows Azure account name. |
Connecting to Azure Storage
The provider is registered as an ADO.NET provider with Visual Studio, allowing for integration with Server Explorer as well as ADO.NET data source configuration wizards. Establishing a connection from Server Explorer is the same as in other ADO.NET data providers such as the SQL Server provider.
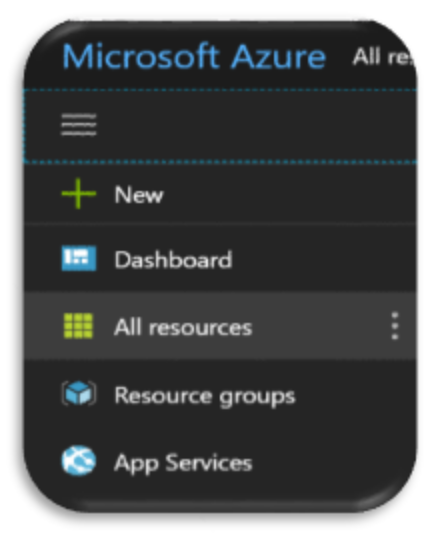
Open the Azure Portal (https://portal.azure.com) and sign in. Click on All Resources options.
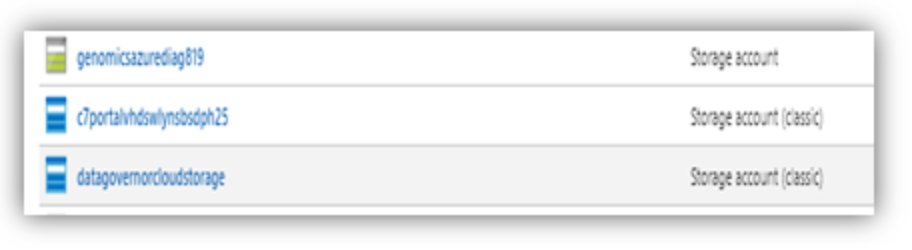
Next choose the storage account. This is the account name mentioned in the connection string which is the Windows Azure account name.
After the account name, get the Access Keys to find the Windows Azure shared base64-encoded key to be mentioned in the connection string.
Data Migrations
To check for the data migrations-
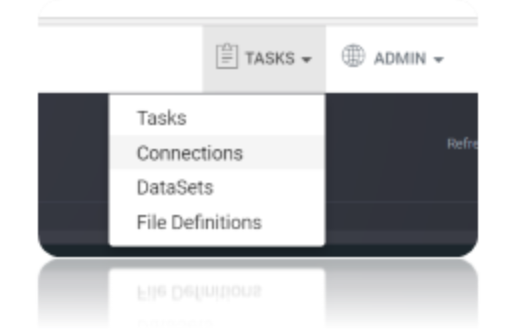
Add a new connection in Loome Integrate.
- Go to Tasks and click on Connections.
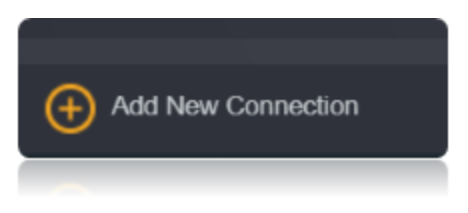
- Add a new connection using the Add New Connection option.
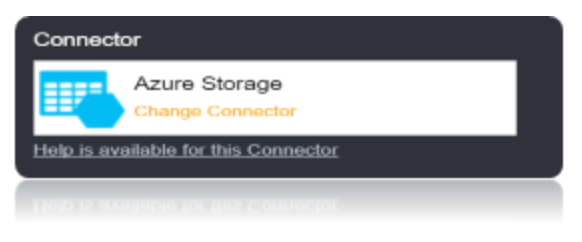
- Choose Azure Storage Connector from the available connector options.
Using the connection string parameters created, verify the connection using the Verify Connection option in Loome Integrate. Once the connection is verified, insert the connection using the Insert option.

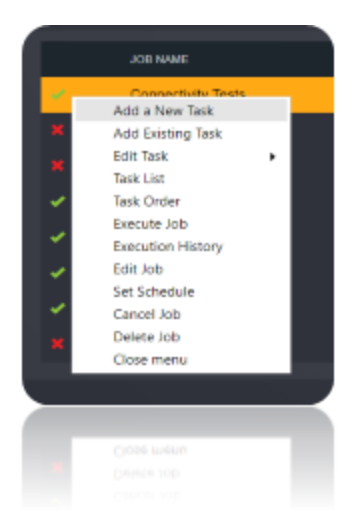
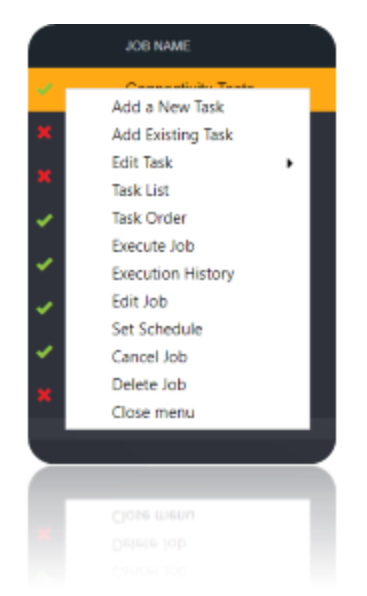
Create a job using the Add a Job option in Loome Integrate. Add a data migration task to the job.

Create a new task by right clicking job list and then the Add a New Task option. If you want to edit an existing task use the Edit Task option.
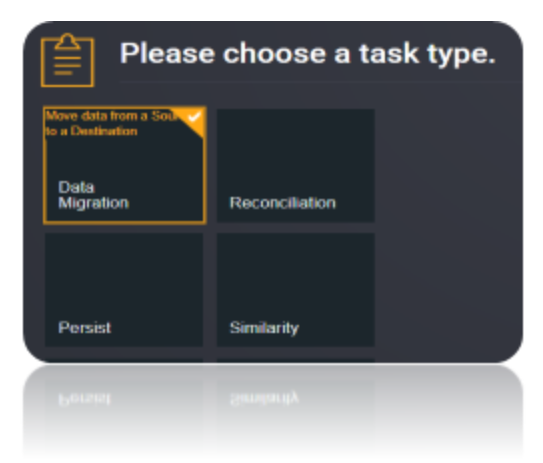
Choose a Data Migration Task.
Choose the source and the destination for the migration of data. Name the task.
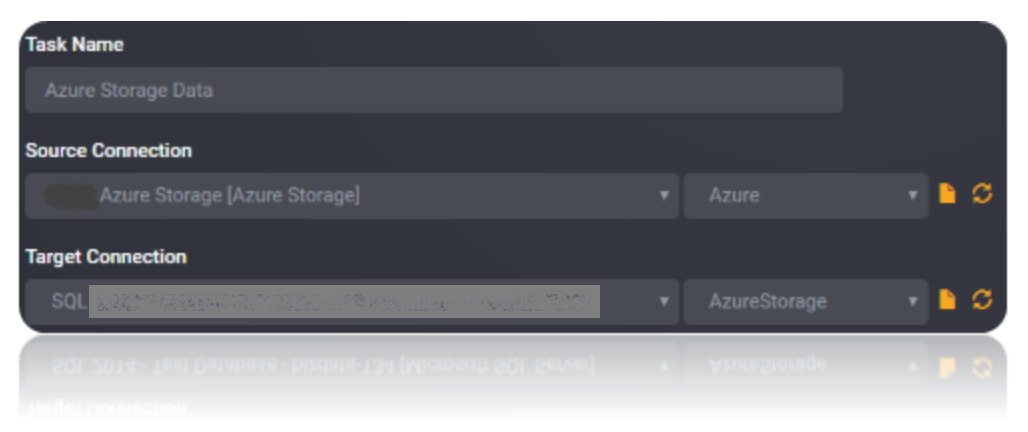
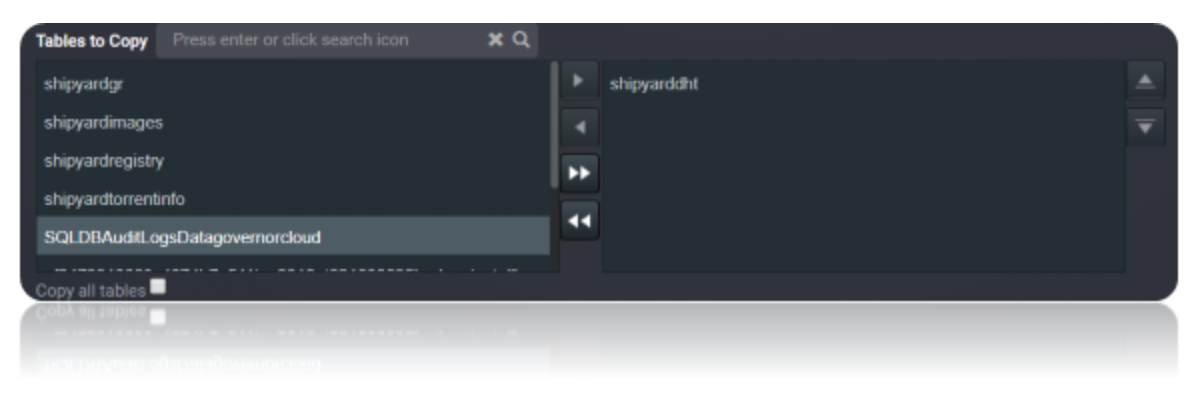
Choose the tables or the data that need to be migrated from the source to the destination. You can choose to copy all tables from the source by checking the Copy All Tables checkbox. Save the task.
Execute the Job. Check for results and the details of the data migrated in Execution History.
Data Models
The provider allows you to access data in Azure table storage using a standard database like interface. Azure tables are highly scalable NoSQL cloud databases that are very different from a regular database. In this section we describe how we model schemaless Azure tables as regular tables.

Tables
Table Columns
Since Azure tables are schemaless, the provider offers the following two mechanisms to uncover the schema.
Dynamic Schemas
The columns of a table are dynamically determined by scanning data in the first few rows.
Static Schemas
Instead of using dynamically discovered schemas, you may define your own schemas. This will give you more control over the projected columns and also enable you manually define data types.
Schemaless Operations
While the schema of the table is necessary to retrieve data, data may be inserted, updated, or deleted from columns that do not exist in the schema. Columns that do not already exist in the table schema will have their data types set to String.