Install Web Interface
Similar to the Loome Integrate Back End Engine, the Web Interface can only be installed up to a maximum of 4 times on the same server.
Each installation (instance) must be named either one of the following:
Production
Staging
Test
Development
Attempts to install the same instance multiple times are not allowed. Instances are just labels used to identify one installation instance from another. An instance is otherwise no different from another instance.
Run the Installer
Execute the MSI Installer
Right click on DataGovernor
This will run the installer package and ensure that any issues that arise during the installation are output to a log.
Welcome to the Loome Integrate Web Setup Wizard
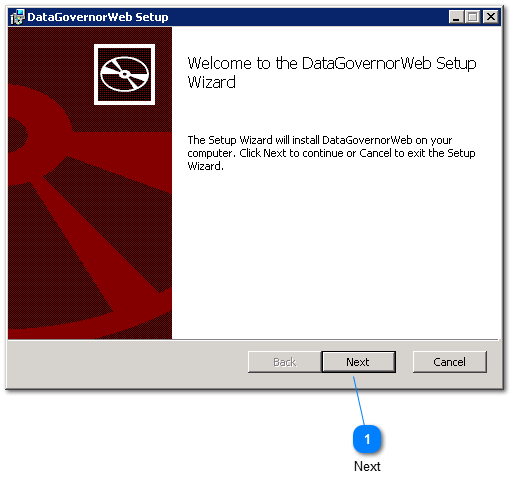
Click the Next button to proceed to the End User License Agreement screen.
End User License Agreement
This screen contains the End User License Agreement. You must read, understand and agree to the End User License Agreement to continue with the installation.
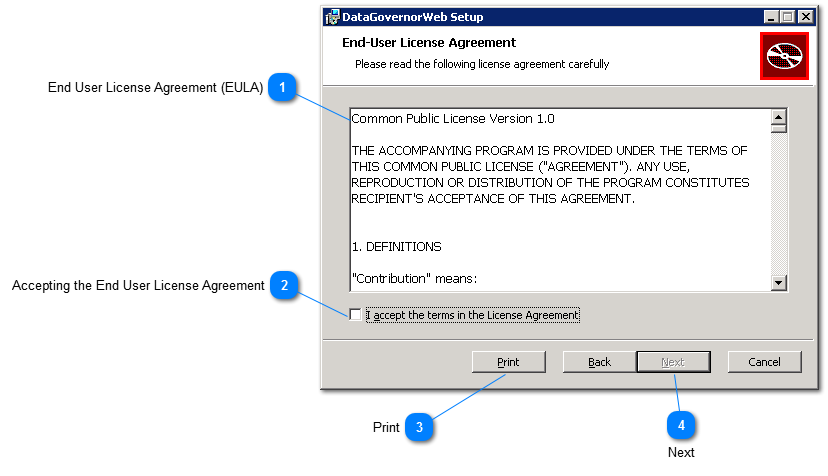
1. End User License Agreement (EULA)
Read and understand the End User License Agreement.
Tip: Use the vertical scroll bar to continue to the next page of the license agreement.
2. Accepting the End User License Agreement
After reading the End User License Agreement, click on the checkbox to indicate that you have read and understood and also accept the End User License Agreement.
Click on the print button should you wish to export the EULA into another document medium.
After ticking the acceptance checkbox, the Next button will be enabled. Click Next to continue with the installation.
If you have previously installed the same instance (but lower version) of Loome Integrate on this server, the installer will proceed to the Confirm Installation screen and use information collected when this instance was installed. Otherwise it will proceed to the Website Configuration screen.
Installation Instance
This screen lets you select the Loome Integrate instance to install.
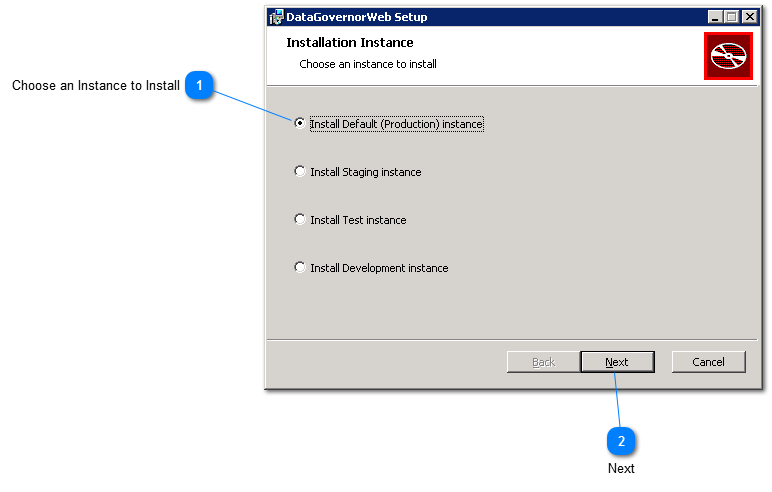
Choose an Instance to Install
Click on the Instance that you want to install.
Once you have selected an Instance, click the Next button to proceed to the Setup Website screen.
Setup Website
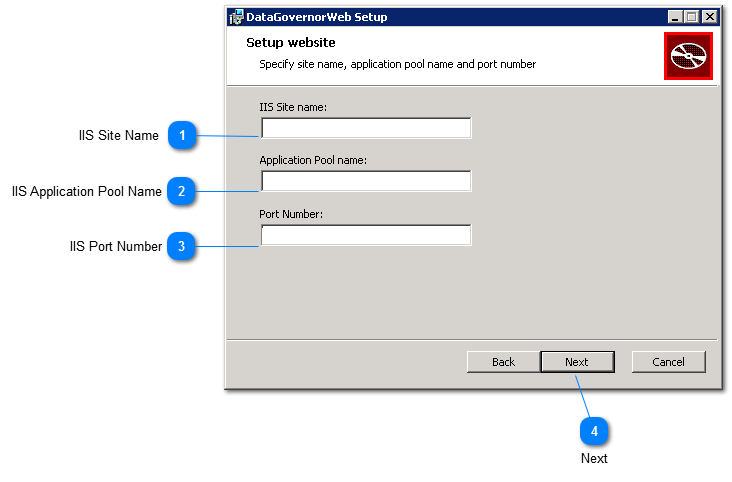
This screen lets you set the IIS Site Name, Application Pool and Port Number.
All fields must be populated to continue with the installation.
1. IIS Site Name
Enter the IIS Site Name in this textbox.
The textbox will be pre-populated with a default value. The default value will be based on the instance that you have selected to install.
2. IS Application Pool Name
Enter the IIS Application Pool Name in this textbox.
The textbox will be pre-populated with a default value. The default value will be based on the instance that you have selected to install.
3. IIS Port Number
Enter the IIS Port Number in this textbox.
The textbox will be pre-populated with a default value of 500.
After configuring the IIS Site Name, Application Pool Name and Port Number, click the Next button to proceed to the IIS And database Credentials screen.
Setup Database and IIS Credentials
This screen lets you set the Loome Integrate back end server, back end database name and IIS User Account credentials.
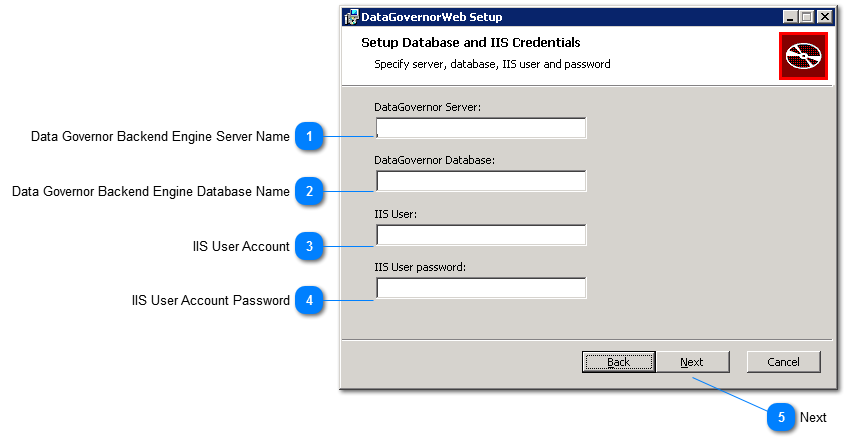
1. Loome Integrate Back End Engine Server Name
Enter the Loome Integrate Back end Engine Server name in this textbox.
2. Loome Integrate Back end Engine Database Name
Enter the Loome Integrate Back end Engine Database Name in this textbox.
The textbox will be pre-populated with a default value based on the instance you have selected to install.
3. IIS User Account
Enter the IIS User Account in this textbox.
4. IIS User Account Password
Enter the IIS User account Password in this textbox.
Tip: This value is not saved in Loome Integrate. Please ensure that you store this password in a secure location.
After setting the Loome Integrate Server Name, Database Name, IIS User Account and Password, click the Next button to proceed to the Destination Folder screen.
Destination Folder
This screen lets you set the installation folder.
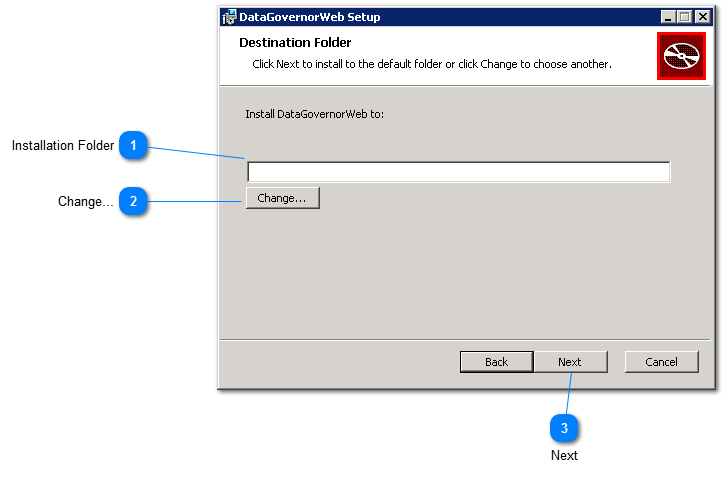
Installation Folder
Enter the Installation Folder for your Loome Integrate installation.
The textbox will be pre-populated with a default value. The default value will be based on the instance that you have selected to install.
Optionally, click the Change button to access a file browser to set a different installation folder.
After specifying an installation folder, click the Next button to proceed to the Confirm Installation screen.
Change Destination Folder
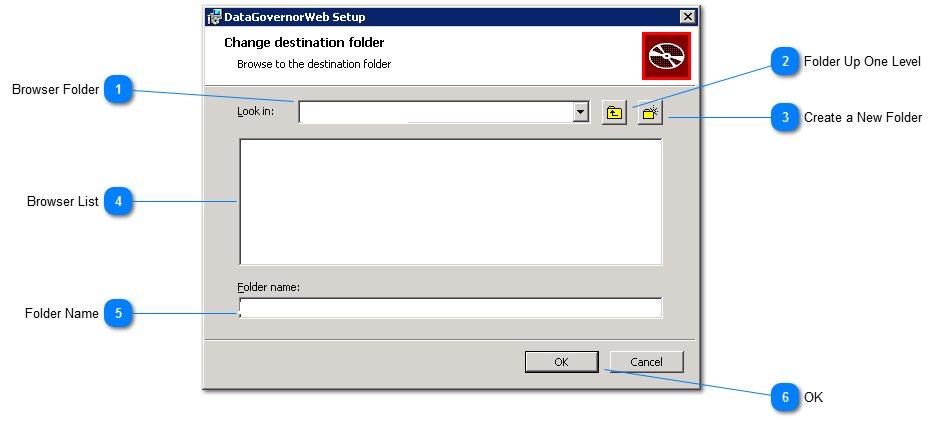
1. Browser Folder
This drop down menu shows the Target installation folder.
Click on the drop down to view folder hierarchy and to navigate up the hierarchy.
2. Folder Up One Level
Click the up one level button to navigate up the folder hierarchy by 1 level.
3. Create a New Folder
Click the create new folder button to create a new folder in the Target installation folder.
4. Browser List
This list shows all the sub folders of the folder currently selected in the Install folder drop down.
Double click a sub folder to navigate to the sub folder.
5. Folder Name
This textbox shows the complete installation path.
After specifying an Installation Folder, click the OK button to return to the Destination Folder screen.
Ready to install Loome Integrate Web
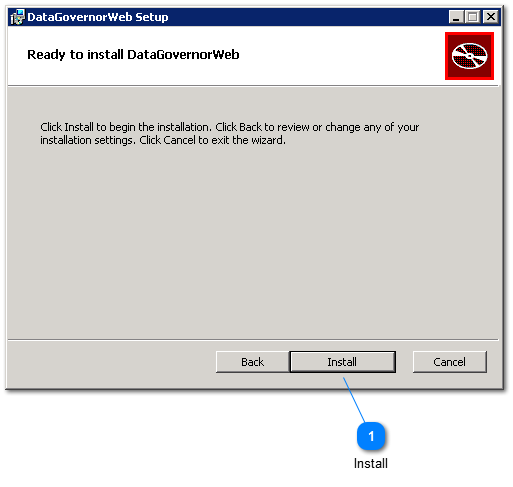
Click the Install button to proceed with the installation of Loome Integrate.