MySQL
Introduction
The Connector for MySQL provides easy access to MySQL data. The MySQL Data Provider makes this MySQL data look like SQL tables in your applications.
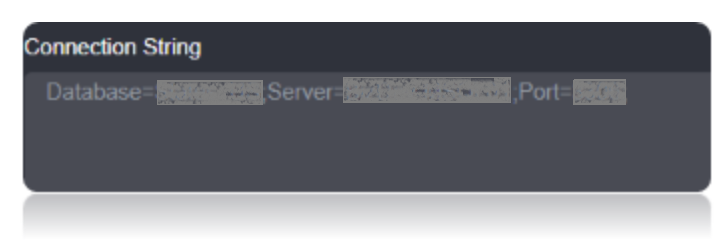
Connection String
The Server and Port properties must be set to a MySQL server. If Integrated Security is set to false, then User and Password must be set to valid user credentials. Optionally, Database can be set to connect to a specific database. If not set, tables from all databases will be returned.

Connection String Parameters
| Parameter | Description |
|---|---|
| Username | The user to authenticate when connecting to MySQL. |
| Password | The password required for authentication with the MySQL server. |
| Database | The name of the MySQL database. |
| Server | The host name or IP address of the server. |
| Port | The port of the MySQL server. Default Value 3306. |
Connecting to MySQL
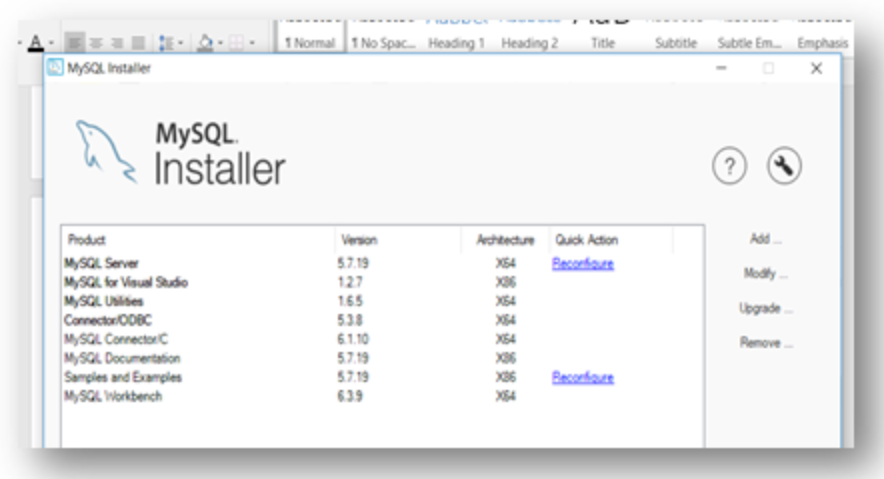
Install the MySQL Server using MySQL Installer.
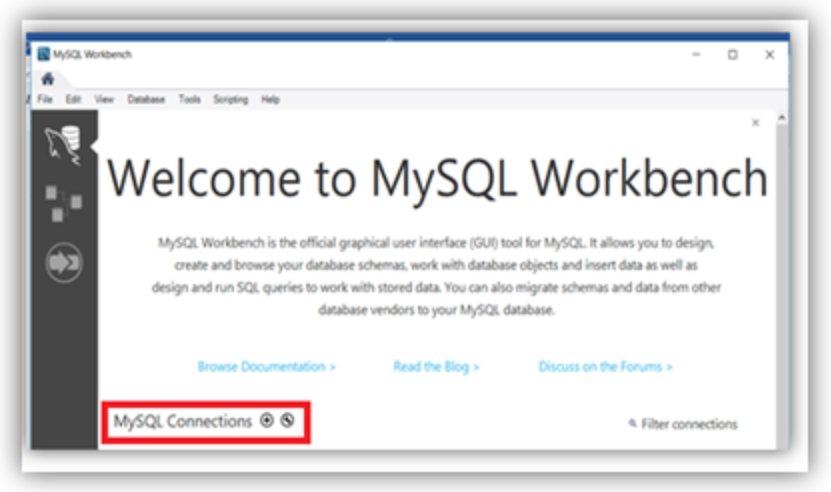
After Completing the setup, open MySQL Workbench. Create a New Connection using the + symbol located near the MySQL Connections.
After Providing the Connection name and the password test the connection using the Test Connection.
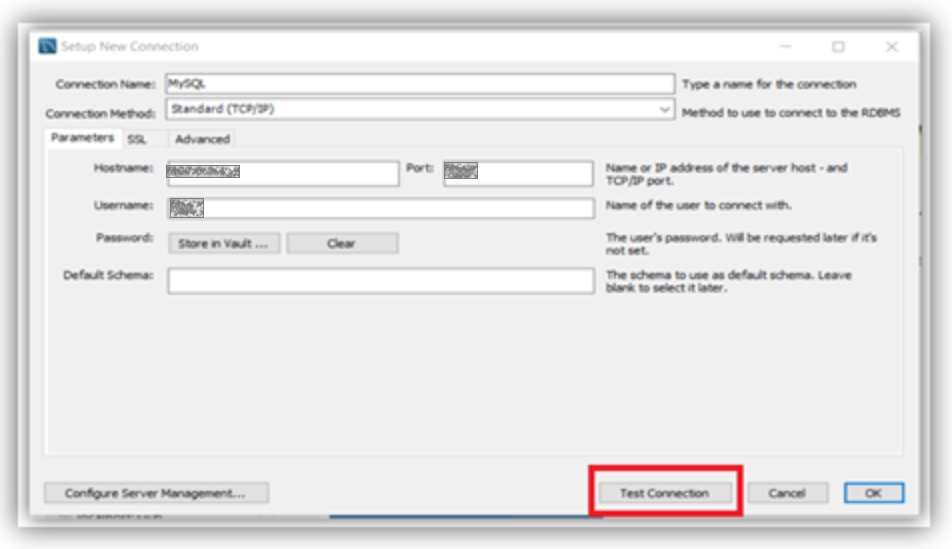
After getting the parameters for the connection string, you are ready to connect to MySQL Using the Server and Port Provided. The Default port for MySQL is 3306. The Server is where the MySQL Workbench is running.
Data Migrations
To Check for the data migrations:
Add a new connection in Loome Integrate as shown.
- Go to tasks and click on Connections.
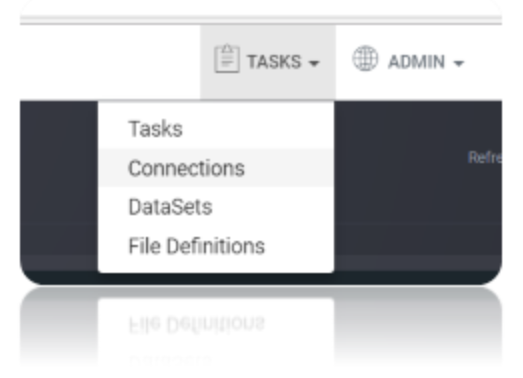
- Add a new connection Using Add New Connection Option.

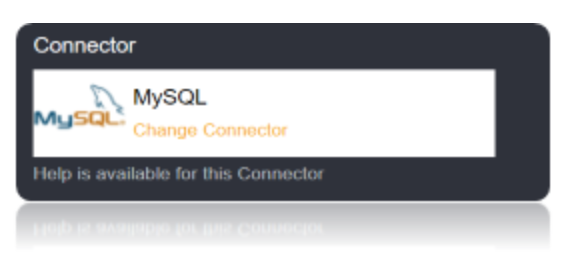
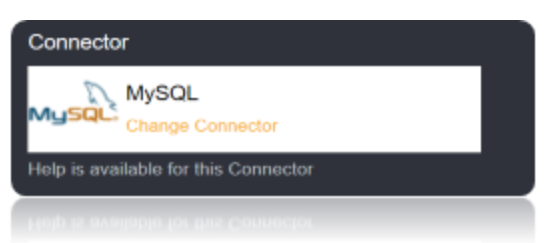
- Choose MySQL Connector from the available Connector Options.
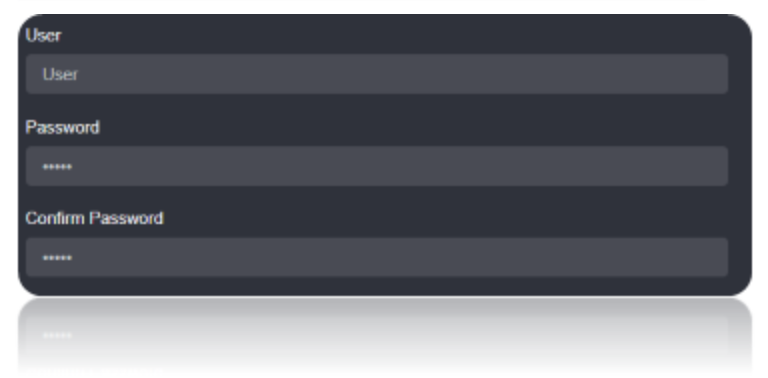
Using the connection string parameters created (You can Specify the Username and password either in the connection string or in the box Shown Below), Verify the connection using the VERIFY CONNECTION Option in Loome Integrate. Once the Connection is verified, Insert the Connection Using Insert Option.

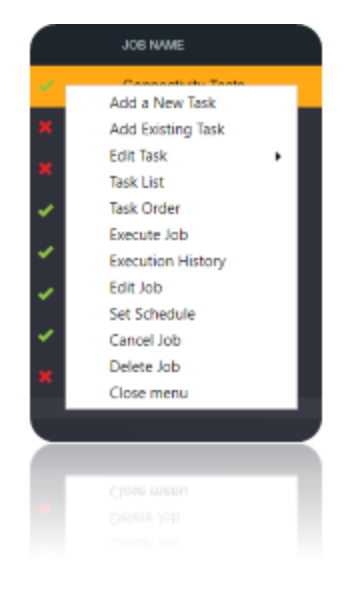
Create a Job Using ADD A JOB option in Loome Integrate, add a data migration task to the job.

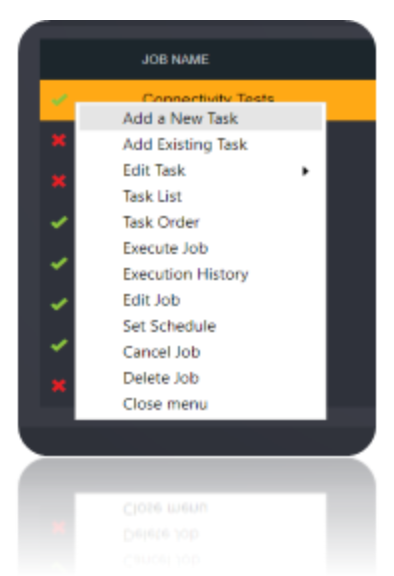
Create a New Task by right clicking job list and then Add a New Task Option. If you want to edit an Existing Task Use Edit Task.
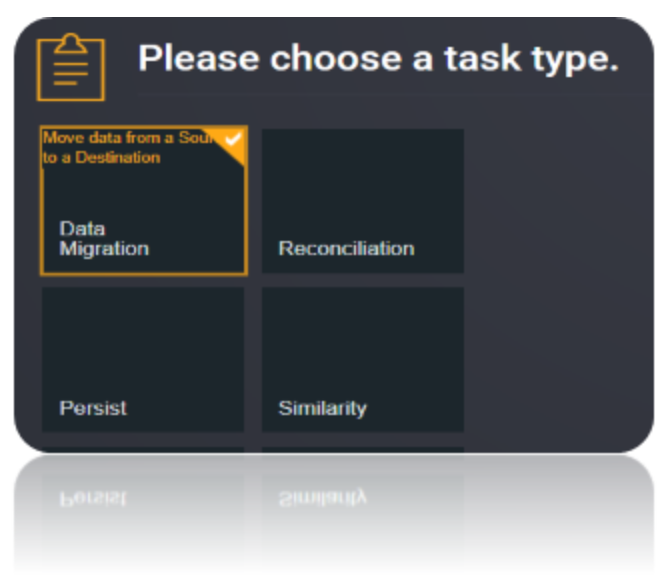
Choose a Data Migration Task.
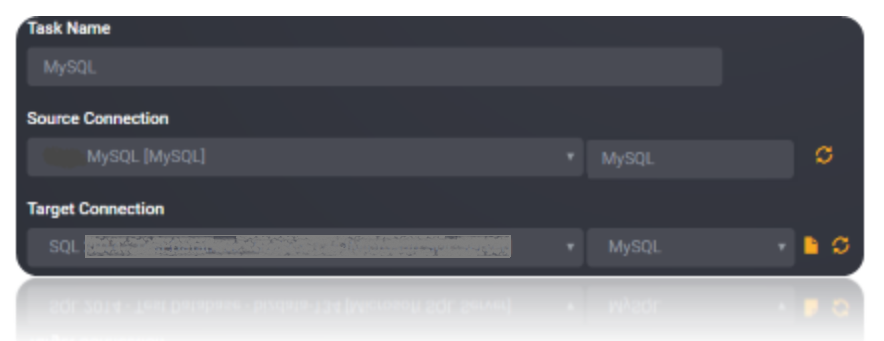
Choose the source and the destination for the migration of data. Name the Task.
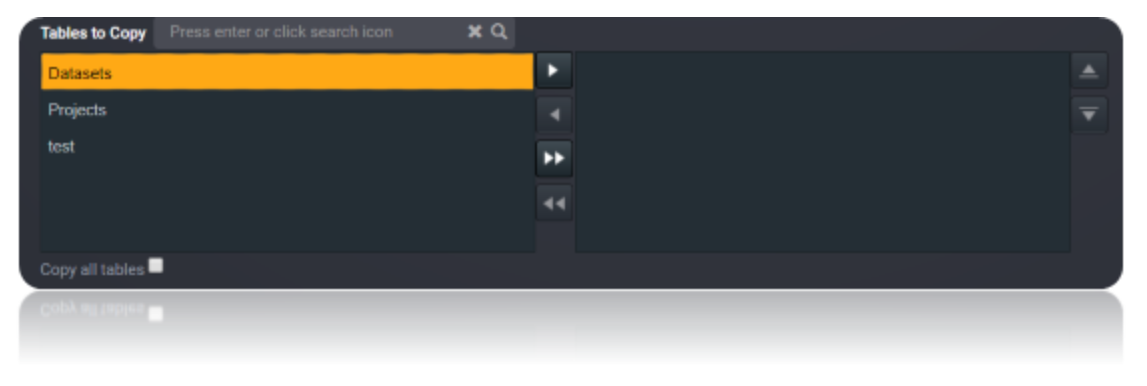
Choose the Tables or the data that need to be migrated from the source to the destination. You can Copy all Tables by checking Copy all tables box.
Execute the Job. Check for results and the details of the data migrated in Execution History.