Managing a Job
You can manage all your project jobs from the main display screen in Loome Integrate. Select a project from the navigation pane on the left then select a job, a sub menu will appear.
The options available are:

Add a New Task
This option allows you add a new task to the selected job.
Select Add a New Task from the sub menu.
The task type screen will appear.
Follow the instructions for Adding a Task (insert link) to continue.
Add Existing Task
This option allows you to add an existing task to the selected Job.
Select Add Existing Task from the sub menu.
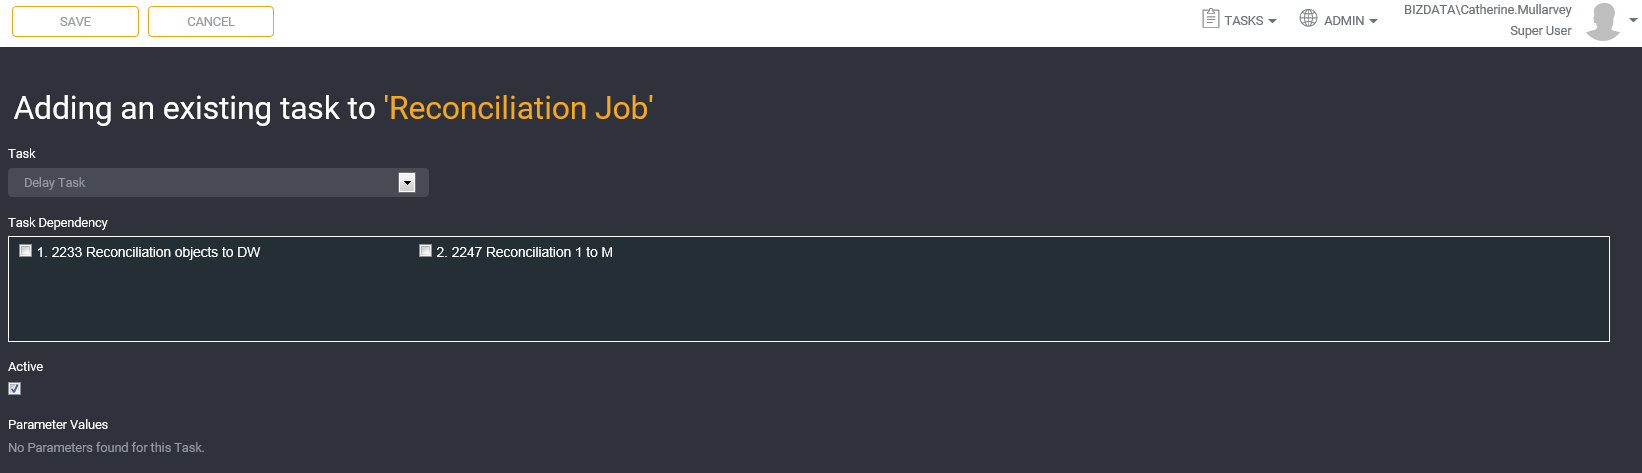
Under Task, select the existing task you want to add to this job.
Under Task Dependency, check the job dependencies required. For example the task select will be dependent on the existing task(s) in this job.
Select the Active checkbox to make this task active.
Click Save to save this task to the selected job.
Edit Task
This option allows you to edit a task in the selected job.
When you hover over this option the job’s tasks will be listed. Select the task you want to edit.
No task found will be displayed if there are no tasks currently in the job.
Tip: Any changes made to the task here will apply to the task at a project level. This will affect the task everywhere it is being used within the project.
Task List
This option allows you to view a list of tasks for the selected job.
Select Task List from the sub menu.
Refer to Task List for more information. (link here)
Task Order
This option allows you to order or reorder the tasks of the selected job.
Select Task Order from the sub menu.

Move the task up or down the order be selecting (highlighted in blue) it, then use the up and down arrows on the right to move it through the order.
Alternatively, you can drag and drop the task.
Select Save Order to save the new task order.
Tip: Only one task can be moved at a time.
Execute Job
This option allows you to manually run the job.
Select Execute Job from the sub menu. You will see a “Job Started…” next to the action button up the top of the screen.
An icon will also appear next to the job to indicate that it is currently executing.
You can click the Refresh Now option to refresh the screen. The icon will be displayed until the job has finished running.
Once a Job has finished running a tick icon will display if the job was successful or a cross icon will display if it has failed.
Execution History
This option allows you to view the execution history of the selected job.
Select Executing History from the sub menu. Refer to Understanding execution history for more information.
The execution history screen will display showing all of the job’s execution history.
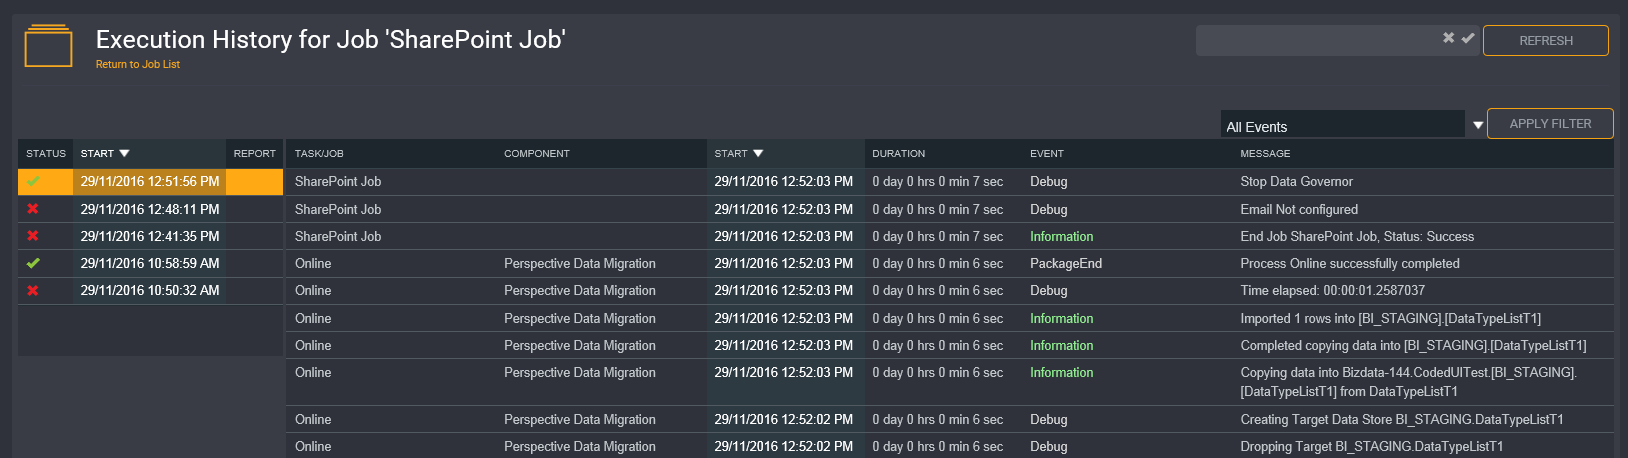
On the left hand side is a list of time stamp of when the job was run. The details of the job itself is displayed on the right hand side.
You can select filter the job details using the Apply Filter option at the top right to narrow down the result information.
The available filter options are:
All Events
Debug
Error
Information
PackageEnd
Edit Job
This option allows you to edit the selected job.
Select Edit Job from the sub menu.
Follow the instructions for Editing a Job to continue.
Set Schedule
This option allows you to set a schedule for the selected job so it can be automatically executed.
Select Set Schedule from the sub menu.
Follow the instructions for Setting a job schedule to continue.
Cancel Job
This option allows you to stop a job from running.
Select Cancel Job from the sub menu.
The cancelled job can be executed again by selecting the Execute Job option.
You can only cancel subsequent steps in a job, not the current one. This is a design decision as cancelling a running step has the potential to cause data corruption, or in some circumstances, may be ignored by the system targeted by the task.
Job cancellation examples
Example 1
If a job only has one step, cancelling it has no effect. It will continue executing until the step has finished and end prior to it being cancelled, there will be no indication that cancellation was attempted on the job.
Example 2
If a job has three steps, cancelling during step 1 will continue executing until step 1 has finished. At this point the job will enter a failed status and log an error to the execution history, indicating that the job was cancelled. Step 2 and 3 will not run.
Delete Job
This option allows you to delete the selected job.
Select Delete Job from the sub menu.
A confirmation pop up will display. Click OK to delete the job.
Tip: The tasks that were assigned to the deleted job will not be deleted themselves. This option will only delete the job. The tasks can still be found under the project tasks list and can be added to a new or existing job.
Close Menu
Select Close Menu to close the sub menu.