Dynamics CRM
Description
Used for importing Data from Microsoft Dynamics CRM.
Task Type Support
This connection type supports the following task types:
- Data Migration
Data Migration Support
This connection can be used in a Data Migration.
| Usable as Source | Usable as Target | Usable as Incremental Source | Usable as Incremental Target |
|---|---|---|---|
| ✔ | ❌ | ❌ | ❌ |
Connection String Templates
| Template Name | Description |
|---|---|
| Microsoft Dynamics CRM | The standard connection string for Dynamics CRM, uses Open Authentication. |
Connection Notes
- When selecting the Dynamics CRM connector in Loome Integrate, you will need to create an Azure AD application registration and also an Application user in Power Platform for your CRM environment.
Begin the connector setup
- Log in to Loome Integrate
- Create a new connector, selecting Dynamics CRM
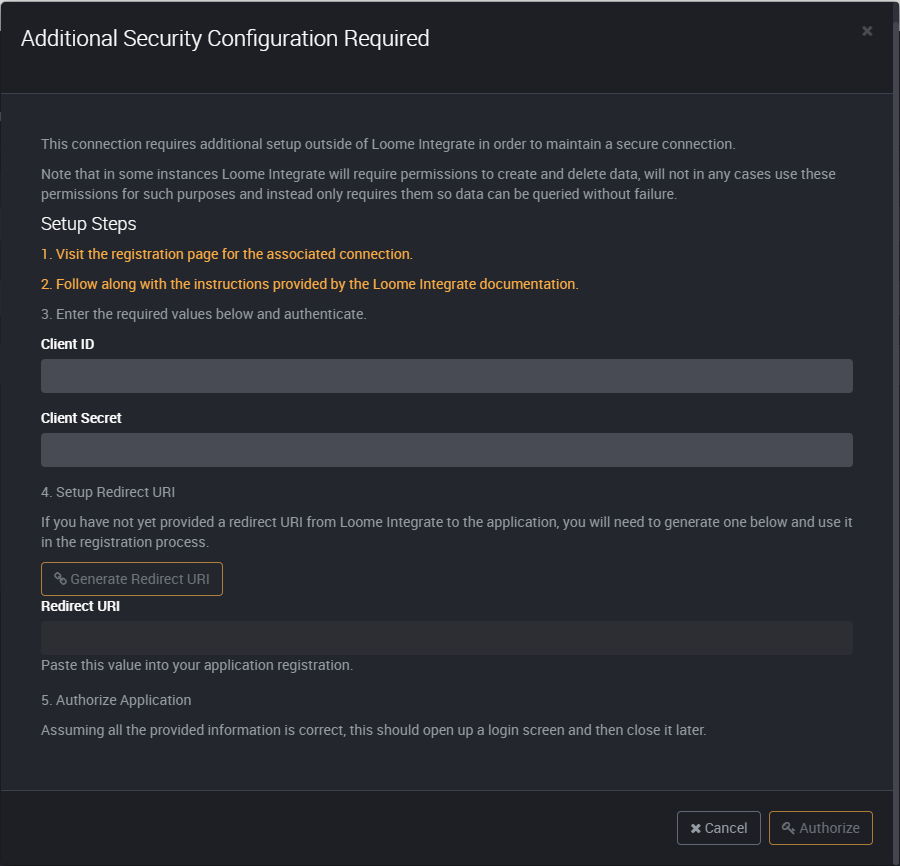
- At this point you will be prompted with the following screen to complete, keep this screen open while you complete the application registration in a new tab
Configure the Azure AD Application Registration
- Login to https://portal.azure.com in a new tab
- Go to Azure Active Directory
- Go to App Registrations
- Click on + New Registration
- Enter a friendly name in the Name field, such as “Loome Integrate CRM Import”
- Click on Register
- Copy the Application (client) ID value and paste it in to the Client ID field in the Loome Integrate tab
- Click on Certificates & Secrets from the left
- Click on + New client secret
- Provide a friendly name for the secret
- Choose an expiry date for the secret (note upon expiry you will need to generate a new secret and update the CRM connector)
- Click ‘Add’ at the bottom of the slide out
- Copy the Secret Value in to the Client Secret field in the Loome Integrate tab
- Click on Authentication from the left
- Click on + Add a platform
- Click on Web on the right hand slide out
- Go back to the Loome Integrate tab and click on Generate Redirect URI
- Copy the Redirect URI value from the Loome Integrate tab in to the Redirect Uris section of the right hand slide out
- Click on Configure at the bottom of the slide out
- Click on API permissions from the left
- Click on + Add a permission
- From the right hand slide out, scroll down and select Dynamics CRM
- Under Delegated Permissions, select user_impersonation
- Click Add Permissions at the bottom of the slide out
- Click on Grant Admin consent for ‘Organization Name’
- Click Yes to the Grant admin consent confirmation
Configure the CRM User
- Login to https://admin.powerplatform.microsoft.com/
- Click on environments on the left
- Click on your CRM environment
- Click Settings at the top
- Click on Users + permissions
- Click Application Users
- Click + New app user from the top
- In the slide out on the left…
- Click on + Add an app
- Search for the Azure AD Application Registration you created earlier in portal.azure.com
- Select the business unit you will be using
- Click the pen icon to the right of the Security Roles text
- Select any roles required to allow the export of data that you need
- Click save at the bottom of the slide out
- Click create at the bottom of the slide out
Complete the connector setup
- Go back to the Loome Integrate tab you have open
- Click on the Authorize button
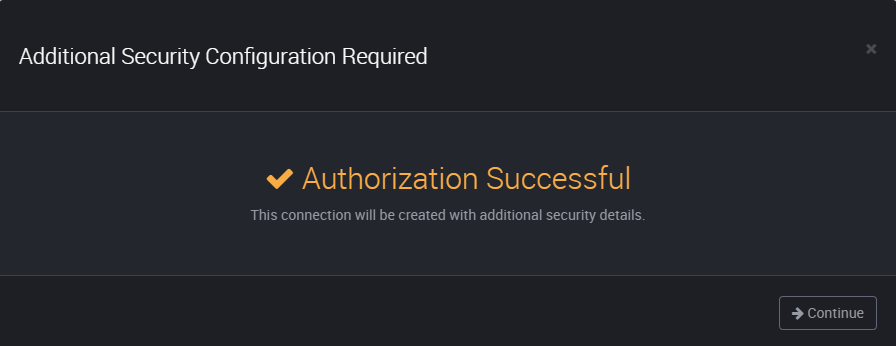
- Another tab will open to complete the authorization of the Application Registration, it should instruct you that Authorization was successful and you can close the tab
- Go back to the Loome Integrate tab, you should see a popup indicating that Authorization is successful, click on Continue
- Click Next
- Select the Microsoft Dynamics CRM template from the Template dropdown
- Modify the URL to the URL of your Dynamics CRM instance, i.e. https://myorg.crm.dynamics.com
- Modify the Azure Tenant to the name of your Azure Tenant, i.e. mytenant.onmicrosoft.com
- Select an appropriate agent and then click Submit
- Ensure the connection successfully validates