Install Back End Engine
Loome Integrate can only be installed up to a maximum of 4 times on the same server.
Each installation (instance) must be named one of the following:
Production
Staging
Test
Development
Attempts to install the same instance multiple times are not allowed. Instances are just labels used to identify one installation instance from another. An instance is otherwise no different from another instance.
For best performance, it is preferable to install only 1 instance per server.
Run the Installer
Execute the MSI Installer
Right click on DataGovernor
This will run the installer package and ensure that any issues that arise during the installation are output to a log.
Encountering issues during the installation of Loome Integrate
If you encounter an issue when installing Loome Integrate, follow the steps below:
An error message will appear during the installation. Click OK.
The following screen will display, click Finish.
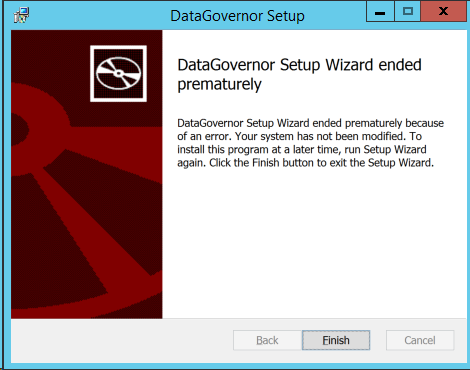
In the same folder where you have the installer, there will be a .log file. Attach a copy of this log file on Yammer. A Loome Integrate consultant will investigate the issue and get in touch with you.
Welcome to the Loome Integrate Setup Wizard
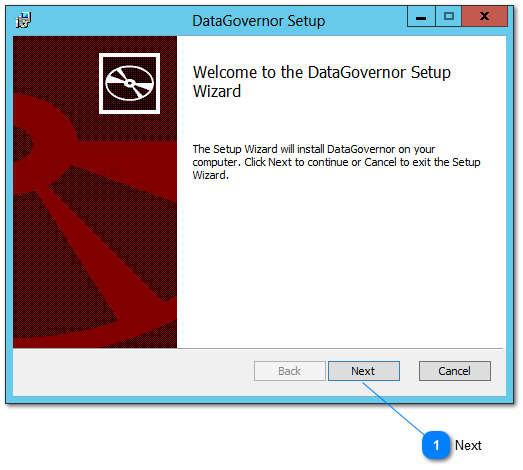
Click Next to proceed to the End User License Agreement screen.
End User License Agreement
This screen contains the End User License Agreement.
You must read, understand and agree to the End User License Agreement to continue with the installation.
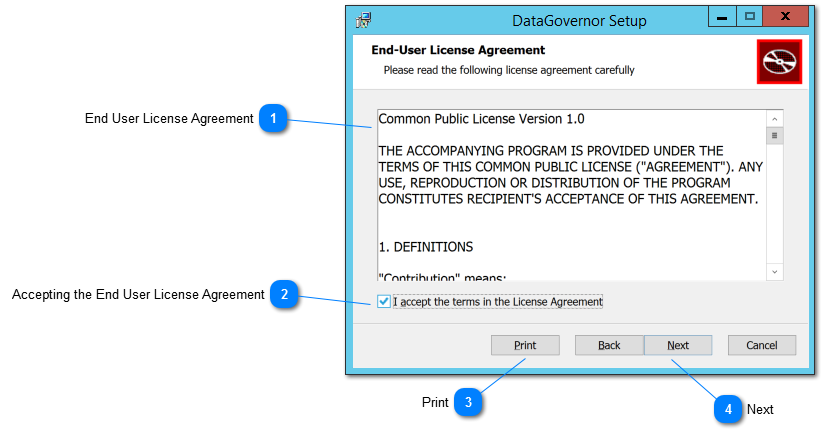
1. End User License Agreement
Read and understand the End User License Agreement.
Tip: Use the vertical scroll bar to continue to the next page of the license agreement.
2. Accepting the End User License Agreement
After reading the End User License Agreement, select the checkbox to agree that you have read, understood and accept the End User License Agreement.
3. Print
Click on the Print button should you wish to save a copy of the End User License Agreement.
After checking the acceptance checkbox, the next button will be enabled. Click Next to continue with the installation.
If you have previously installed the same instance (but lower version) of Loome Integrate on this server, the installer will proceed to the Confirm Installation screen and use information collected when this instance was installed.
Otherwise it will proceed to the Configure Loome Integrate Database screen.
Installation Instance
This screen lets you select the Loome Integrate instance to install.
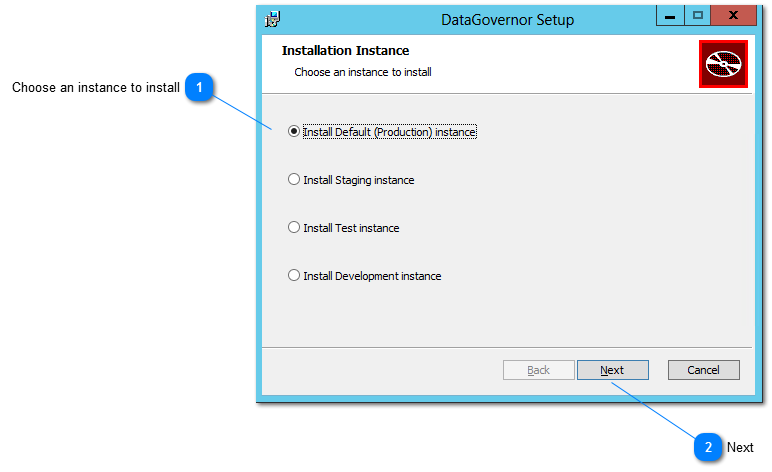
Click on the Instance that you want to install.
Once you have selected an Instance, click the Next button to proceed to the the Configure Loome Integrate Database screen.
Configure Loome Integrate Database
This screen lets you configure the Loome Integrate control database, Loome Integrate database server name and the SQL Server instance.
All fields must be populated to continue with the installation.
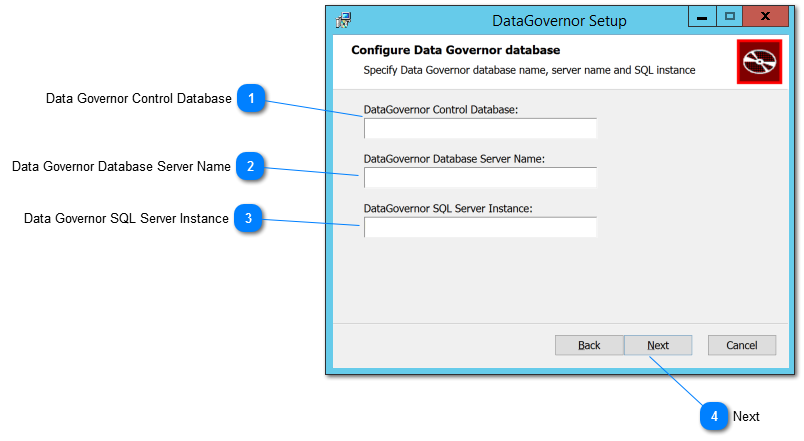
1. Loome Integrate Control Database
Specify a Loome Integrate control database.
2. Loome Integrate Database Server Name
Enter the server name of the Loome Integrate database server.
This will be pre-populated with the current server.
3. Loome Integrate SQL Server Instance
Enter the SQL server instance name where the Loome Integrate databases will be installed.
This will be pre-populated with the SQL Server default instance - MSSQLSERVER.
Click Next to proceed to the Configure Database Files screen.
Configure Database Files
This screen lets you configure the database path and the database log path.
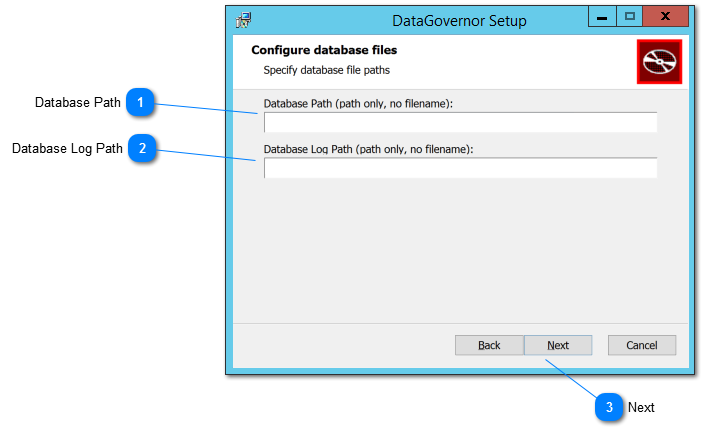
1. Database Path
Specify the database path here. This is the path to the directory only, no file name required.
2. Database Log Path
Specify the database log path here. This is the path to the directory only, no file name required.
Click Next to proceed to the Configure Staging Database screen.
Configure Staging Database
This screen lets you configure the staging database, the staging server name, and staging SQL server instance.

1. Loome Integrate Staging Database
Specify the staging database here.
Tip: The database used here must already exist. Installation will fail if the specified database does not already exist.
2. Loome Integrate Staging Server Name
Specify the staging server name here.
3. Loome Integrate Staging SQL Server Instance
Specify the staging SQL Server instance here.
Click Next to proceed to the Destination Folder screen.
Destination Folder
This screen lets you set the installation folder.
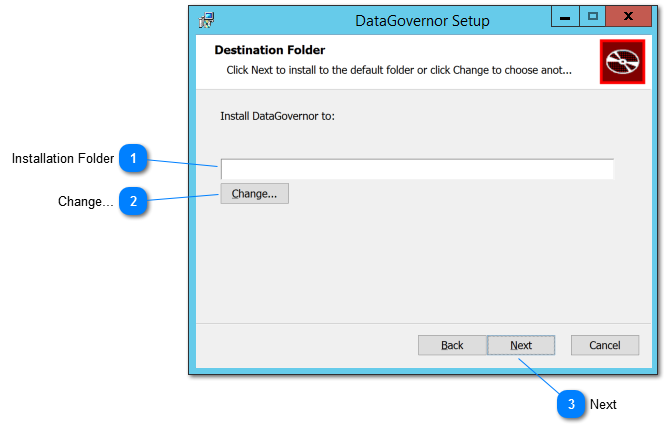
1. Installation Folder
Specify the installation folder for your Loome Integrate installation. The textbox will be pre-populated with the instance that you have selected to install.
Optionally, click Change… to change the installation folder using the file browser.
Click Next to proceed to the Confirm Installation screen.
2. Change Destination Folder
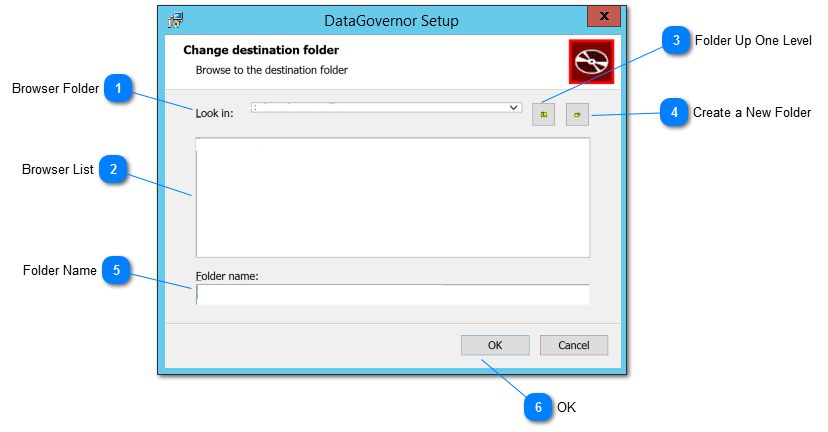
1. Browser Folder
This drop down list shows the target installation folder. Click on the drop down to view folder hierarchy and to navigate up the hierarchy.
2. Browser List
This list shows all the sub folders in the current folder selected. Double click a sub folder to continue navigating down the hierarchy.
3. Folder Up One Level
Click the up one level button to navigate up the folder hierarchy by 1 level.
4. Create a New Folder
Click the create new folder button to create a new folder in the target installation folder.
5. Folder Name
This field shows the complete path for the installation folder selected.
Click OK to return to the Destination Folder screen.
Ready to install Loome Integrate
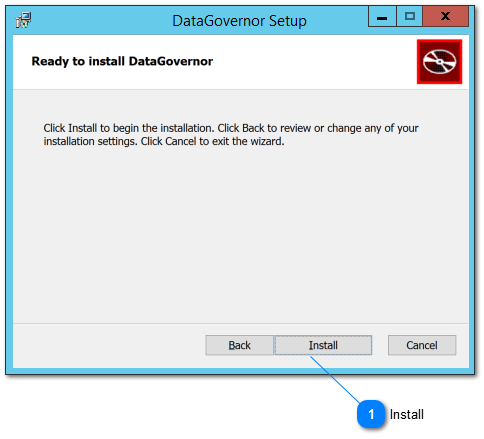
Click Install to start the installation of Loome Integrate.