Persist task
Version 5.2 of Loome Integrate introduces the ability to have persistent staging. Persistent Staging is a staging area that is not wiped out between loads. Unlike, a normal staging area, it contains full history from the source(s) that deliver data to it.
You can create the following task types:
- Persistent Staging to SQL DB
- Persistent Staging to Azure DW
- Persistent Staging to Azure SQL
Persist tasks allows 2 Business views to be created if the Key columns are defined in Advanced Column Settings. Current view - a view that will only display the latest records Historical view - a view that will display the entire history of records (as per the Persistent staging end table). This view will have 2 additional columns - a startdate column and an enddate column.
Note: These views will not be generated without Key columns defined.
The names of these views are:
For example, dbo.CustomerCurrent and dbo.CustomerHistory
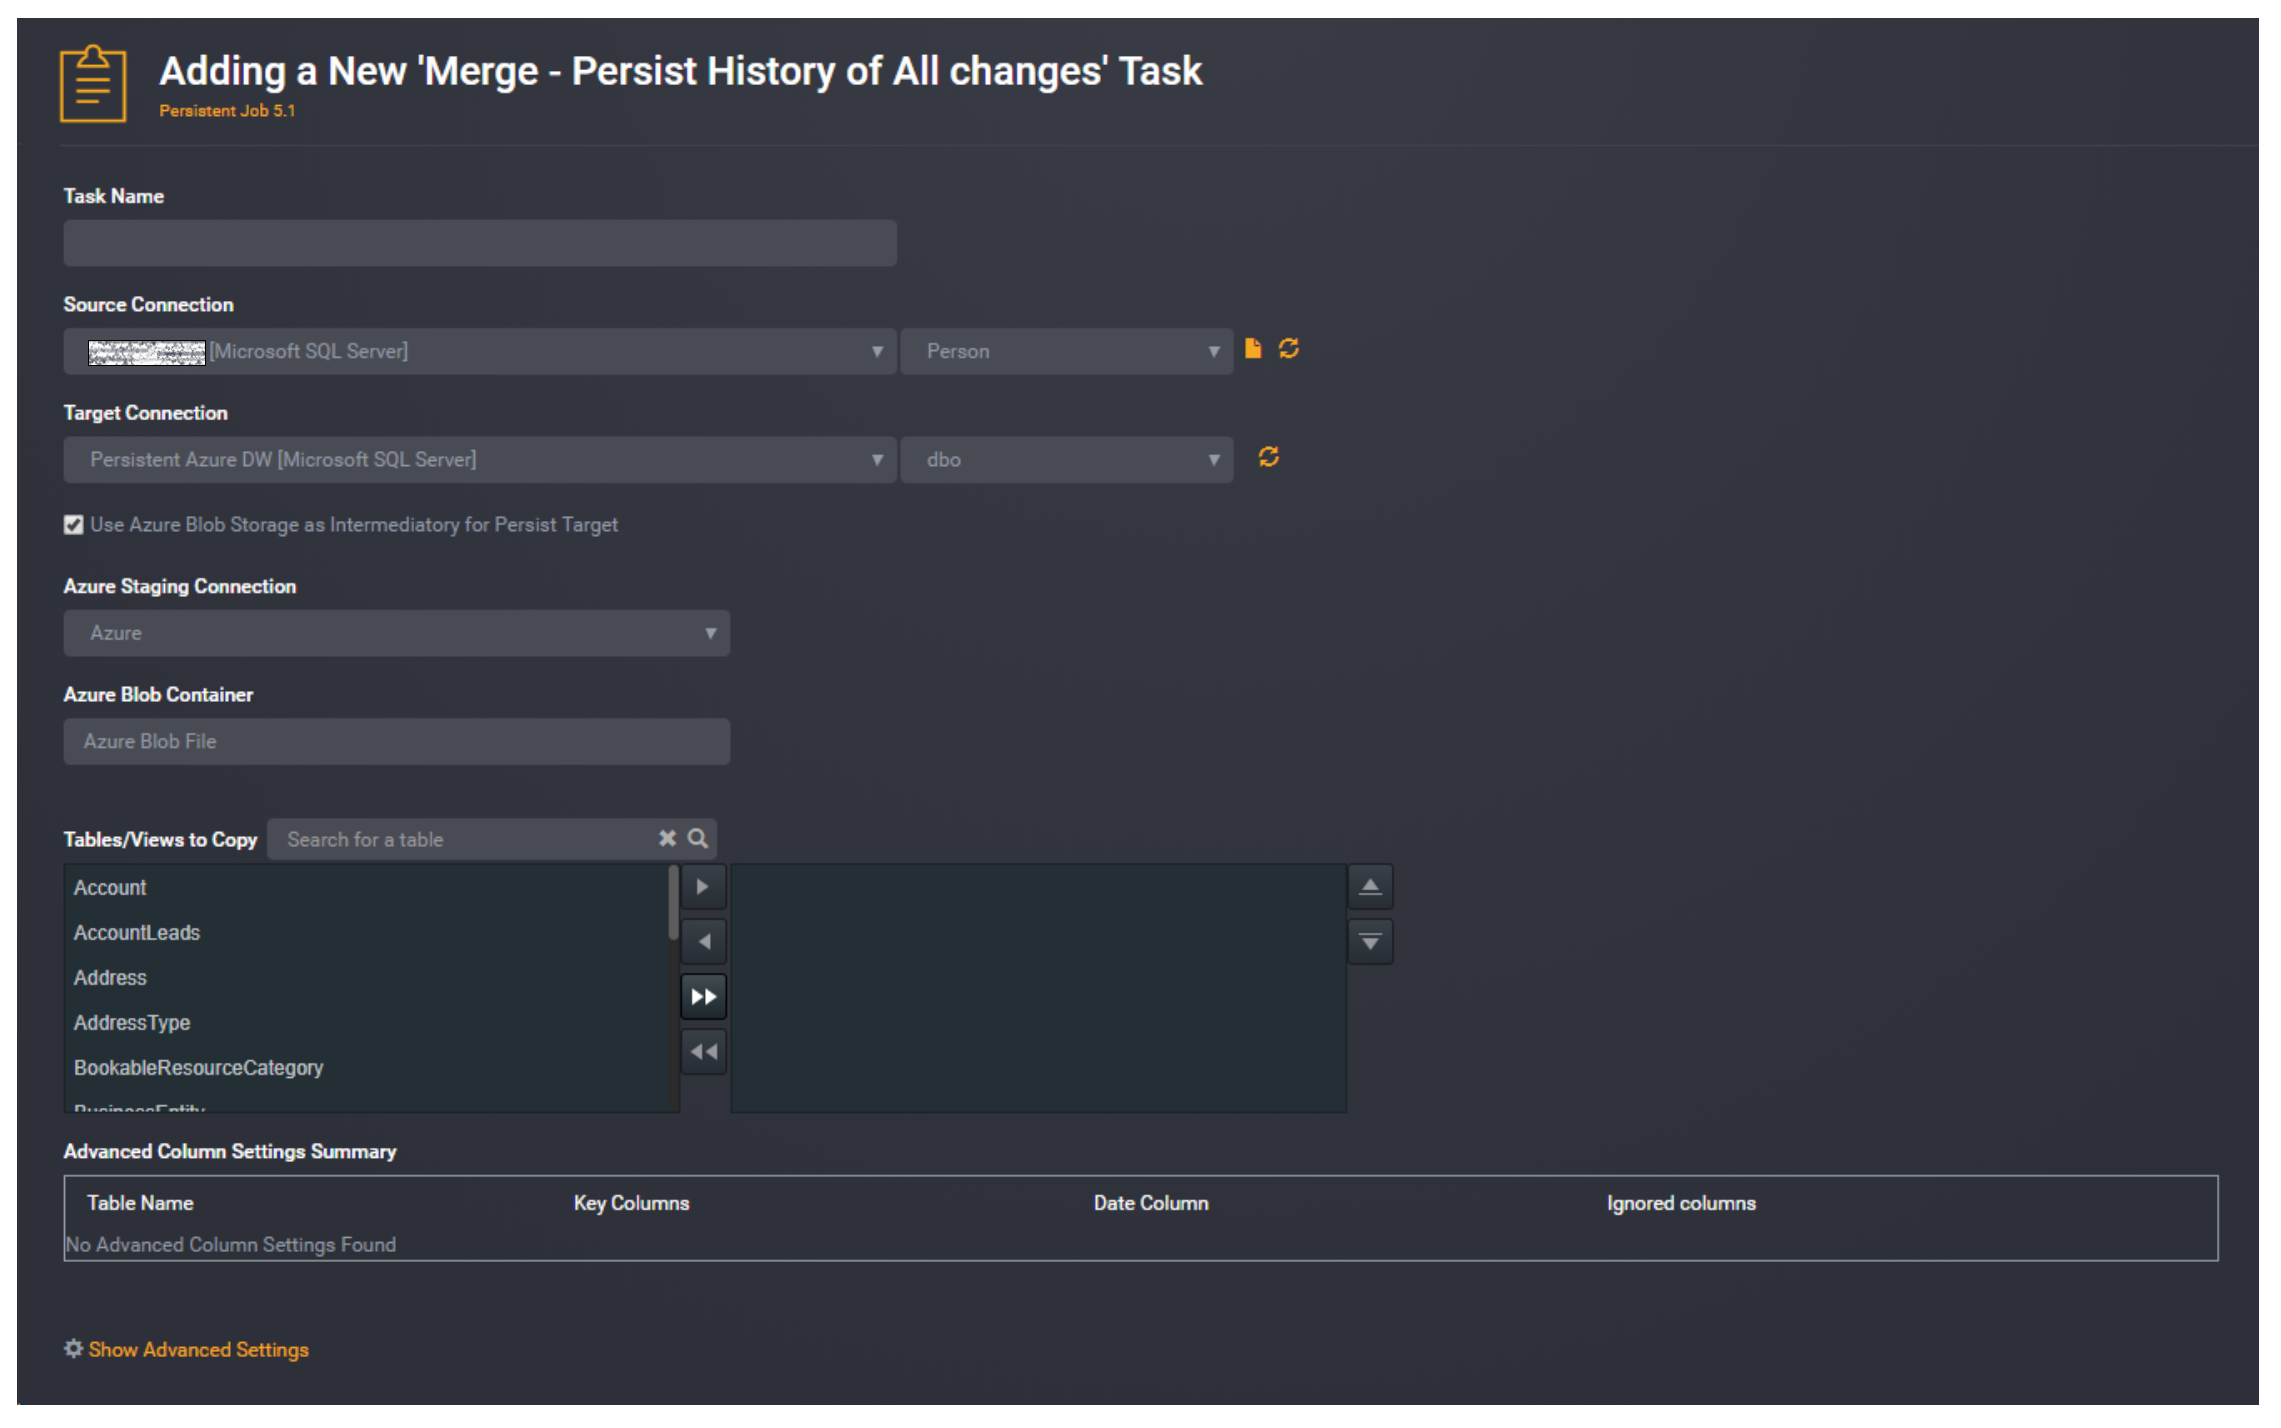
From the task type screen, select Persist.
Task Name
Enter a unique task name here. Task names must be unique to a project.
Source Connection
Select the source connection from the drop down list. Predefined connections will be listed here. Select the schema from the schema drop down list. The available schemas from selected source connection will be populated and listed here. Select the Change to File option (file icon) to use a flat file as a source. The file definition must be defined first.
Target Connection
Select the target connection from the drop down list. Predefined connections will be listed here. Select the schema from the schema drop down list. The available schemas from selected target connection will be populated and listed here. Select the Change to File option (file icon) to use a flat file as a target. The file definition must be defined first.
Tip: For a Persist task, the target destination must be of a SQL server type (Azure DW, APS, ,Azure SQL, On-prem SQL).
Azure blob as intermediary:
The Use Azure blob as intermediary for Persist Target checkbox will become available if the target connection is Azure DW. Selecting this option will speed up the loading of data into the Azure DW via an Azure blob (as recommended by Mircrosoft).
Tip: Azure blob as intermediary is not only applied to Persist tasks, it can also applied to Data Migration tasks.
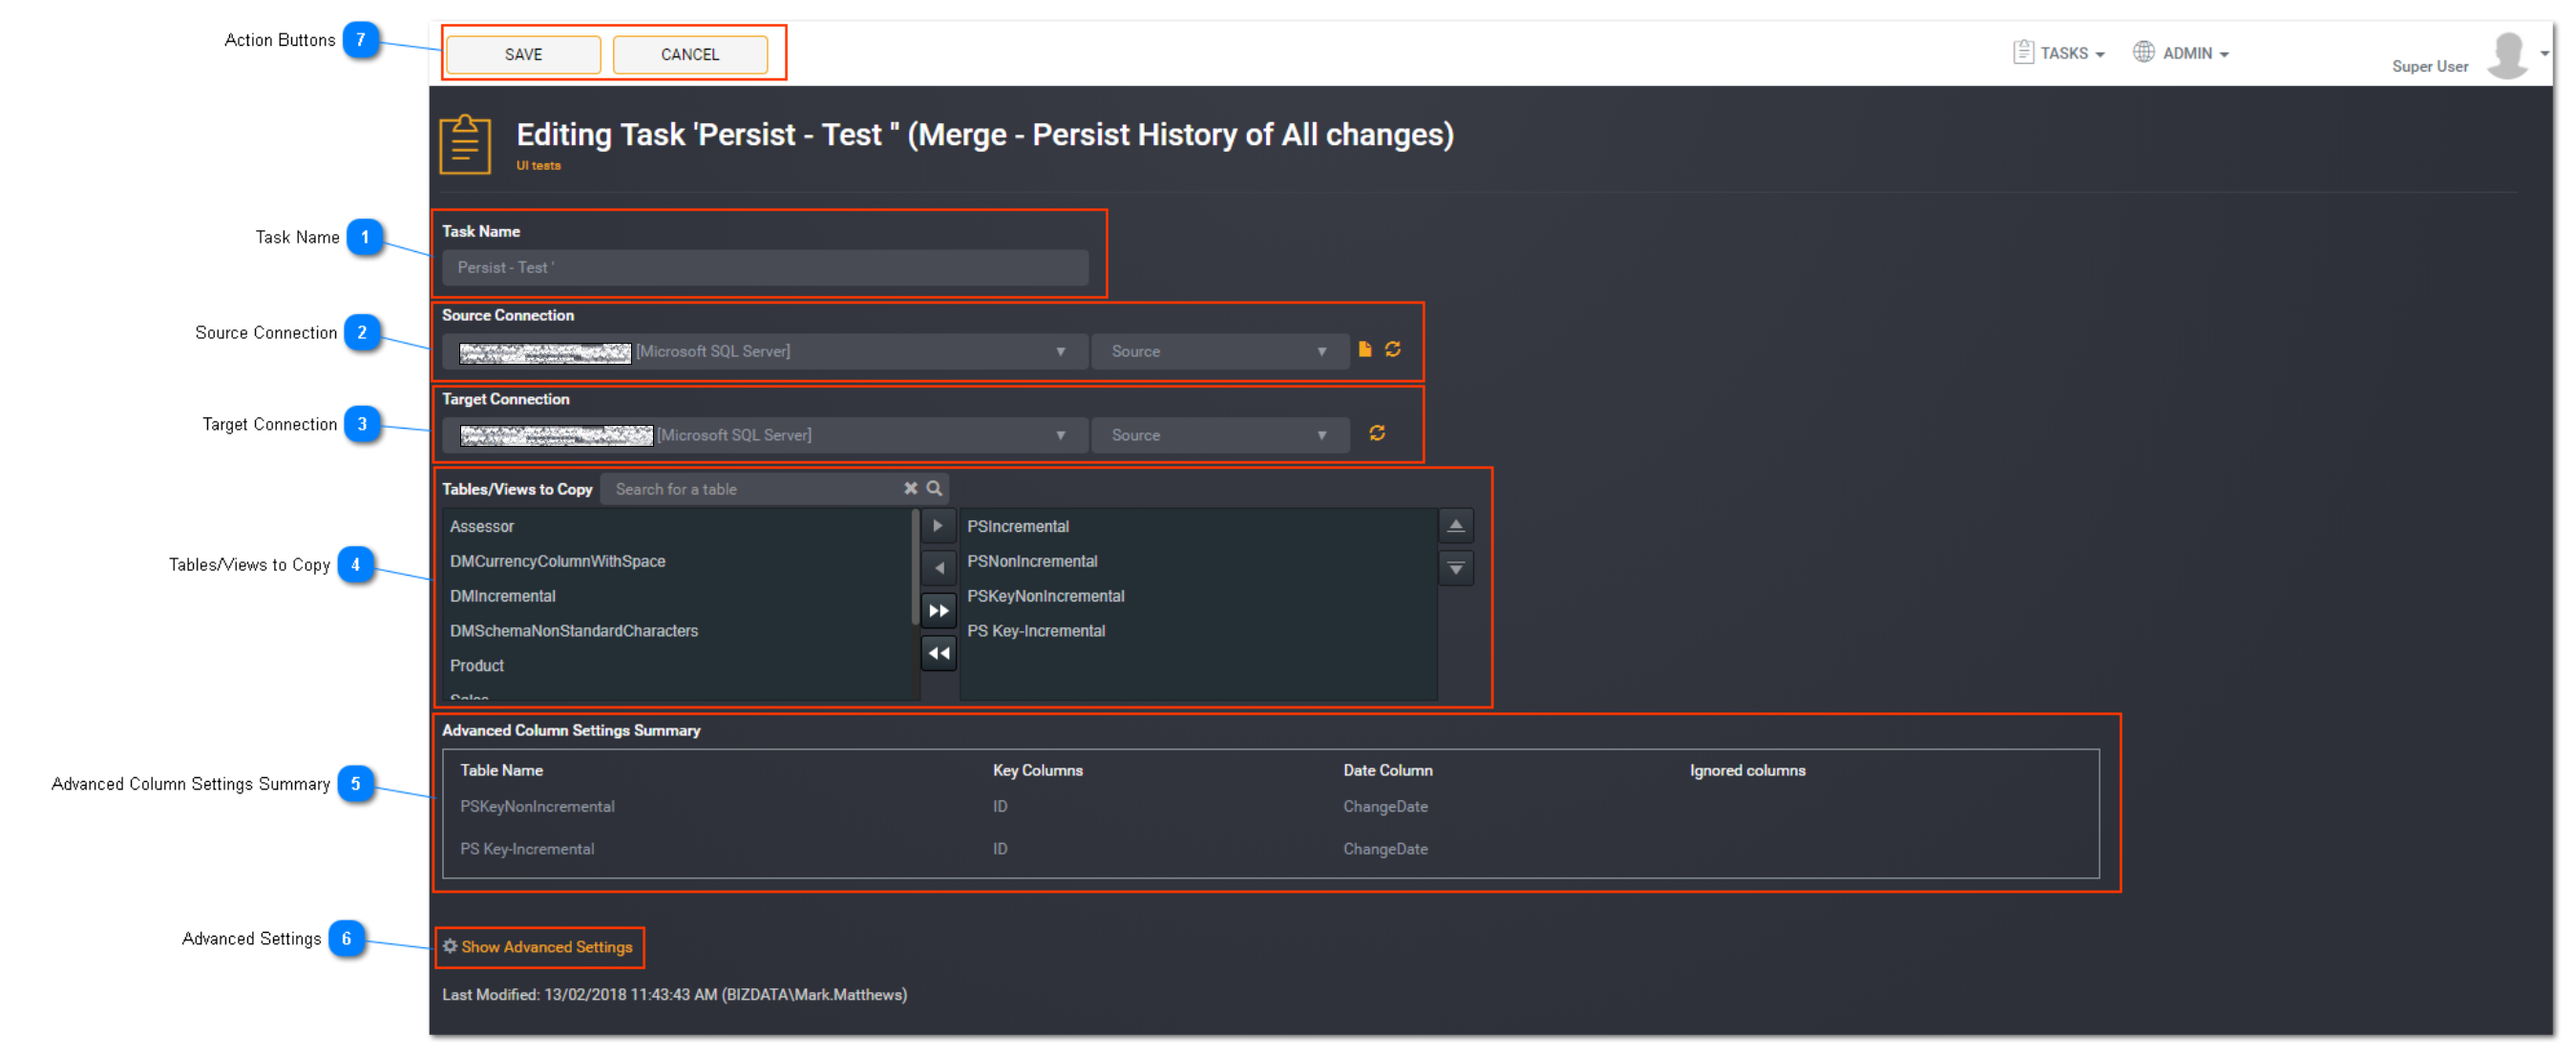
Tables/Views to Copy
Select the tables you want to copy by selecting them from the box on the left hand side and move them across with the arrows to the box right hand side. The tables listed on the left will be based on the selected source connection and source schema. You can reorder the tables to copy if they have dependencies using the up and down arrows on the side of the right hand side box.
You can choose to check the Copy All box if you would like to copy all of the tables in the database across to the target destination.
Advanced Column Settings Summary
With a Persist task, users can choose which columns within a table/view they want to include, ignore, or define as a key column.
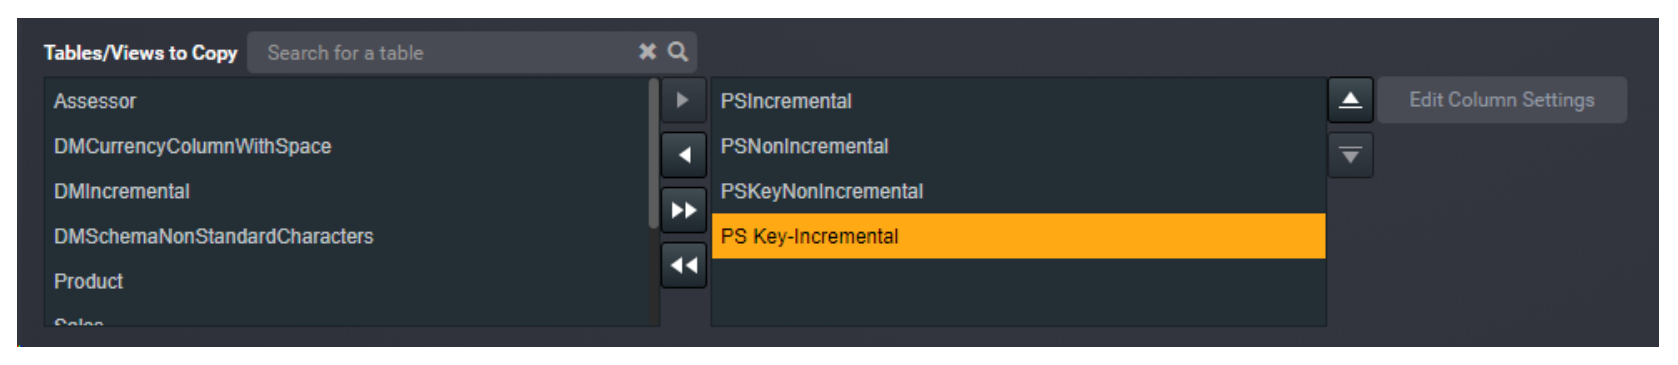
On the list of tables to copy, click on the table name for more options. Click Edit Column Settings
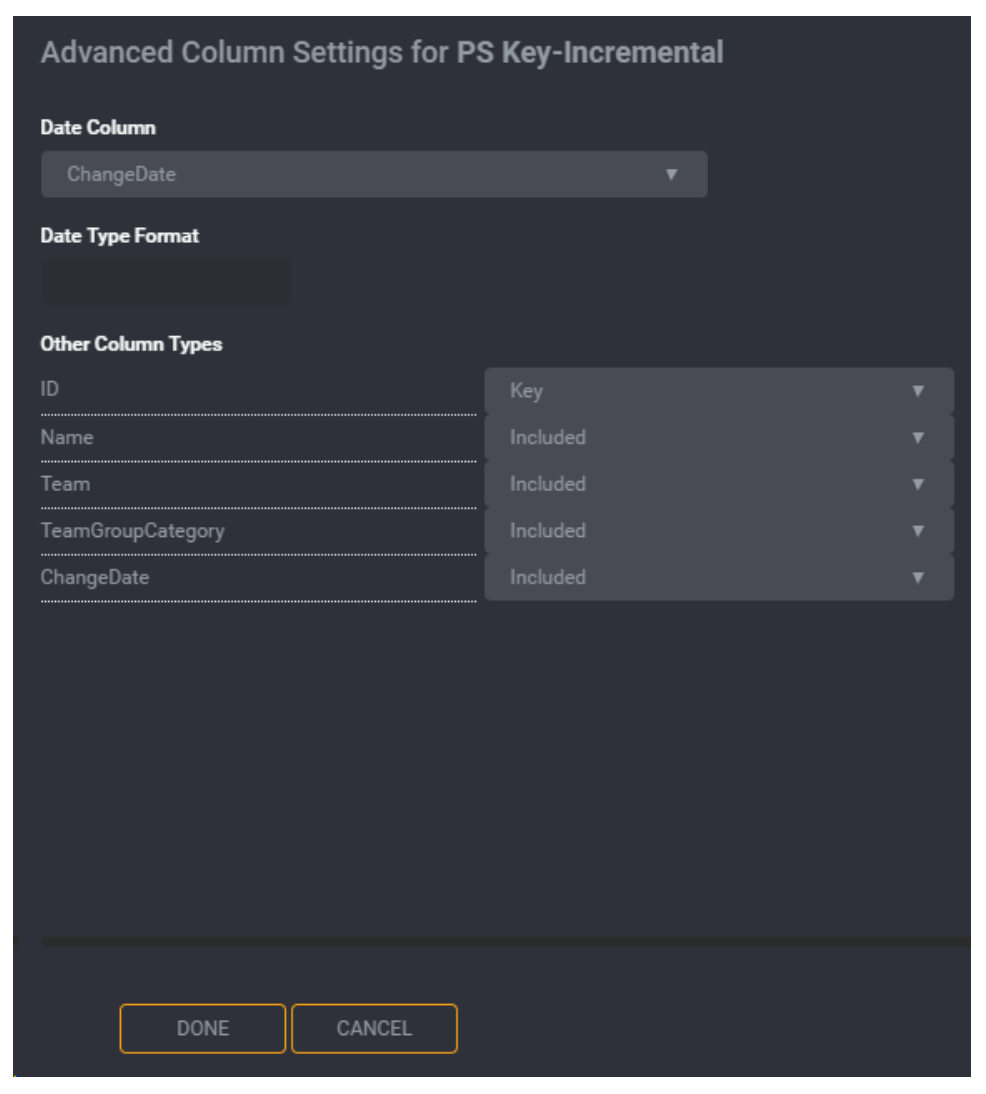
A list of column names for the table will display. Use the drop down to select whether to you want to include, ignore, or mark a column as a key. Click Done to save.
Note: Key columns are mandatory if you are using Azure DW as target connection. The Loome Integrate job will fail if key columns are not specified.

The advanced column settings will be displayed in the summary box.
Advanced Settings
Toggle to show or hide the advance settings. Advanced settings are different for each task type.
Subject Areas:
Select Subject Areas for the task if applicable. Refer to Using a Subject Area for more information.
Logging:
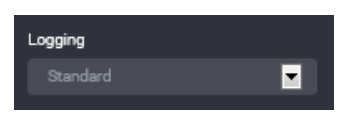
You can choose to select task logging.
Select a logging level. Logging options vary depending on the task type selected.
The available logging options for a Persist task type are:
- Standard - the default logging level as provided by Loome Integrate
- Debug - the standard logging level with additional logging to assist with investigation of issues
Tip: If you have both job logging and task logging on- when job logging is set to Standard then the task logging option will override this. Otherwise job logging will always take precedence.
Action Buttons
When you have entered all the necessary task details, click Save.

An information box will appear to confirm that the task has been successfully saved. Click Close.
Tip: New tasks are added to the bottom of the list as Enabled.