Git Repository Import
A Git Repository Import is useful when you require tracking of the changes between each sync or more formality around changes to a tenant.
Overview
Once you have connected and setup your Git repository, any changes made to jobs, tasks, their dependencies, or any other content in your tenant, can be synced to your Git repository.
When you sync, Loome Integrate will push a snapshot of your current tenant to a new branch within your Git repository. This snapshot will contain your tenant data as JSON files. Your branch names will be named by date, so it will be your tenant name followed by the date of your sync in the following format, tenant-name/yyyy.mm.dd.version.
Using branches you will be able to compare the new changes line by line, with the existing tenant.
When you or other users sync these changes, you will then be able to create pull requests that can then be approved by your administrator. This will help your administrator keep track of the changes that come through and decide on what changes will be allowed. Then, any one of these approved branches can be downloaded and uploaded to the target tenant by using our shell script.
Please find a guide here to enable and configure Continuous Integration and Continuous Deployment for Loome Integrate in Azure Devops, using Azure DevOps’ Repos and Pipelines to move changes from one tenant to another.
What is included in a sync?
The JSON file will contain the following folders, if there is any content associated with each folder in your tenant. It will not sync across empty folders.
- Jobs (This includes job details, job sequence dependencies, the sequence of its tasks and connections, file definitions, cluster definitions, task tables, task table columns and task table configurations.)
- File Definitions (This will include details such as the name and type, file path, extensions, delimiter and other details.)
- Cluster Definitions (This includes details such as the name, type and cluster configuration.)
- Python Environments (This will include details such as the environment name and path.)
Connections will not be included in this import and export. Please import and export your connections separately from the Import/Export Connections tab.
If content in your tenant has the same name as content you are updating, that existing content will be replaced with the new content that has the same name.
How do I export to Git?
First, please add your Git connection on the Connections page.
Once you have added your Git connection, please click on Import/Export from the settings dropdown.
On the Import/Export page, please click on Export to Git.
Here you will find a dropdown that will display your added Git connections.
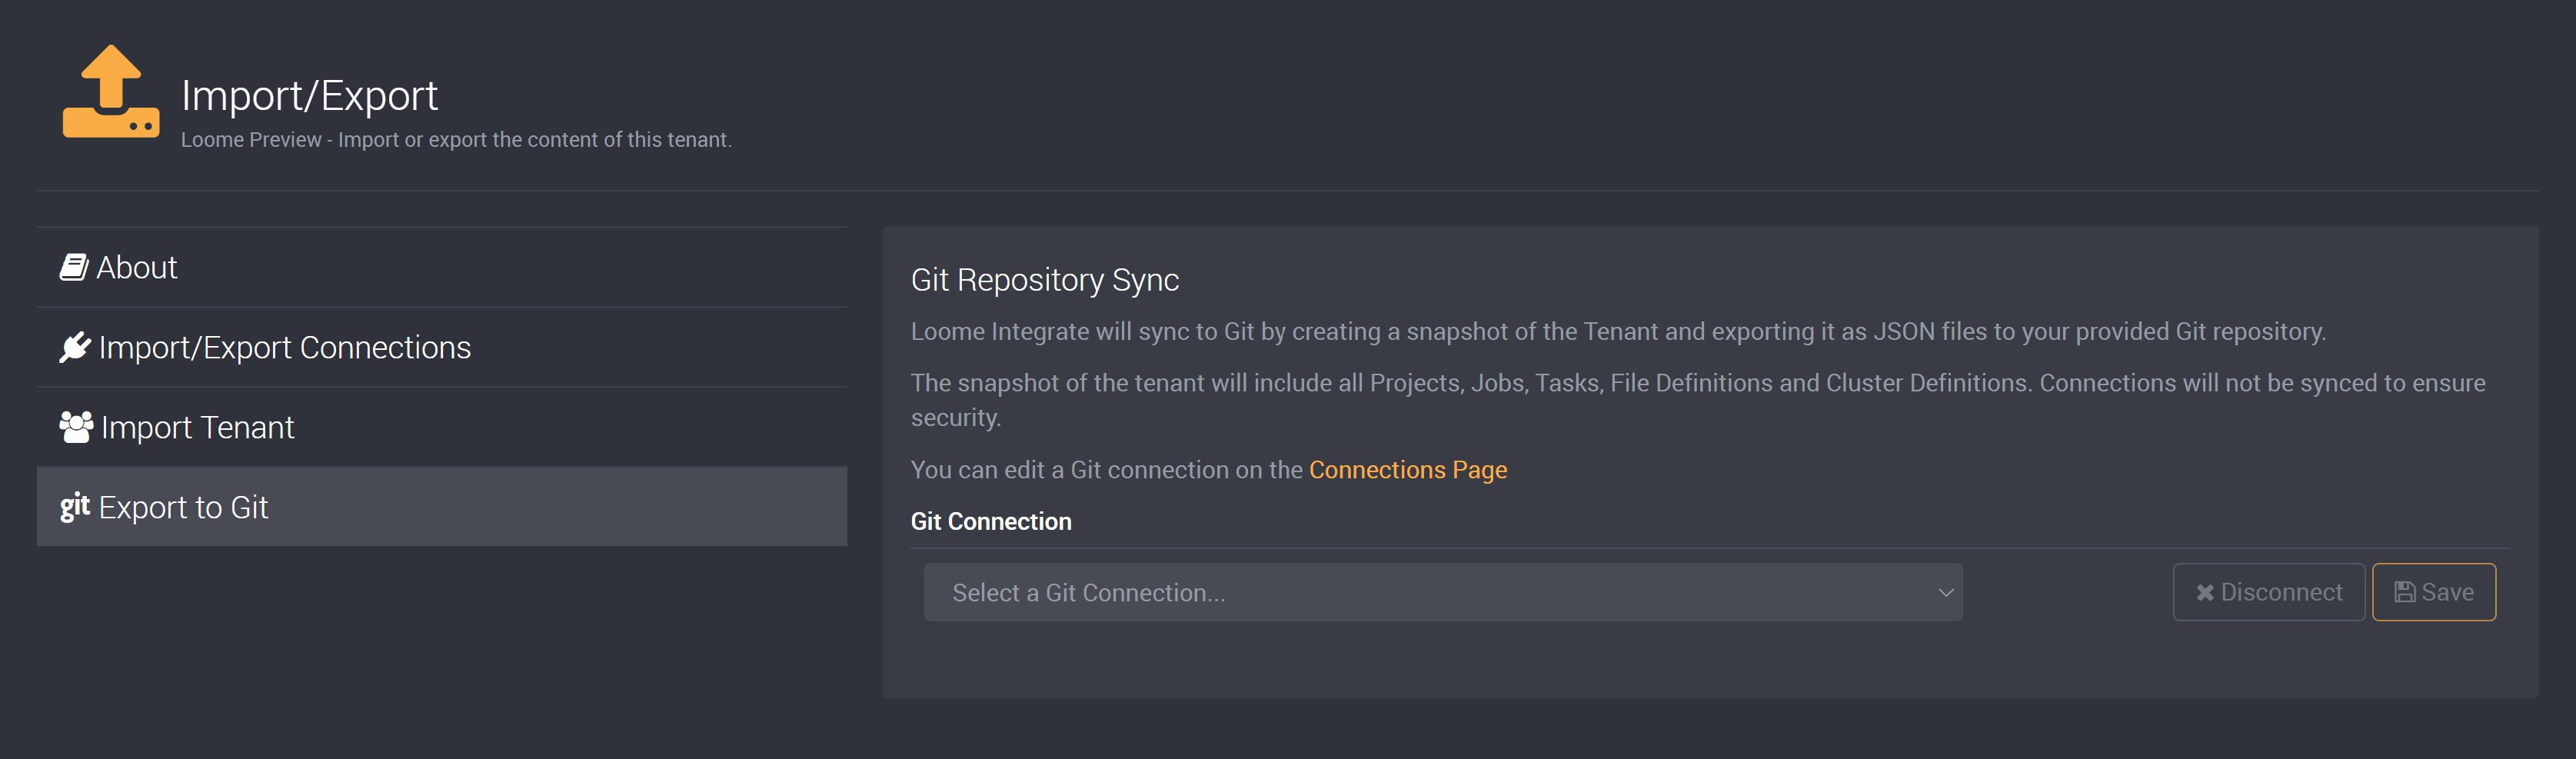
Please select the Git connection that you would like to sync to.
Save your selection.
If there are any changes in the tenant that can be synced to Git, there will be a yellow dot beside a project name, and the Sync Changes button will appear on the menu bar beside your tenant name.
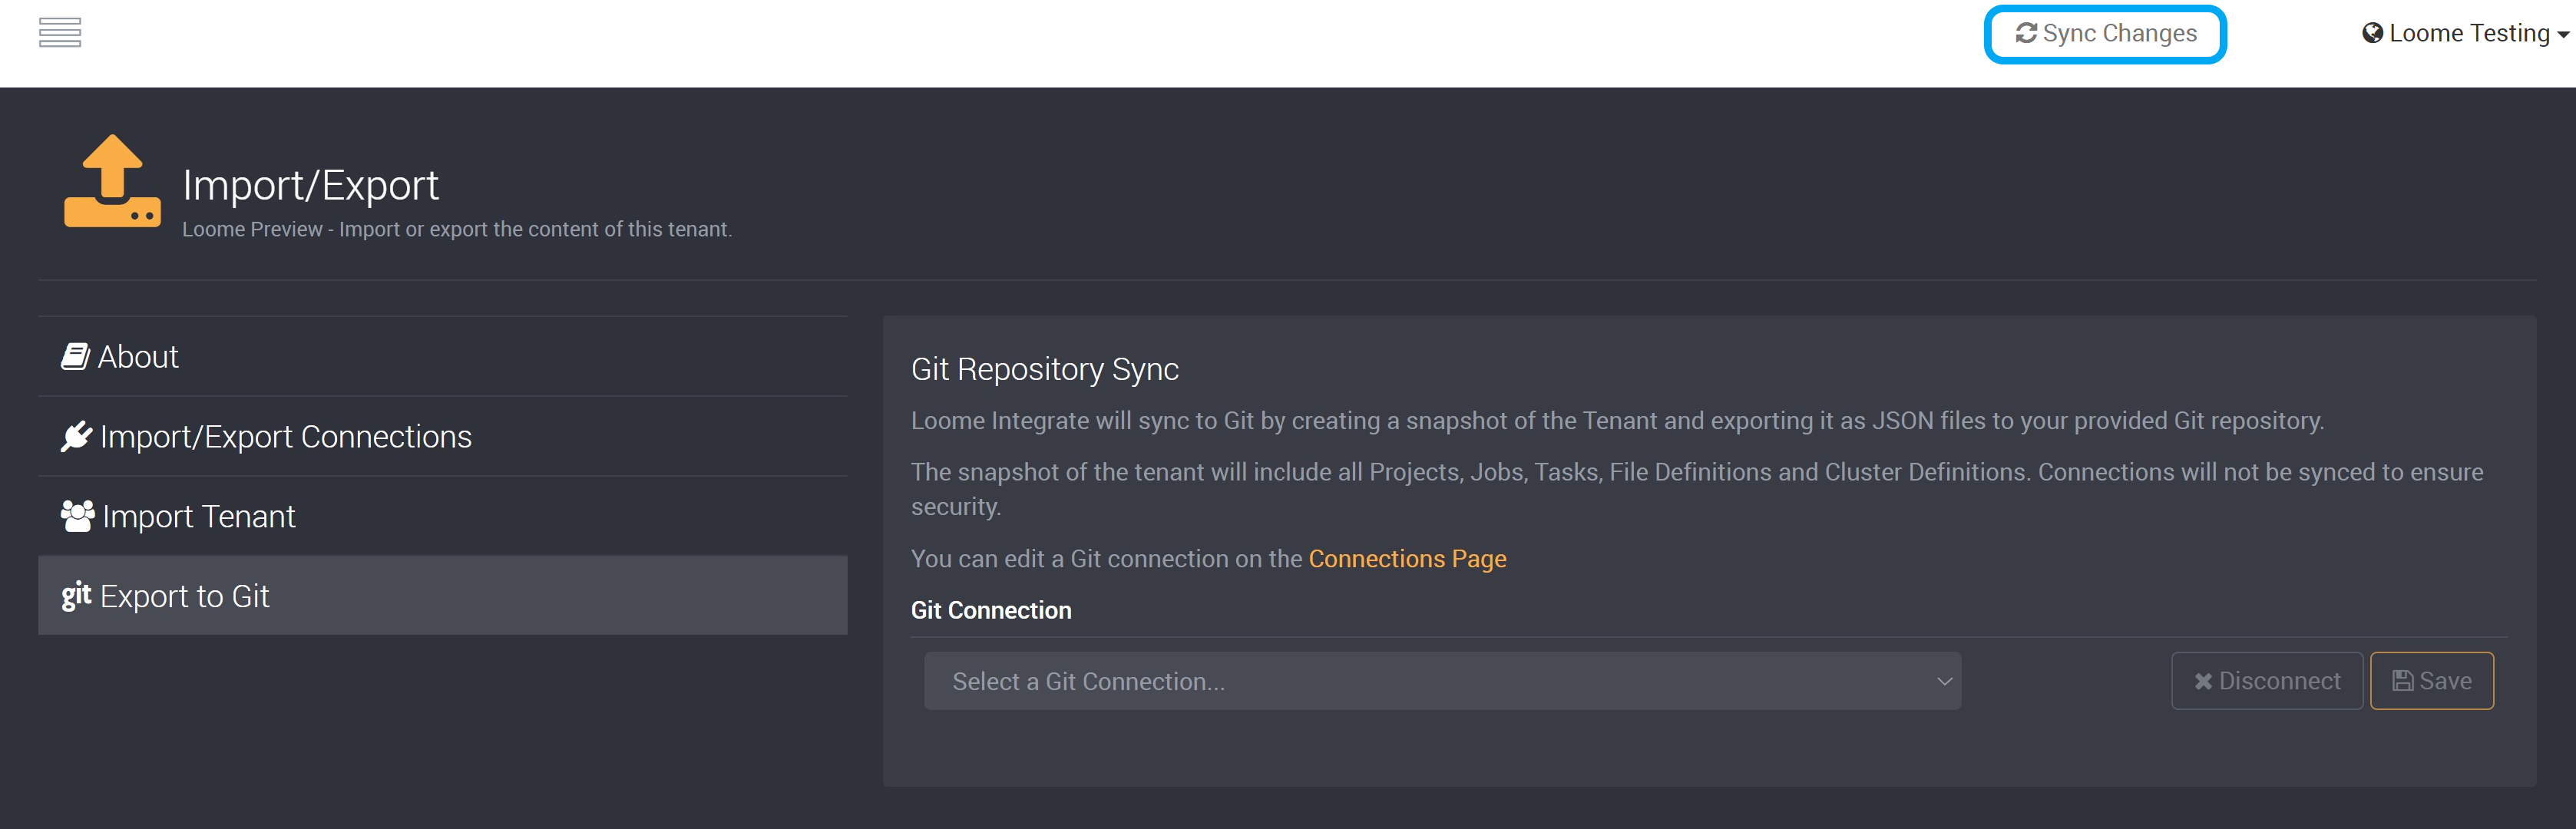
Click Sync Changes. This will push a snapshot of the current tenant to the Git repository you selected earlier.
Go to the Git repository, and here you can compare the newly created branch with the master branch.
You can next create a pull request.
Your administrator will review your pull request and can decide on whether they will merge this branch with the master branch.
Please read a guide with further detail on how to sync to Git using Azure DevOps here.
How do I export a tenant snapshot from a Git branch to a tenant?
If the connections required for those tasks do not exist in the target tenant, download the connection JSON file from the source tenant.
Then import these downloaded connections to the target tenant by uploading the downloaded json file on the Import/Export Connections page. These newly added connections will not be imported with their credentials. This is so that we keep your passwords secure. If your connections require credentials, please enter these on the Connections page in order to use these connections.
The tenant can be imported from the Git repository through the Integrate API and we have detailed how to run an import here.
I can’t see any yellow indicators for changes to my project even when I have updated a project?
On the Import/Export page in the Export to Git tab, please make sure that you have saved your selected Git repository connection. The yellow indicators for changes to your projects and the Sync Changes button will only display when a Git connection is selected and saved.
Commit your changes to Git
It is very often that we make changes to jobs, tasks, dependencies and more. When we make these changes it’s great to keep track of what has changed. In Loome Integrate you can commit these changes to Git and push to a separate branch every time you sync your tenant. Continue reading to learn how to achieve this in Loome Integrate.
Select a Git connection on the Import/Export page in the Export to Git tab. This can be done only by a Group Admin.
We can either select an existing Git connection on this page or you can create a new connection for this purpose from the Connections page and then return to this page to select this new Git connection.
Select and save your preferred Git connection.
If you have made any changes to a job, task or dependency, the project with that corresponding change will appear with a yellow dot beside it in the navigation bar to indicate that there has been a change. You will also be able to observe a ‘Sync changes’ button at the top of the page in the menu bar.
When you are ready to commit your changes, please click on the ‘Sync Changes’ button.
You will be asked to confirm that you will like to sync and will be informed that these changes will be pushed to a new branch and the process will run in the background. The status will update to ‘Syncing changes…’.
Once the syncing process is complete, a notification will let you know that it is complete and the ‘Sync changes’ button will disappear along with the yellow dots beside projects as all these changes have been committed.
When you open your Git repository you will see a newly created branch. The branch name will be in the format of tenant-name/yyyy.mm.dd.version. You can now use this branch to compare with any of your other branches.