Azure Blob Storage
Introduction
Azure Blob storage is a service for storing large amounts of unstructured object data, such as text or binary data, that can be accessed from anywhere in the world via HTTP or HTTPS.
Reference: https://azure.microsoft.com/en-au/services/storage/blobs/
Connection String
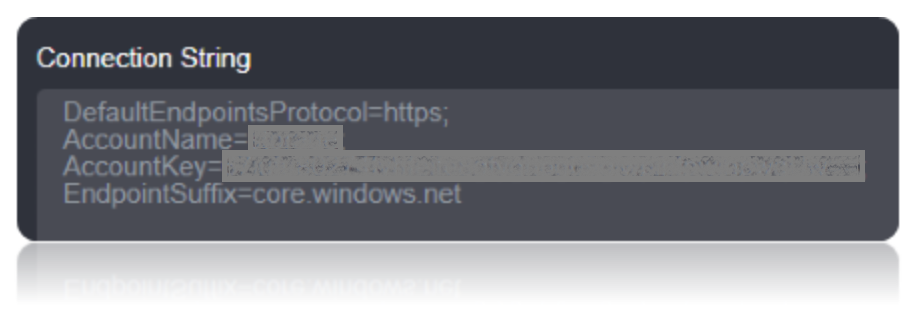
To connect to Azure Blob Storage, set the Account Name and Account Key property. Additionally, set the DefaultEndpointsProtocol and EndpointSuffix.

Connection String Parameters
| Parameter | Description |
|---|---|
DefaultEndpointsProtocol |
Set this to the default endpoint protocol mentioned in the account settings. |
AccountName |
Set this to the account name of the azure account. |
AccountKey |
Set this to the account key mentioned in the account settings. |
EndpointSuffix |
Set this to the EndPointSuffix mentioned in the acoount. |
Connecting to Azure Blob Connector
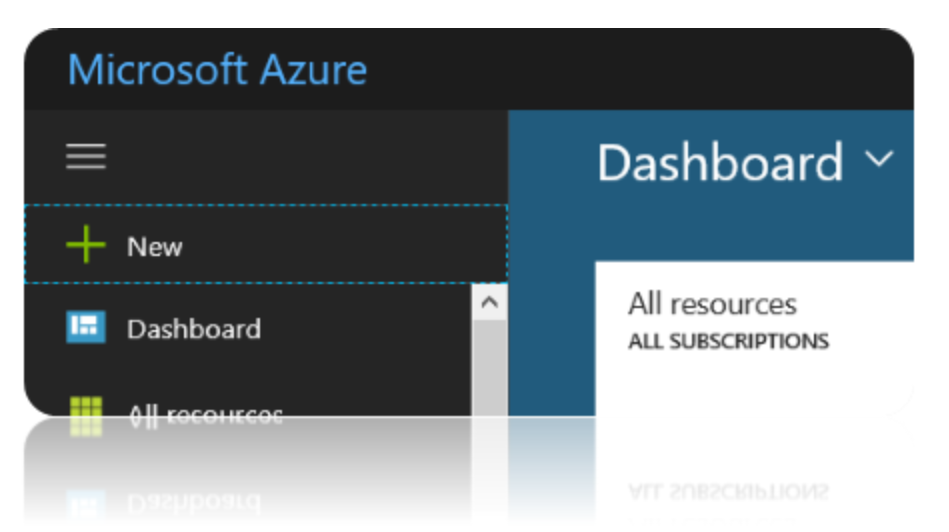
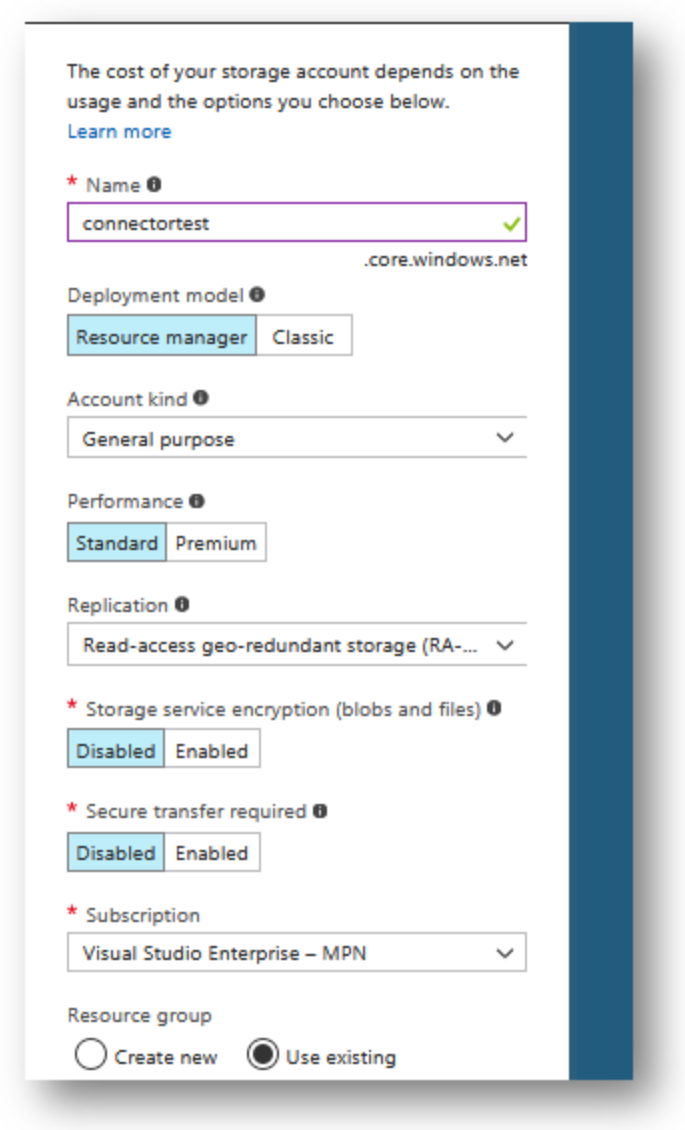
Open the Azure Portal (https://portal.azure.com) and sign in. Click the plus icon on the left of your dashboard.
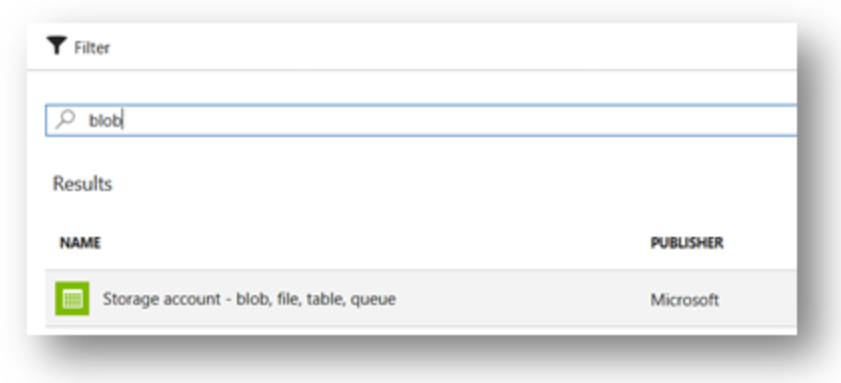
Search for blob storage and select a new storage account app type.
Go through the process of setting up the app, including creating an azure resource group and subscription, to assign to it.
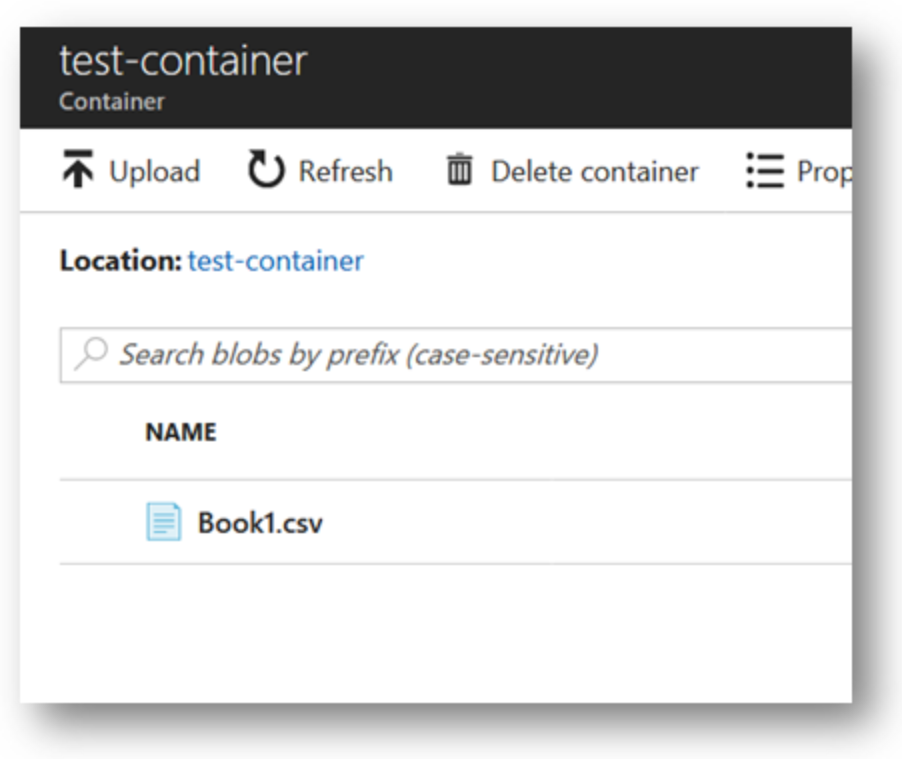
Once the creation process is fully finished, add your files to a container in your storage app. A .CSV file sample is included for this tutorial.
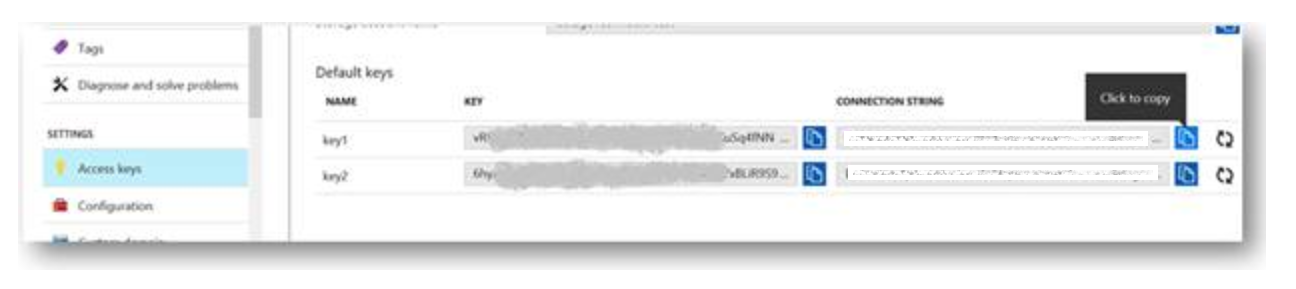
Go to the access keys section of your app. You should see a connection string you can copy.
Data Migration
In order for you to make a migration for azure blob storage, you need to make a file definition. The point of the definition file is to allow only a specific kind of file be queried against your azure app.
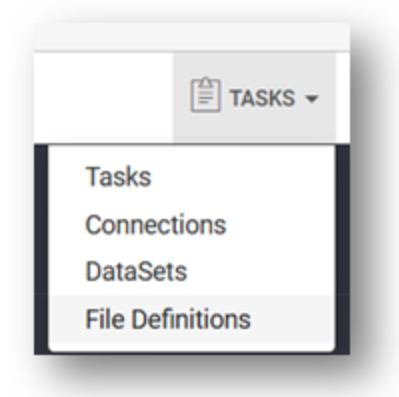
Click Tasks on the top right of Loome Integrate. It will produce a drop down. From it, select File Definitions.
Click Add new file definition and on the resulting form, set the File definition type to Azure blob folder. Set the path to the name of the container in your azure app you wish to query. The delimiter box lets you determine what will be the text pattern individuating each value in your blob documents. For example, a common delimiter is a tab. The Extension box lets you determine what file type the query will look for in your storage. For example, .CSV comma separated values file is popular with azure storage
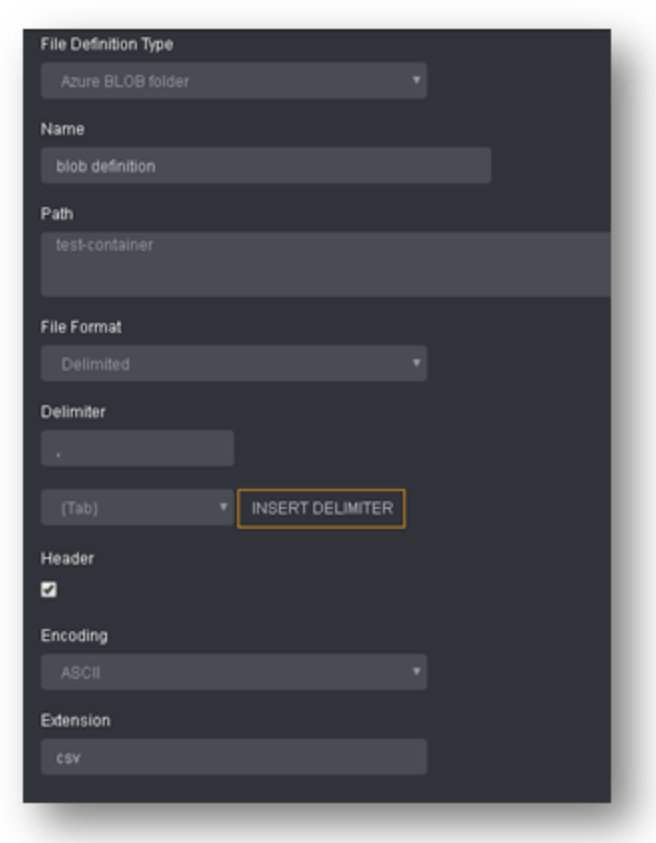
Now click Verify File Definition at the bottom of the form and submit.

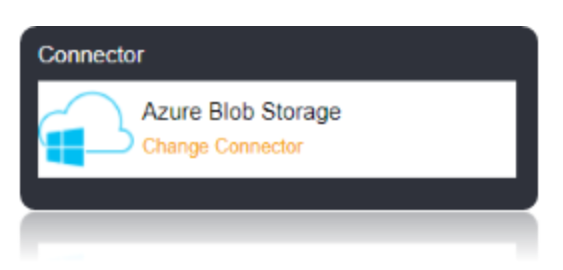
Using the connection created, verify the connection using Verify Connection option. Once the connection is verified, insert the connection using the Insert option.

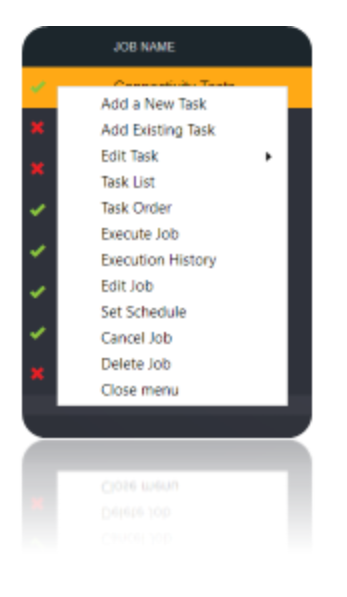
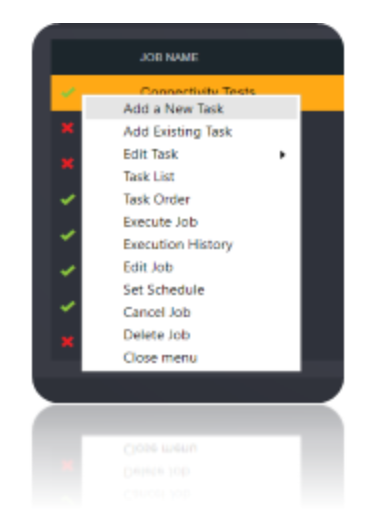
Create a new job using Add a Job option in Loome Integrate. Add a data migration task to the job.

Create a new task by right clicking job list and then Add a New Task option. If you want to edit an existing task use the Edit Task option.
Choose a Data Migration task.
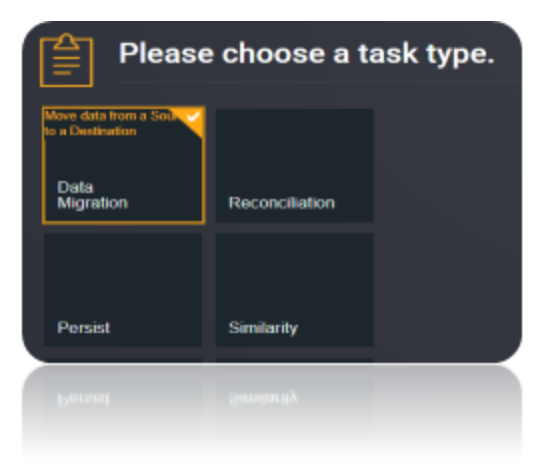
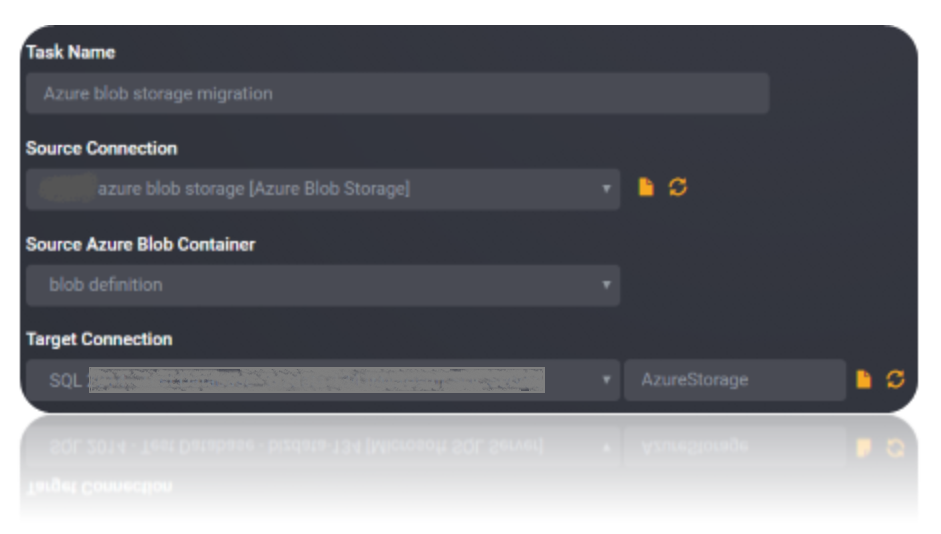
Choose the source and the destination for the migration of data. Name the task.
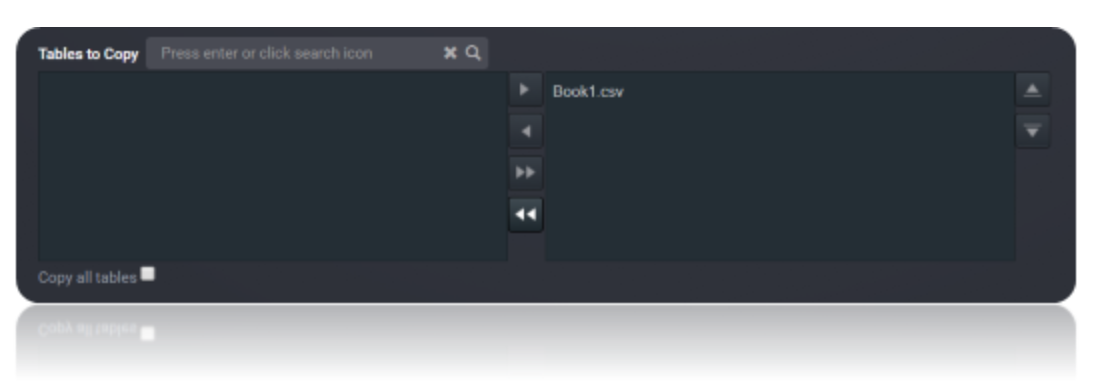
Choose the tables or the data that need to be migrated from the source to the destination. You can choose to copy all tables from the source by checking the Copy All Tables checkbox. Save the task.
Execute the job. Check for results and the details of the data migrated in Execution History.