Oracle ODBC on Containers
Open Database Connectivity (ODBC) allows Loome Integrate to connect to data sources which Loome has not yet built first party support for.
In this guide, we’ll be setting up an ODBC Connection to an Oracle Database using a Loome Agent hosted on Azure Container Instances.
If you’d like to learn more about ODBC on Linux/Docker in general, read more at the Using ODBC with Linux/Containers page.
After completing this setup guide, you’ll have the following:
- A Loome Agent on Azure Container Instances with access to an Azure File Share for sourcing Oracle TNS Names and persisting files.
- An example ODBC Data Source Name (DSN) configured within the Azure Container Instance.
- A Loome Integrate ODBC connection to the ODBC DSN.
- A greater understanding of Azure Container Instances and ODBC on Linux based platforms.
This guide assumes you have the ability to create and manage resources on Microsoft Azure. If you don’t have these permissions you should contact an administrator to either help with the setup or provide you sufficient permissions to complete this setup guide.
Setting up the Azure File Share
First we will create an Azure File Share to attach to the container instance. Azure Container Instances do not persist any changes made to them after they are restarted, so we need to source external configuration and files from a file share. We could temporarily keep our Oracle TNSNames inside the container and then reload them into the container on restart, however for the purposes of reliability we’ll be following best practice here.
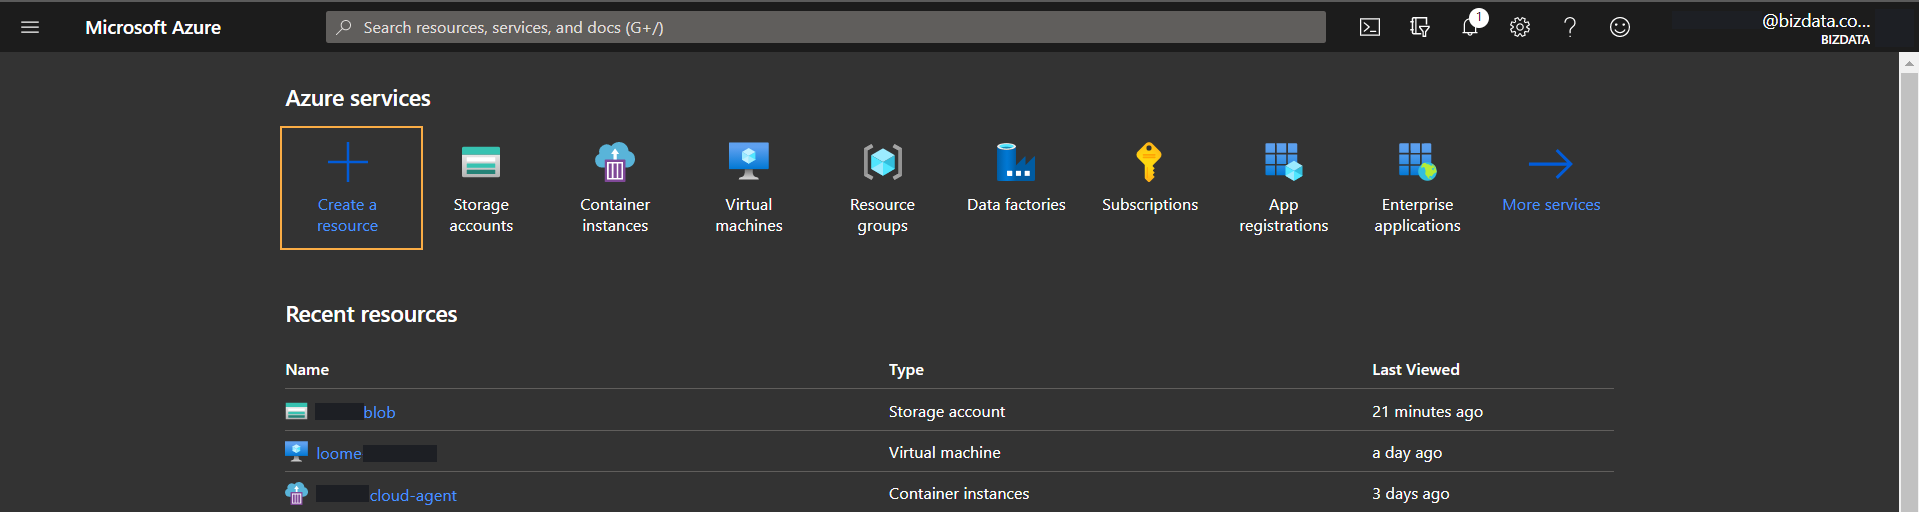
Firstly, navigate to the Azure Portal and select “Create a resource”.
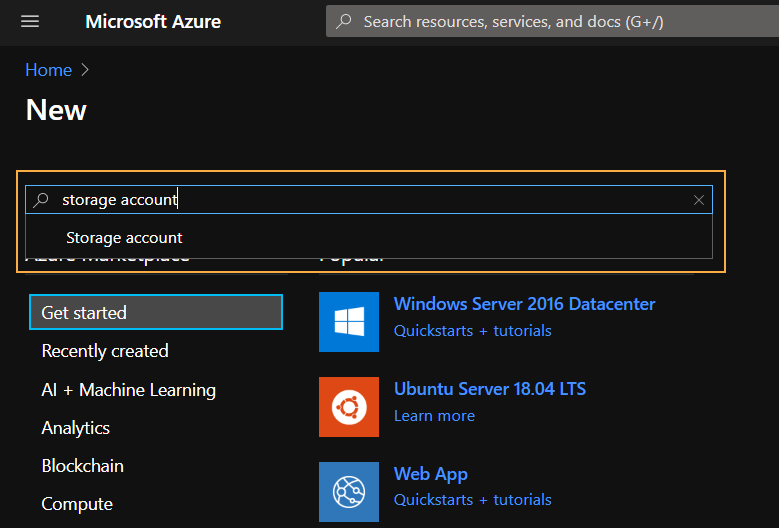
On the next page, filter by “storage account” and select the only option that appears.
For this setup guide I’ll be creating a new resource group called oracle-example, providing the name and region before jumping straight to the “Review + create” screen.
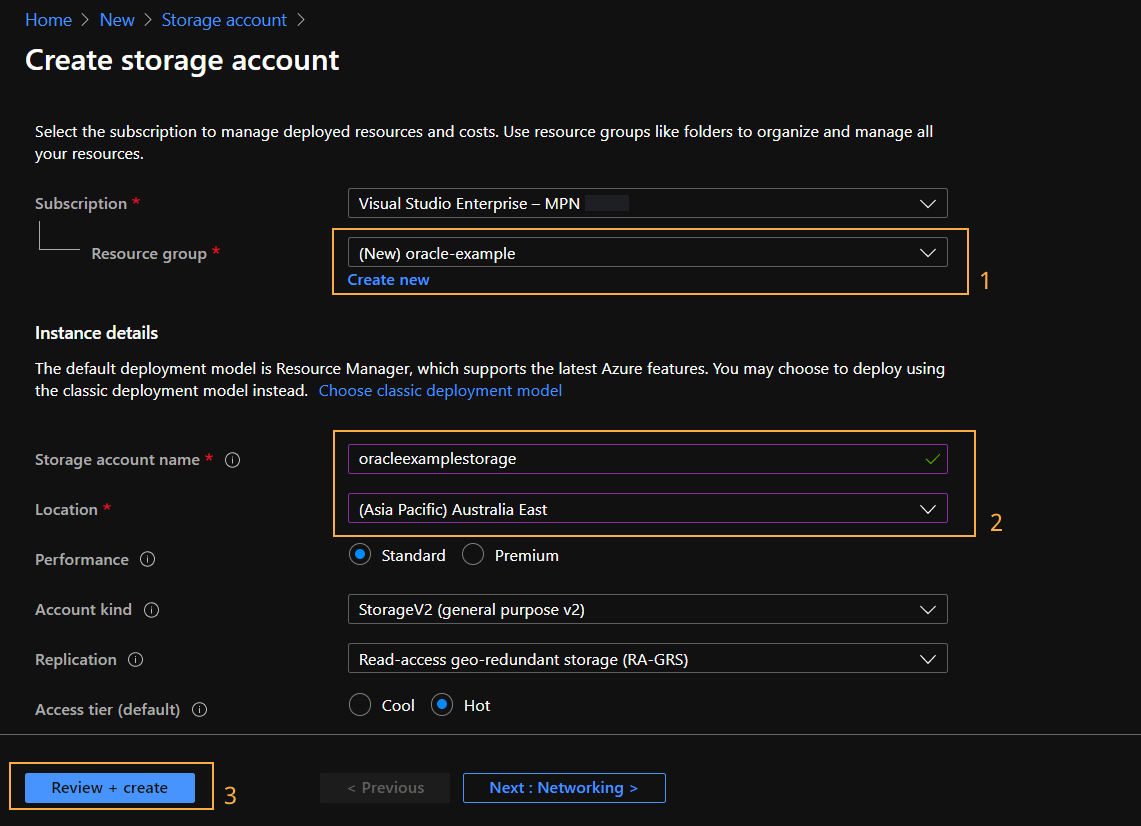
Confirm the creation of the storage account and Azure will create the resource and notify you when its ready.
Navigate to the Storage Account and click “File Shares”.
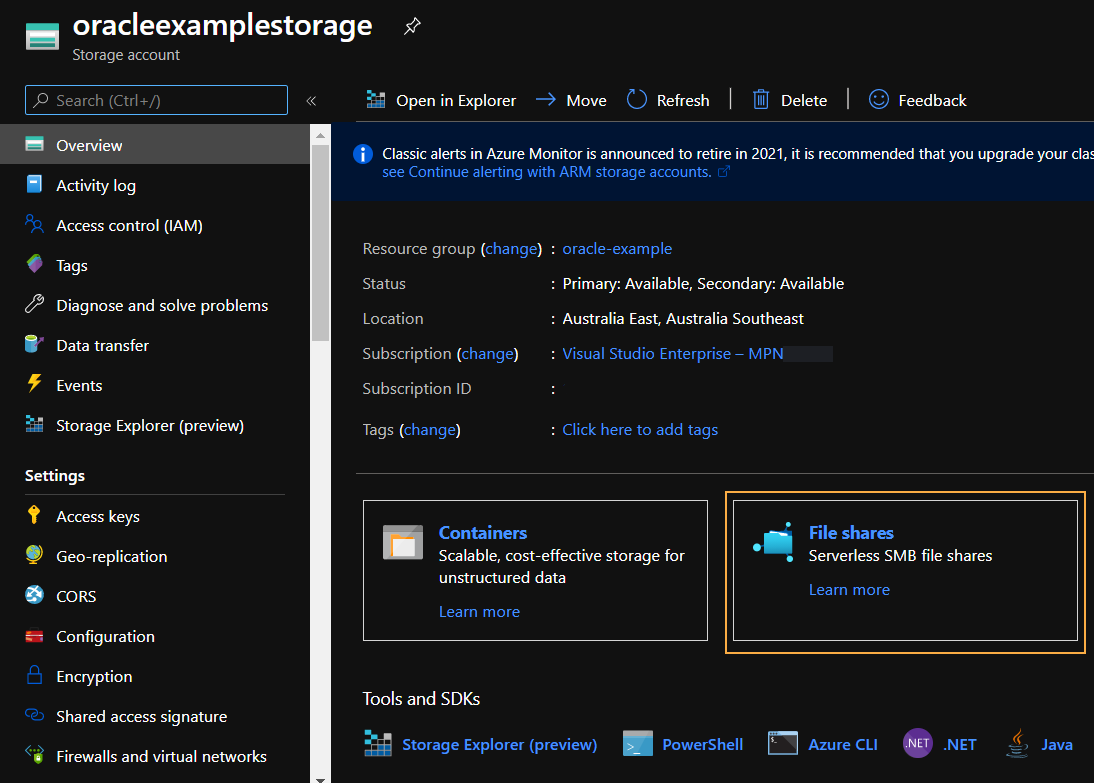
On the file share list, click new and provide a unique name for the file share. Once you’ve submitted this form you’ve successfully created a file share to mount to your agent.
Setting up the Agent
The Loome Agent is the component in Loome Integrate which facilitates all data operations and access. Deploying the agent to Azure Container instances is easily done through running a generated command using the Azure Cloud Shell.
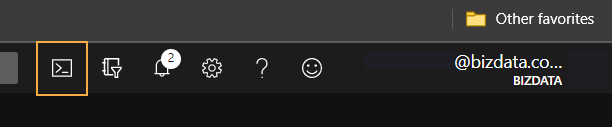
To setup the Azure Cloud shell, click the cloud shell icon in the top right hand corner of the Azure Portal and follow the setup guide on screen. This will create a storage account for the cloud shell which is used for saving configuration.
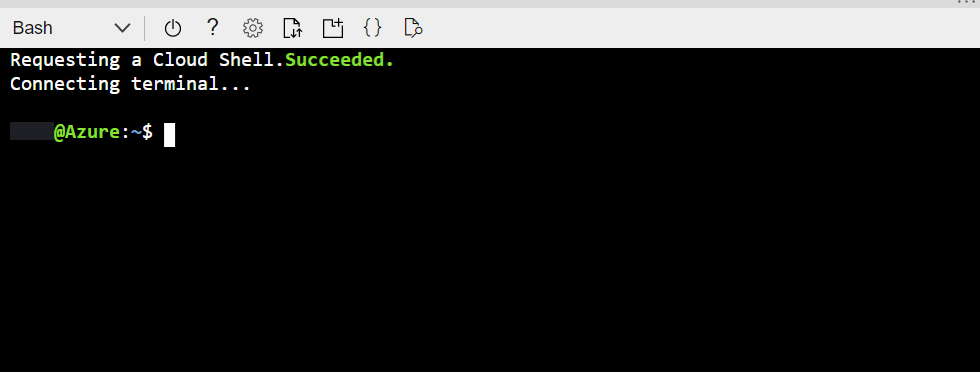
When prompted to use Powershell or Bash, select Bash. You’ll know you’re ready to go when you see a shell like this appear at the bottom of your Azure portal window.
Once you have the cloud shell ready, in a new tab navigate to Loome Integrate. From the top right drop down, select “Agents”.
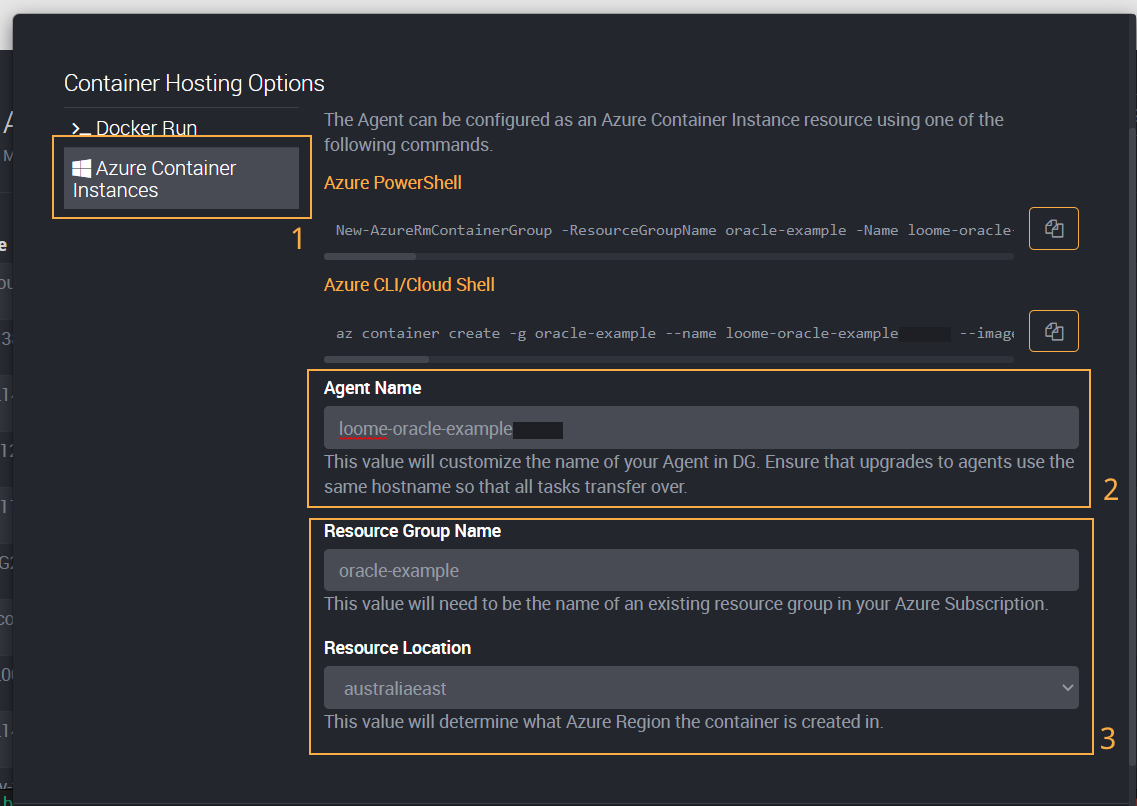
On the Agents page, select “Setup Agent” and select “Next Steps for Containers”. From this screen, make sure to select “Azure Container Instances” (1). For the Agent Name (2) make sure to provide something unique as it will be used in Integrate to identity for the agent in tasks. For the resource group name and location (3) I’m going to use the same values I used for setting up my storage account.
Once these values have been provided, copy the Azure CLI command and paste it into a text editor of your choice. Whilst we could paste this script into the Azure CLI as is and have a container instance ready we still need to provide some additional configuration to mount the Azure File Share from before. These options are in the format of the following:
--azure-file-volume-account-name AZURE_STORAGE_ACCOUNT_NAME --azure-file-volume-account-key AZURE_STORAGE_ACCOUNT_KEY --azure-file-volume-share-name AZURE_FILE_SHARE_NAME --azure-file-volume-mount-path AZURE_STORAGE_MOUNT_PATH
Retrieving the storage account values
We need to replace the values in the provided script above with values from the Azure Portal.
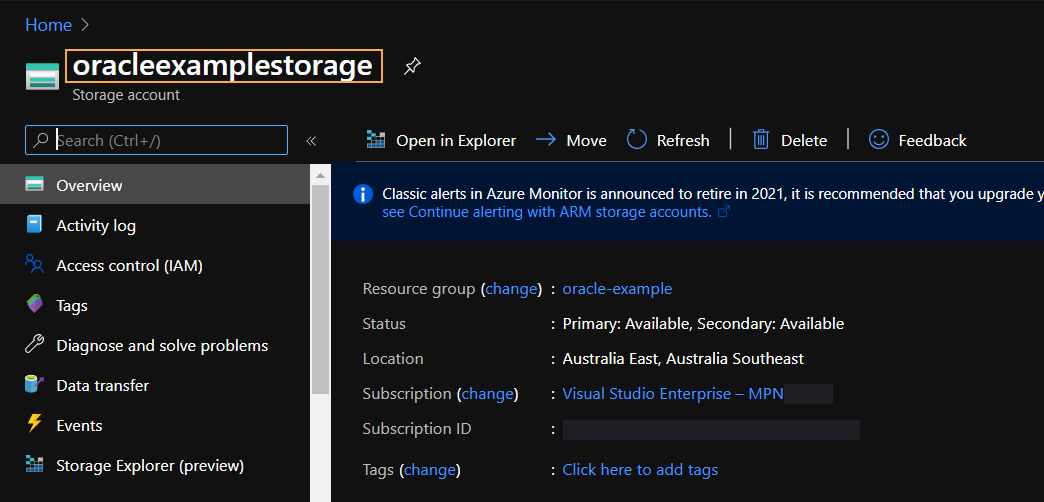
AZURE_STORAGE_ACCOUNT_NAME
This is the name of the storage account, in this setup the value I used was oracleexample and it can easily be found
by opening the resource on Azure.
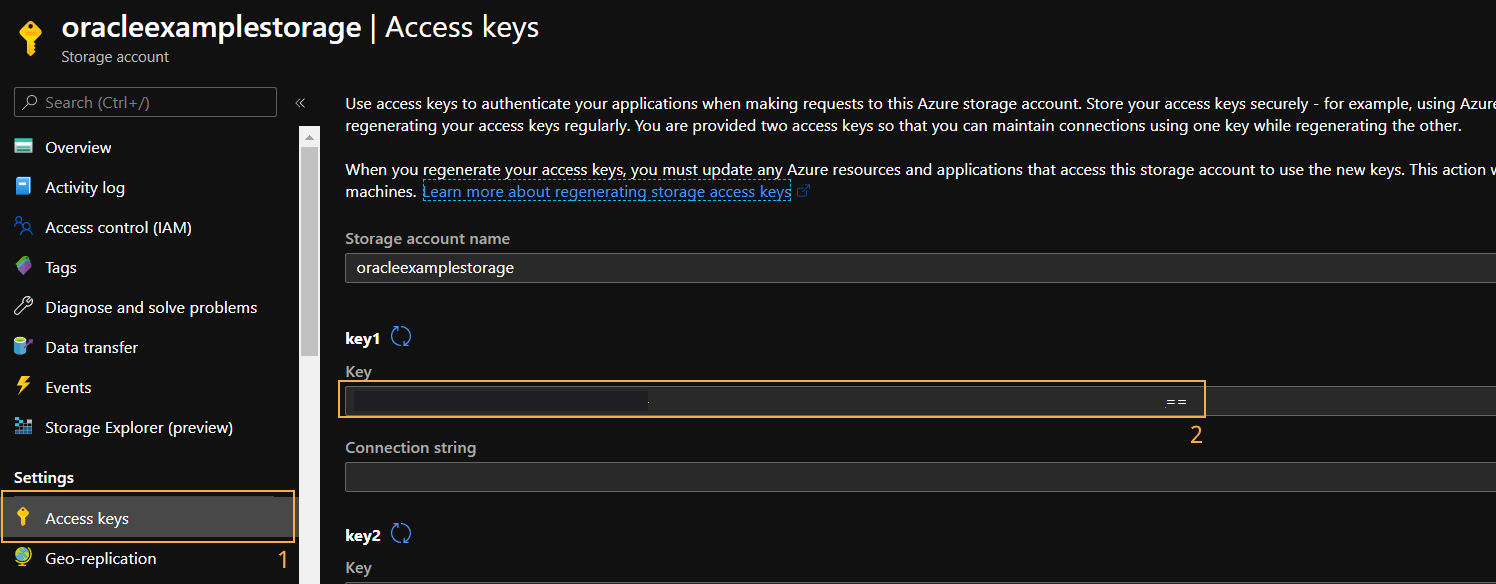
AZURE_STORAGE_ACCOUNT_KEY
Azure Storage accounts have 2 access keys which are used for securely accessing the storage resources. To access these, select “Access Keys” from the storage accounts home page and then copy the first key available.
AZURE_FILE_SHARE_NAME
When you created your Azure File Share you had to provide a name for the share itself. This is the value you will substitute for the AZURE_FILE_SHARE_NAME. For this example I used oracle-file-share as the name.
AZURE_STORAGE_MOUNT_PATH
The mount path is unique in the sense it’s not sourced from anywhere and entirely up to you as to what value you use. This is logical folder path in the container where your Azure File Share will be mounted to.
For example, if I provided a value of /storage then the contents of oracle-file-share will be mounted to /storage and you’d
be able to list the contents of the share by running ls /storage in the container.
Putting it all together
Once you have the values, we recommend adding the additional configuration before the -e as well as adding TNS_ADMIN=/storage to
the end of the script.

The addition of the TNS_ADMIN variable means that Oracle ODBC support will know to source your tnsnames.ora file from that location.
Once the command is formatted correctly, paste it into your Azure Cloud Shell. After a few minutes you should see a success message and the agent should be available in your Loome Integrate tenant.
Creating your ODBC Connection
Installing the required dependencies
As previously mentioned, restarting an Azure Container instance will result in all previous changes to the container being wiped. You will need to run this script.
export DEBIAN_FRONTEND=noninteractive
# Install Dependencies
echo "Installing Dependencies..."
apt-get install -y wget > /dev/null
apt-get install -y unzip > /dev/null
apt-get install -y alien > /dev/null
apt-get install -y libaio1 > /dev/null

# Download Oracle
echo "Dependencies installed! Configuring Oracle ODBC..."
wget --quiet https://download.oracle.com/otn_software/linux/instantclient/19600/oracle-instantclient19.6-basic-19.6.0.0.0-1.x86_64.rpm -O oracle-basic.rpm > /dev/null
wget --quiet https://download.oracle.com/otn_software/linux/instantclient/19600/oracle-instantclient19.6-sqlplus-19.6.0.0.0-1.x86_64.rpm -O oracle-sql-plus.rpm > /dev/null
wget --quiet https://download.oracle.com/otn_software/linux/instantclient/19600/oracle-instantclient19.6-odbc-19.6.0.0.0-1.x86_64.rpm -O oracle-odbc.rpm > /dev/null
alien -i oracle-basic.rpm > /dev/null
alien -i oracle-sql-plus.rpm > /dev/null
alien -i oracle-odbc.rpm > /dev/null
echo "Oracle ODBC installed, add DSNs to /etc/odbc.ini"
There are a few ways you can run this script, we recommend creating an OS Command task which runs on that agent and invokes the script.
The OS Command task type will result in an error even if the script has ran as expected. This is due to how some of the utilities used in this script handle their output and so it should be expected that running the script as is will still install the dependencies despite it failing.
Exposing your TNS Names File
The common way of connecting to Oracle databases is by using a tnsnames.ora file. This file contains definitions for your
Oracle connections and can be used by Oracle ODBC. In an effort to make sure that your TNS records are easily accessible
from the container, we configured the container’s TNS_ADMIN variable to point to the mounted Azure File Share.
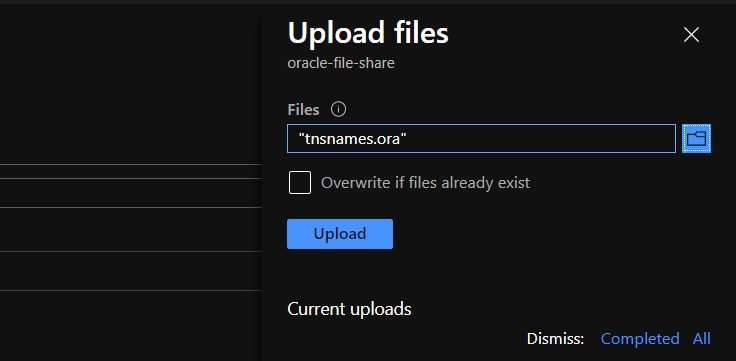
This means that if you put a tnsnames.ora file in the root of your Azure File Share, the Agent will automatically detect any changes made to the file and the configured oracle connections will be usable.
For this example, I’m going to upload my tnsnames.ora to my Azure File Share.
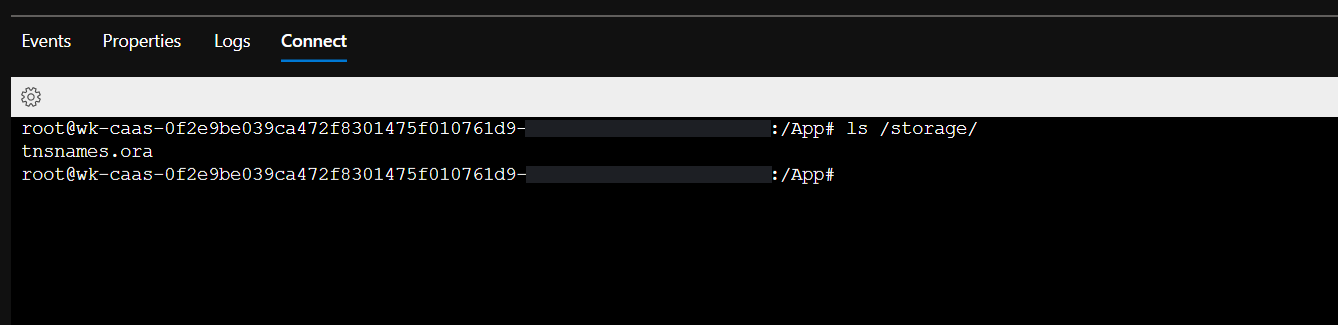
Which will make it readily available in the /storage folder of your container:
Editing your ODBC Configuration File
The file /etc/odbc.ini is where you define your ODBC DSNs. Unlike on Windows, these cannot be defined through a user interface
when working with containers so we must edit them from a command line.
We shouldn’t edit the odbc.ini file directly on the container as a restart will not persist the changes. Instead we’ll use the
mounted Azure File share in conjunction with a Loome Integrate OS Command to copy the configuration from a remote source.
For this example, I’ll be uploading an odbc.ini file with the following configuration:
[OracleDSN]
Driver = /usr/lib/oracle/19.6/client64/lib/libsqora.so.19.1
ServerName = TEST
Some things to note about this config:
- The value of OracleDSN is the DSN name itself.
- The
Driverproperty points directly to the ODBC drivers we downloaded with the setup script. - The
ServerNameproperty is the name of an entry in thetnsnames.orafile.
Upload this into the root of your Azure File Share and open up Integrate. We’re going to add another OS Command task into the same job we used to setup the ODBC drivers. This OS Command task is going to have the following script:
cp /storage/odbc.ini /etc/odbc.ini
This will explicitly copy the contents of the storage ODBC configuration and override the container’s ODBC configuration.
Combining this with the previously created setup task, your job for configuring ODBC on the agent will look something like this:
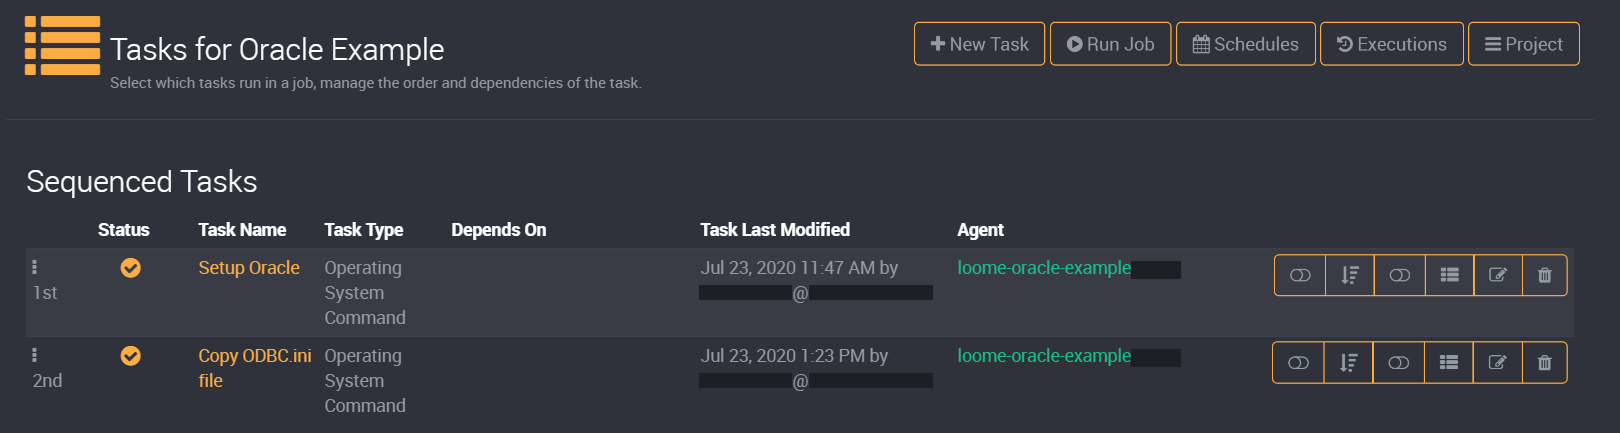
Using a Loome Integrate job is purely what we consider best practice for ensuring dependencies are installed before use. If you’d prefer to run these commands through a script directly on the container that is a valid means of ensuring dependencies are up to date.
Creating your ODBC Connection
Once this is all setup, you can create the ODBC connection as you would any other connection in Loome Integrate.
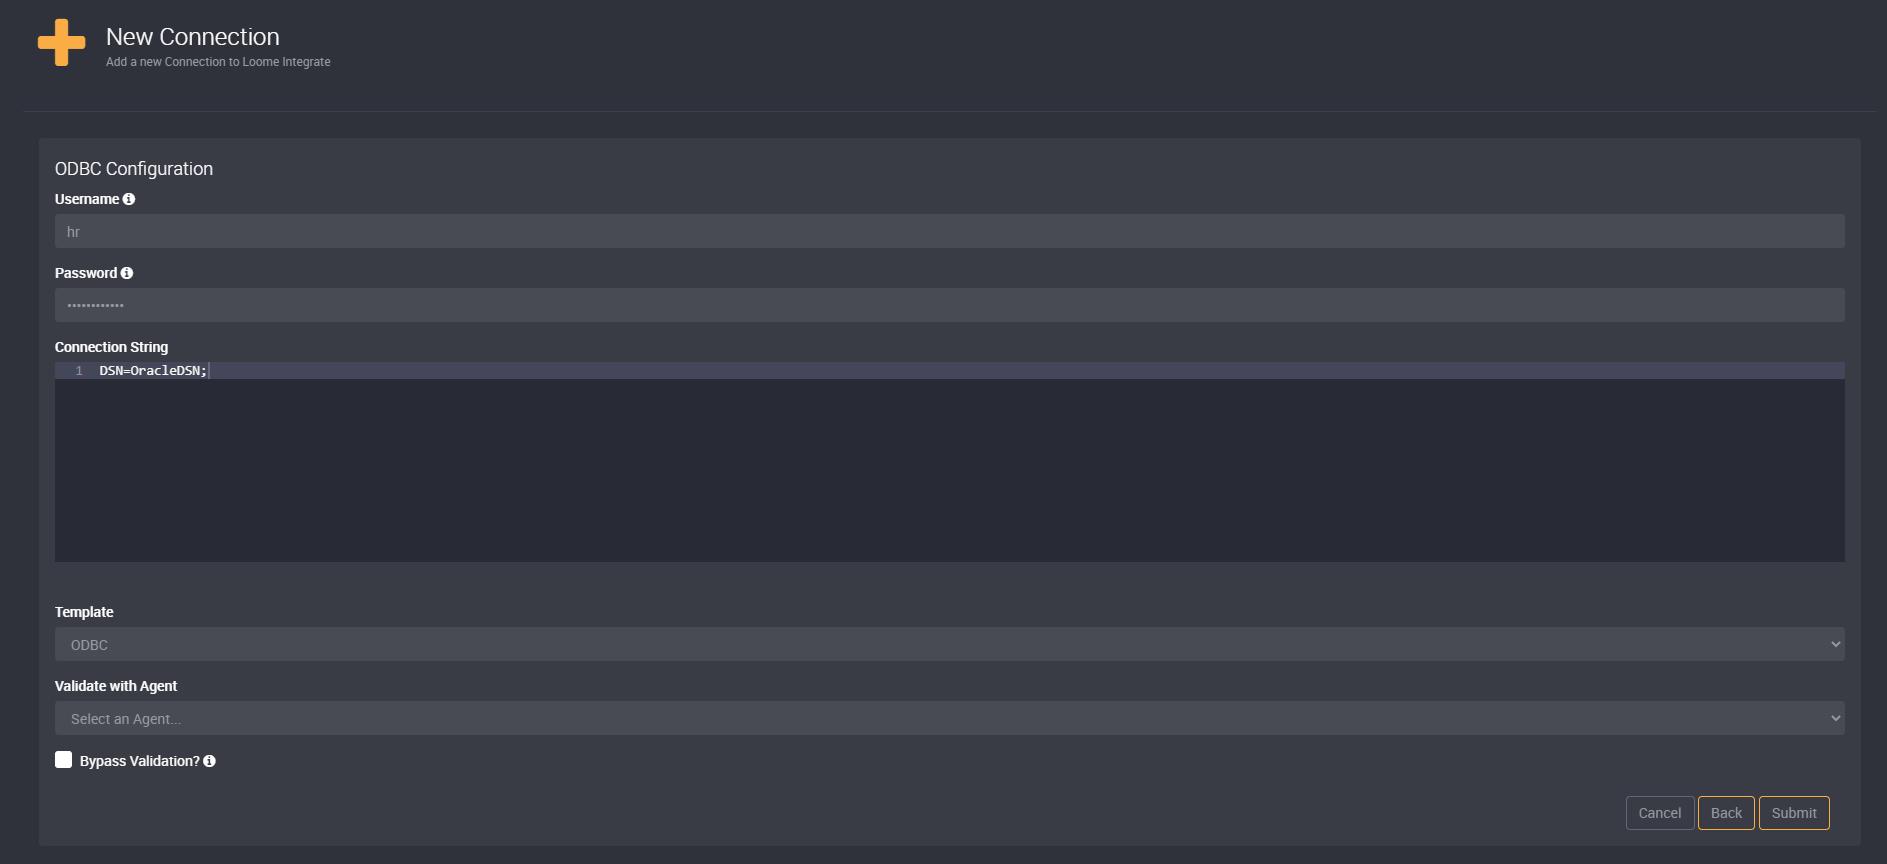
As you can see in the image above, we use the DSN name in the connection string and provide our Oracle username and password in the Loome Integrate connection itself.
Loome Integrate encrypts the connection password at rest so it is securely stored in your tennat database. Please note that Loome Integrate Agents on Linux/Container instances do not support Windows/Trusted Authentication mechanism and require the use of SQL credentials.
Once you validate the connection against your container agent, you’re ready to begin sourcing data from your Oracle data source over ODBC.