Tenant to Tenant Import
Import Tenant will import all entities from your source tenant into your target tenant (your current tenant). This will copy all your projects, jobs, tasks, file definitions, cluster definitions, and Python environments to your target tenant.
This will not import any connections in this sync in order to keep your passwords secure.
What is included in this import?
- Jobs (This includes job details, job sequence dependencies, the sequence of its tasks and connections, file definitions, cluster definitions, task tables, task table columns and task table configurations.)
- File Definitions (This will include details such as the name and type, file path, extensions, delimiter and other details.)
- Cluster Definitions (This includes details such as the name, type and cluster configuration.)
- Python Environments (This will include details such as the environment name and path.)
Connections will not be included in this import. Please import and export your connections separately from the Import/Export Connections tab.
How do I import a tenant?
First, please download your connections, in Import/Export Connections, and you can then import these connections separately before you import your tenant.
Please then make sure to validate these new connections.
It is important to validate these connections as when they are not validated, you will not be able to use these connections in any associated tasks. You will likely find that you will not be able to run any imported jobs successfully after importing your content from the other tenant. Only after validating the imported connections, will the connections be available in the imported tasks or when you create any new tasks.
Please also keep in mind that if you have any items that have the same name in this tenant, they will be overwritten and replaced by the copied item from your imported tenant.
Next, if you would like to save a copy of the code of your content before you make any changes to this tenant, please Export to Git.
Once you have completed these recommended steps, please follow the instructions below to import your tenant.
Click on Import Tenant on the right of the page.
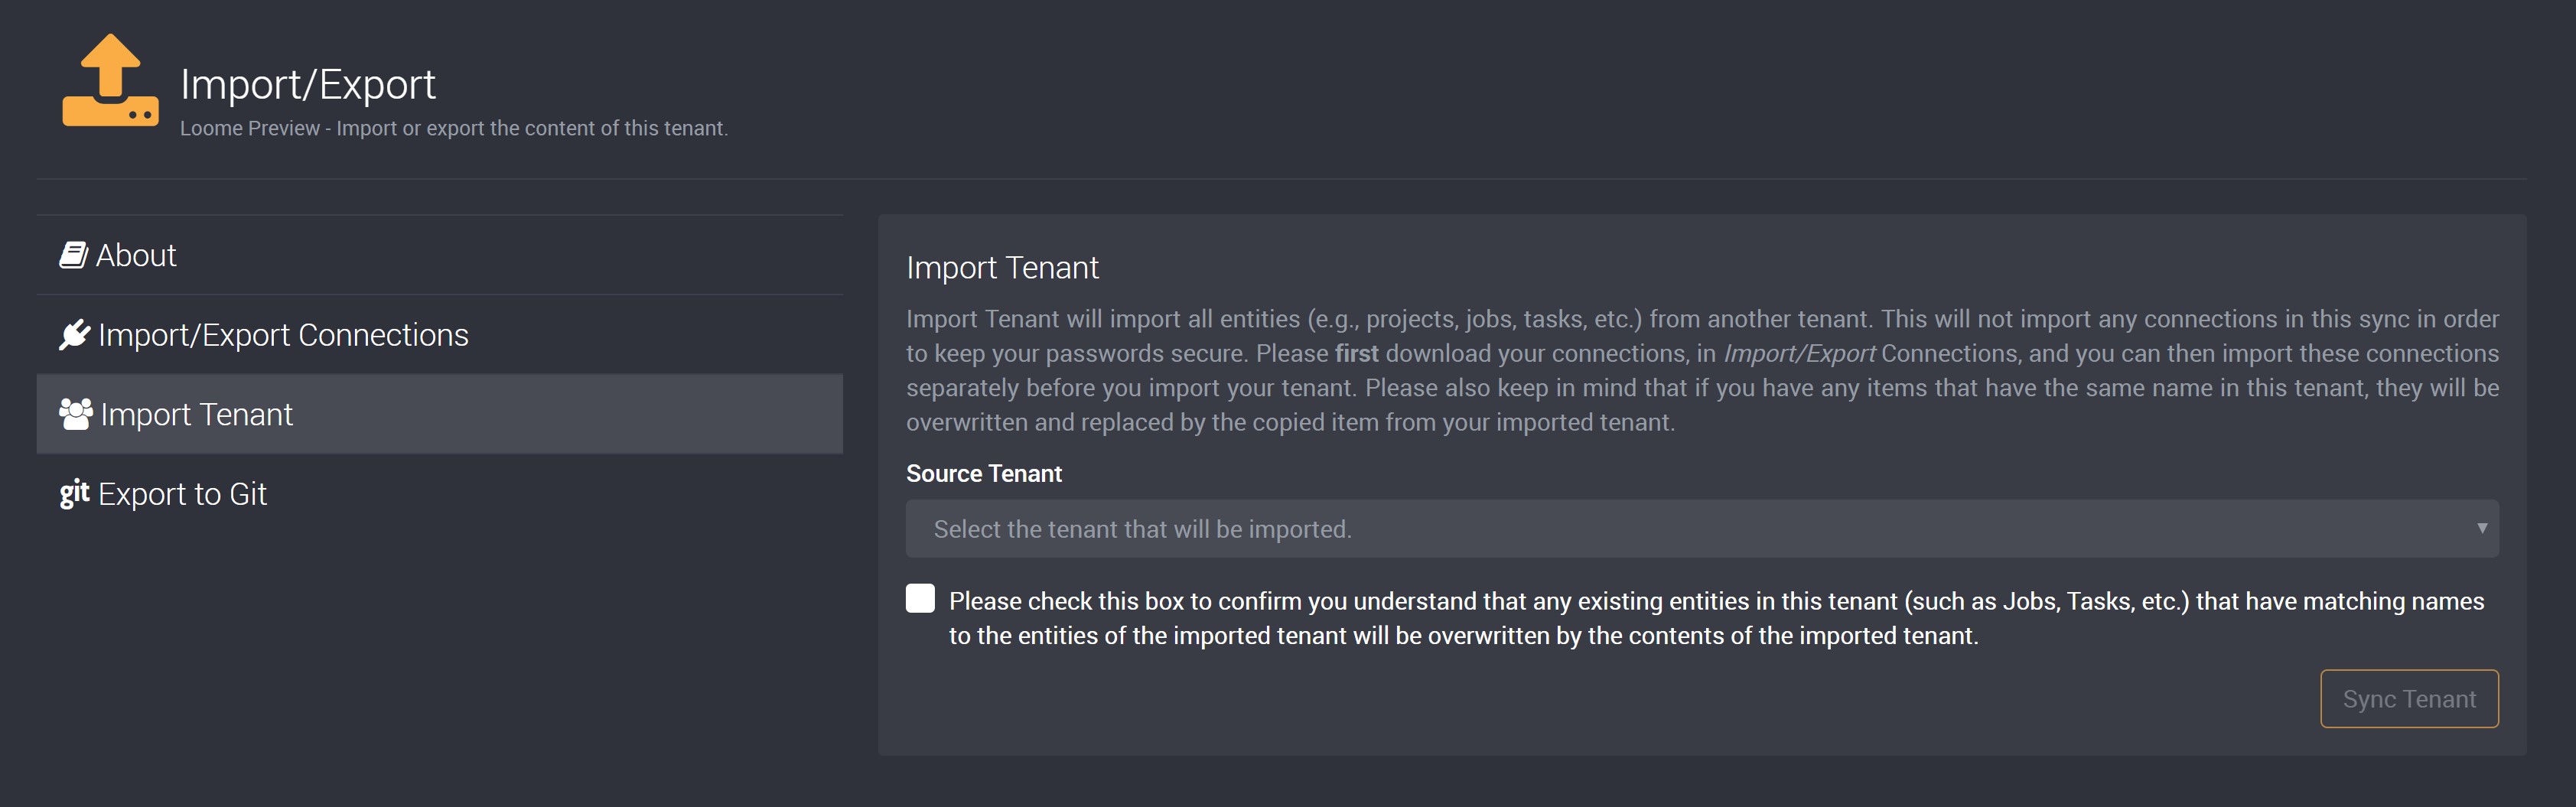
Please select the Source Tenant field and it will provide a dropdown selection of the tenant(s) where you have the role of Group Admin.
Select the Tenant (the source tenant) that you would like to import into this tenant (the target tenant).
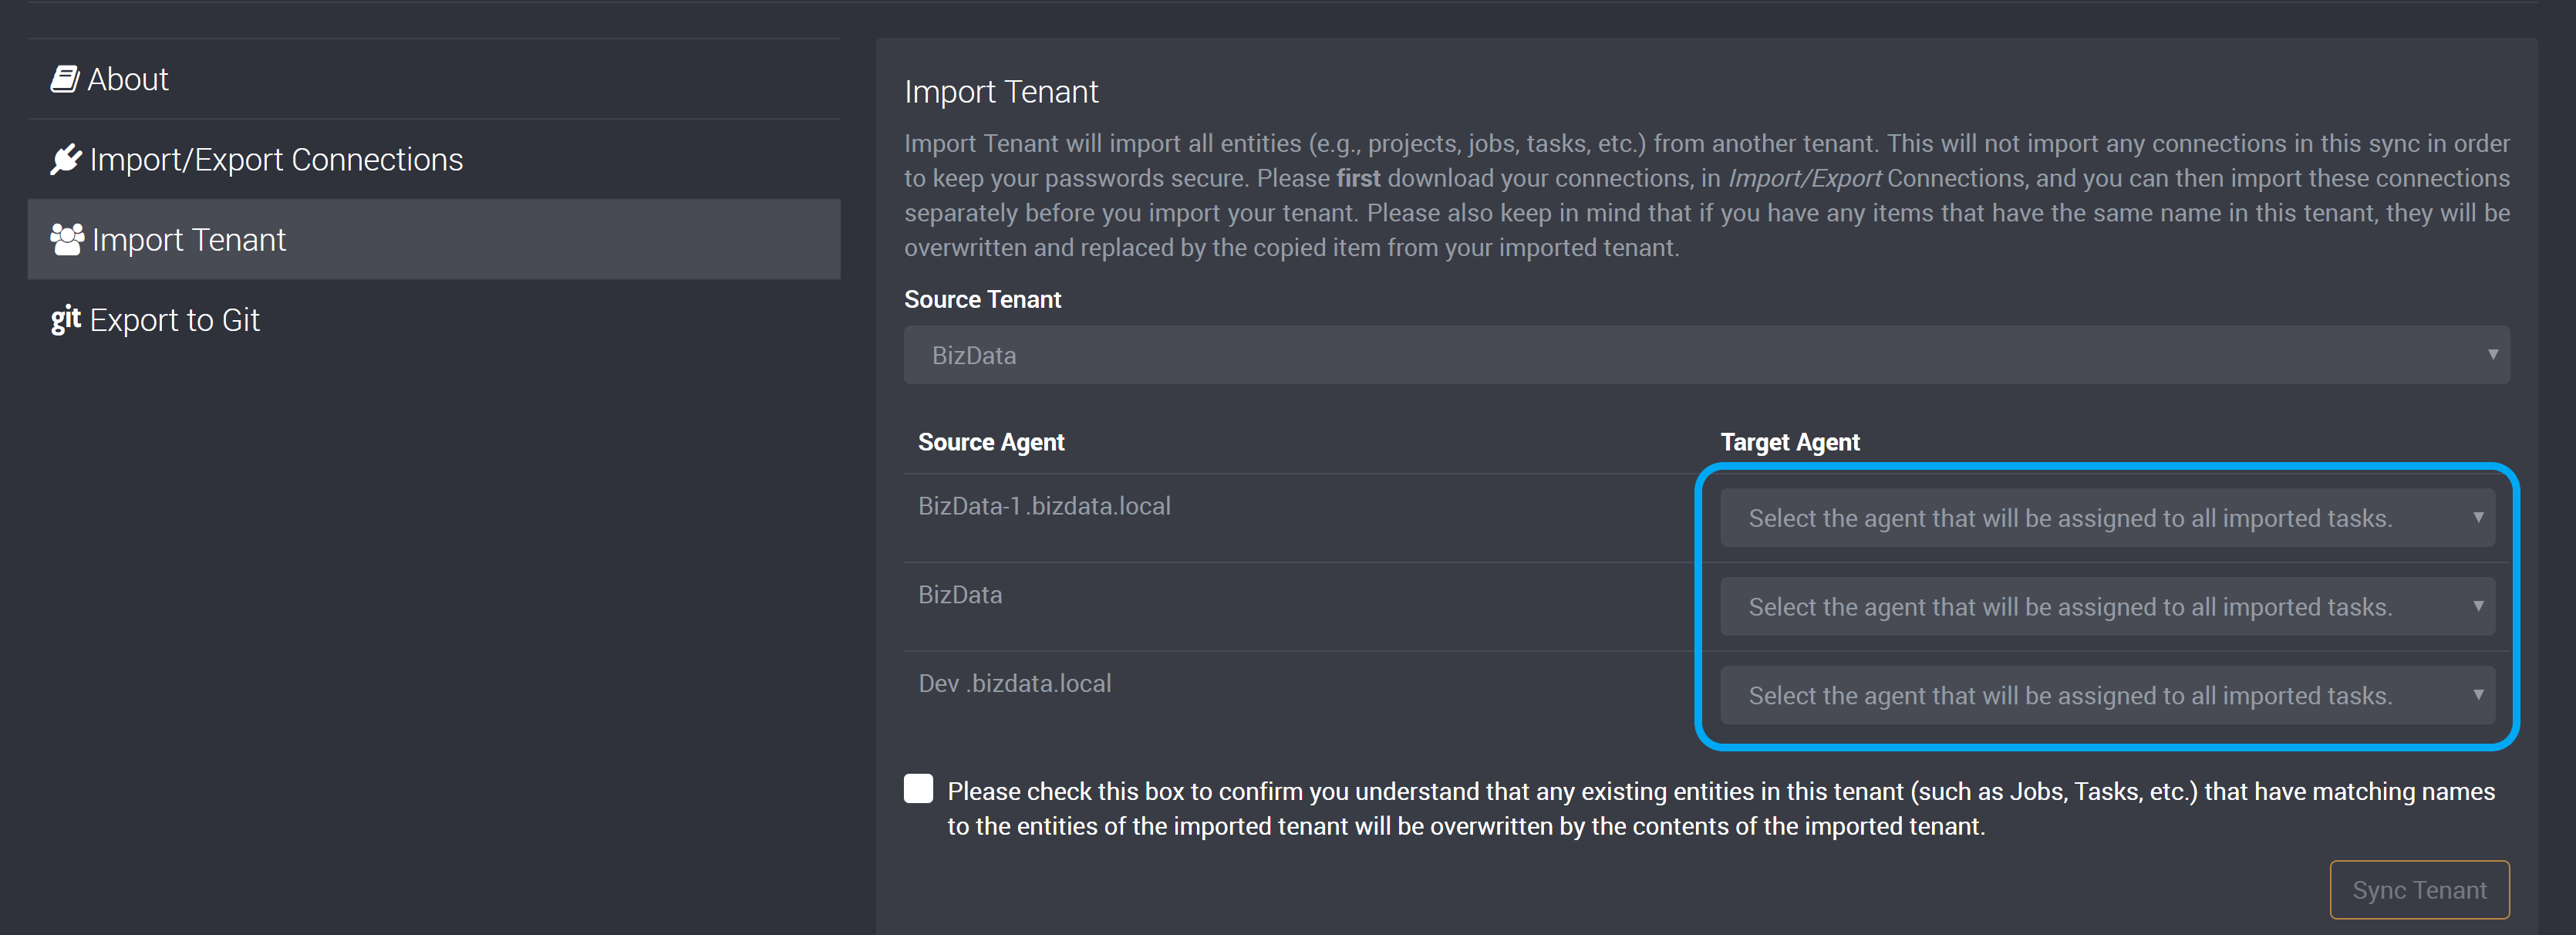
Once you have selected your source tenant, you can select the agent(s) that these imported tasks will use to run. You can select the agent that you would like to replace the previous agent. If you have used multiple agents on your previous tenant, you can select the same amount of different agents, depending on the number of your healthy agents, or you could select one agent for all tasks.
In these two tenants, if there are any matching names of your content (such as projects, jobs and tasks) these will be overwritten by the contents of the imported tenant, if you understand and accept this please select the checkbox.
After you have completed all these fields, you can click on Sync Tenant at the bottom of this page.
Once it completes its sync you will be able to find your imported content in this tenant.
My Import Tenant page does not display the select a tenant option?
You have the option of using either Export to Git or Import Tenant. If you have set up Export to Git but want to use Import Tenant, please follow the instructions below to enable Import Tenant.
Please click on the Export to Git tab.
Next please click on the delete button, highlighted in the below image, that will deselect a Git connection.
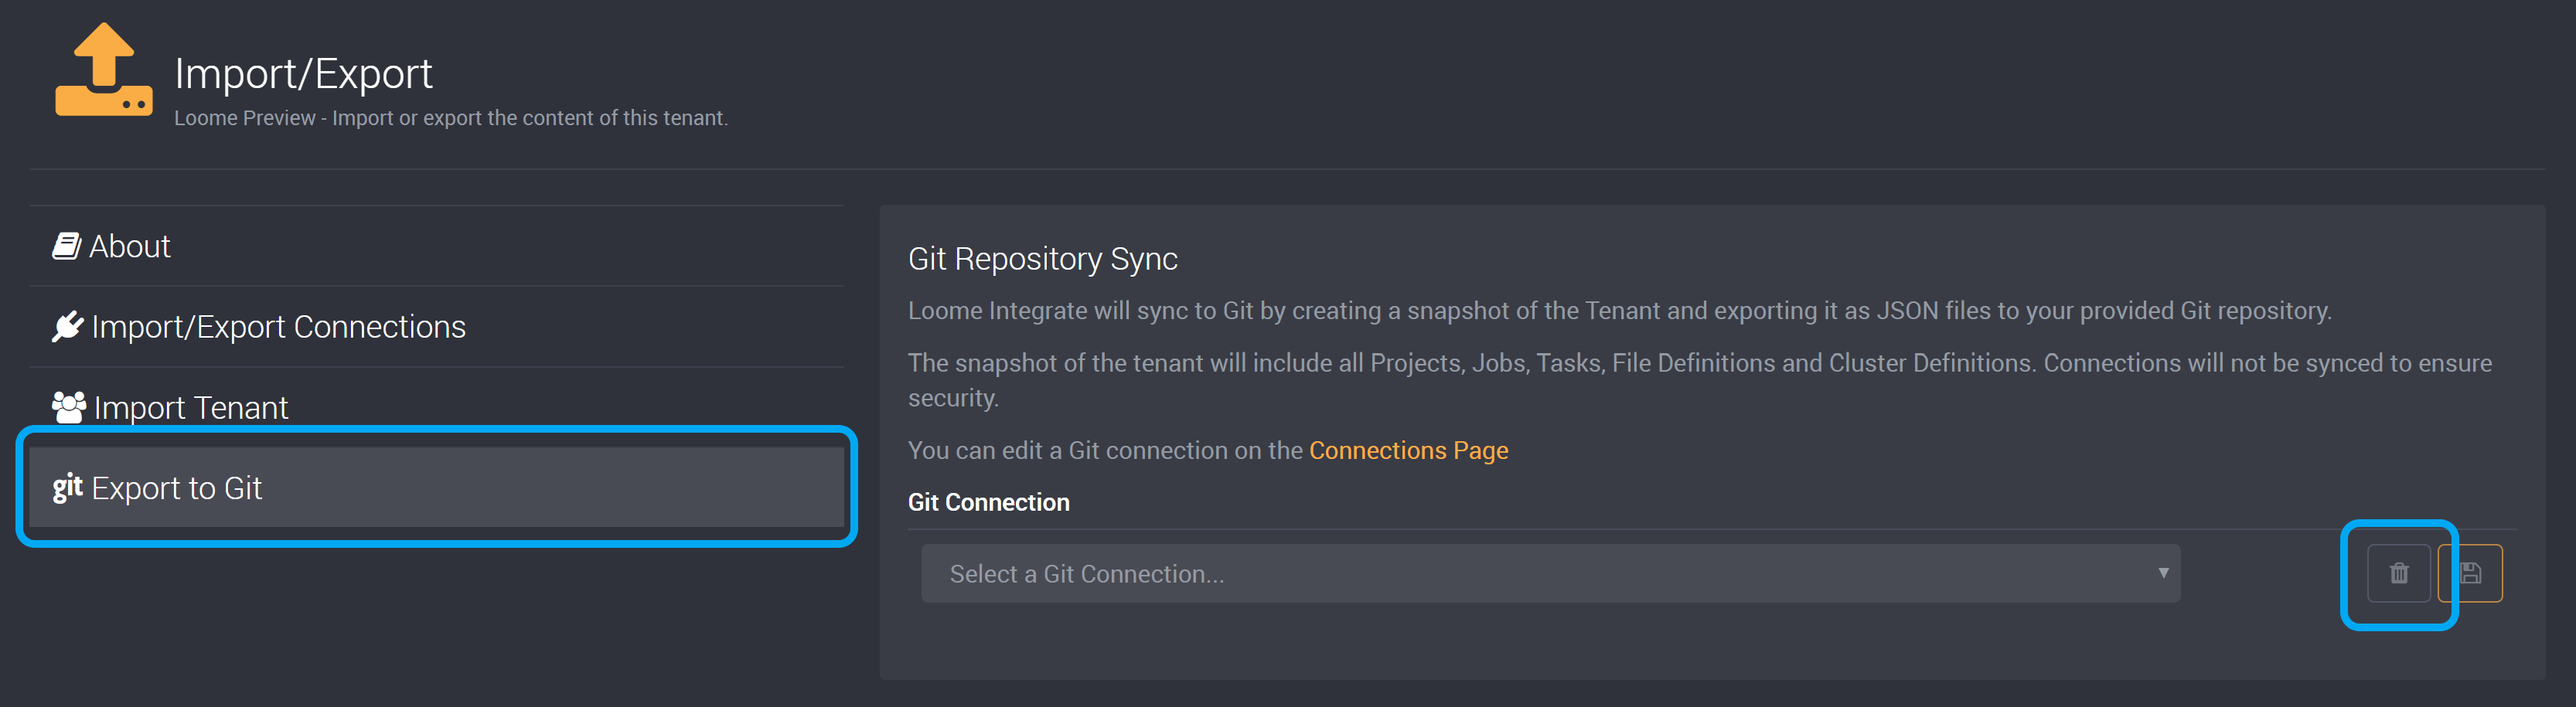
Click on the Import Tenant tab again, where you can now view the Import Tenant option.