Version 4.4
Upgrade Notes
Ensure your Loome Identity server is running Version 1.4 or higher prior to upgrade.
Follow the steps below PRIOR to upgrading to Loome Publish 4.4.
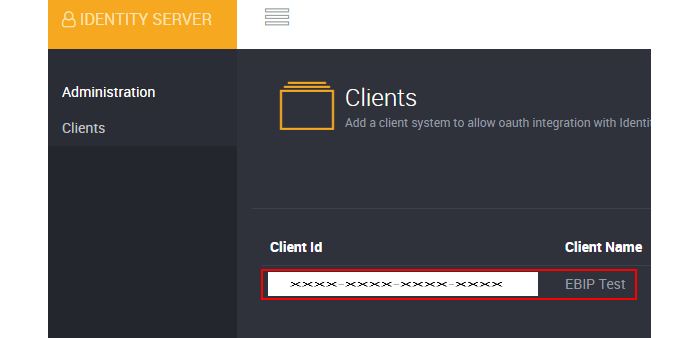
Browse to your Loome Identity URL, adding /admin to the end of the URL to open the admin portal.
Open the Loome Publish client configuration by clicking on it.
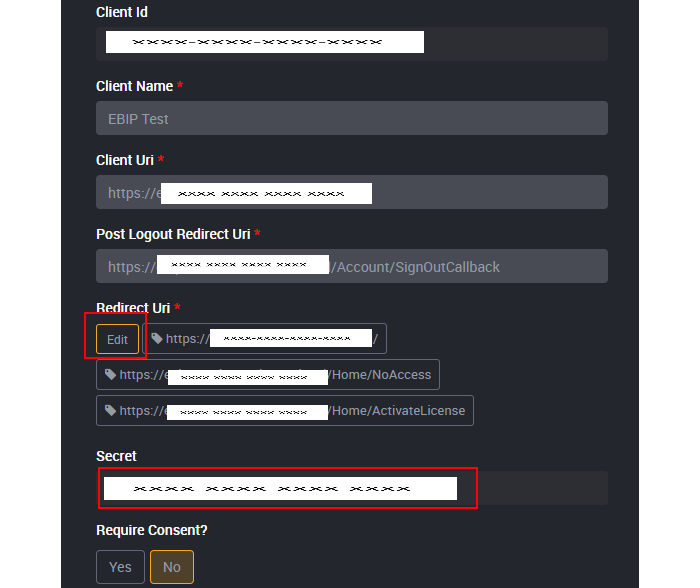
Record the value under ‘Secret’, you will require this later during the upgrade.
Click the ‘Edit’ button under ‘Redirect Uri’.
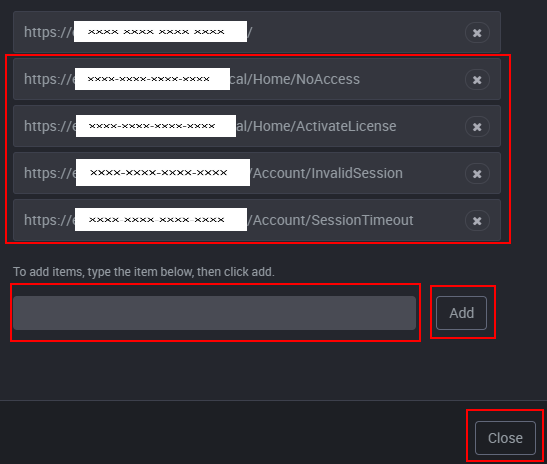
Add the following two reply URLs as shown in the screenshot and the table below (ensuring to replace the DNS name with your own).
You can find a table of these values at the end of this section.
Click the ‘Close’ button.
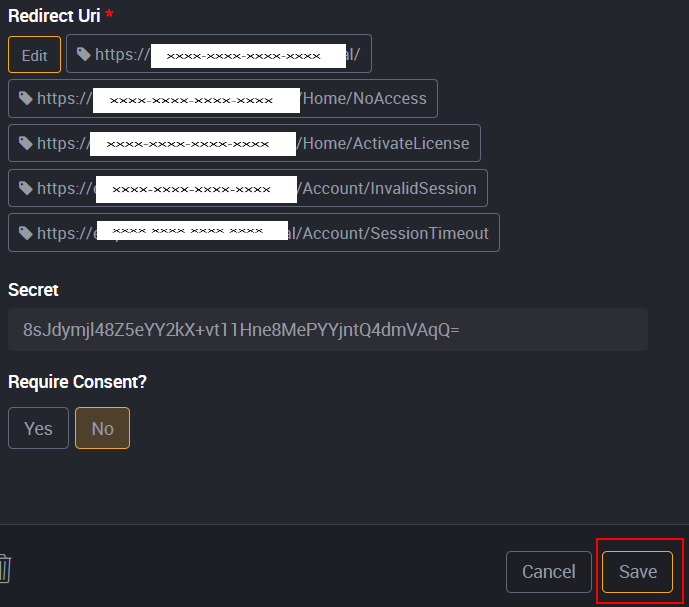
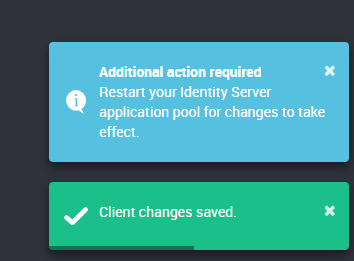
Click ‘Save’ to keep your changes.
Note the message provided here regarding additional steps to complete.
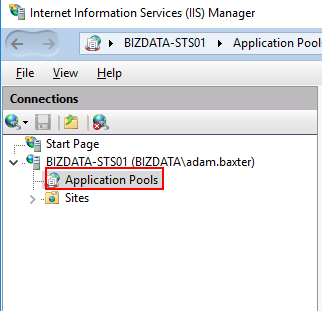
Open ‘Internet Information Services (IIS) Manager’ from your windows applications.
Open ‘Application Pools’ from the left hand menu.
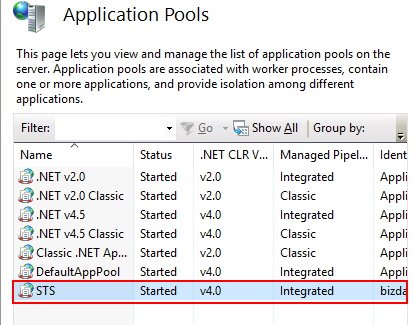
Find the Loome Identity application pool in the ‘Application Pools’ page and select it.
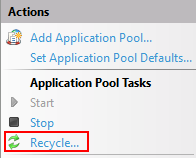
Click the ‘Recycle…’ link from the ‘Actions’ menu.
Make sure to replace <my.site.name> with the actual DNS name of your Loome Publish portal.
| URL |
|---|
| https://<my.site.name>/Account/SessionTimeout |
| https://<my.site.name>/Account/InvalidSession |
| https://<my.site.name>/home/activatelicense |
| https://<my.site.name>/home/noaccess |
When you reach the ‘Configure application settings’ page, update the ‘Client Secret’ value with the new value recorded above. If the value is the same as the existing one, you do not need to replace it.
Once completed, move to the next version, or follow the steps under Running the Upgrade to continue.