Web App Creation
Follow the below steps to create your Azure Web App and SQL database.
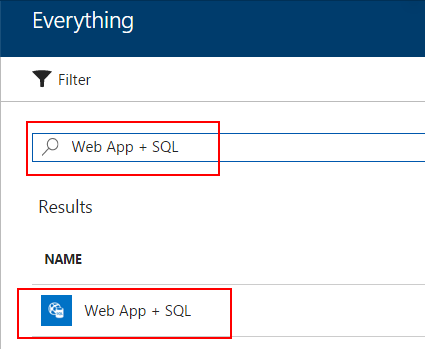
Browse to the marketplace in your Azure tenancy.
Search for ‘Web App + SQL’.
Click on the result to begin the creation process.
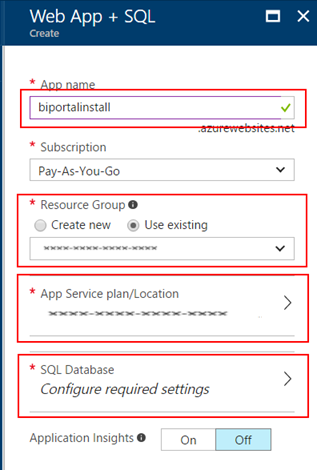
Click the create button on the panel that appears.

Provide an app name for the web app, this will form part of the URL.
Record the URL, we will use it later in the process.
Either select an existing Resource Group, or create a new Resource Group using the wizard.
Either select an existing App Service Plan, or create a new App Service Plan using the wizard.
Click the ‘Configure required settings’ button for ‘SQL Database’.
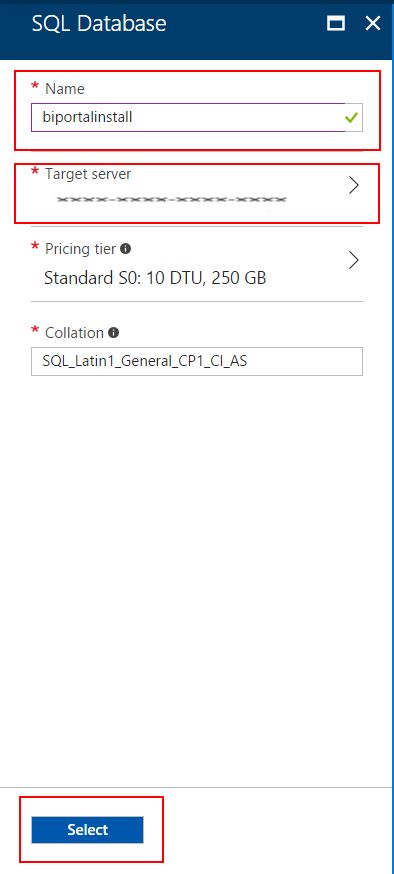
Click on ‘Create a new database’.
In the panel that appears, provide your database a name.
Click on ‘Target server’ to select a database server for the database.
If you do not have a database server available, click on the ‘Target server’ to start the wizard.
Make note of the name and server name, we will use these later in the process.
Click the ‘Select’ button.
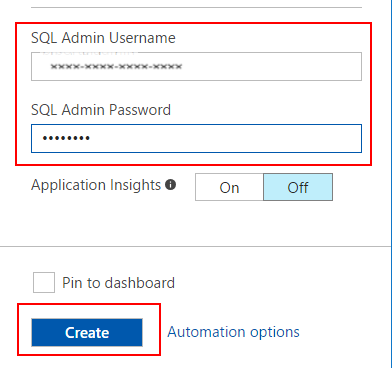
Back on the app creation panel, provide a username and password for the database.
Make a record of the username and password entered, we will use these later on in the process.
Click the ‘Create’ button.
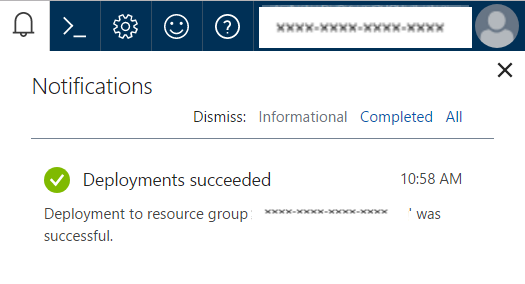
Click the bell icon from the top of the page to view notifications for the creation process.
Once the ‘Deployments succeeded’ notification appears, move to the next section.