Register an Asset
Learn more on the Loome website.
How do I create an asset and make it visible to other users?
Making an asset visible to users across the organization is a two step process. Assets first need to be registered and then published. You have the option to publish it right away or add it to a draft area and publish it later.
There are two ways of registering an asset:
- Manually
- Using a data source
How do I register an asset manually?
Click the Settings Cog icon at the top right hand corner.
Select Register.
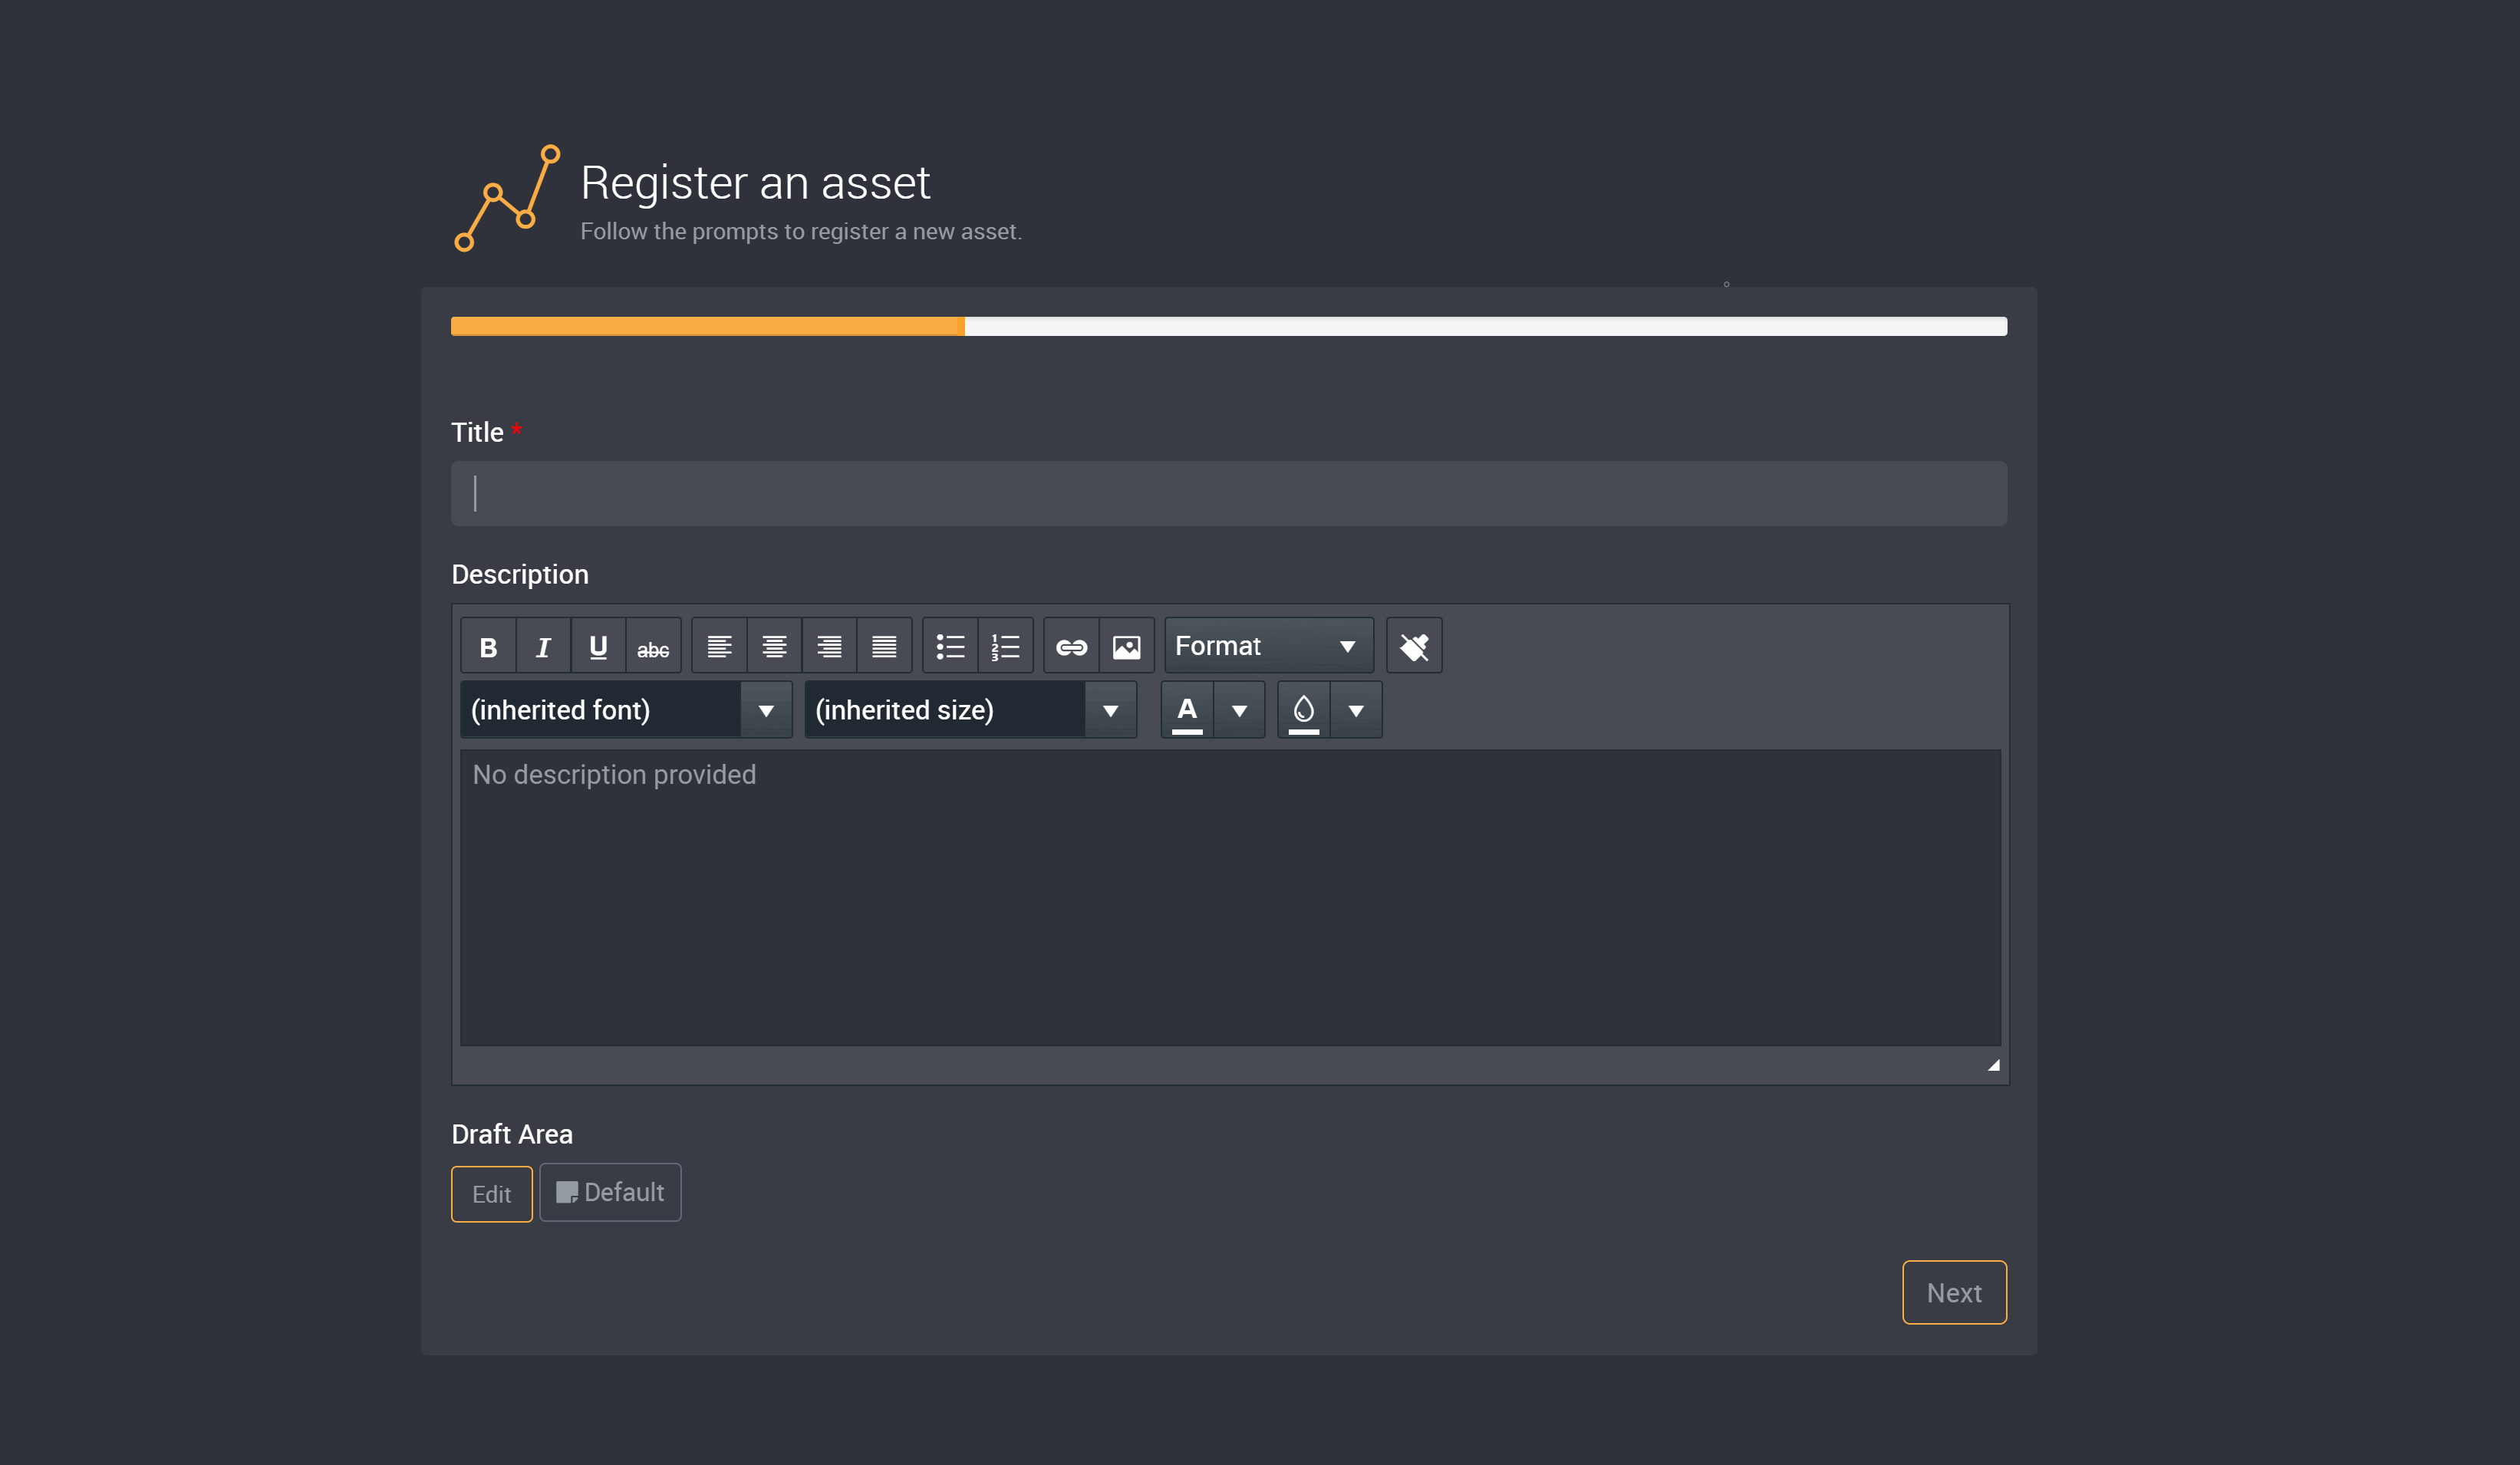
Enter a name for the asset in the field Title (required).
You can enter in a Description for the asset. Alternatively, a description can be added at a later stage.
Choose a Draft Area. If you have more than one draft area, you can select the Draft Area that this asset will be located once registered.
You can leave this as the default or choose another draft area. Administrators can create new draft areas in the Configuration settings..
Click Next to continue.
Choose a Type for the asset (required) from the dropdown.
Each asset type will have different required fields according to the type.
When registering an asset, Asset Type reports and data sources are available in the drop-down to select. Entity types from the Data Catalogue are not applicable here.
In the example below we have selected a ‘Website’ type.
Enter the URL for the asset.
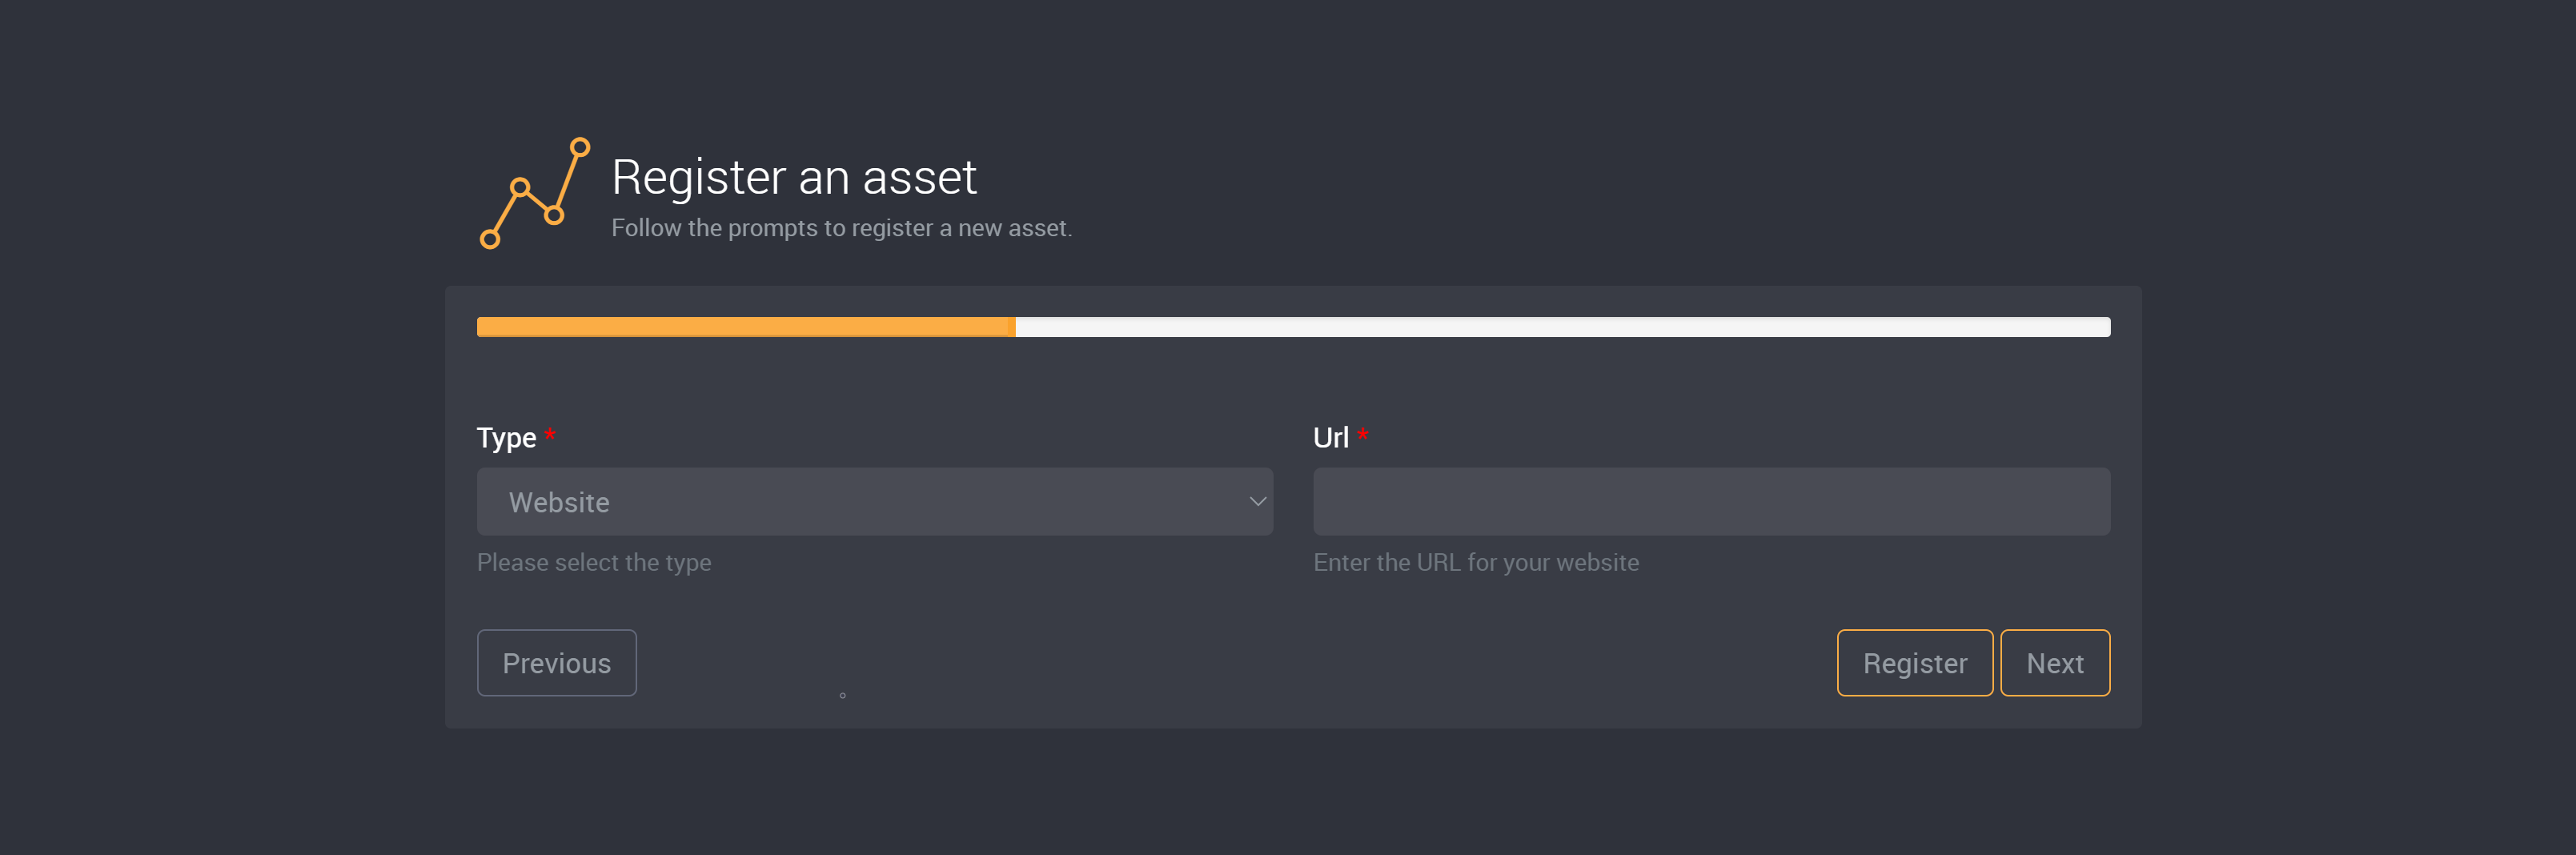
After you have provided all required fields, click Next to continue.
Experts
You can assign Experts to an asset. Alternatively, you can choose to skip this and assign them at a later stage.
To assign an expert, click Edit.
Start by typing the name into the field. A list of users and groups will appear as you type.
Select a user or group to assign as an expert for the asset.
Continue to add experts by repeating the steps above, or click Close when done.
Metadata
You can assign Metadata to the asset. Alternatively, you can choose to skip this, click Register and assign them at a later stage.
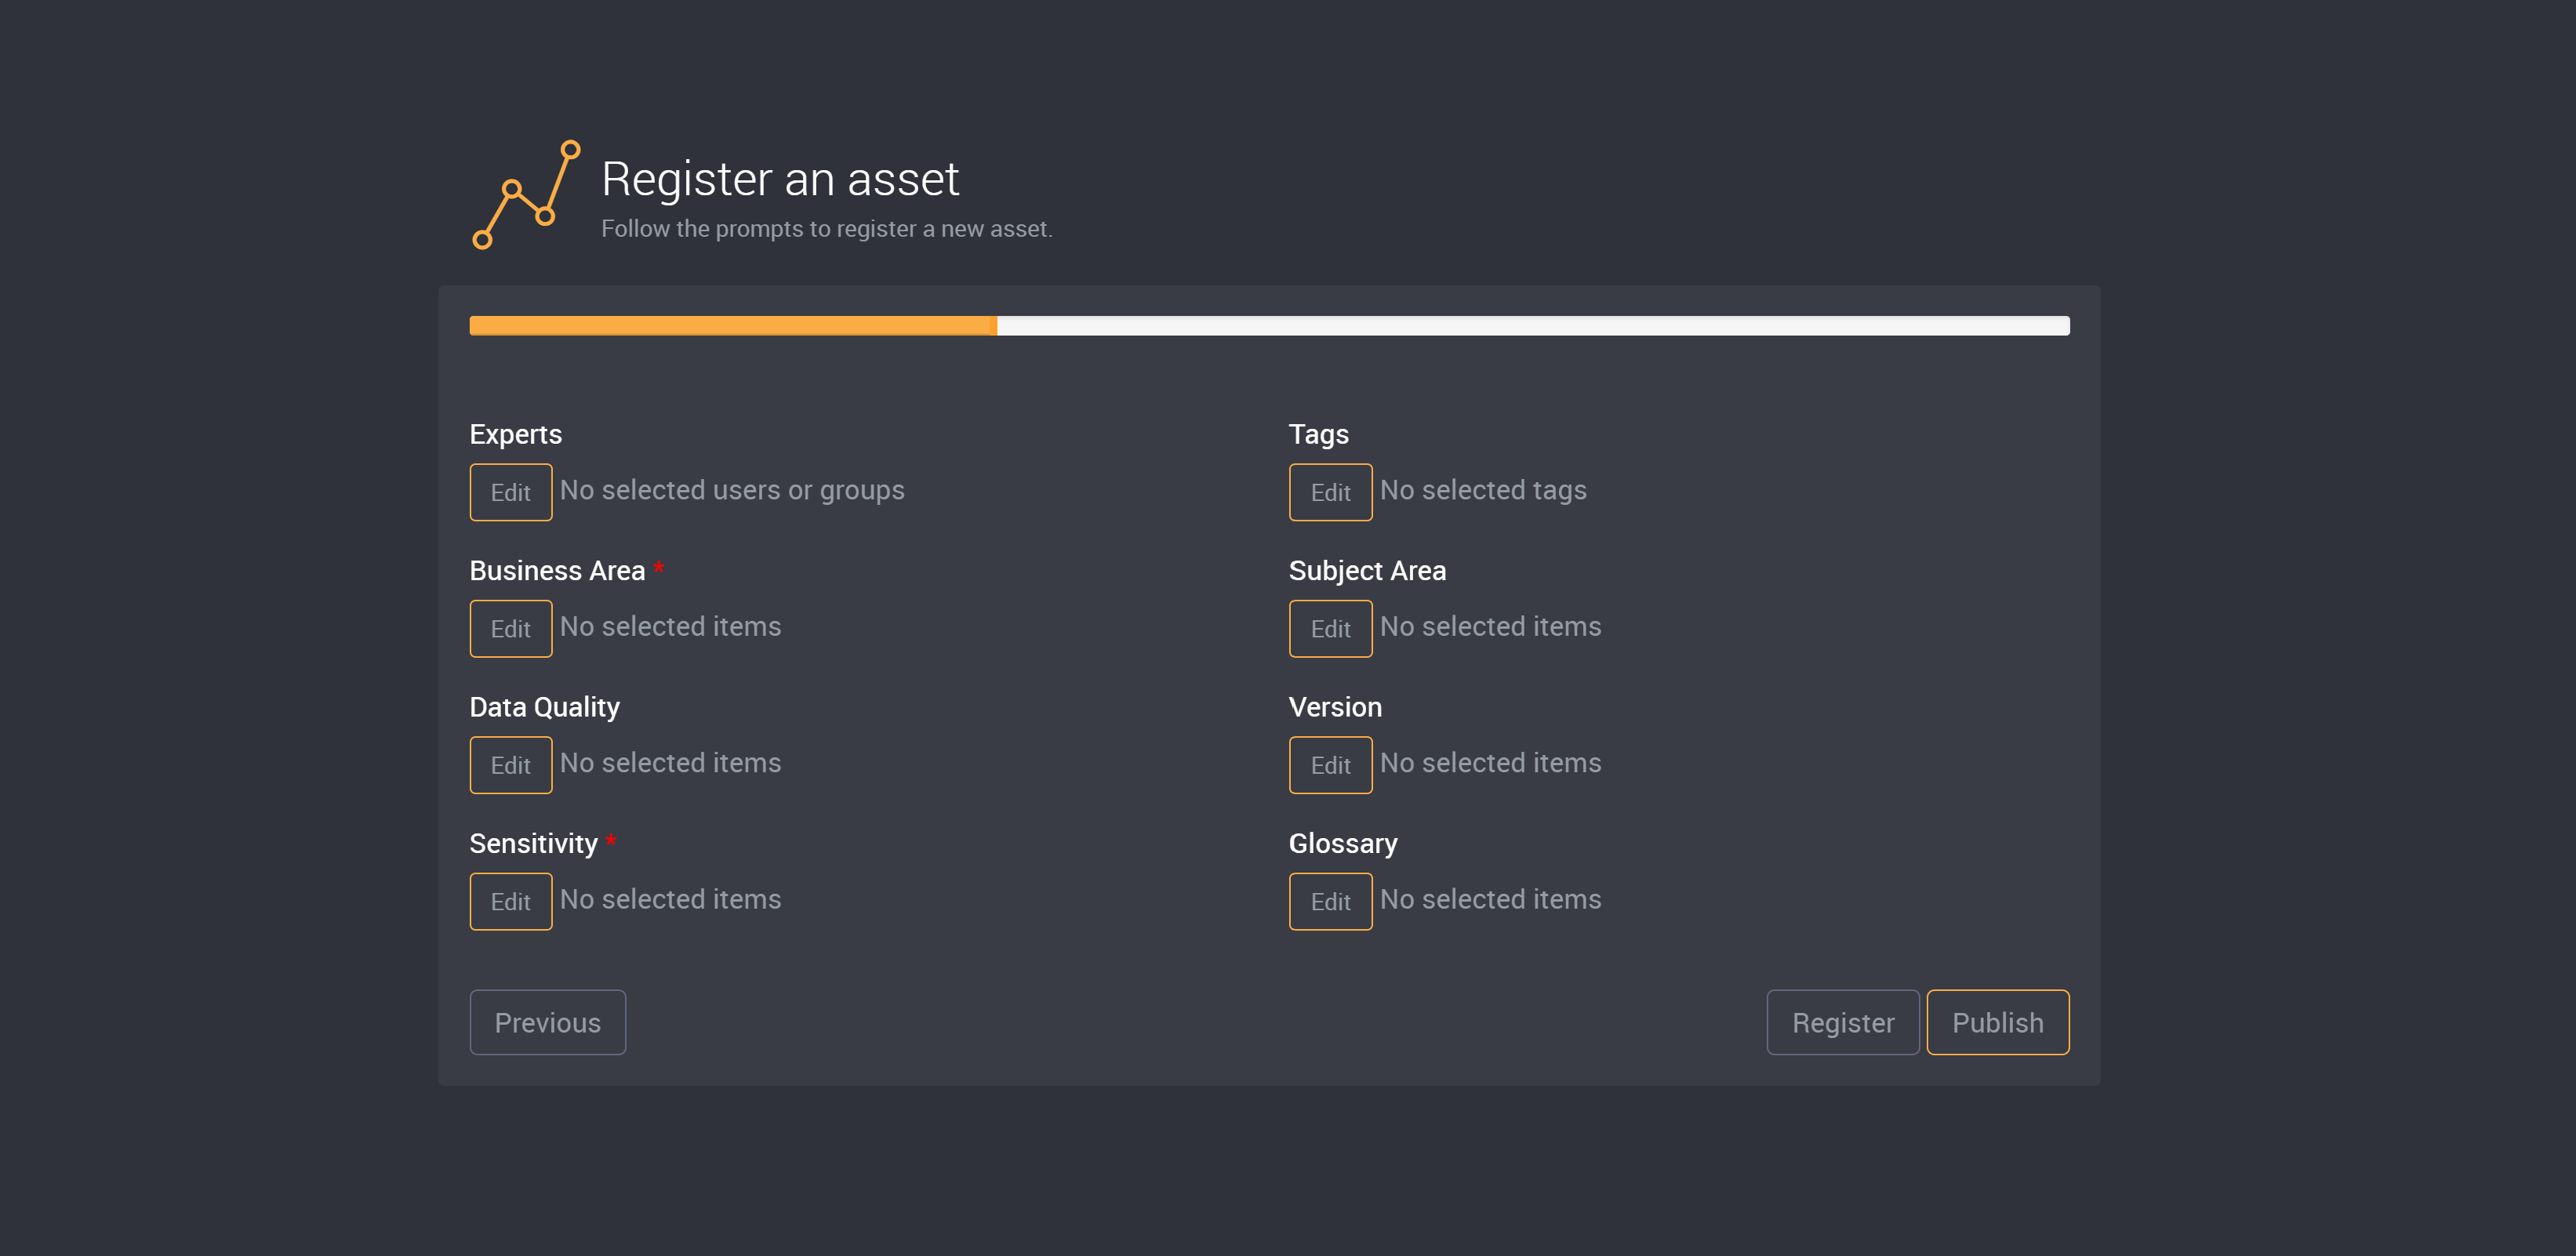
To assign metadata, click Edit beside your chosen field.
Choose a term from the available options. Administrators can modify metadata fields in the Metadata settings.
Select your chosen metadata. It will be highlighted when chosen. (Depending on the metadata type, you may be able to select more than one option.)
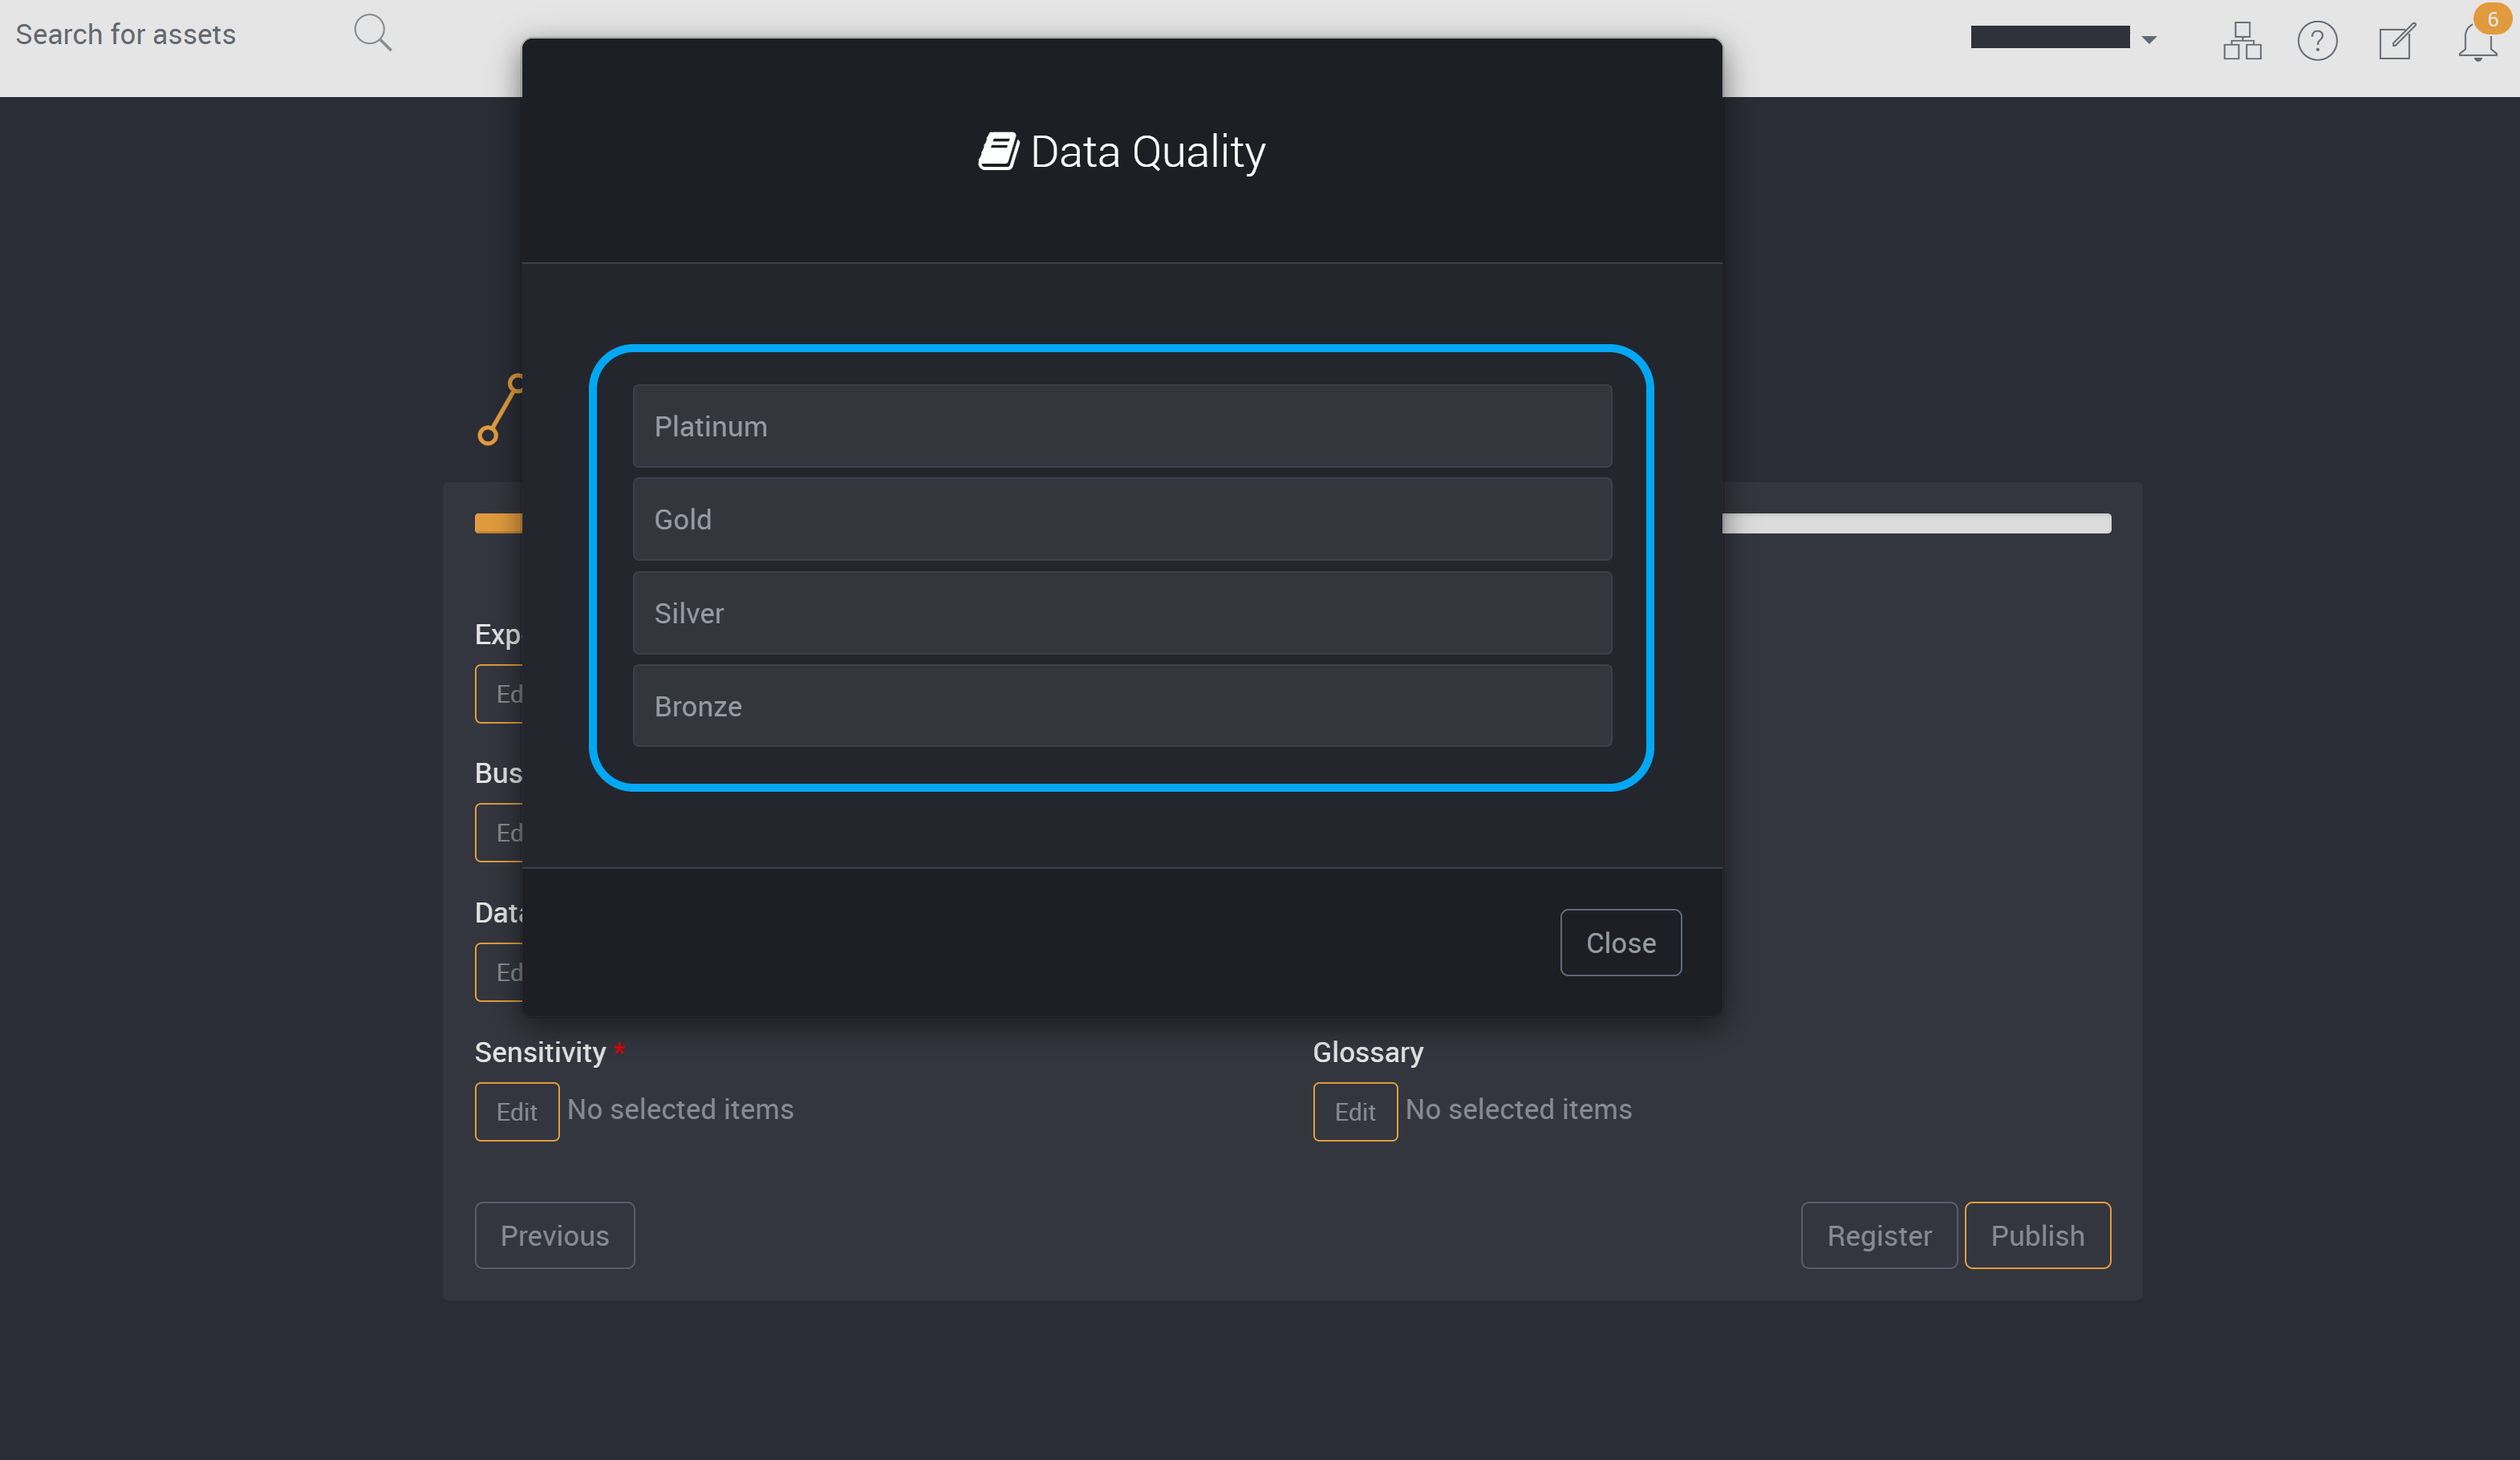
Click Close.
Continue to add metadata by repeating the steps above.
Register or Publish this Asset
You can then choose to register or publish this asset.
Click Register to create the new asset and save it to your earlier chosen draft area. If you have not yet provided all required fields, you can choose to register it first and provide those fields later.
The asset will be registered and can be edited in its draft area.
You also have the option to register another asset by clicking on Register another item or view this asset and others in the draft area by clicking on View drafts.

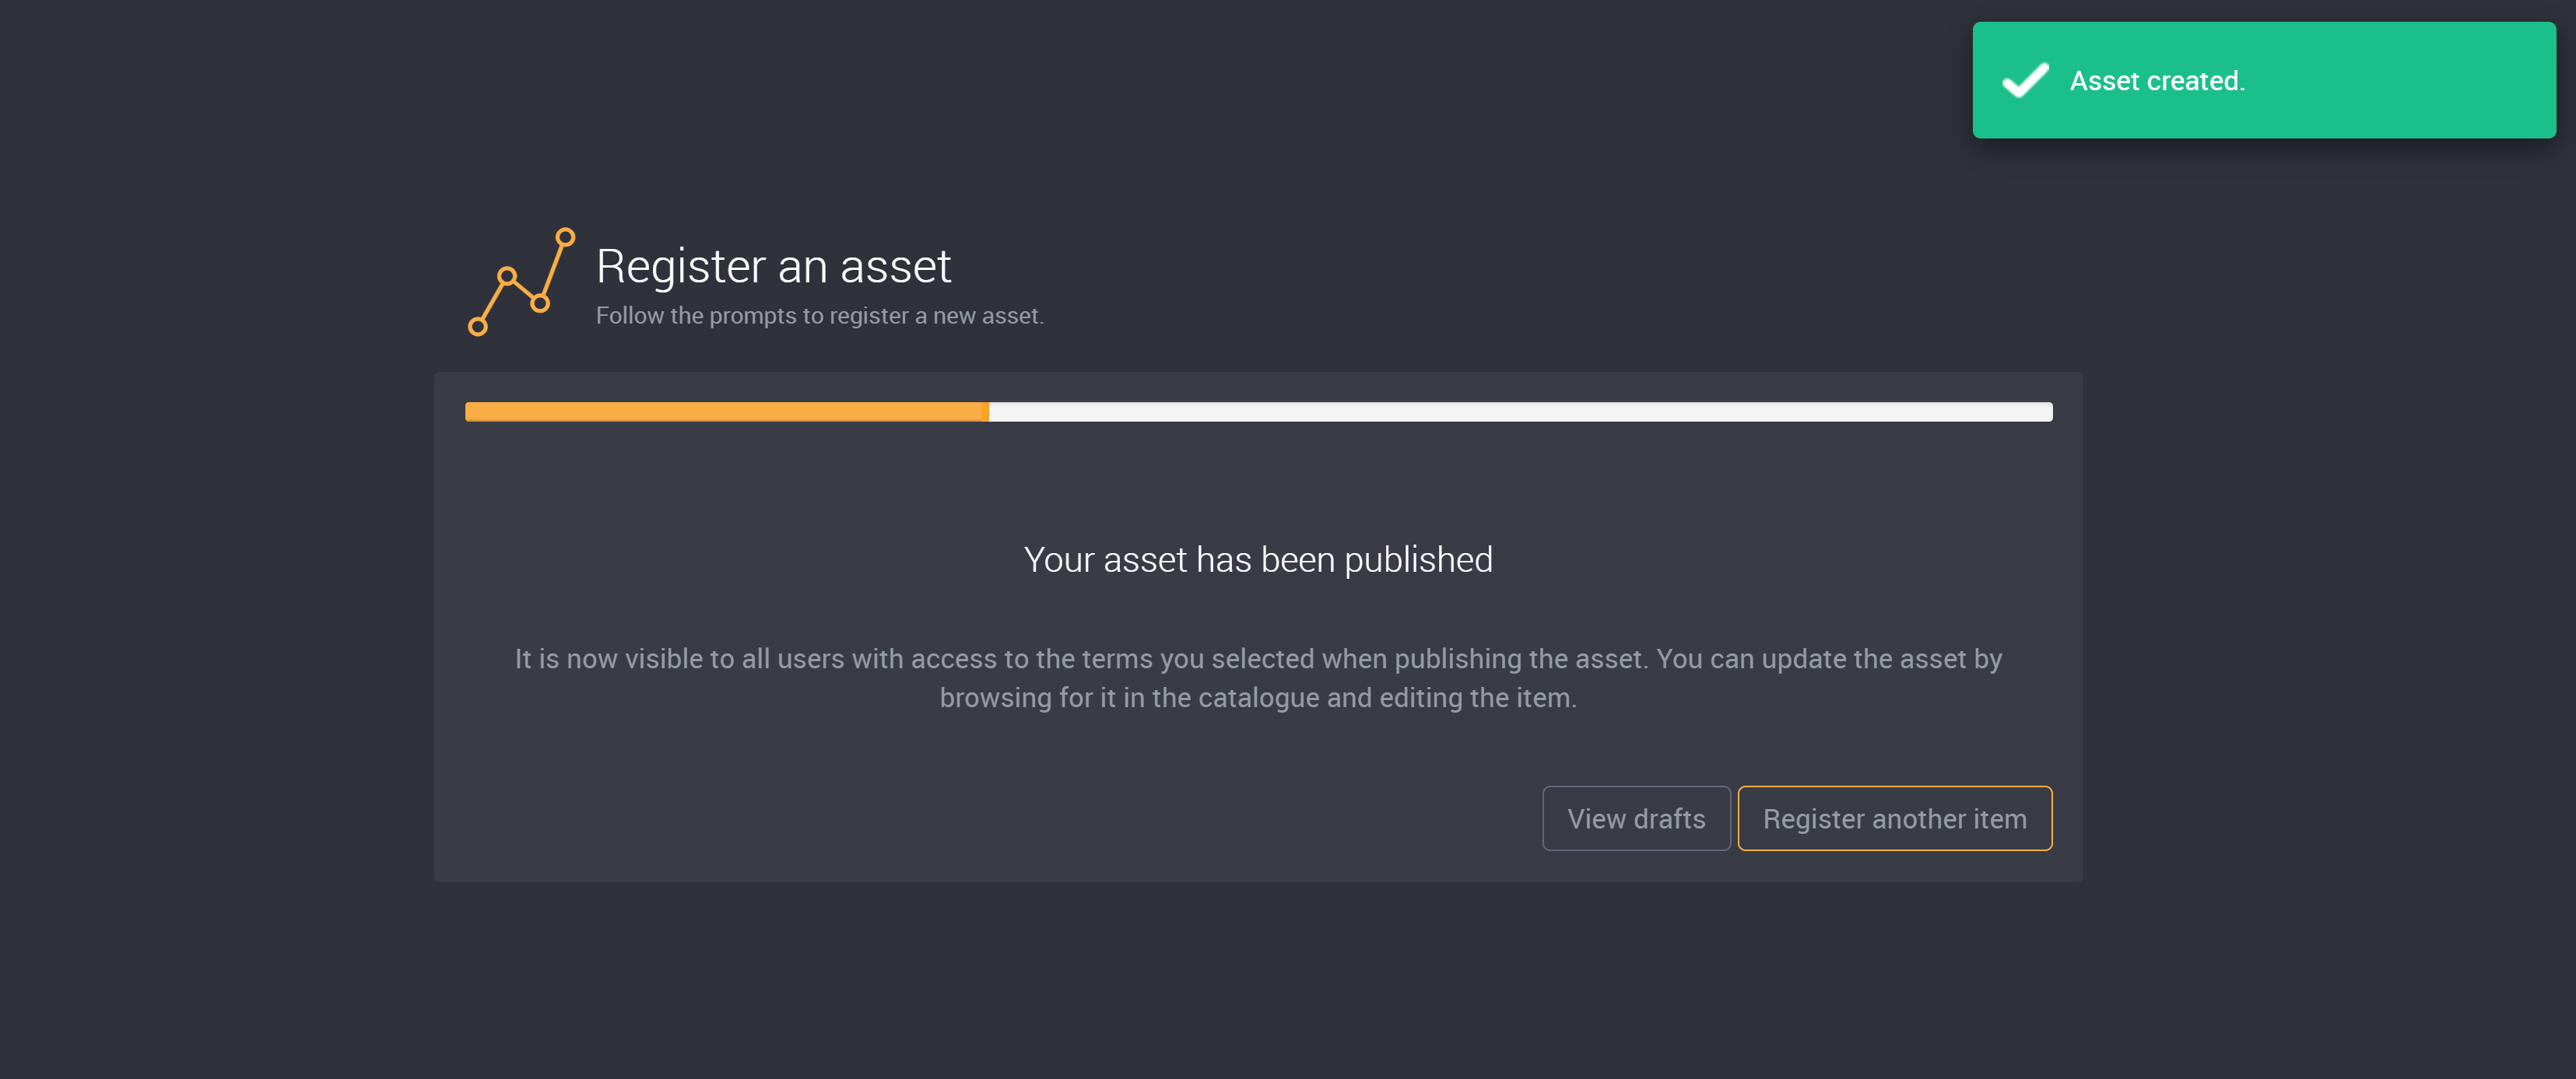
Or click on Publish to publish this asset immediately.
You then have the option to Register another item or View assets.