IIS Application Creation
Follow the steps below to create your IIS web application.
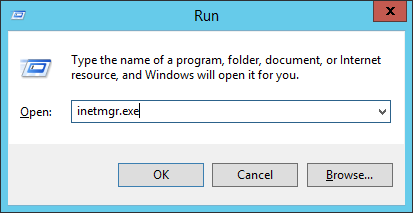
Open inetmgr.exe from Start Menu > Run.
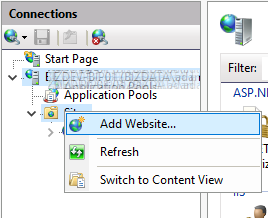
Right click on Sites > Add Website…
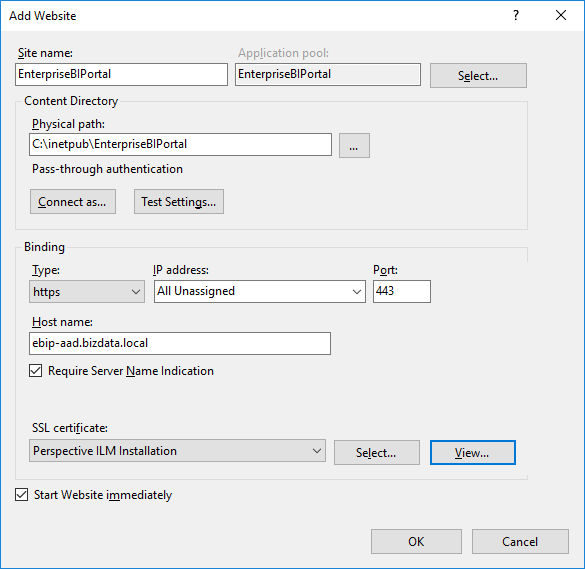
Enter the site name as ‘EnterpriseBIPortal’ or a site name of your choosing.
Set the physical path to ‘c:\inetpub\enterprisebiportal’.
Change the Binding Type to ‘https’.
Enter the DNS name created for Loome Publish under the ‘Host name’ field.
Select the SSL certificate installed on the machine for Loome Publish.
Click on ‘OK’.
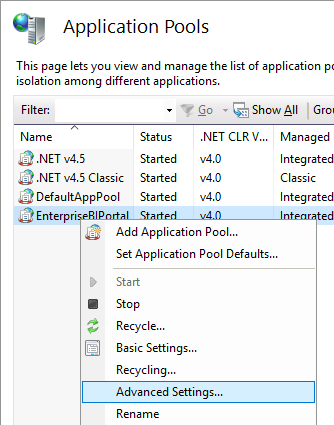
Click on ‘Application Pools’ from the left-hand menu.

Right click on the EnterpriseBIPortal application pool and select ‘Advanced Settings…’.
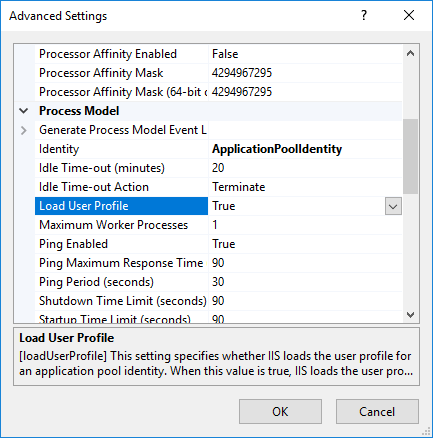
Change ‘Load User Profile’ to true.
Select the value in ‘Identity’ and click the ellipse button.
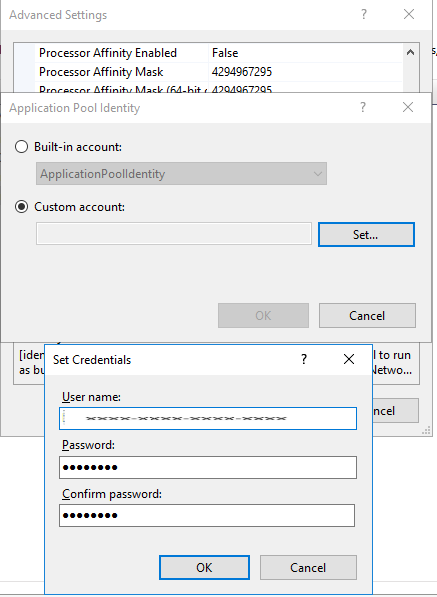
Select ‘Custom account’, and then click the ‘Set…’ button.
Enter the ‘User name’, ‘Password’, and ‘Confirm password’ for the service account.
‘User name’ should include the domain in either the domain\username or the username@domain.local format.
Click ‘Ok’, then ‘Ok’.
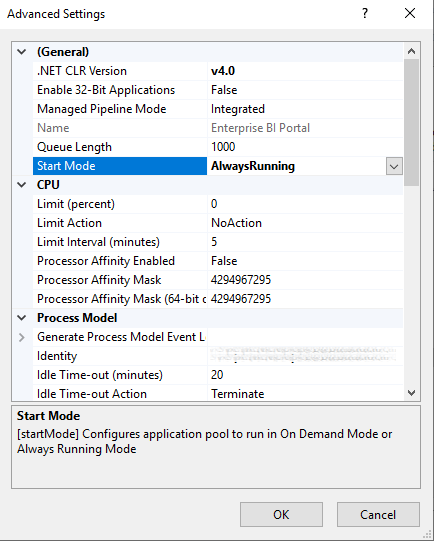
Locate the ‘Start Mode’ setting and change the value to ‘AlwaysRunning’, then click ‘Ok’.
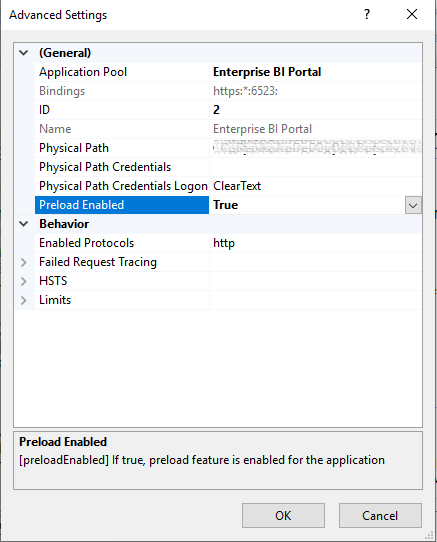
From the left hand menu, expand ‘Sites’, then click on the Loome Publish application.

From the actions menu, click on ‘Advanced Settings…’
Locate the ‘Preload Enabled’ setting and change the value to ‘True’, then click ‘Ok’.