Help Desk Tickets
What are help desk tickets?
Help desk tickets allow users to raise service tickets for any asset or any issues they may encounter while using the portal.
Help Desk Administrators will then be able to assign these tickets to appropriate people in the organisation to get the query or issue resolved.
How do I raise a ticket through an asset?
To raise a ticket, click the Help button on an asset.
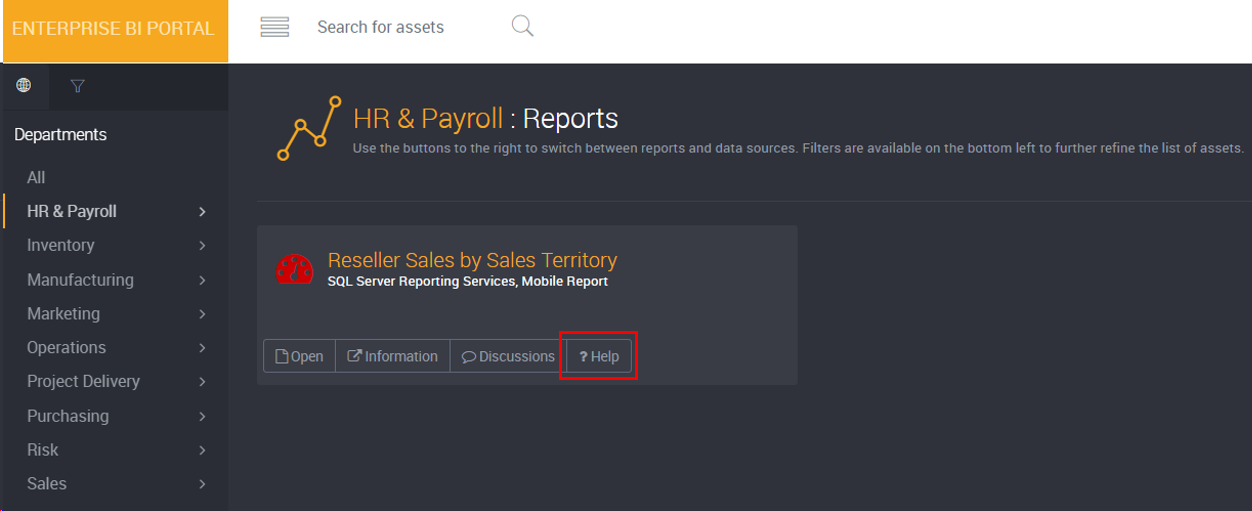
A help desk form will appear.
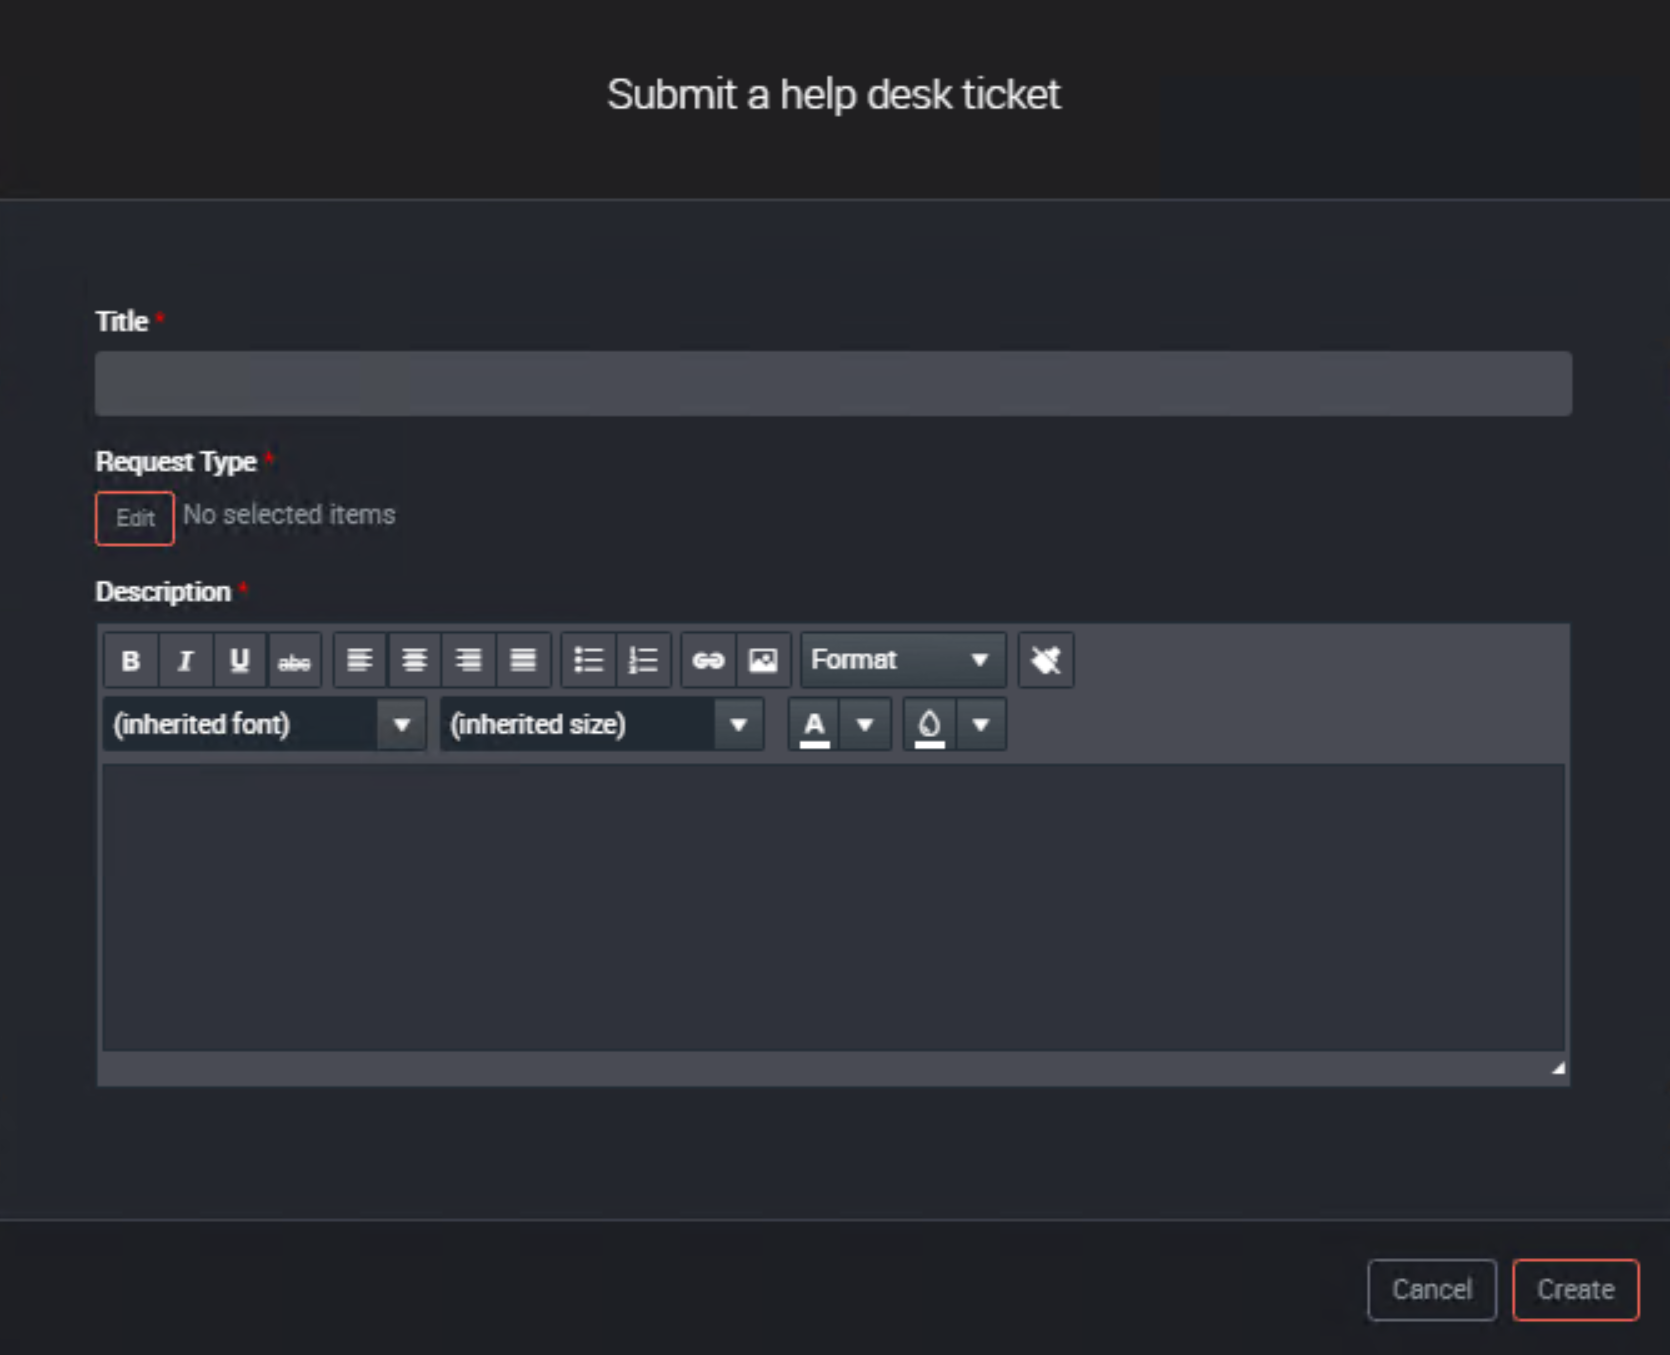
Enter a Title for the ticket (required).
Click on Edit and select a request type (required).
Enter a Description for the help desk ticket (required).
Click Create.
How do I raise a ticket through My Tickets?
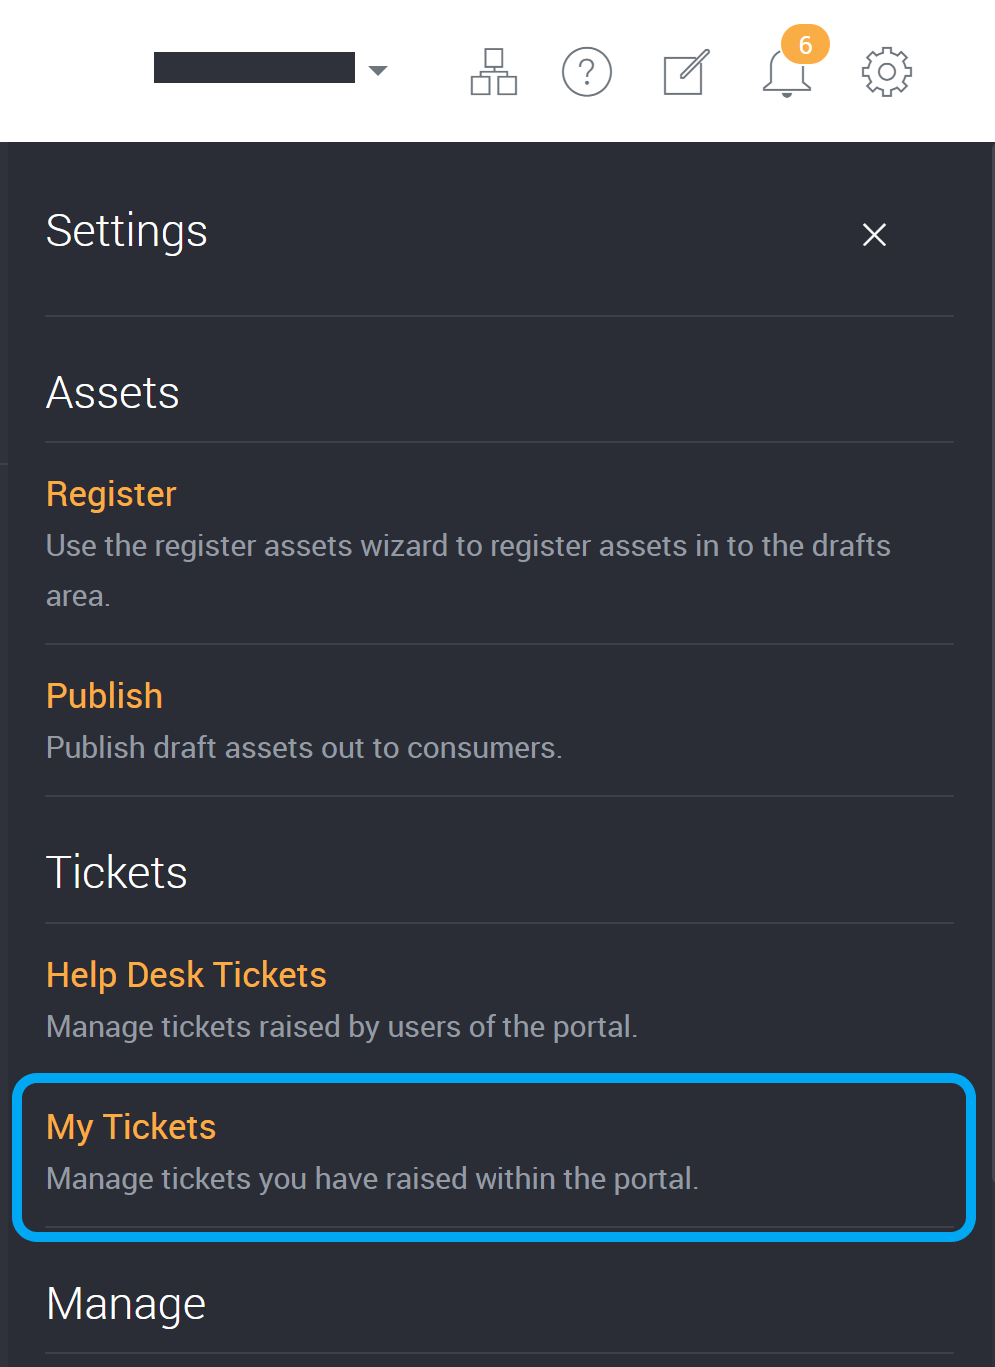
Click the Settings Cog icon at the top right hand corner.
Select My Tickets.
Click New Ticket.
A help desk form will appear.
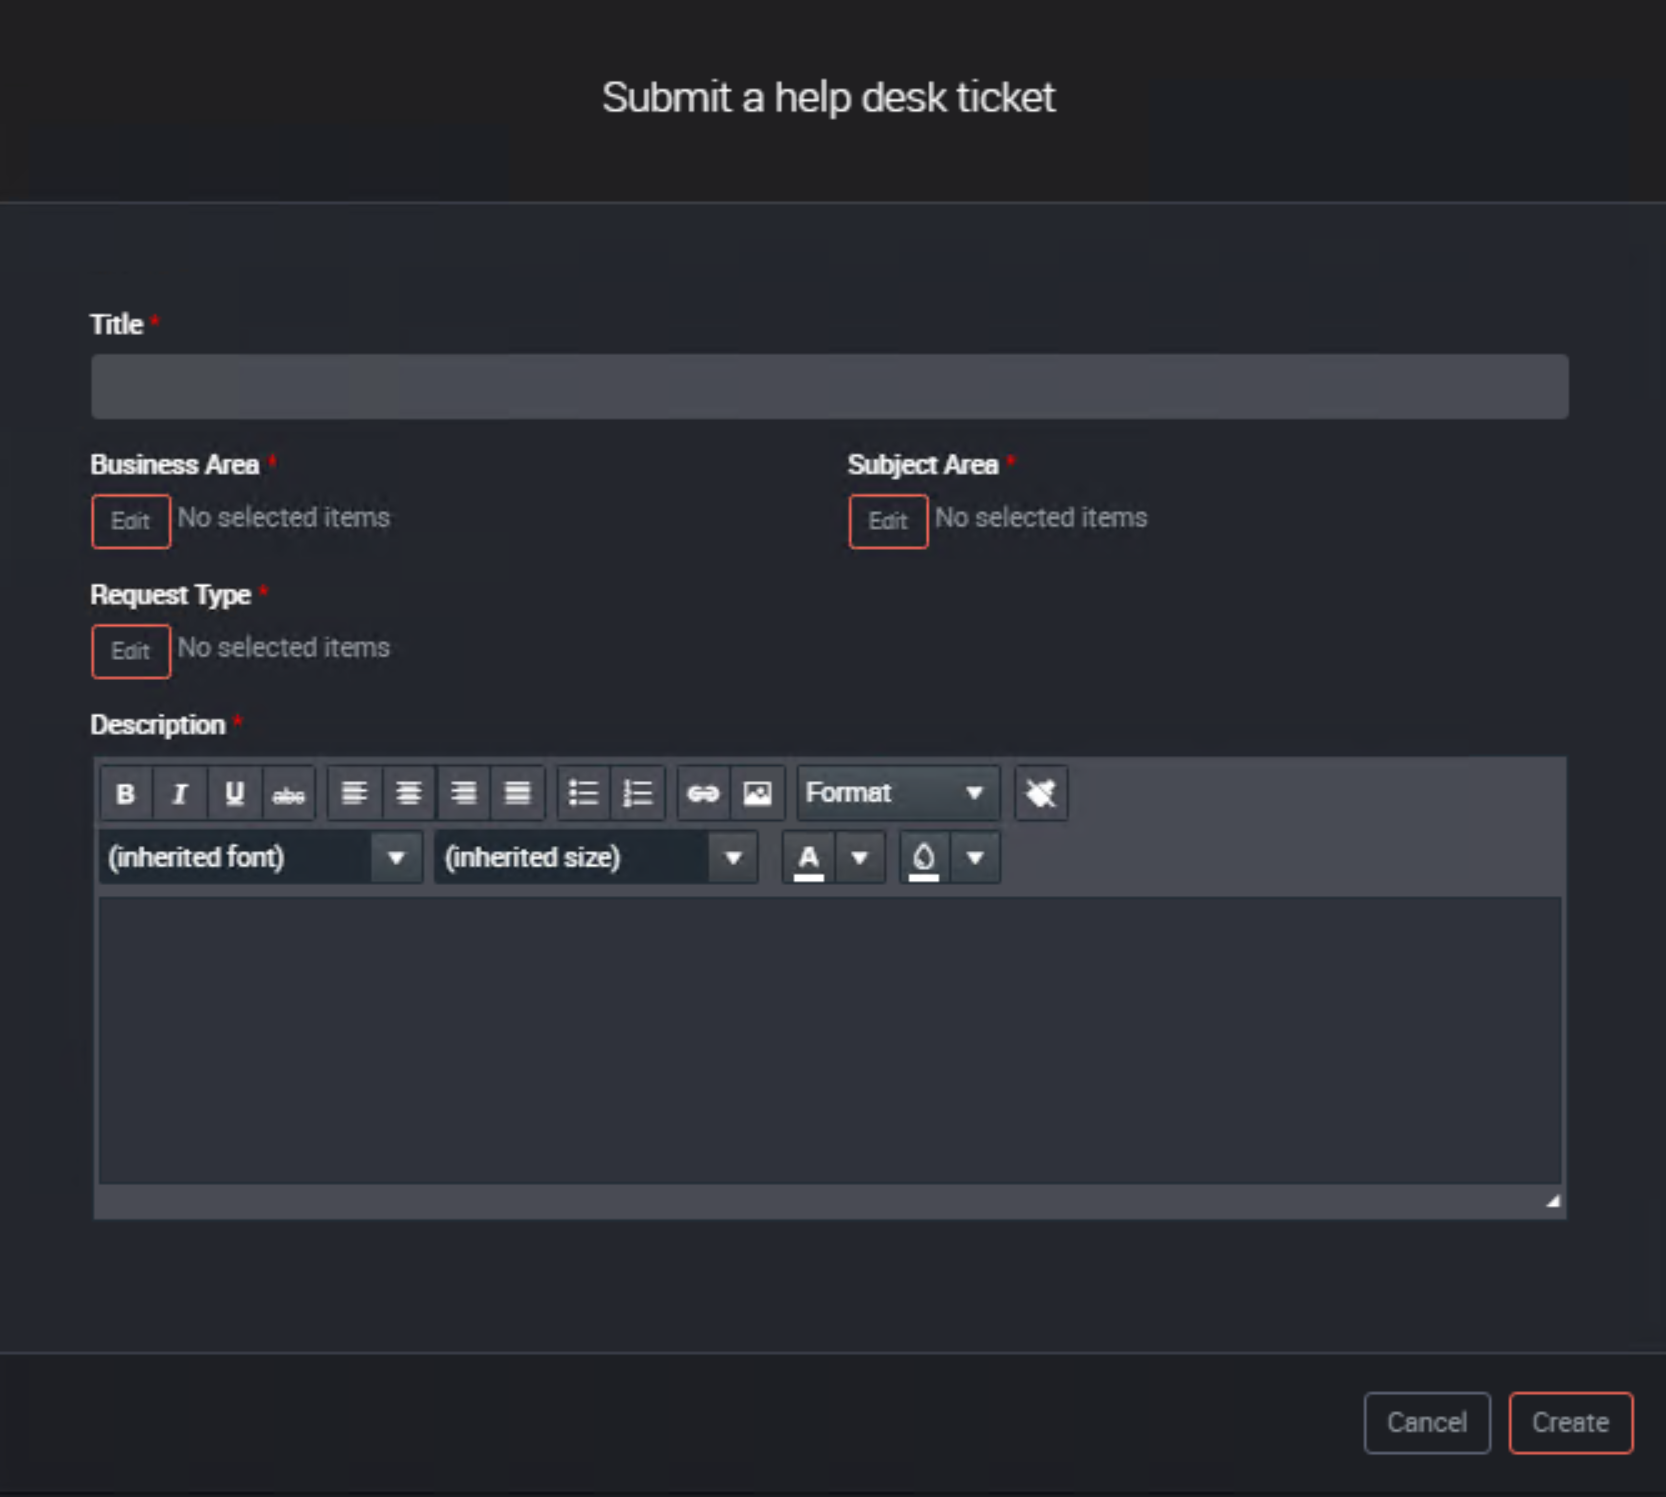
Enter a Title for the ticket (required).
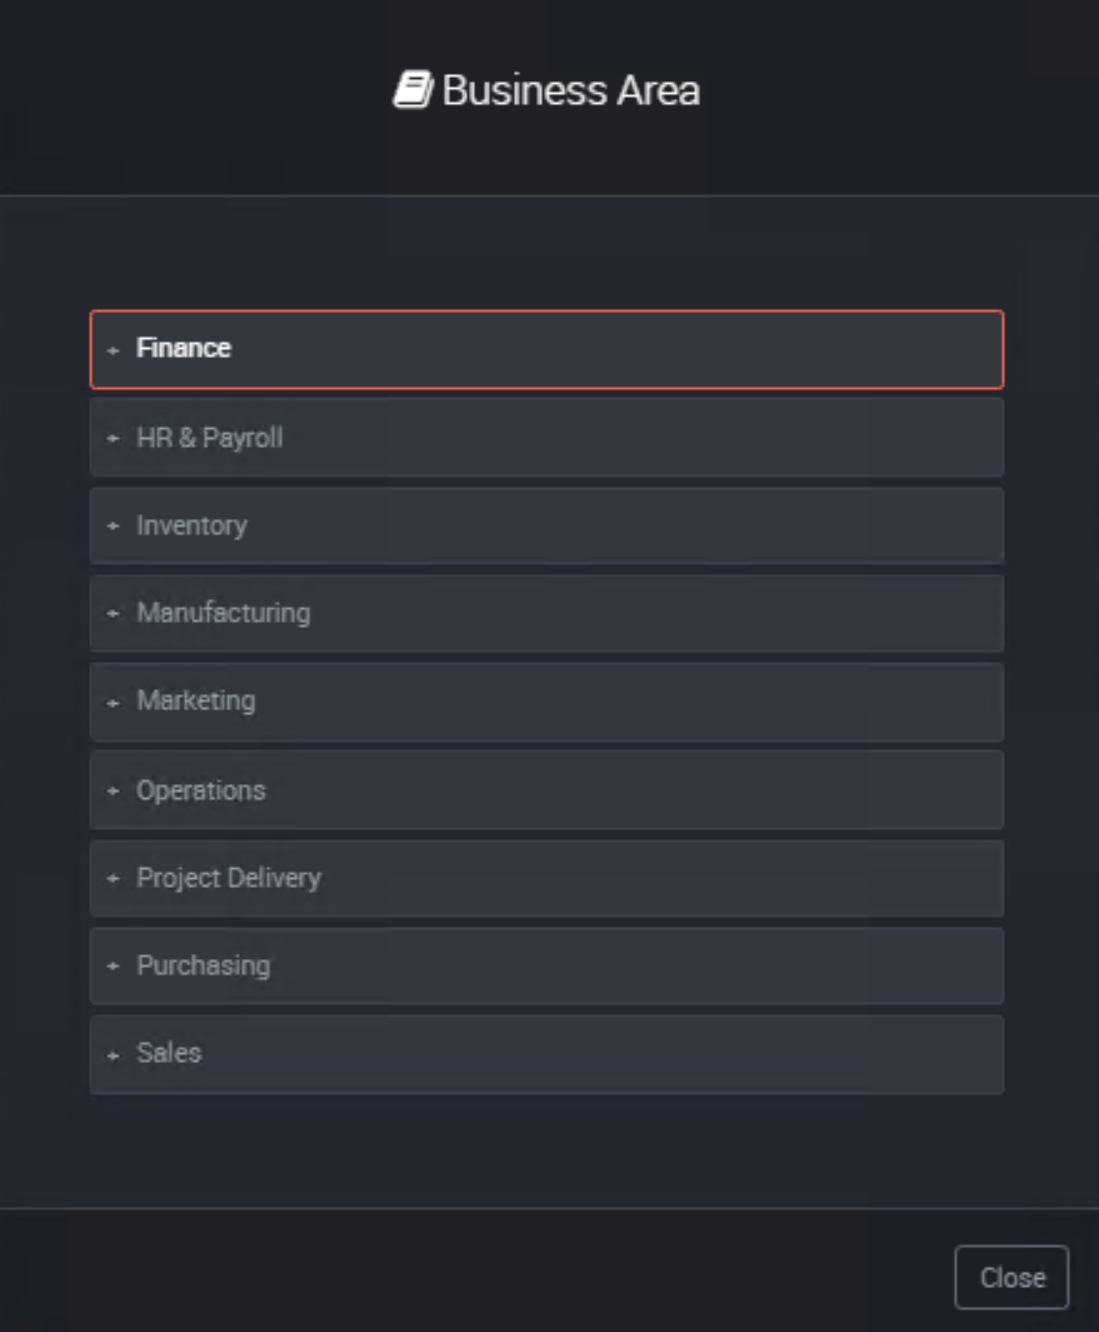
Select a Business Area (required).
You can select multiple options for this field.
This field refers to the left-hand navigation menu term set and terms. It might not be called ‘Business Area’ for you.
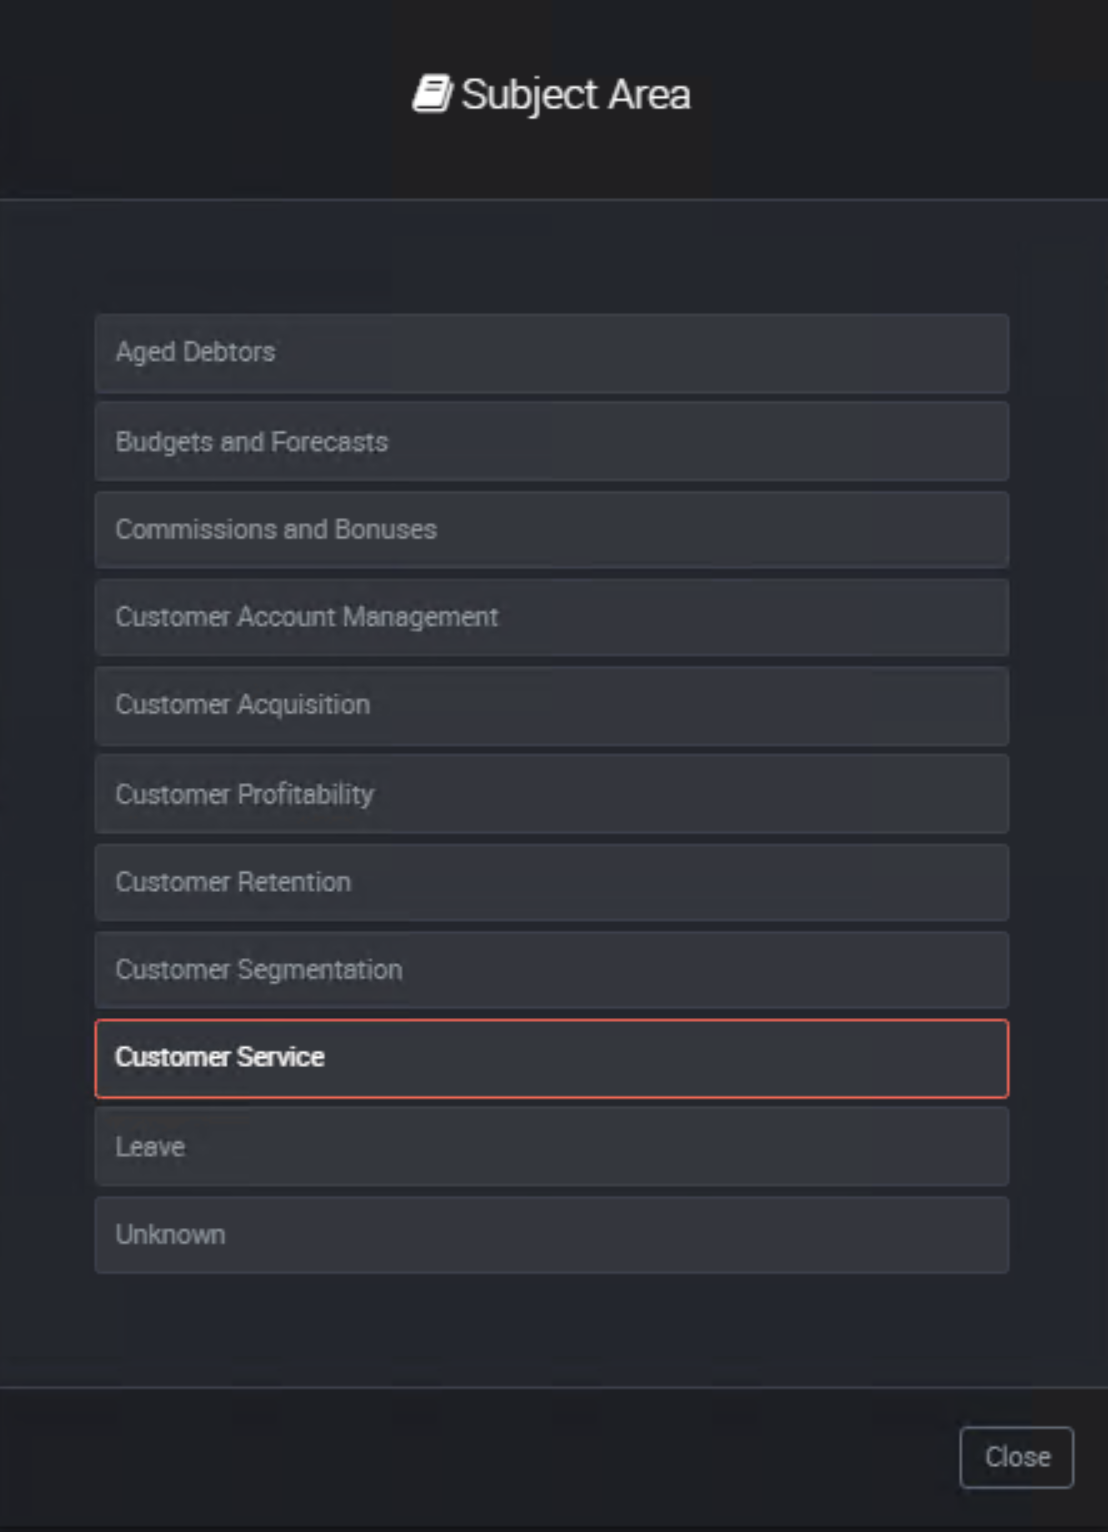
Select a Subject Area (required).
You can select multiple options for this field.
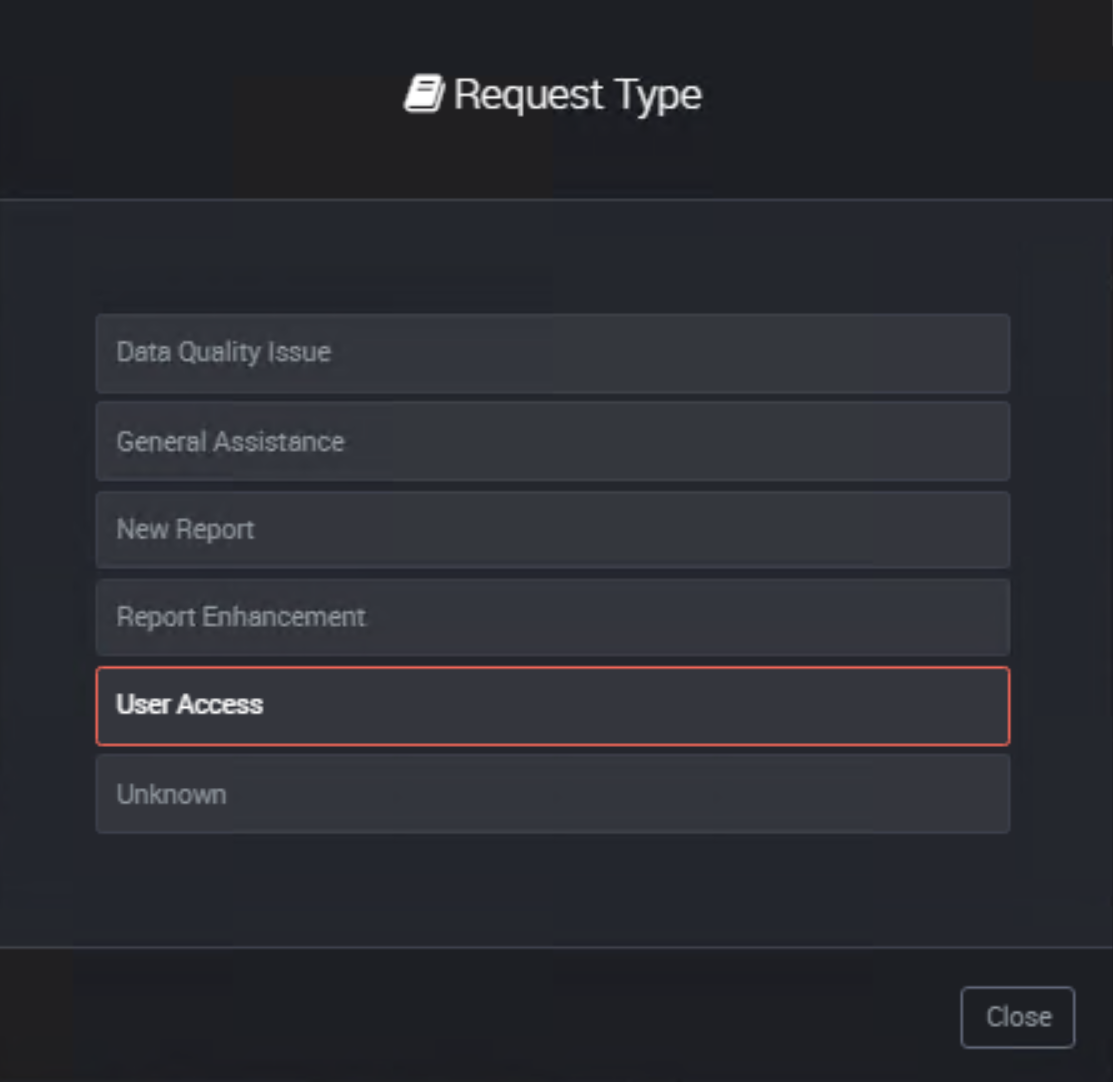
Select a Request Type (required).
Enter a Description for the help desk ticket (required).
Click Create.
How do I view my tickets?
To view tickets, click the Settings Cog icon at the top right hand corner.
Select My Tickets.

Open - displays a list of your open tickets.
Me - displays a list of tickets assigned to you.
Closed - displays a list of your closed or cancelled tickets.
All - displays a list of all your tickets.
How do I add a note to my ticket?
Tickets cannot be edited. You can however add a note to the ticket:
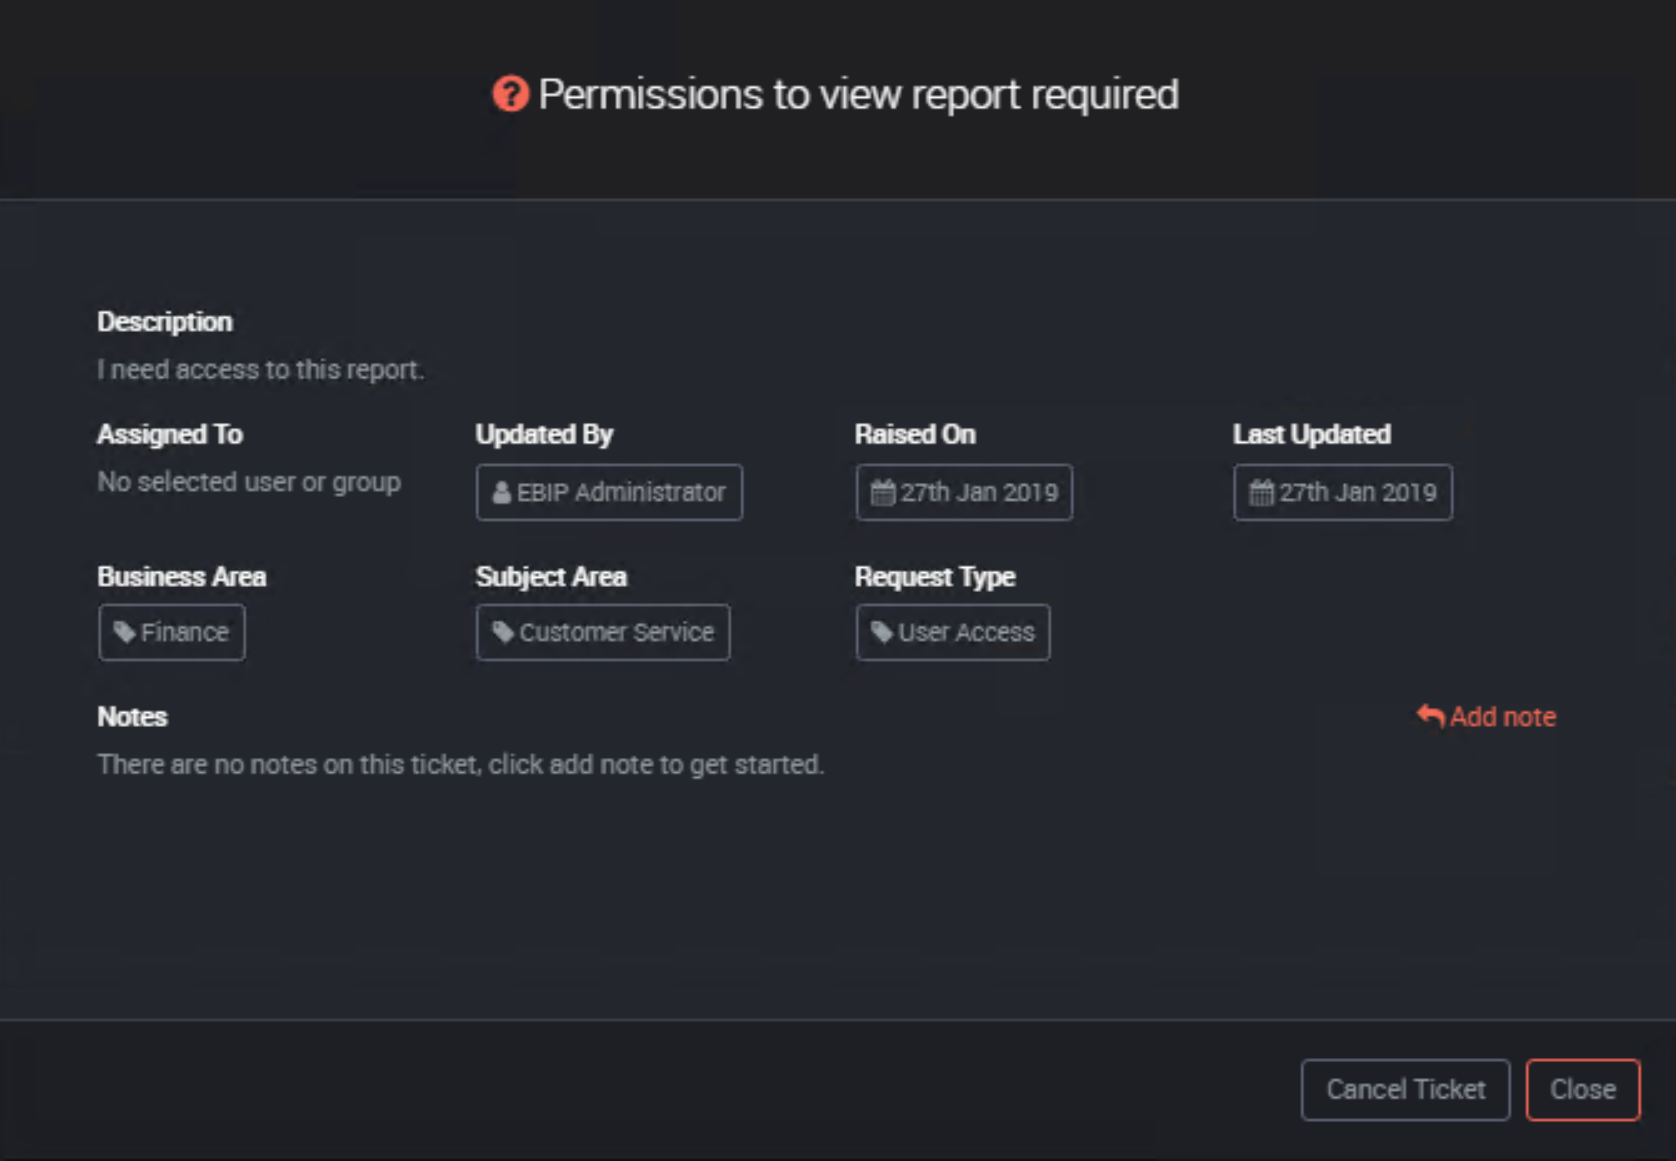
From the My Tickets list, click on a ticket.
The ticket details will appear.
Click Add Note.
Enter your message in the Note field.
Click Post.
Click Close.
How do I cancel my ticket?
From the right-hand menu, click on My Tickets.
This page will list your tickets, click on Me or Open at the top-right to filter the displayed tickets.
Click on the ticket you would like to cancel.
The ticket details will appear.
Click Cancel Ticket.
A confirmation message will appear.
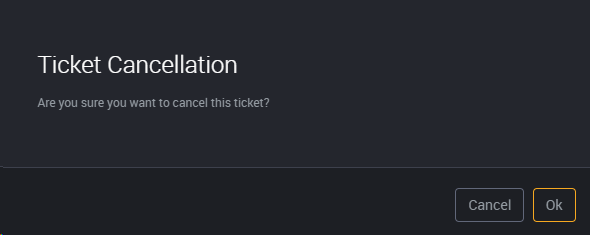
Click OK to confirm the cancellation of this ticket.
How do I delete my ticket?
Tickets should only be deleted where the internal ticketing system is no longer required.
An Administrator or Help Desk Operator can delete a help desk ticket, but we recommend that you change the ticket status instead in cases where you want to close off the ticket.
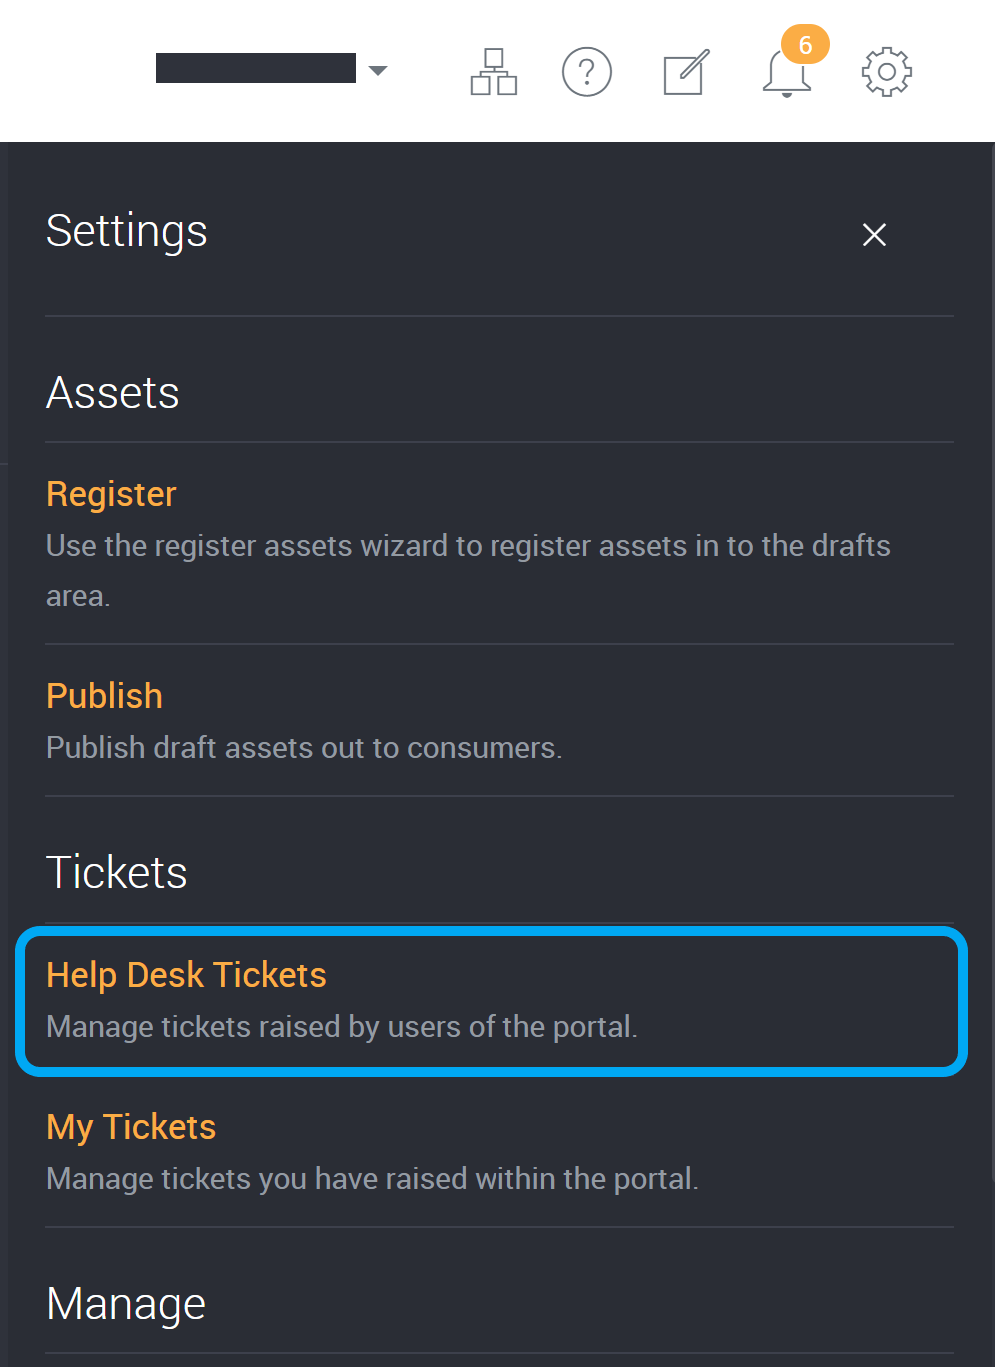
From the right-hand menu, click on Help Desk Tickets.
This page will list all tickets. You can also click on a filter at the top-right.
Click on the ticket you would like to delete.
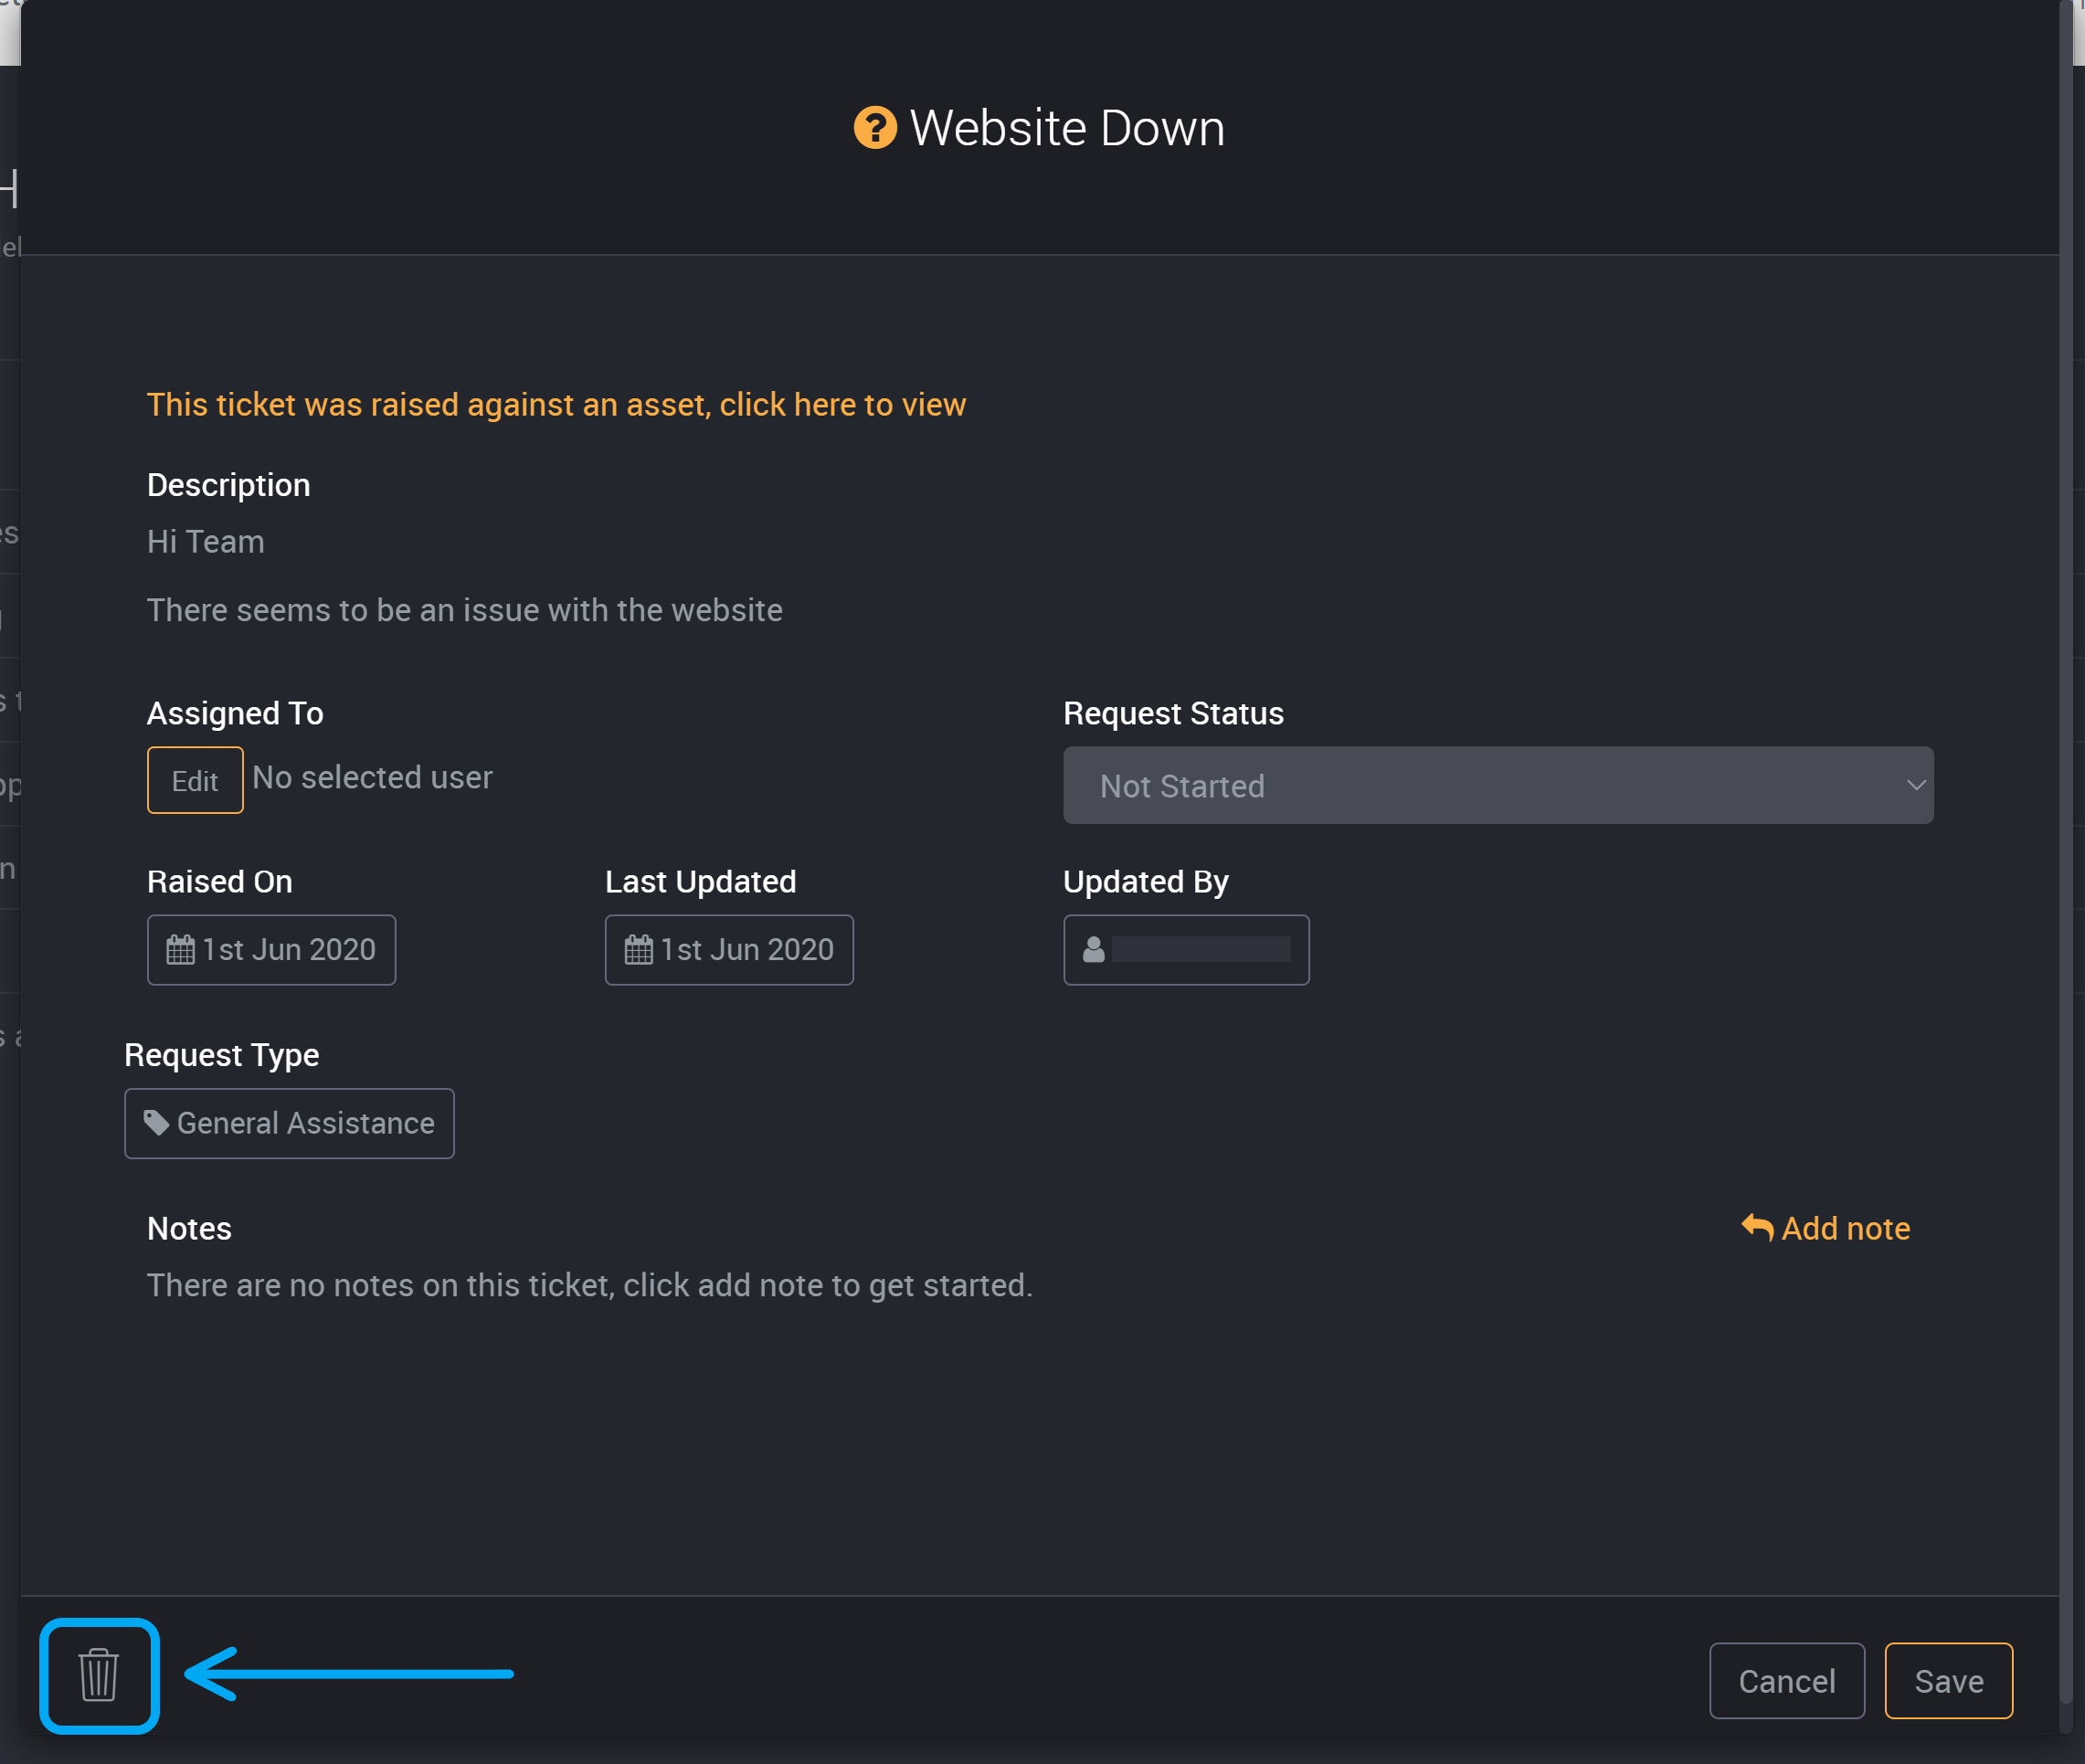
The ticket details will appear.
Click on the bin icon to delete the ticket.
A confirmation message will ask to confirm that you are sure you want to delete this ticket.
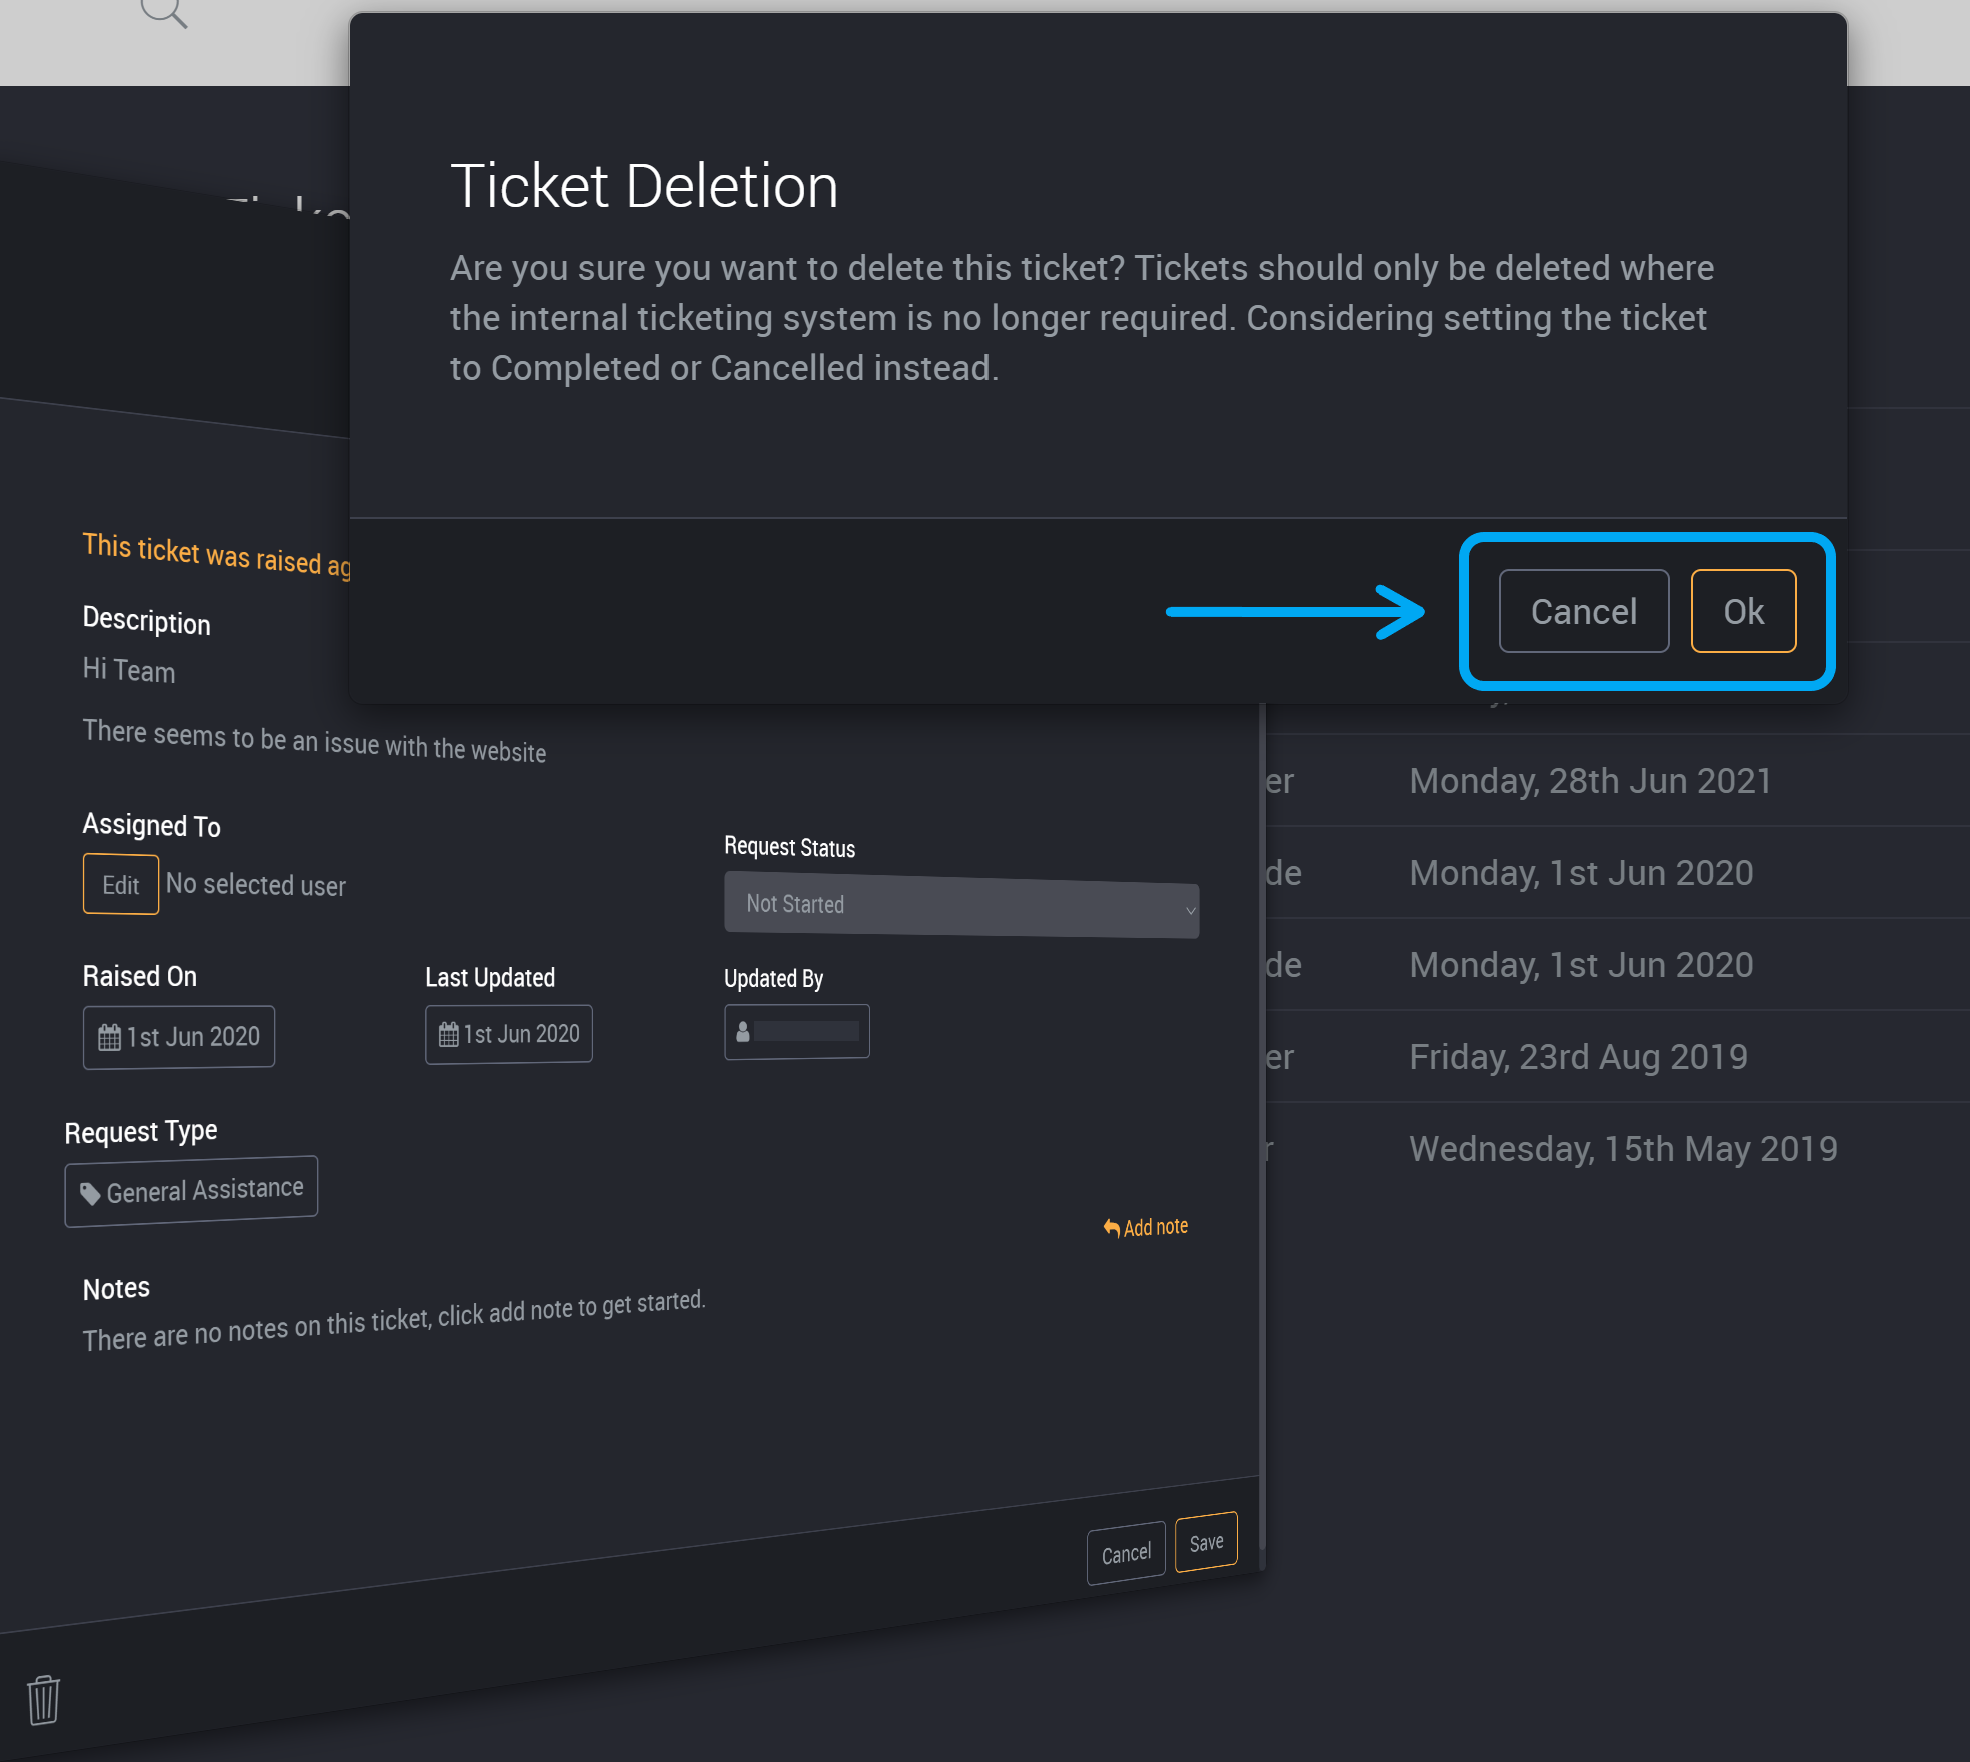
Tickets should only be deleted where the internal ticketing system is no longer required. Consider setting the ticket to Completed or Cancelled instead.
Click Ok to delete this ticket or click Cancel to change the Ticket Status.
How do I manage Help Desk Tickets (Help Desk Operator/ Administration roles)
Click the Settings Cog icon at the top right hand corner.
Select Help Desk Tickets.
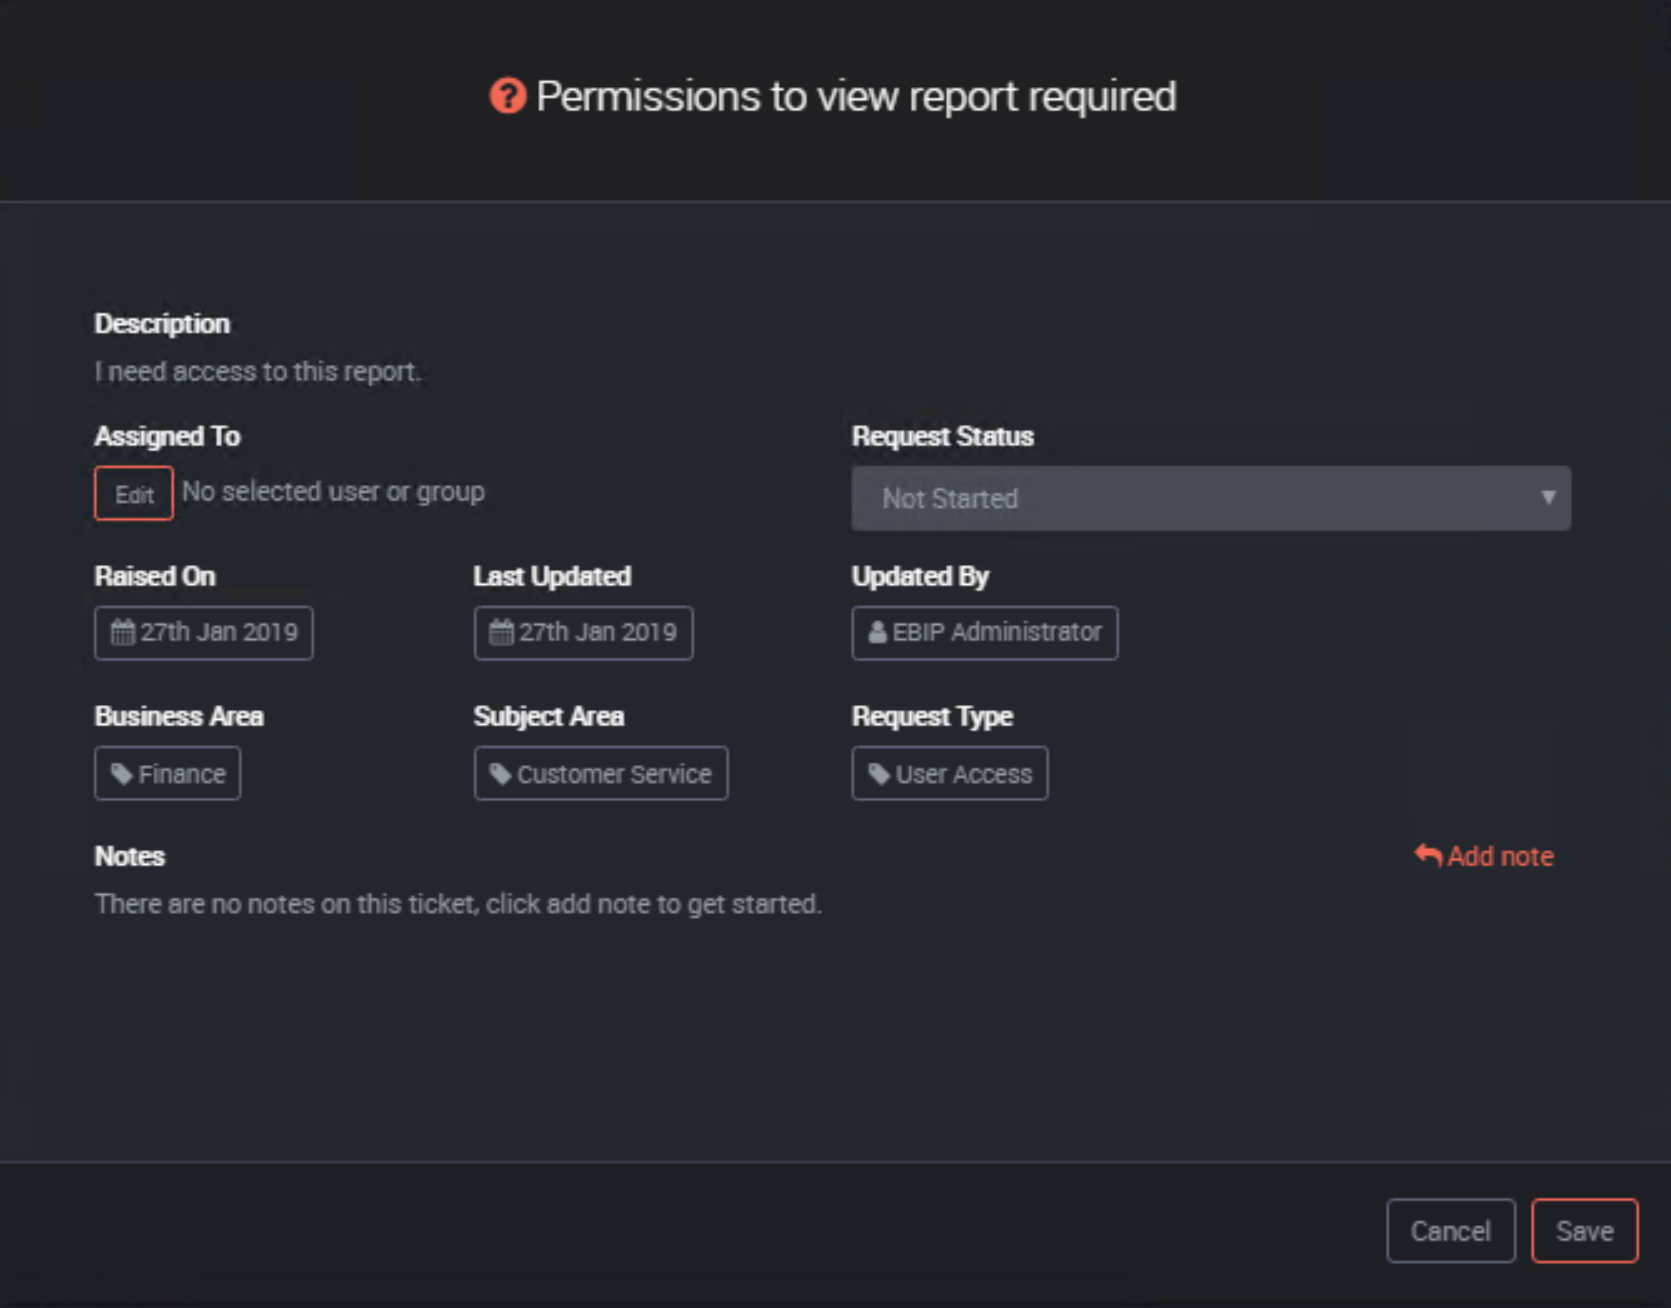
Click on a ticket.
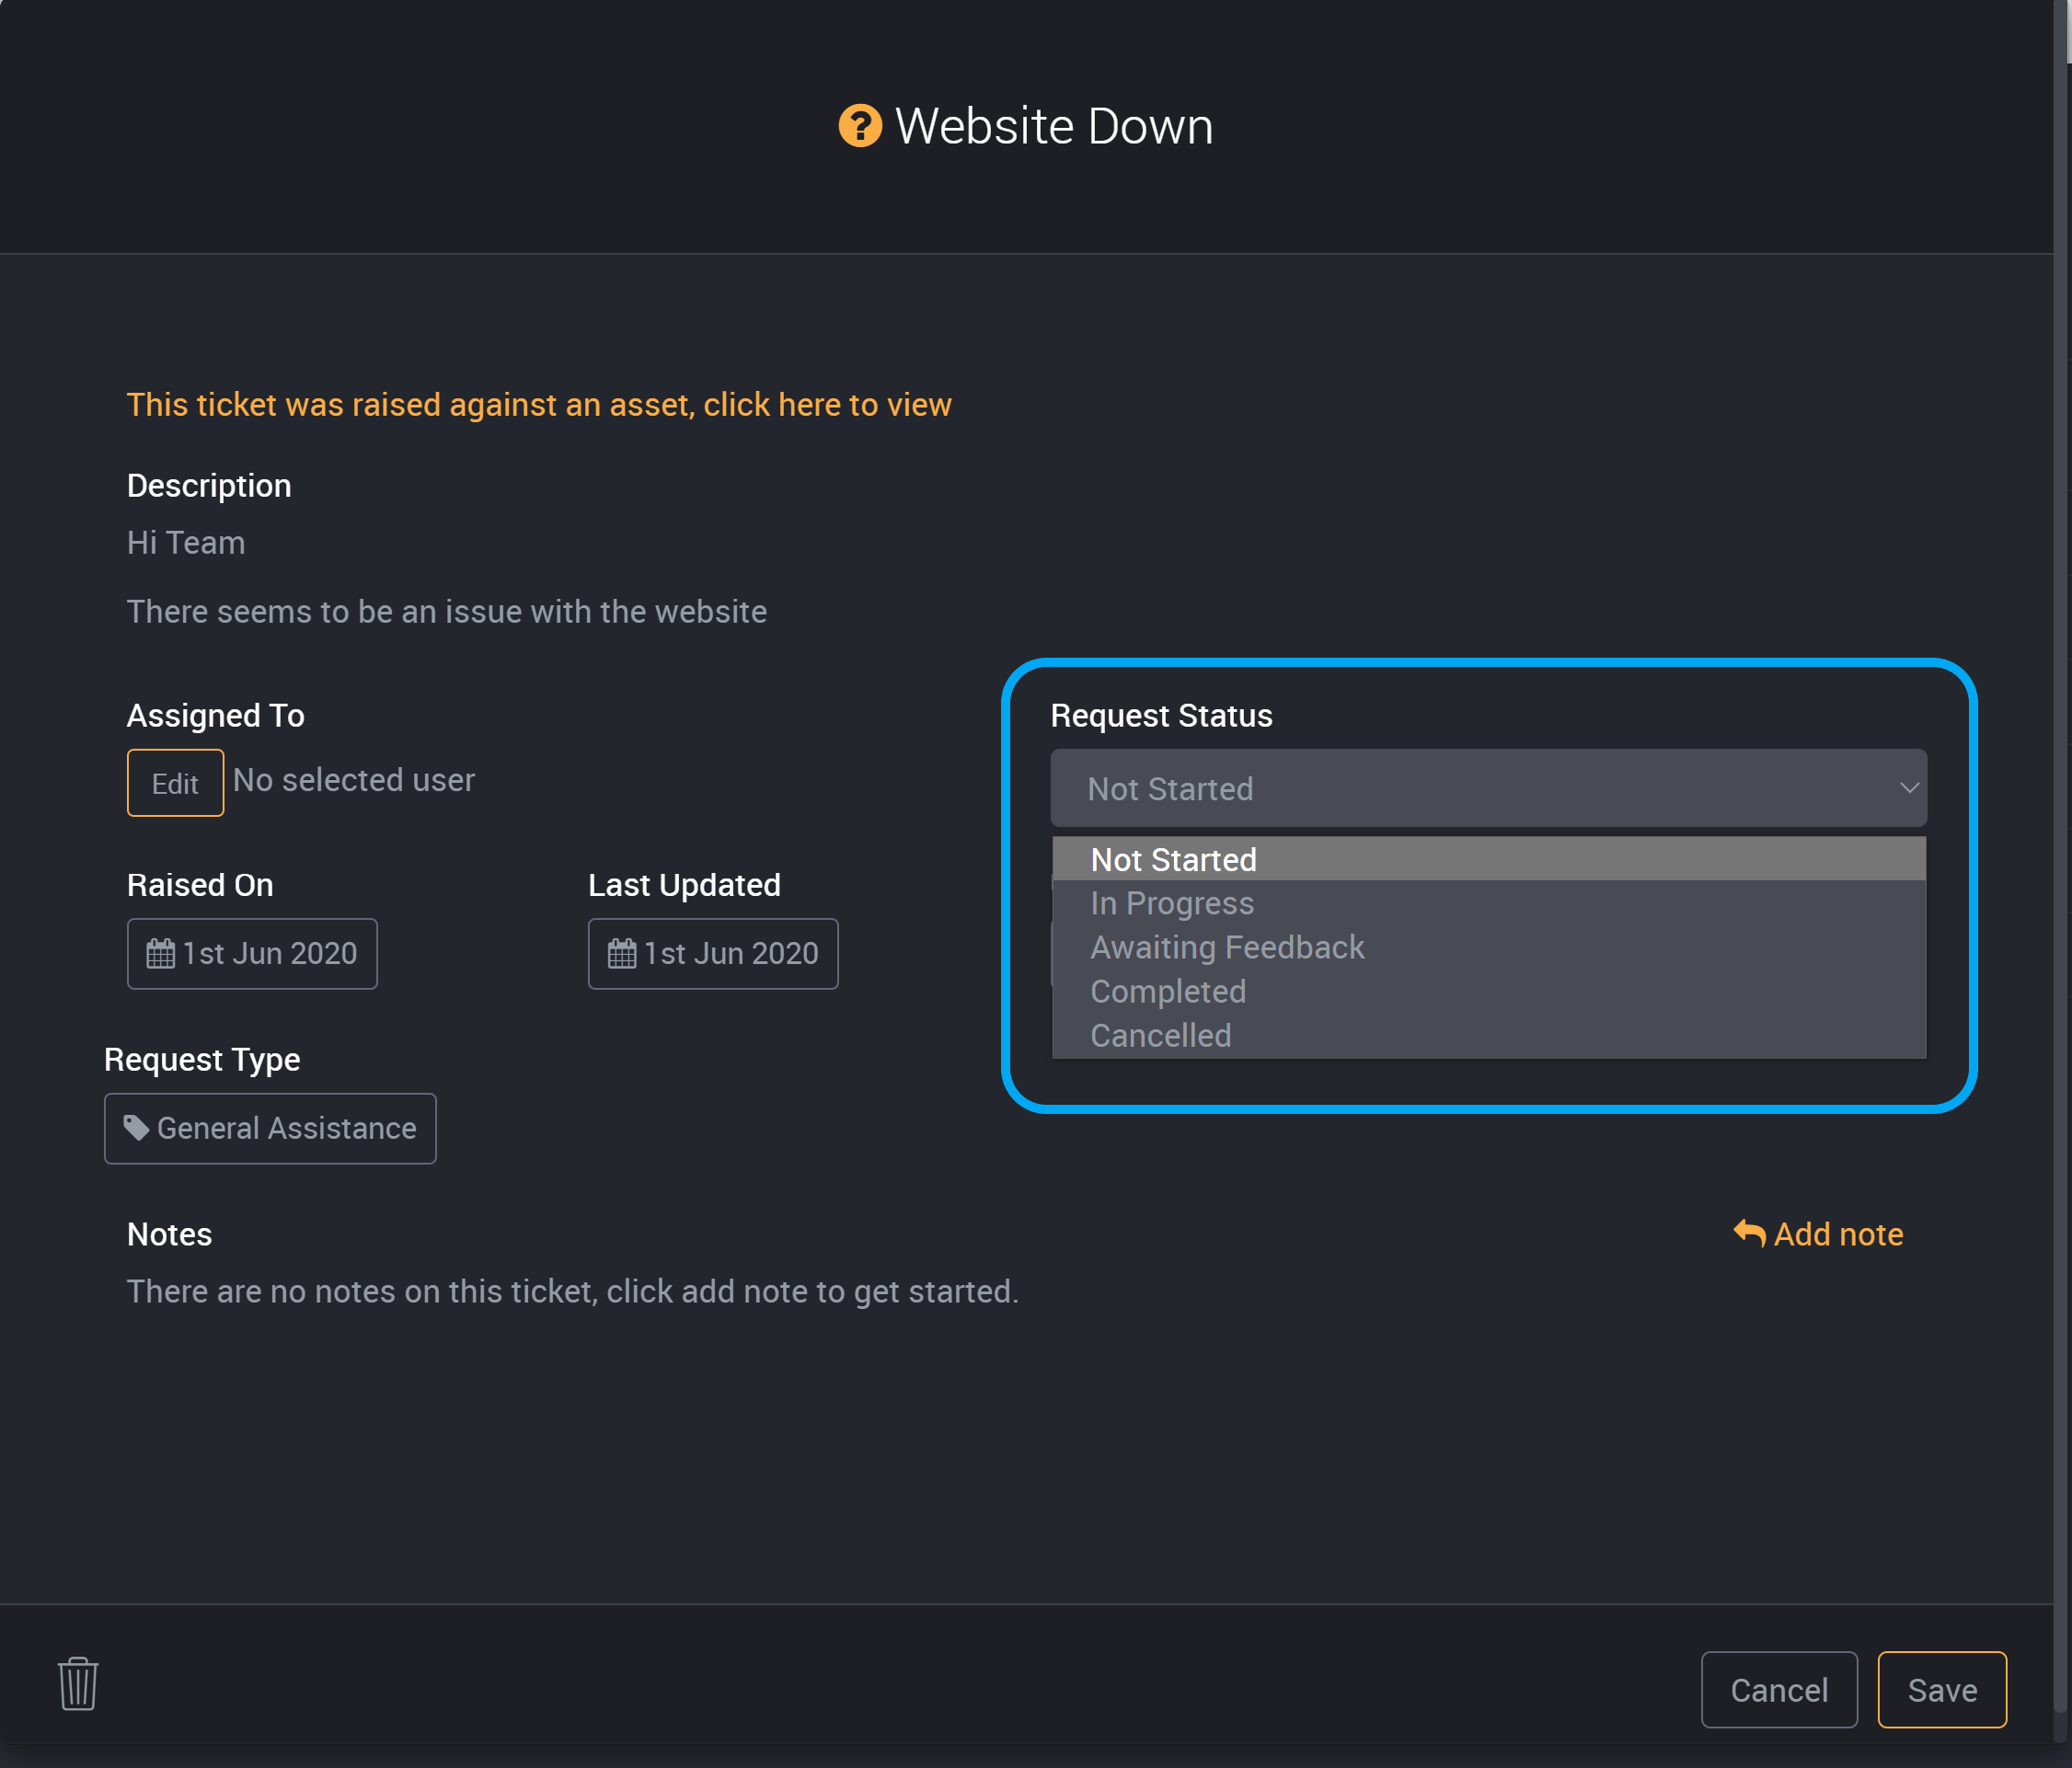
The ticket details will appear.
Click Edit under ‘Assigned To’.
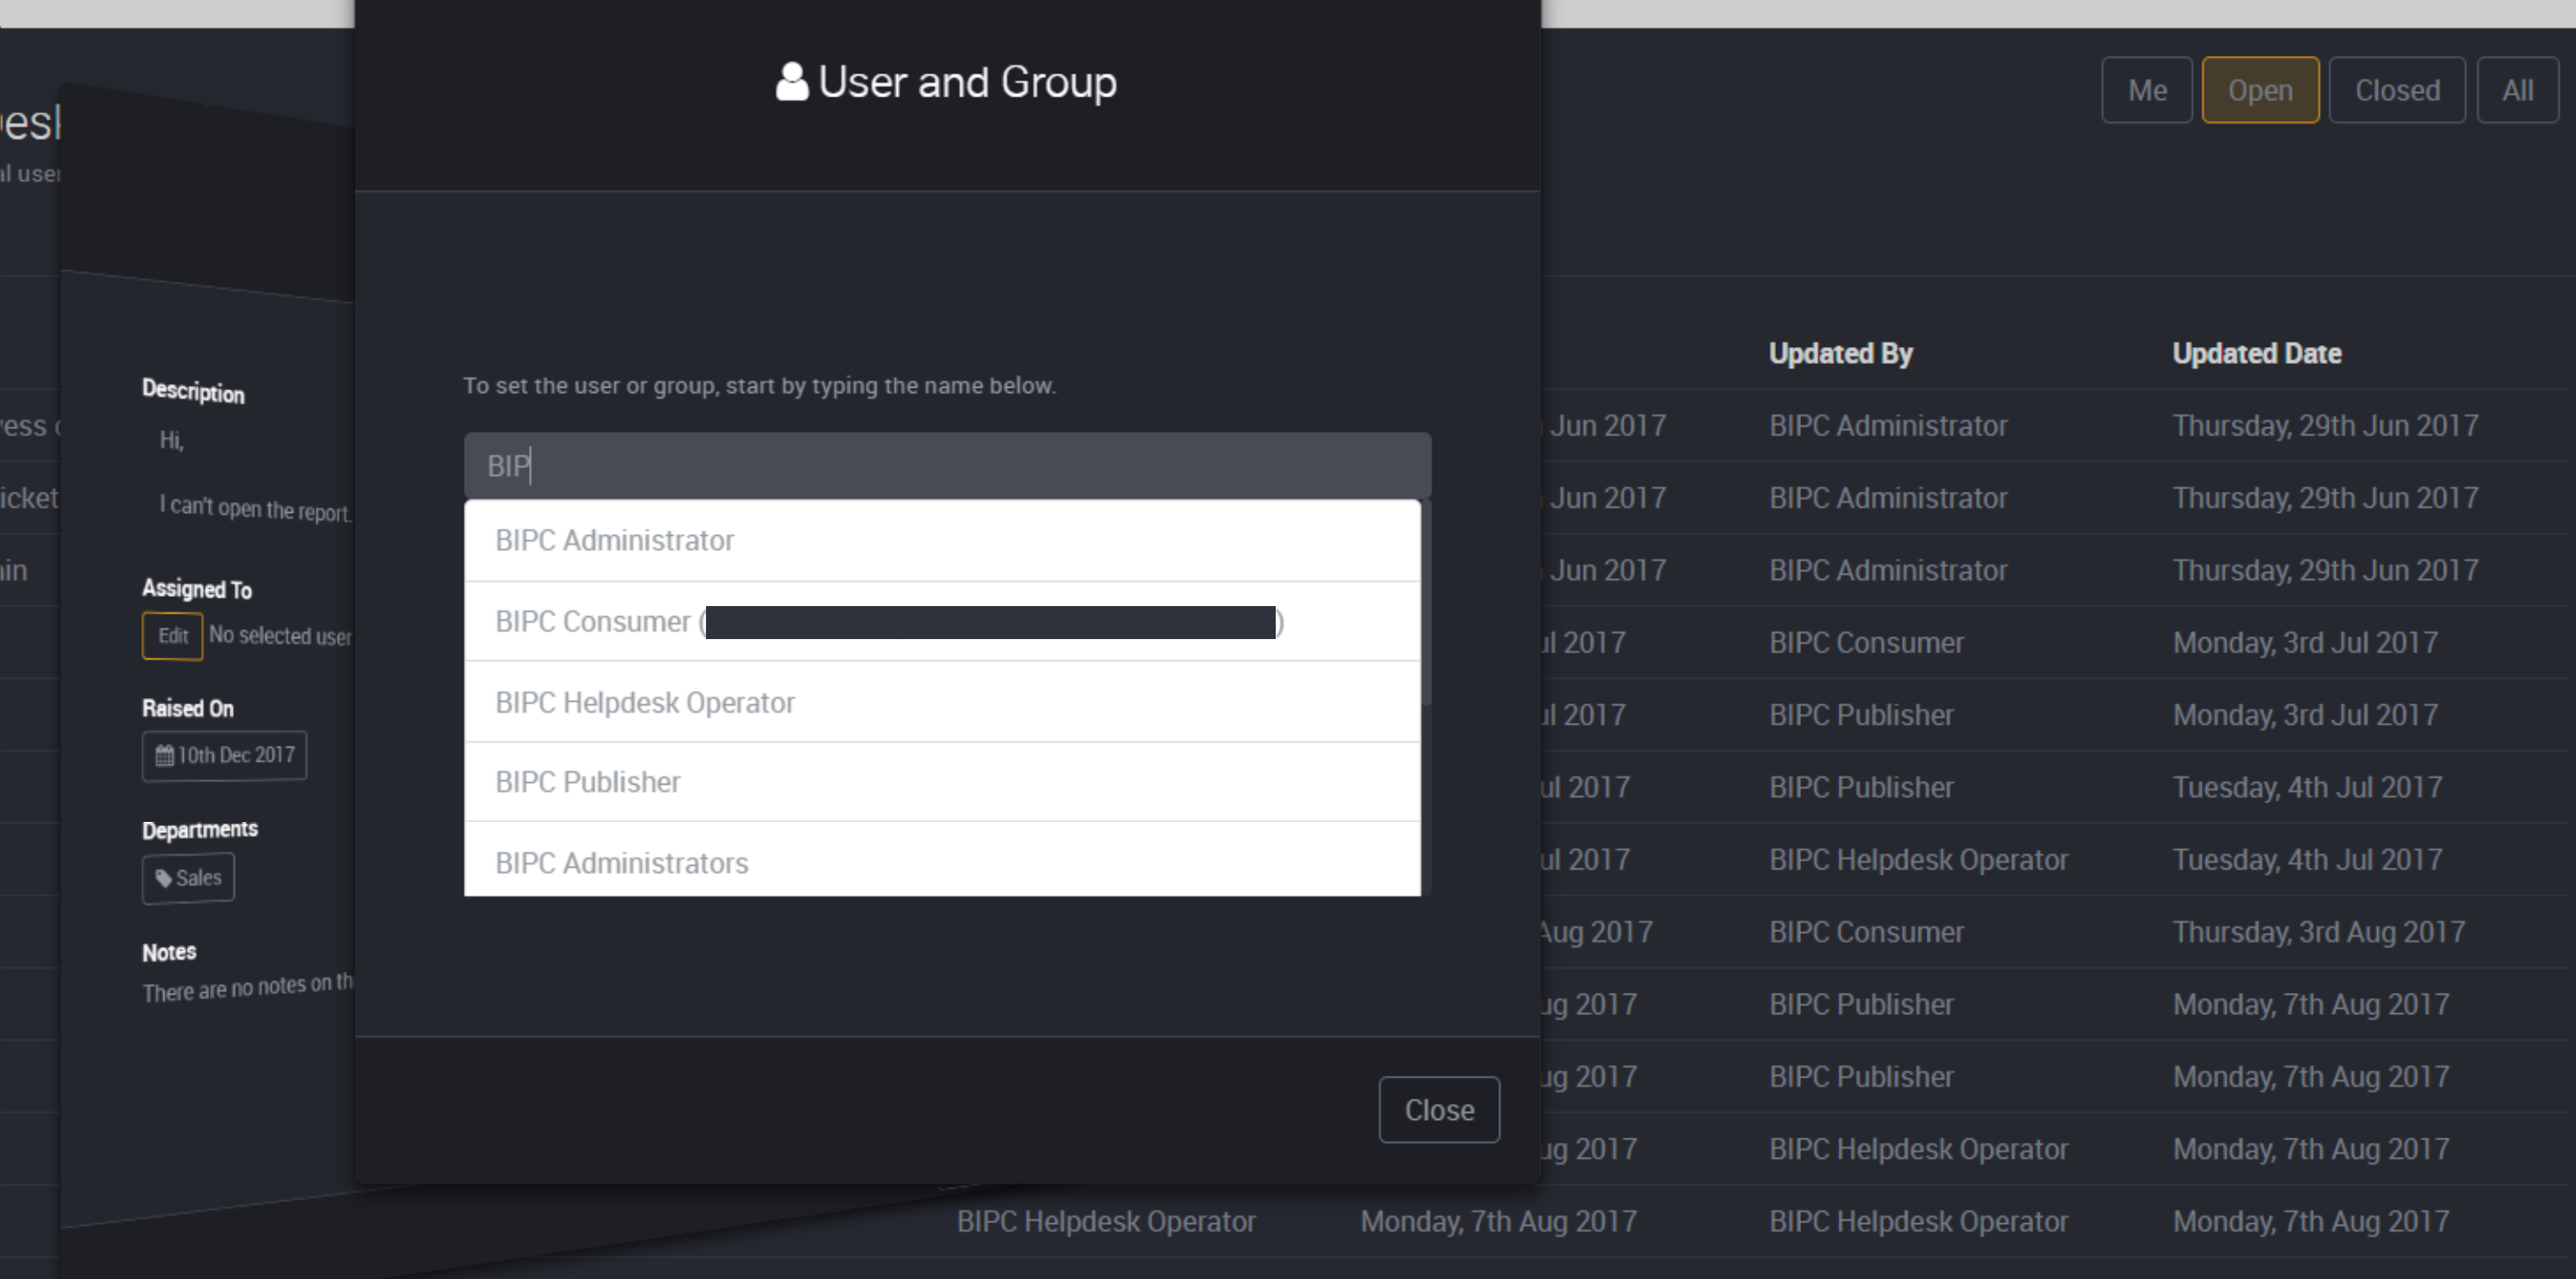
Start by typing the name into the the field. A list of users will appear as you type.
Select a user to assign the help desk ticket to.
Click Close.
Change the ticket status by clicking on the drop down box under Request Status. Select a status.
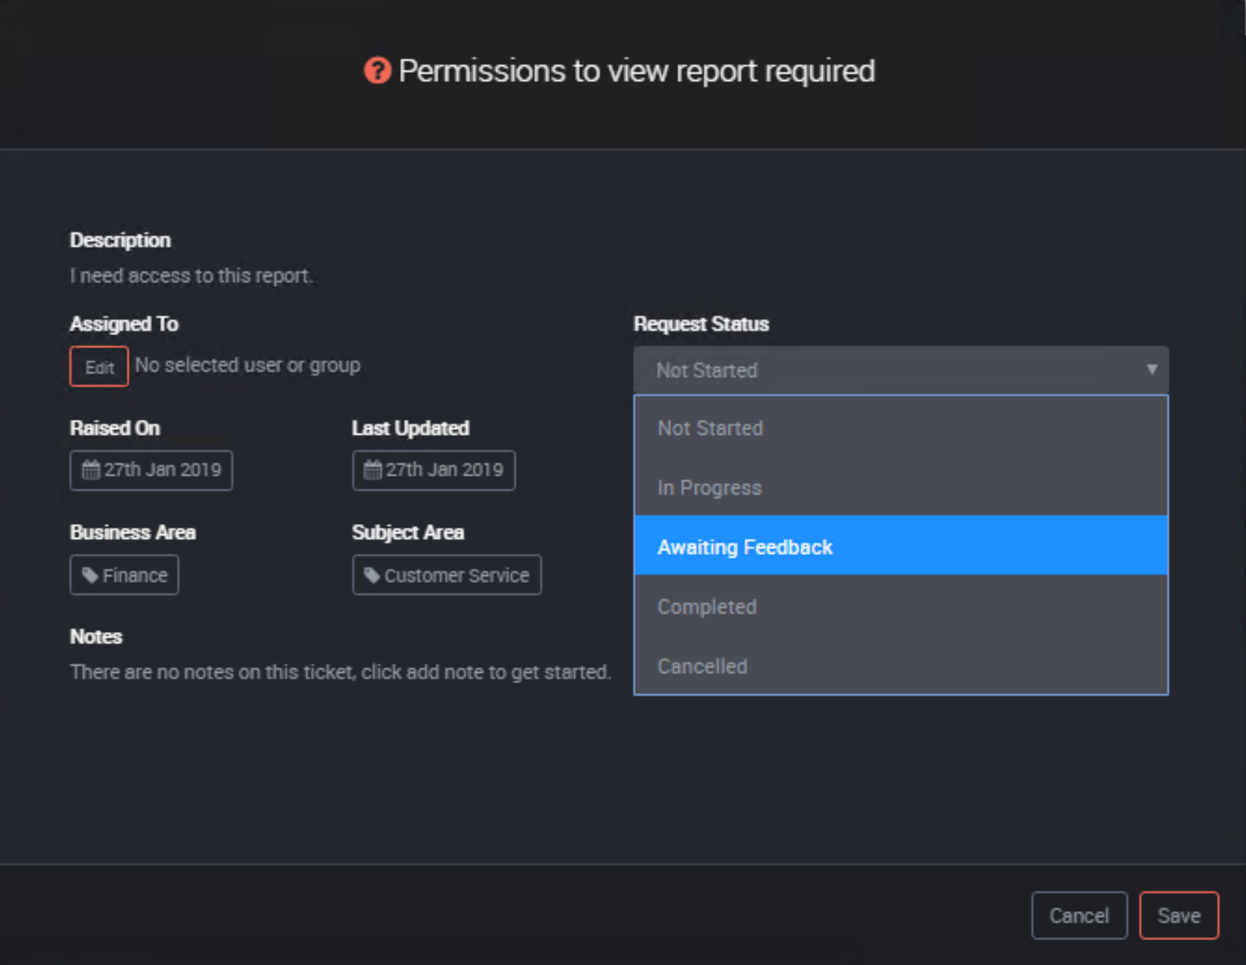
Click Save to save any changes made.