Getting Started
Now that you have installed Loome Publish, what next?
Asset Metadata
The first thing to do is to decide on and build a taxonomy that suits the business.
Navigation
Navigation is the menu item you see on the left hand side of the main screen. When you first start using Loome Publish there will already be a default Navigation installed.
You can use and expand on the default Navigation menu provided when you first install the software, or you can choose to edit these and build your own.
Term Sets
Loome Publish gives you the flexibility to define and name groups or tags according to your organisational needs. Asset metadata can be used to identify a keyword or topic of interest and facilitate a search for it. Asset metadata can also be used to logically group BI Assets. A common way to define asset metadata is by business departments and subdepartments.
For example, this could be the following for a retail business:
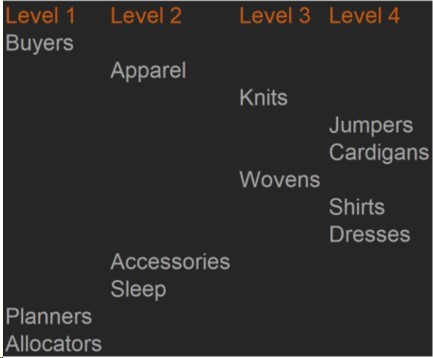
Buyers can be divided up into Apparel Buyers, Accessory Buyers, and Sleep Wear Buyers. Then the level 2 Buyers can be further broken down into Apparel/Knitwear and Apparel/Woven. Similarly, this can further be taken down another level into Apparel/Knitwear/Jumpers and Apparel/Knitwear/Cardigans, etc. This situation is ideal for reporting on budgets, forecasting, trends, and actual dollar figures.
Another way to define asset metadata is by use of data.
For example, a business might use Loome Publish as a governance framework and their asset metadata might look like this:
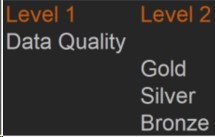
Is the data of gold, silver, or bronze standards?
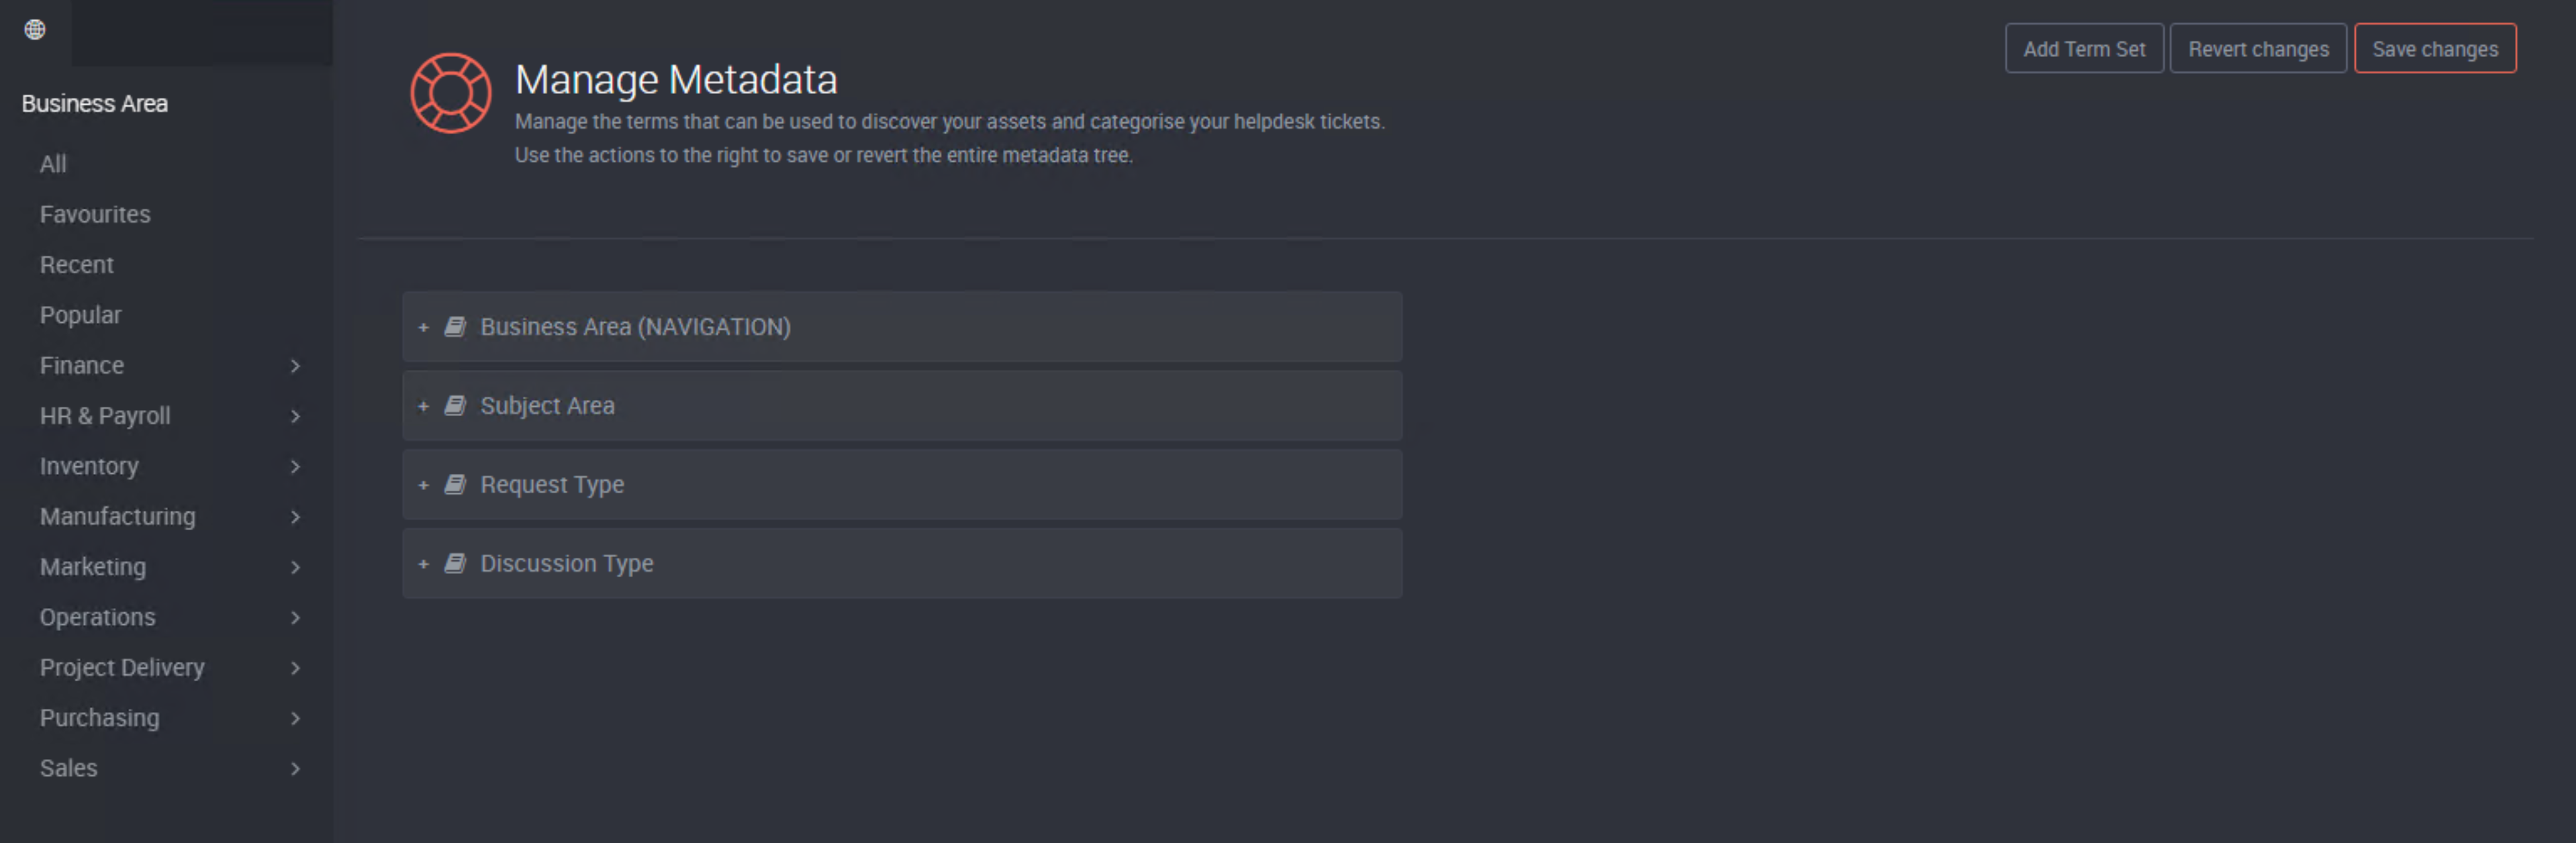
Term sets and terms can be set up in Loome Publish to suit different businesses. They help in searching and differentiating your content so the more term sets you add to your asset the better. Metadata for assets can be customised and managed in the Metadata settings under the Settings Cog.
Follow these steps to set up your asset metadata.
Audiences
Audiences are a group of people at whom assets are aimed at. The purpose of audiences is to restrict what information can be seen and which users may see this information within the organisation. Loome Publish allows you to assign audiences to the left-hand navigation menu terms and their child terms, and to Tile Layouts. The users can only see the content if they are part of the assigned target audience. This is especially helpful when tailoring an individualised navigation experience for business users.
Make sure that you assign the correct audiences to terms which are sensitive and should only been visible to certain users.
Follow these steps to assign users.
Application Roles
Next, you will need to identify application role memberships.
Application roles allow groups of users the permissions to perform specific tasks.
Loome Publish comes with six default application roles.
These are:
- Administrator
- Help Desk Operator
- Publisher
- Consumer
- Data Steward
- Data Reader
The table below shows these roles and their permissions.
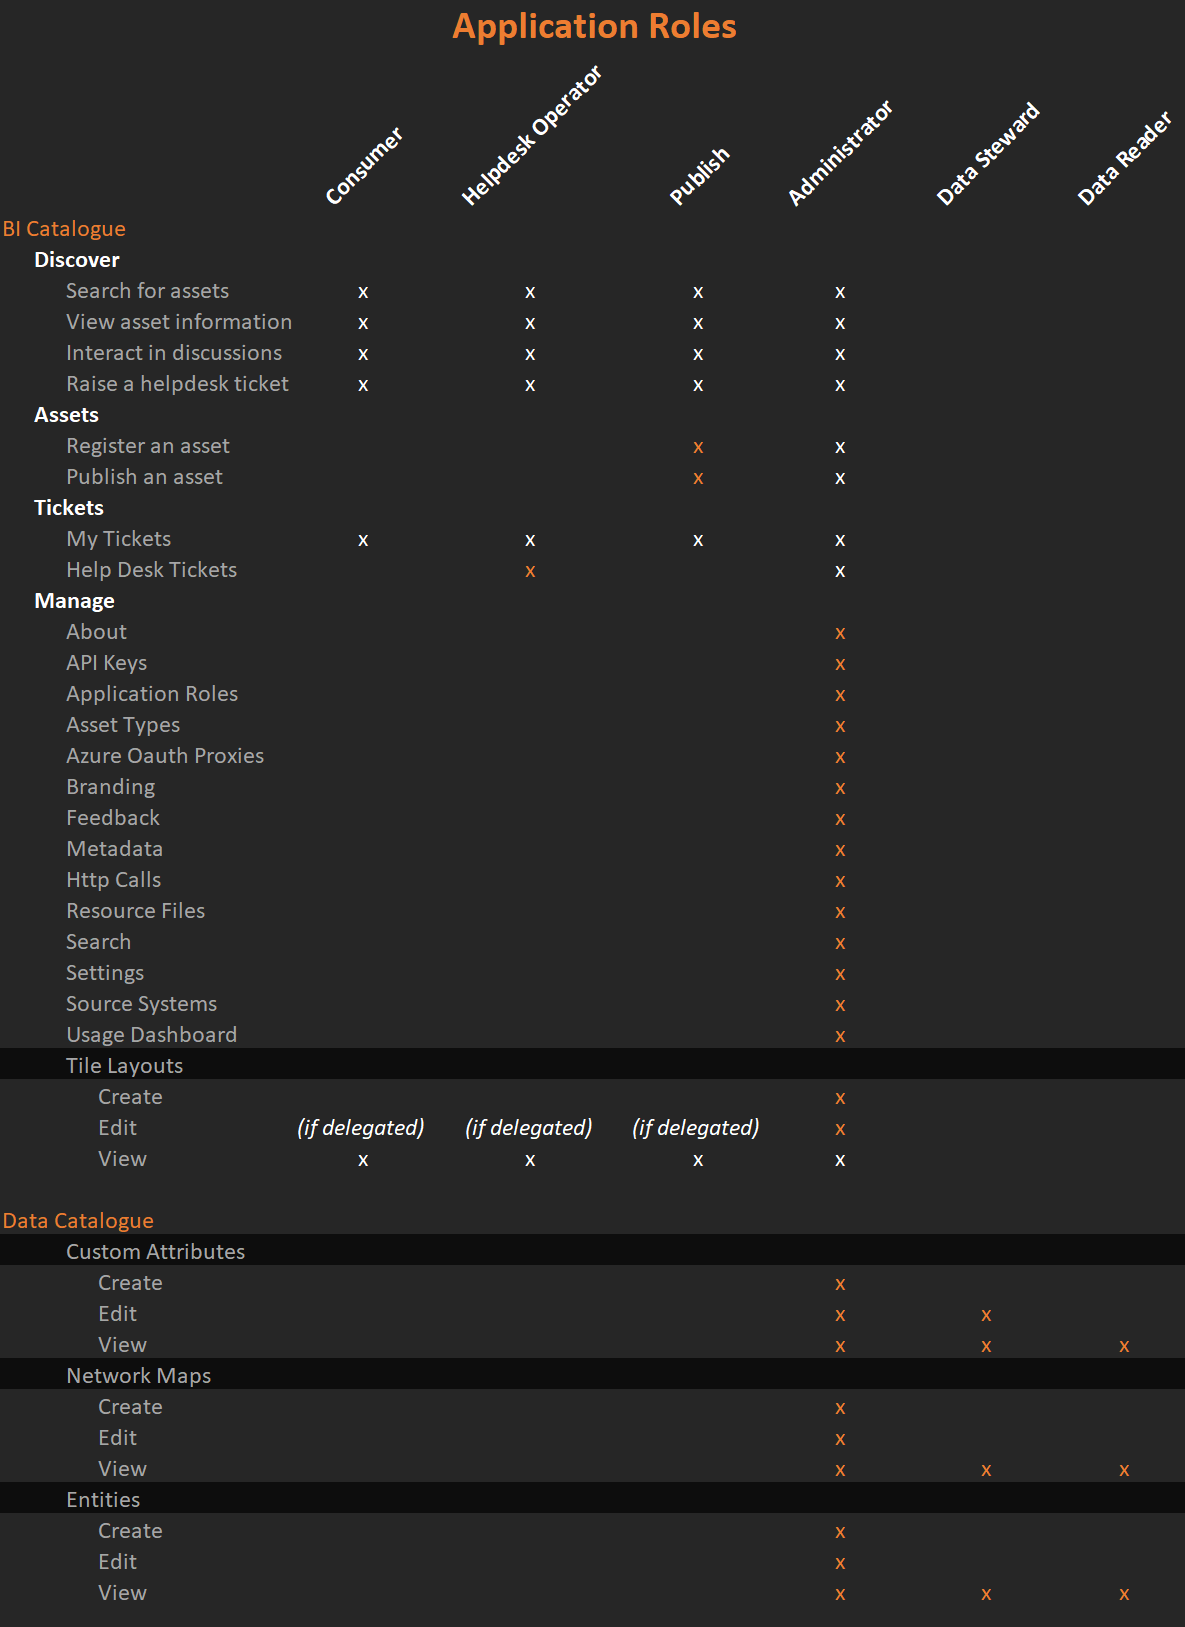 In this table, the white crosses are common permissions across roles, while the orange crosses are additional permissions to particular roles.
Application roles is the group in which a user belongs to. For example a publisher role allows the users of this group to publish content on top of the general discover asset functions. Particular roles will only be able to perform specific tasks. Assigning users to roles does not specifically determine what they can or cannot see. To add further security to content, you will need to explicitly assign users to the asset, layout, or discussion. The audience feature ensures that only the target user or group of users can see the content. Thus adding an extra layer of security.
Think about which users should be able to perform what roles. What are their restrictions? Follow these steps to assign groups or users to specific application roles.
Content
Now you are ready to add content into the system. Making an asset visible to users across the organisation is a two step process. Assets first need to be registered in Loome Publish and then published. There are two ways of registering an asset:
• Manually • Using a data source
Follow these steps to register your asset.
After registering your asset you will need to publish it. The next step is to configure the required metadata from the asset Information tab and then publish the asset. Assets registered manually or via a source system will appear in ‘Draft Assets’ under the Settings Cog in Publish.
Follow these steps to publish your asset.
After you have registered and published the asset it will become visible to the assigned areas of the Navigation menu.
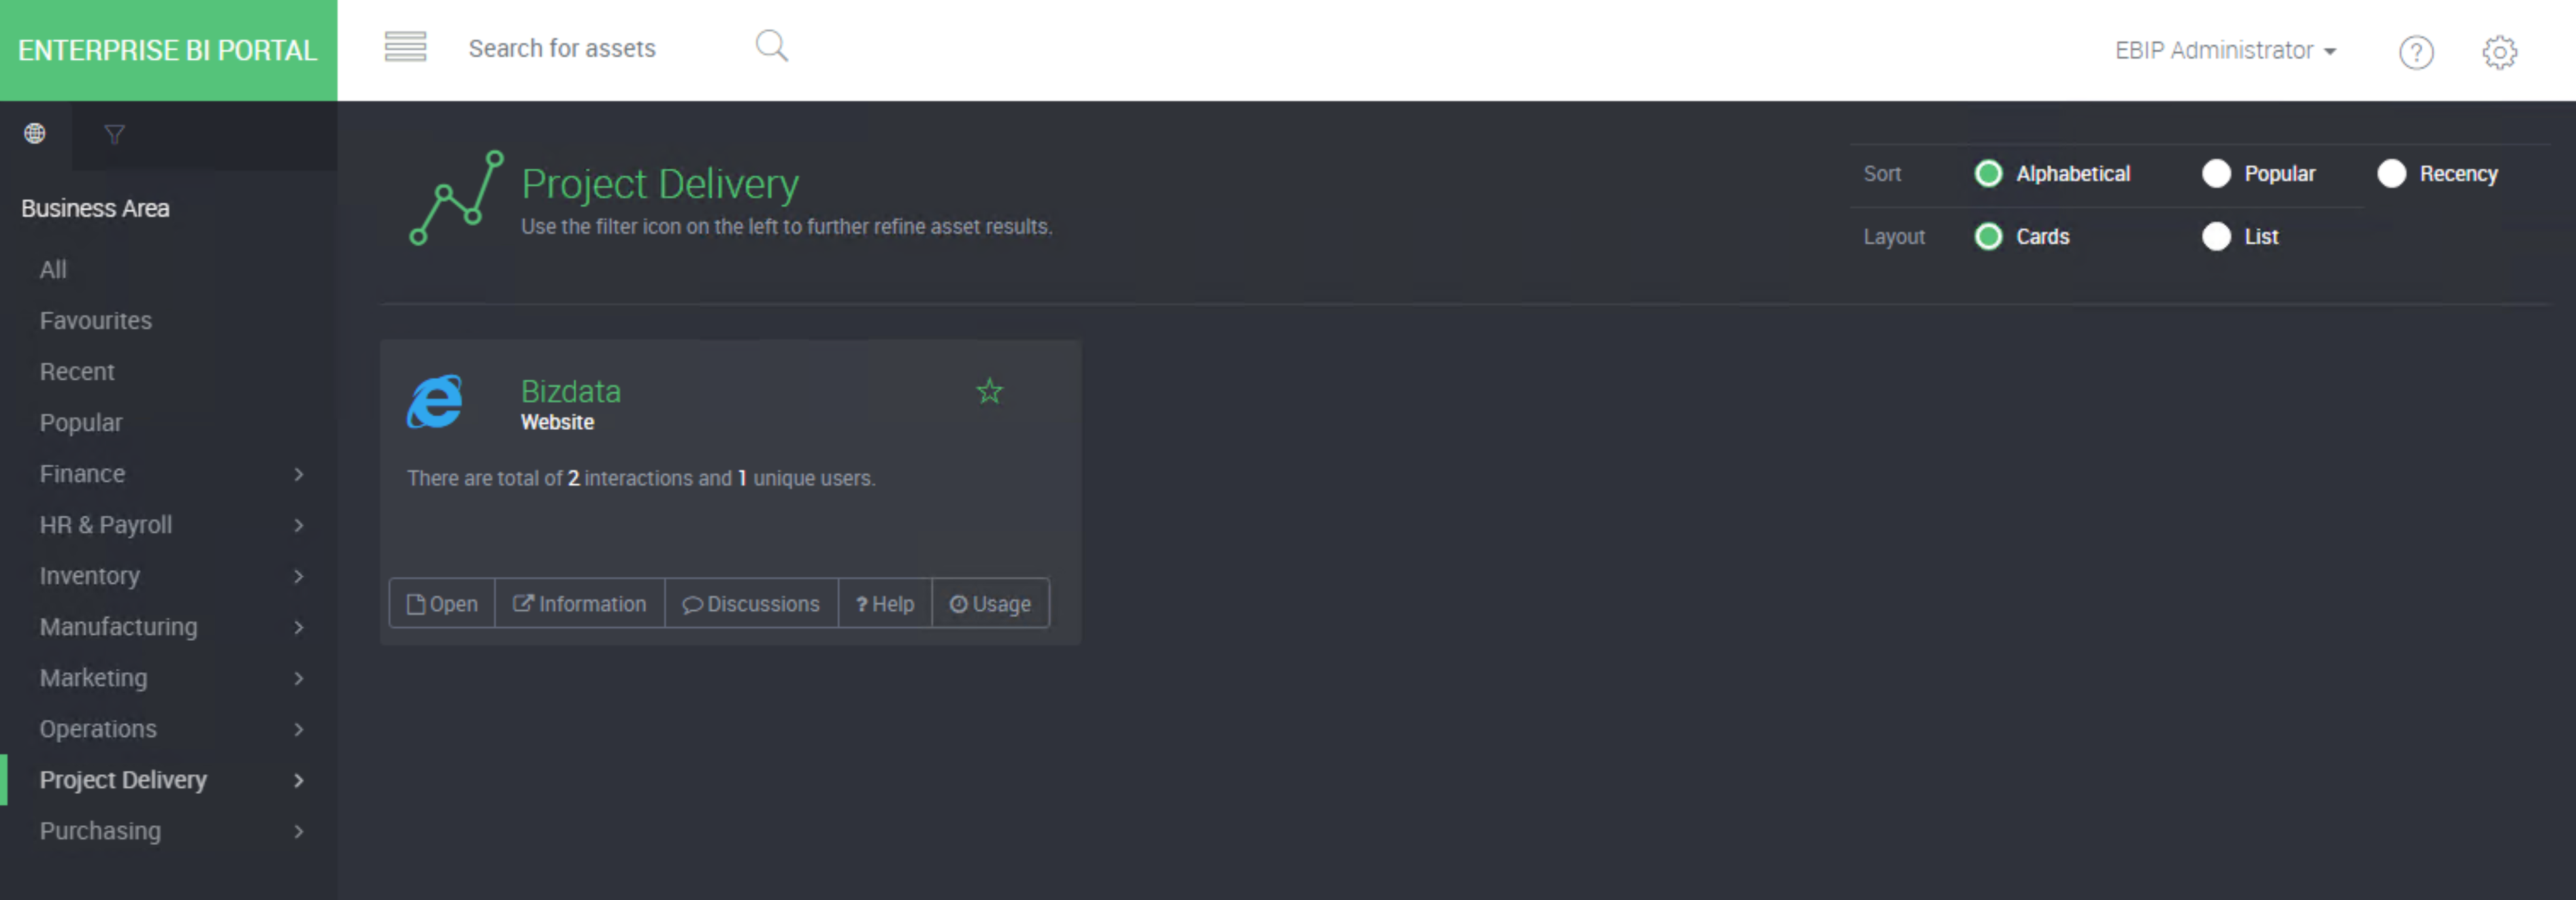
For example, the ‘Loome’ asset was assigned to the Project Delivery department. It will now appear under the Project Delivery reports.
Layouts
The next thing to do is work out a strategy for the tile layouts. Tile layouts allow you to provide high level information to targeted audiences. You can build and customise layouts for particular groups. For example, you can have a layout for Executives with those high level figures they want to see daily to make those important business decisions. Or a layout for the Finance team with financial figures for budgeting. Or even a Sales layout with crucial sales targets, revenue, and forecasting highlights.
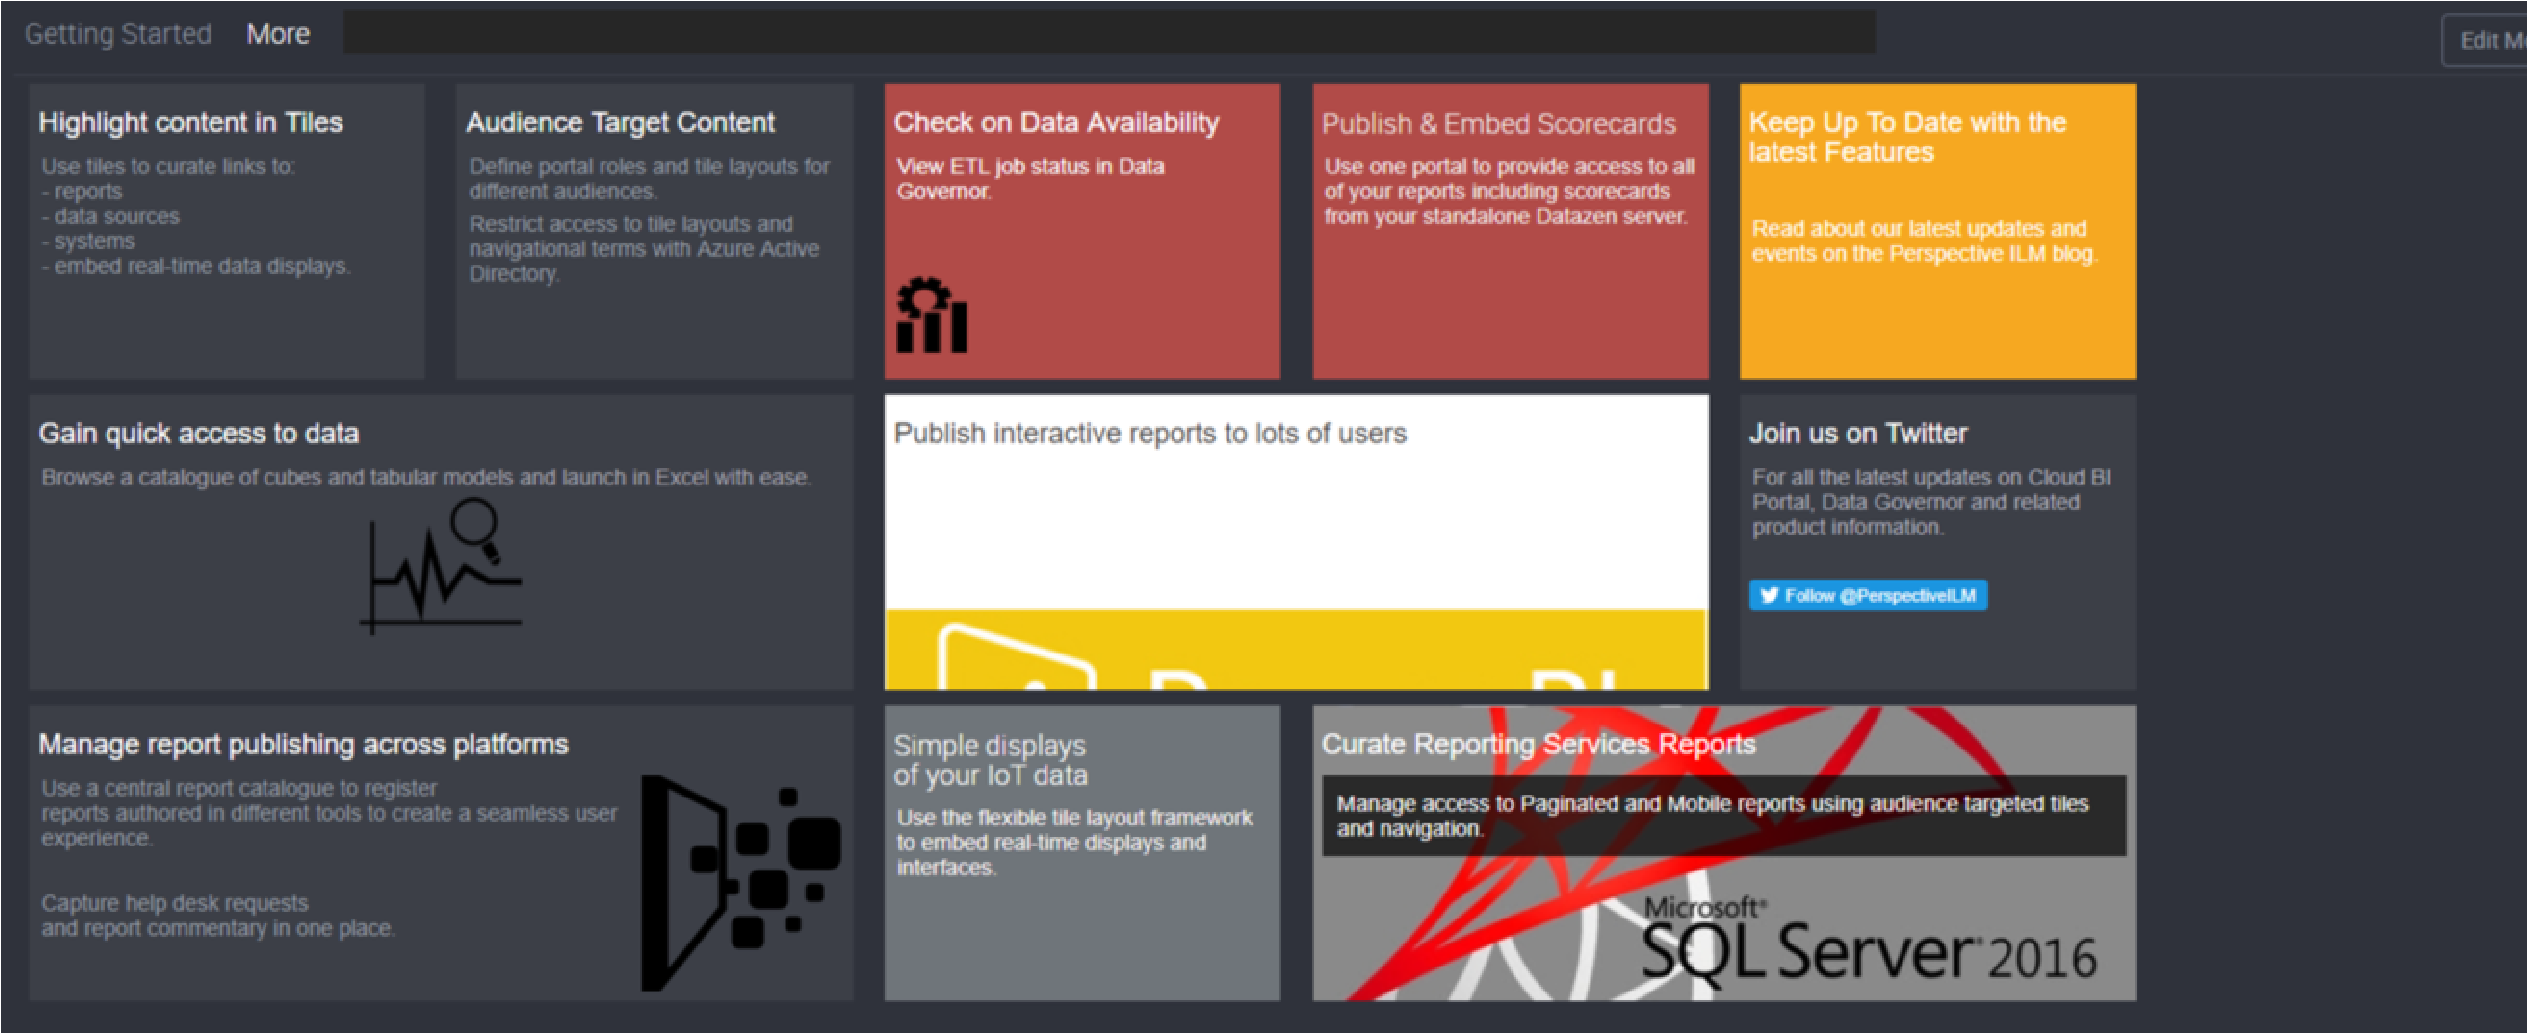
You can showcase the information however you like. However, bear in mind that tile layouts are not actual reports. Think of it as a white board or a one page newsletter used to communicate new or key messages to business users. Loome Publish comes with two sample layouts when you first sign in- ‘Getting Started’ and ‘More’. You can simply edit the existing tiles on these layouts or you can create a new layout of your own.
Some things to consider:
• How many layouts do you need? • How many tiles will you need for each different layout? • Who is the target audience?
Loome Publish allows you to pin asset content straight onto a tile layout from the asset view.
Follow these steps to design and create your tile layouts, making sure you assign the appropriate audiences to them.
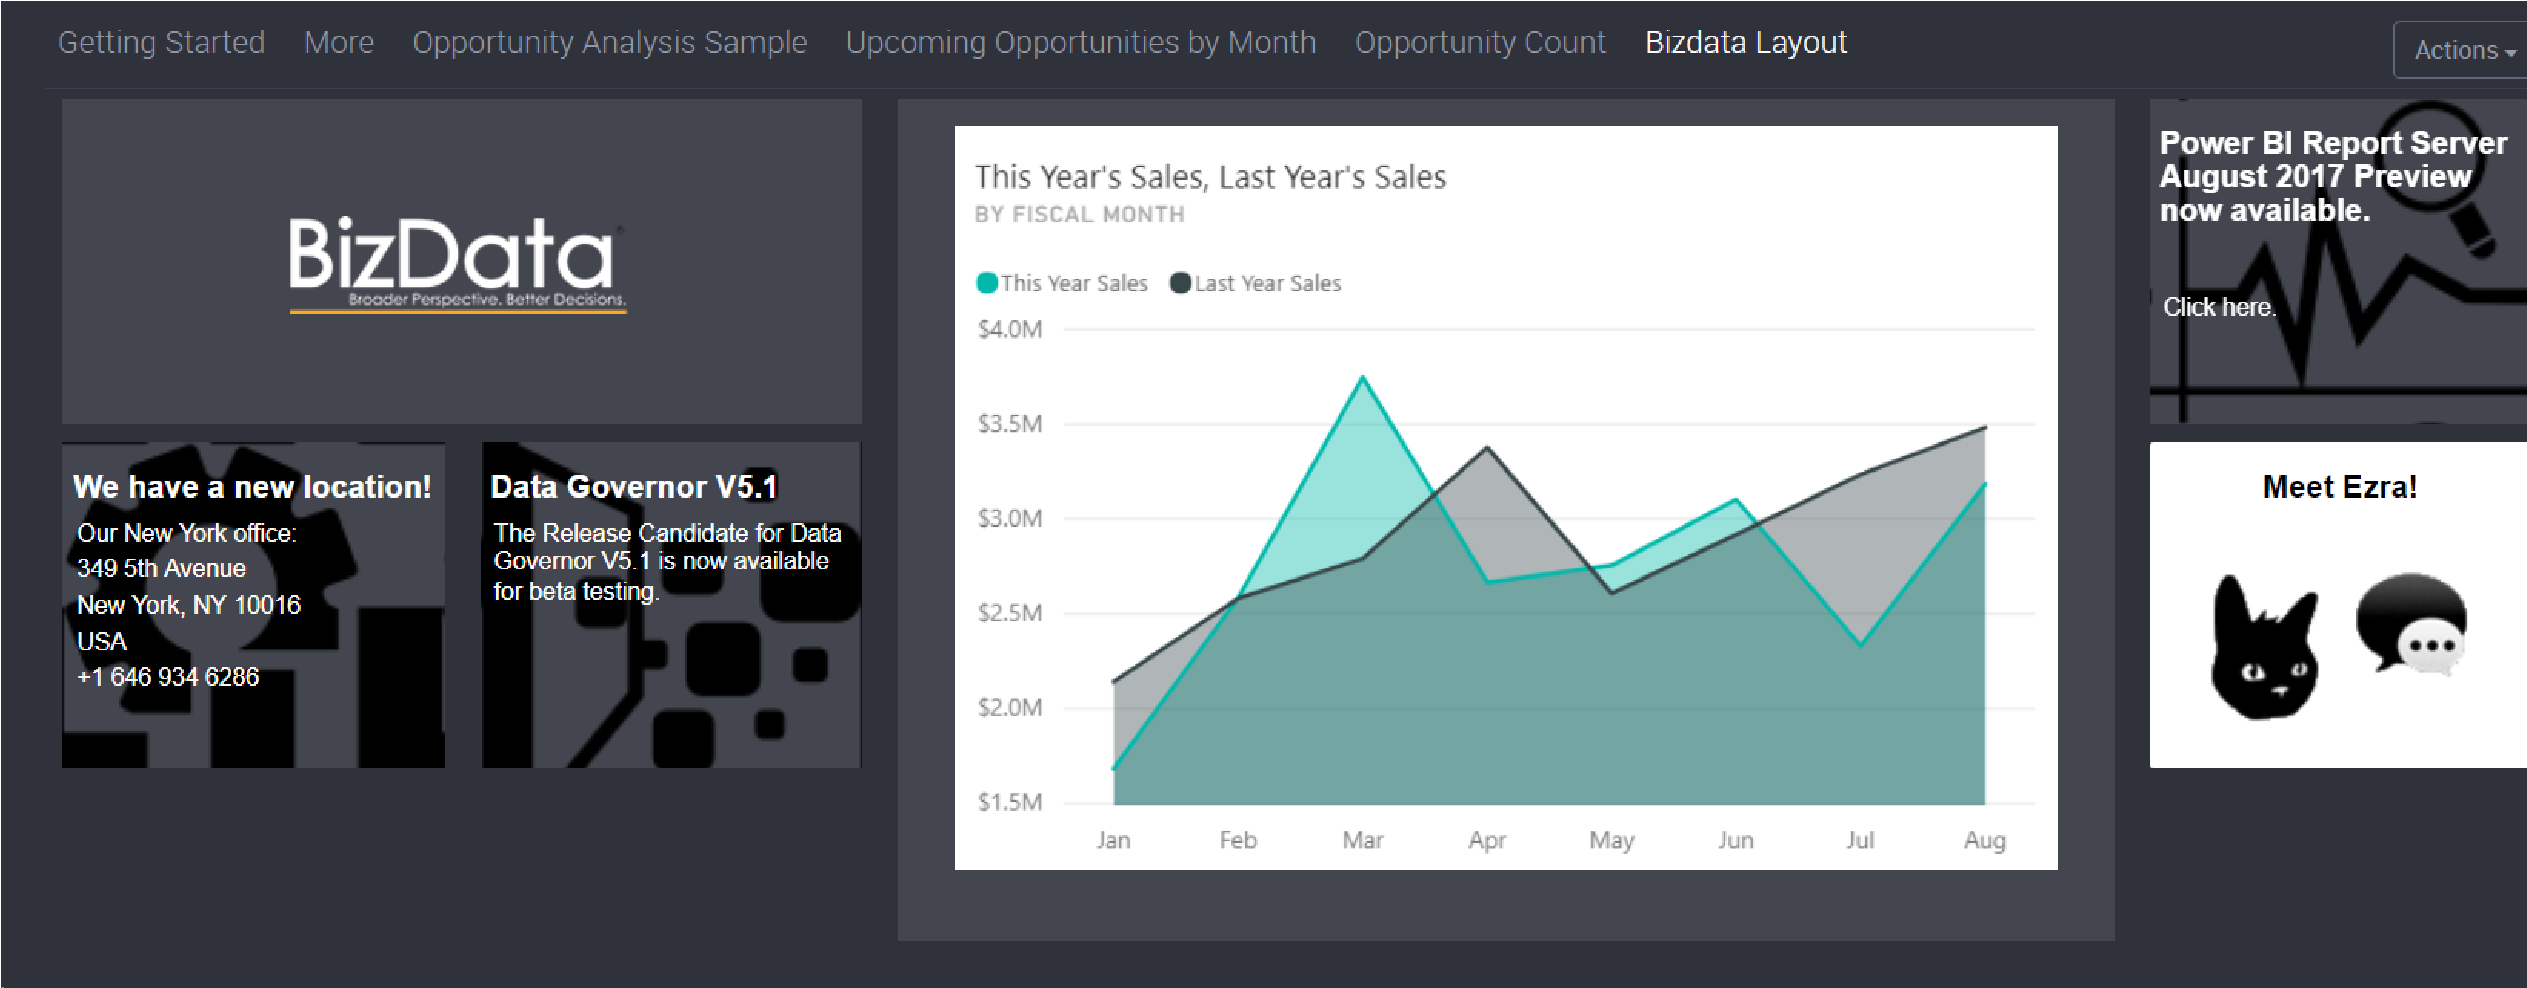
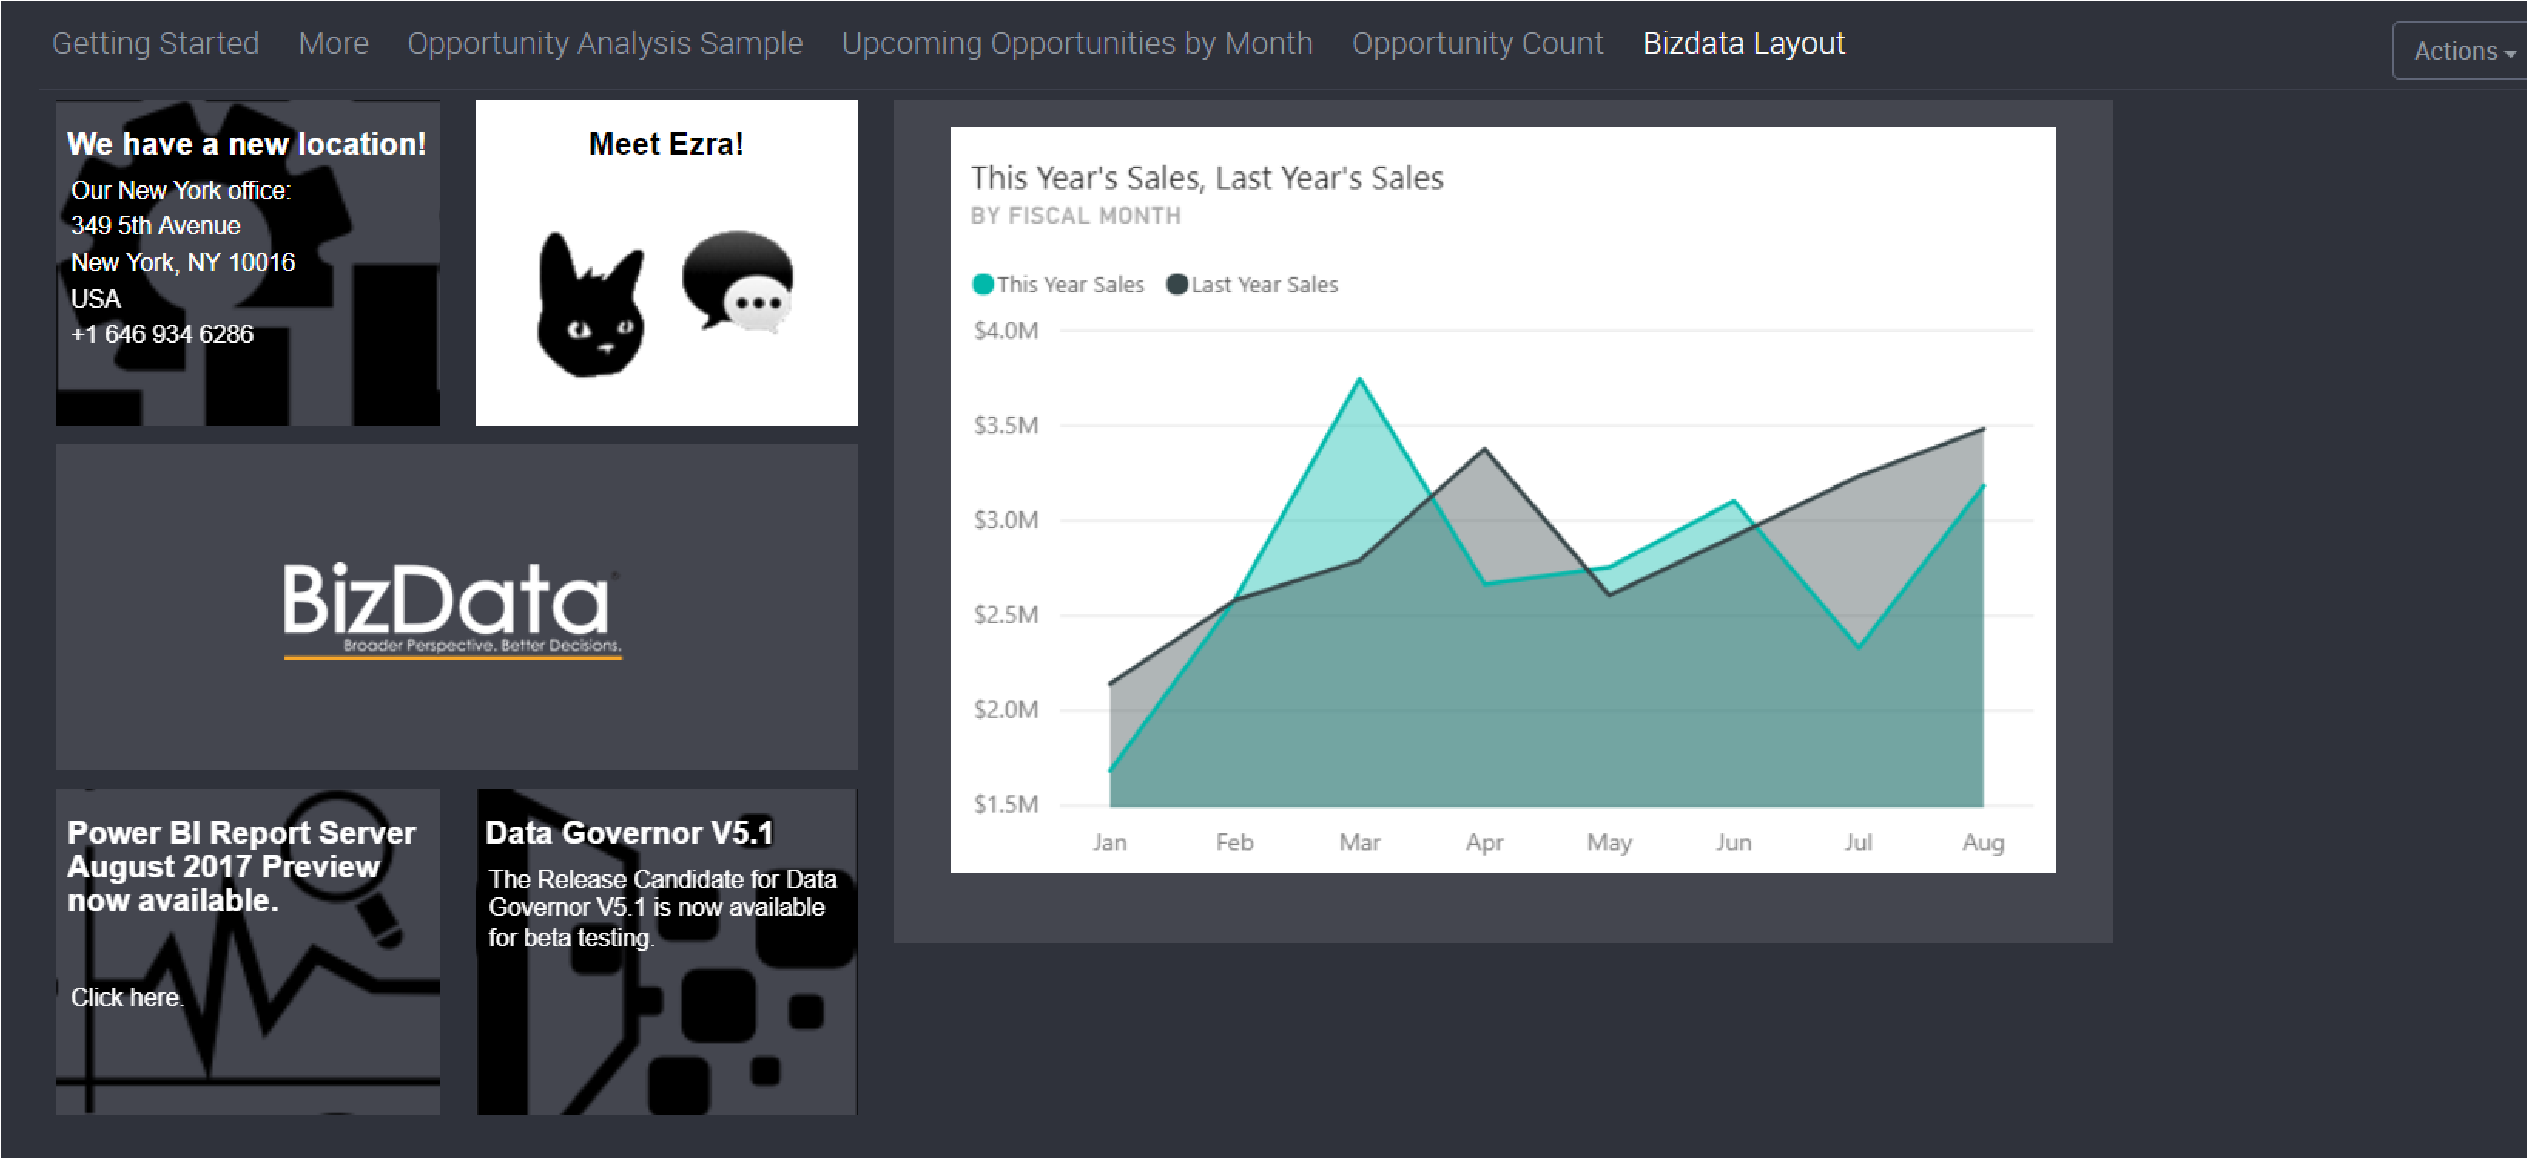
Below are two examples of the same tiles used in different layouts.
Asset Types
Asset types are used when registering new assets. They help classify the asset and collect correct information to set up the appropriate connection to the asset. Essentially, asset types classify your assets so it is crucial to get it right. When you first install Loome Publish, a library of asset types will be available to use. Ensure that the correct asset types for your business exist in the portal. Do you need additional asset types for your content? If you do then you will need to create these.
Follow these steps to add asset types to the portal.
Embedding Wizard
The embedding feature in Loome Publish allows users to be able to open up an asset from within the portal itself rather than opening it up in a new tab in the source system. After your installation of the portal, all links to content will open in a new tab by default. Embedding will need to be configured for contents to embed within the portal. The Wizard offers Power BI, Power BI Report Server, Tableau, ThoughtSpot and SQL Server Reporting Services step-by-step setup of the embedding feature.
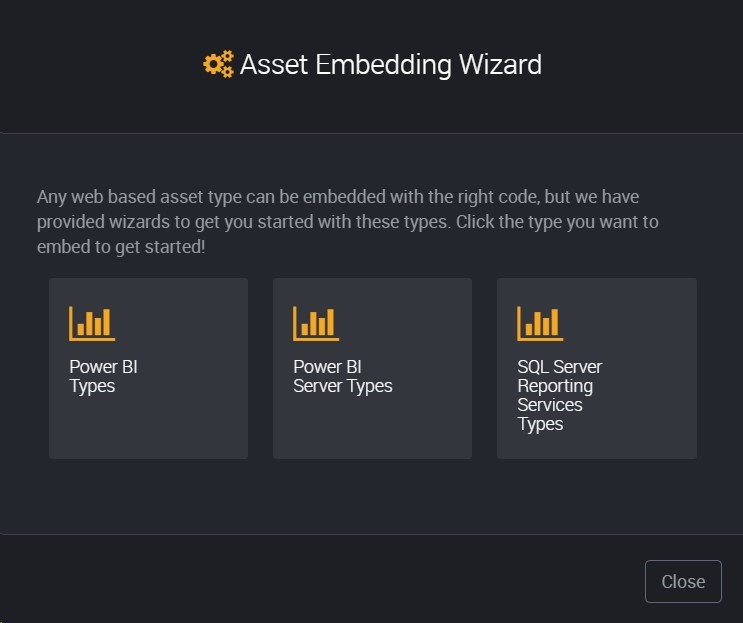
Follow these steps to configure and activate the embedding feature using the built in Embedding Wizard.
At this point you have a ready to go pilot system to test with users! Give it a go!
Advanced optional features
Embedding
Embedding in Loome Publish extends beyond the Embedding Wizard and allows for an embedding framework to be added. Asset Type Libraries can be customised to suit your business needs by uploading your very own Java Script (.js) file to enable asset customisation features including embedding.
If you need help with your Asset Customisation Library file, contact the Loome team at info@loomesoftware.com and we will work with you to get your file uploaded and working.
Source Systems
Loome Publish allow users to directly pull asset details and data sources into the portal from a source system. This feature is useful when you have many reports and data sources you want to transfer into the portal. Instead of manually adding each report, Loome Publish can automatically import and sync these assets for you.
There are two types of source systems:
- SQL Server Reporting Services
- Power BI Server

Once reports and data sources have been imported into Loome Publish, they will automatically sync every 10 minutes. Loome Publish will pick up any new reports or data sources from the server and update any new changes made to existing assets.
You will need to identify which source systems to publish content from and configure them in the portal. Follow these steps to configure your source systems and automate the registration of assets.
If there is a source system which cannot be set up, we can develop this functionality for you. Contact the Loome team at info@loomesoftware.com and we will work with you to include them.