Database Creation
Follow the steps below to setup the initial database and service account access.
Open SQL Server Management Studio from the start menu.
Connect to your database instance where the database will be stored.
From the Object Explorer, right click on ‘Databases’ and select ‘New Database…’.

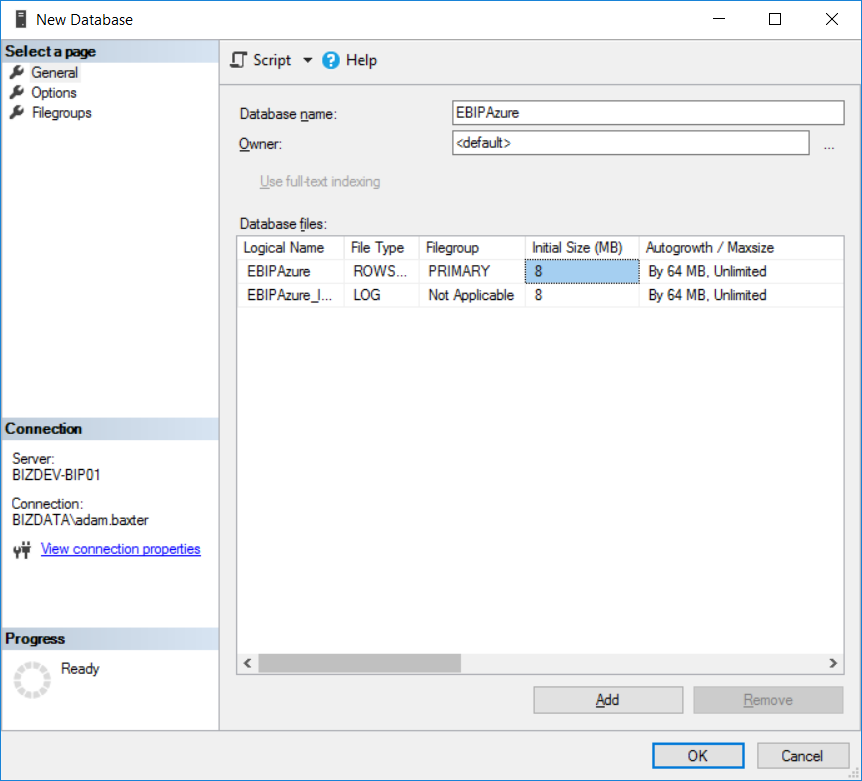
Enter EnterpriseBIPortal or a name of your choosing under ‘Database name’.
Click ‘OK’.
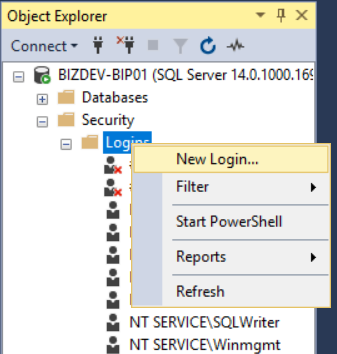
From the ‘Object Explorer’, expand ‘Security’ and then right click on ‘Logins’ and select ‘New Login…’.
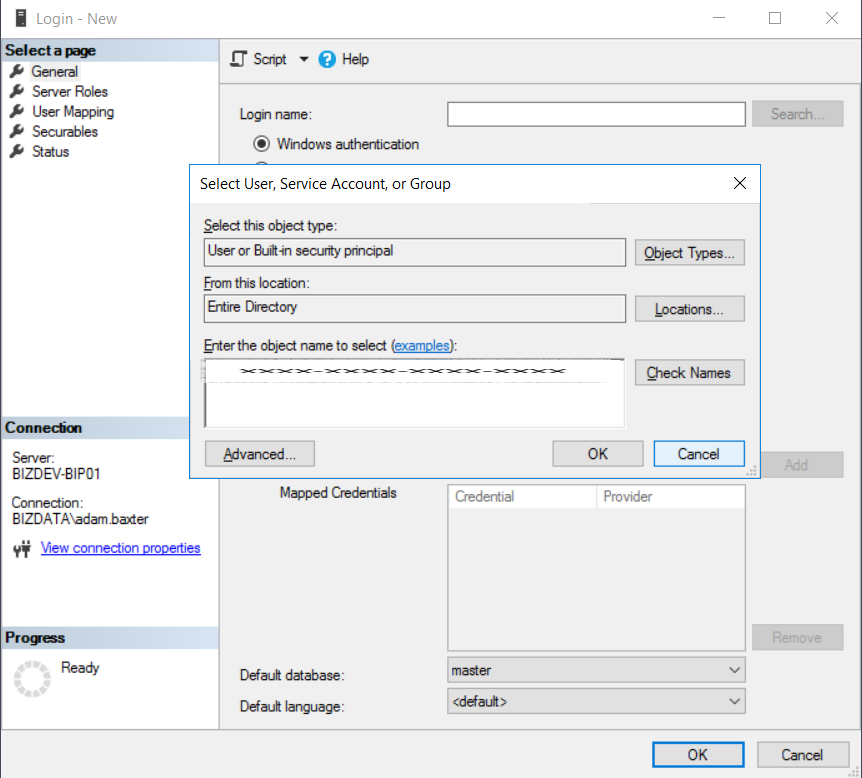
Click on ‘Search’.
Change the ‘From this location’ to ‘Entire Directory’.
Find the service account that will run the Loome Publish IIS site.
Click ‘OK’.
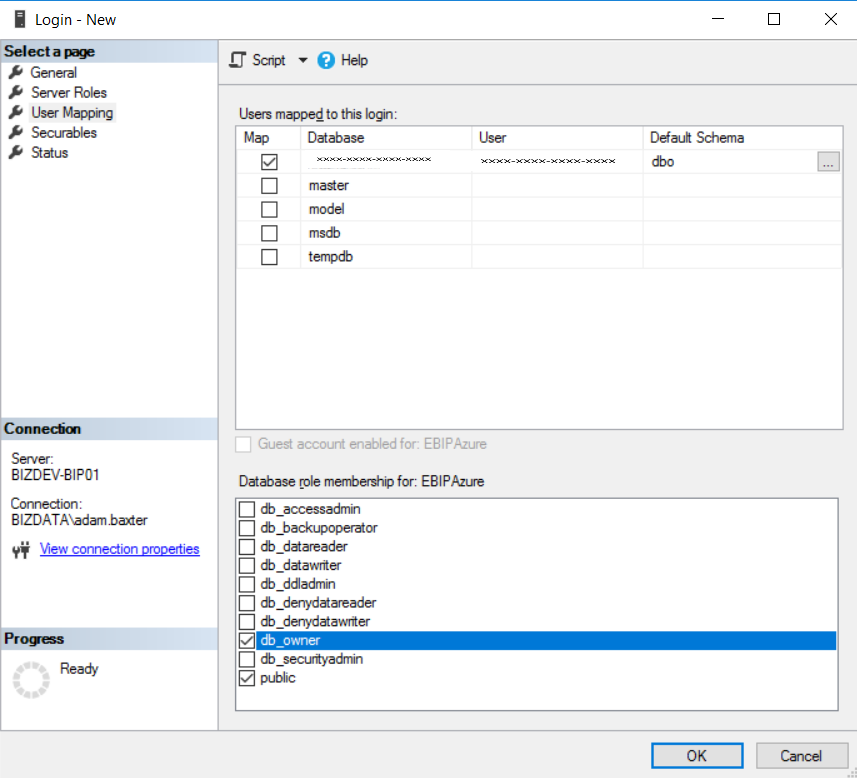
Click on the ‘User Mapping’ section.
Tick the box for the newly created database.
Change the ‘Default Schema’ to ‘dbo’.
Under ‘Database role membership for database’ select ‘db_owner’.
Click ‘OK’.