Manual Records
How to Add Manual Records
On the results page of your rule, click on ‘Add New Row’.

This will display a view that is similar to editing a record.
You will be required to provide a value to the key column so that it identifies each row.
In this window, you can complete each field you created earlier.
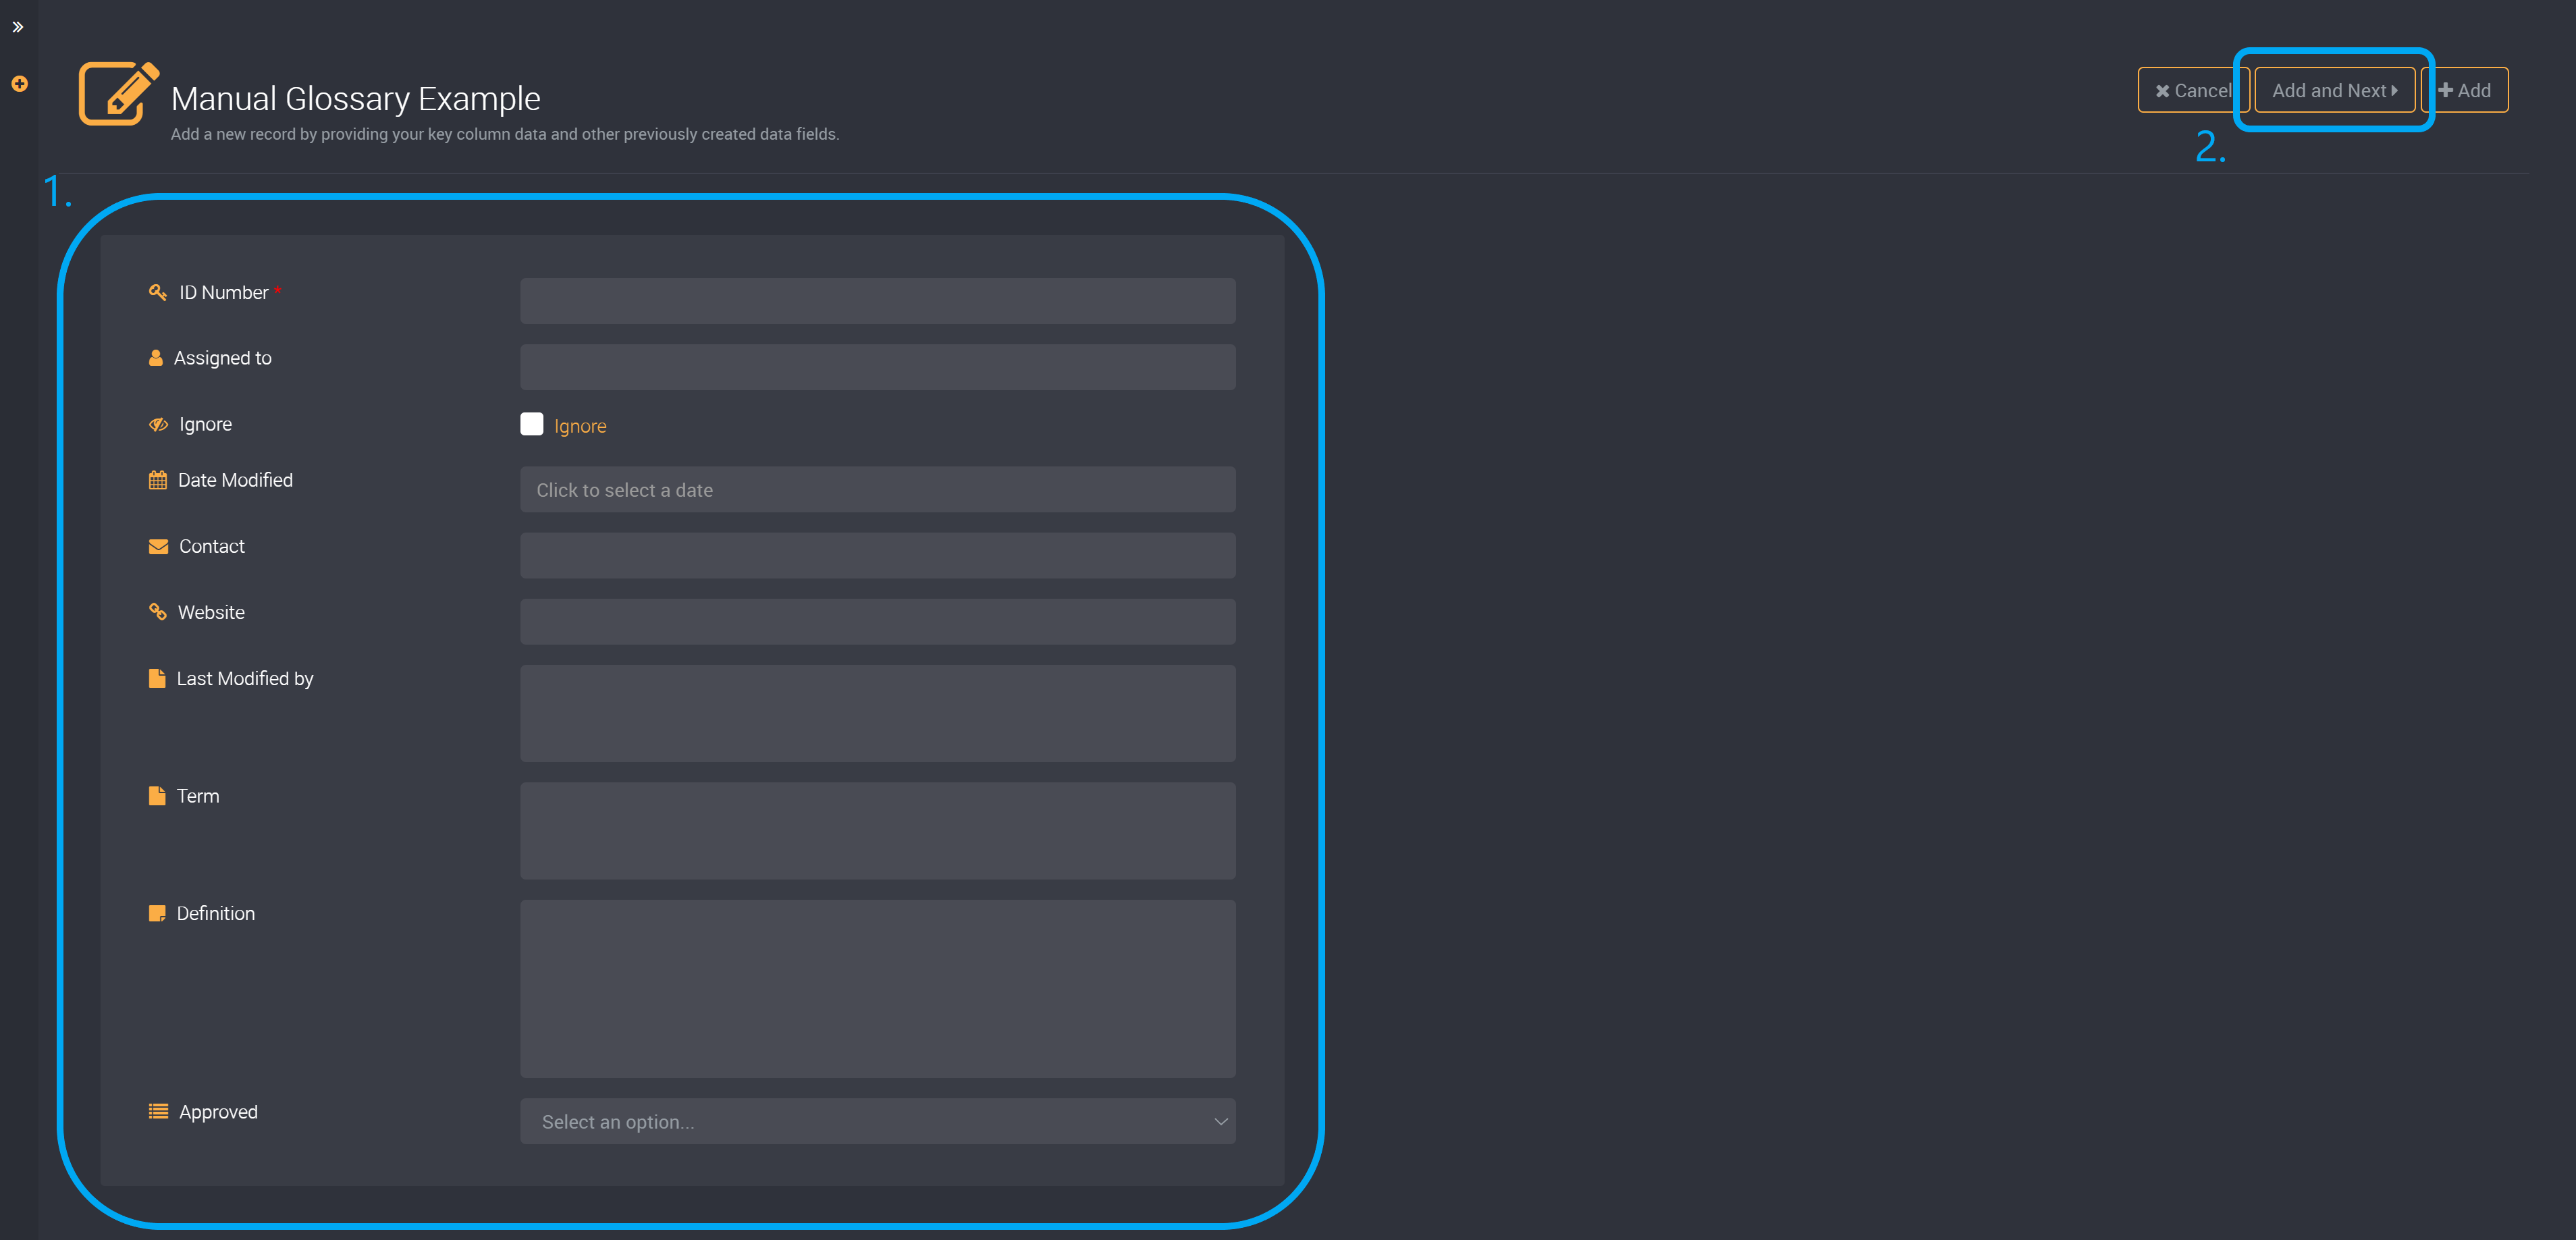
Once you have clicked ‘Add and Next’ you will be able to add another row.
You can continue to add new rows or you can click on ‘Add’, at the top right of the page, to save your current row and return to the results page.
If you have added a row but have not completed all fields, you can edit the row from this page.
In the following image, you can see that we have edited row number 2 and we have provided all other values. You can see that you can edit values on the right of the page, while all values in the left cannot be edited once a row has been created.
You can change the status of a row by creating a condition in ‘Record Status’ when editing a rule.

Once we have completed all fields, you can find all added rows in the results table.
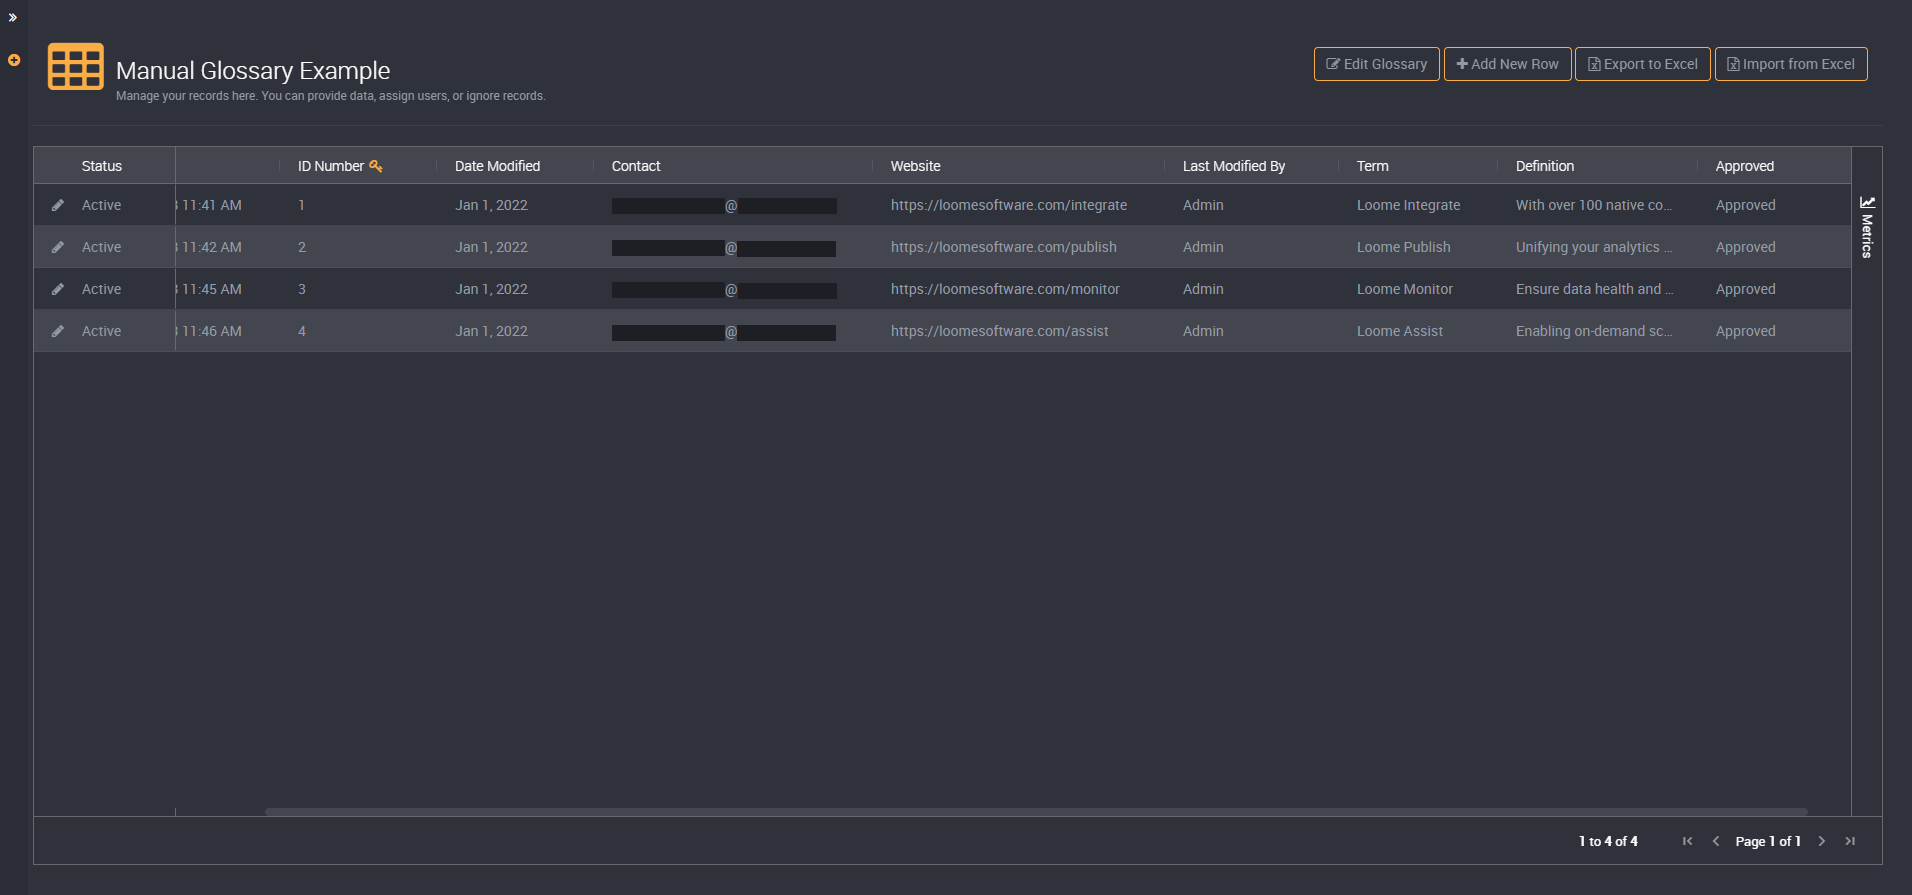
If you would like to find this table in your database, you can use the project and rule number found in your URL.

How to Merge a Manual Row with a Source Row
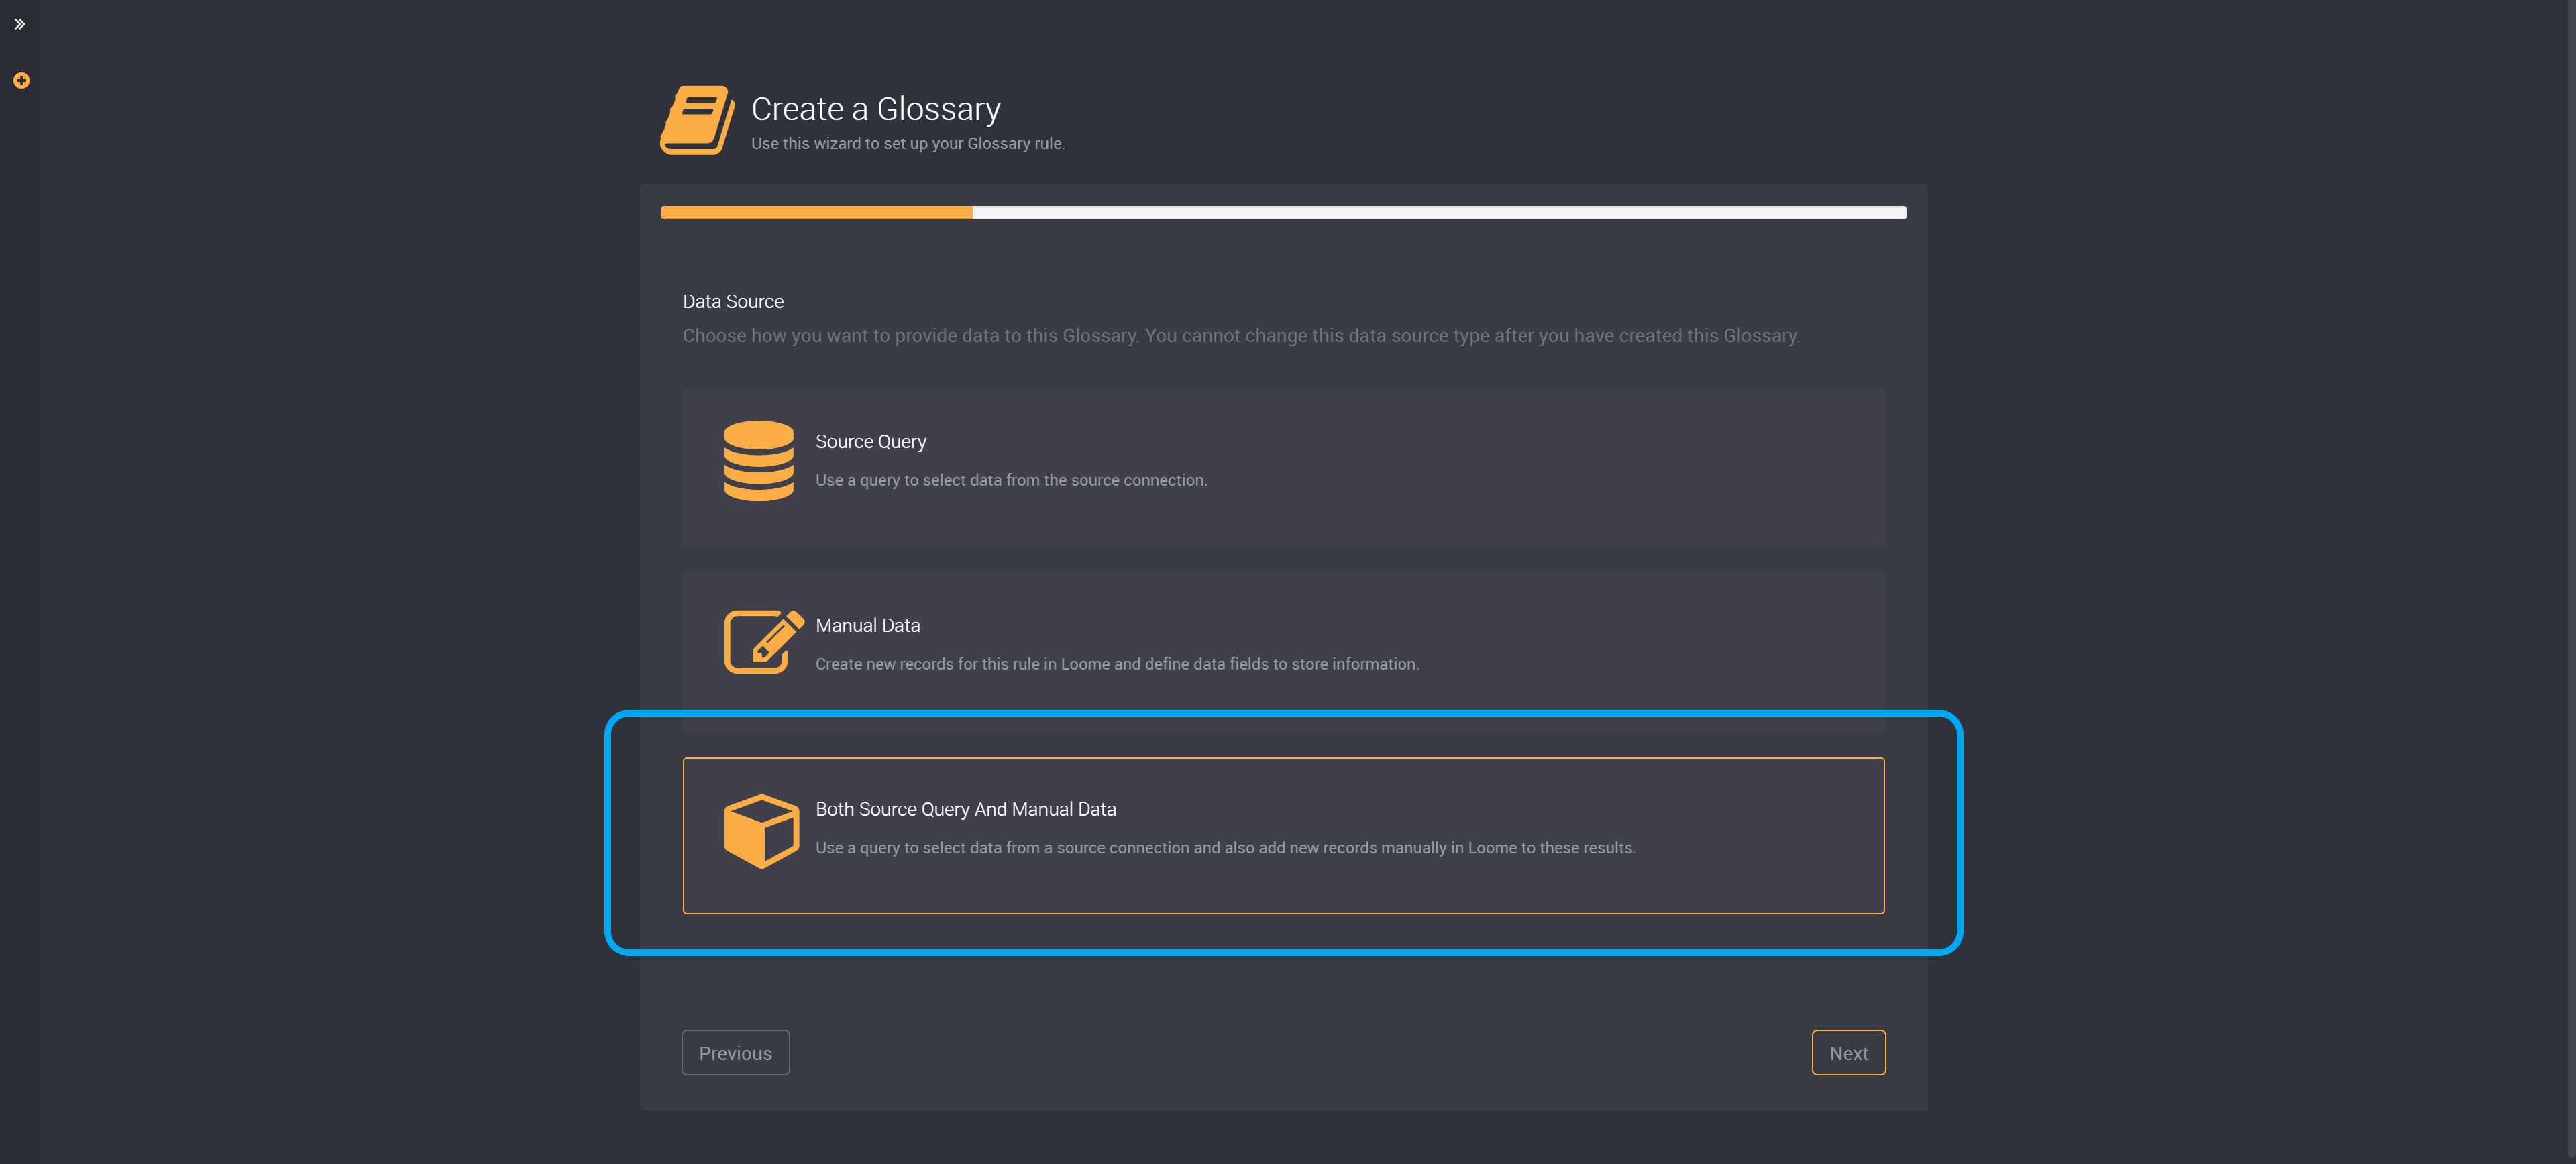
In a rule that contains both source data and manually added rows, if you have created a record but found that your source data already has a record for this data, you can merge the two rows.
If you merge a source data row and a manual row, the resulting row will consist of the source data columns and non-custom fields of the source data record and the custom fields of the manual record.
If you have already added data to the custom fields of a source data row, when you merge a manual row that also has custom fields populated, the manual row’s custom field data will overwrite the custom fields of the source data row.
To do this, you will need to edit the manual row and change the key column value to match the key column value of the source data row. This next section will demonstrate the steps needed to merge a row.
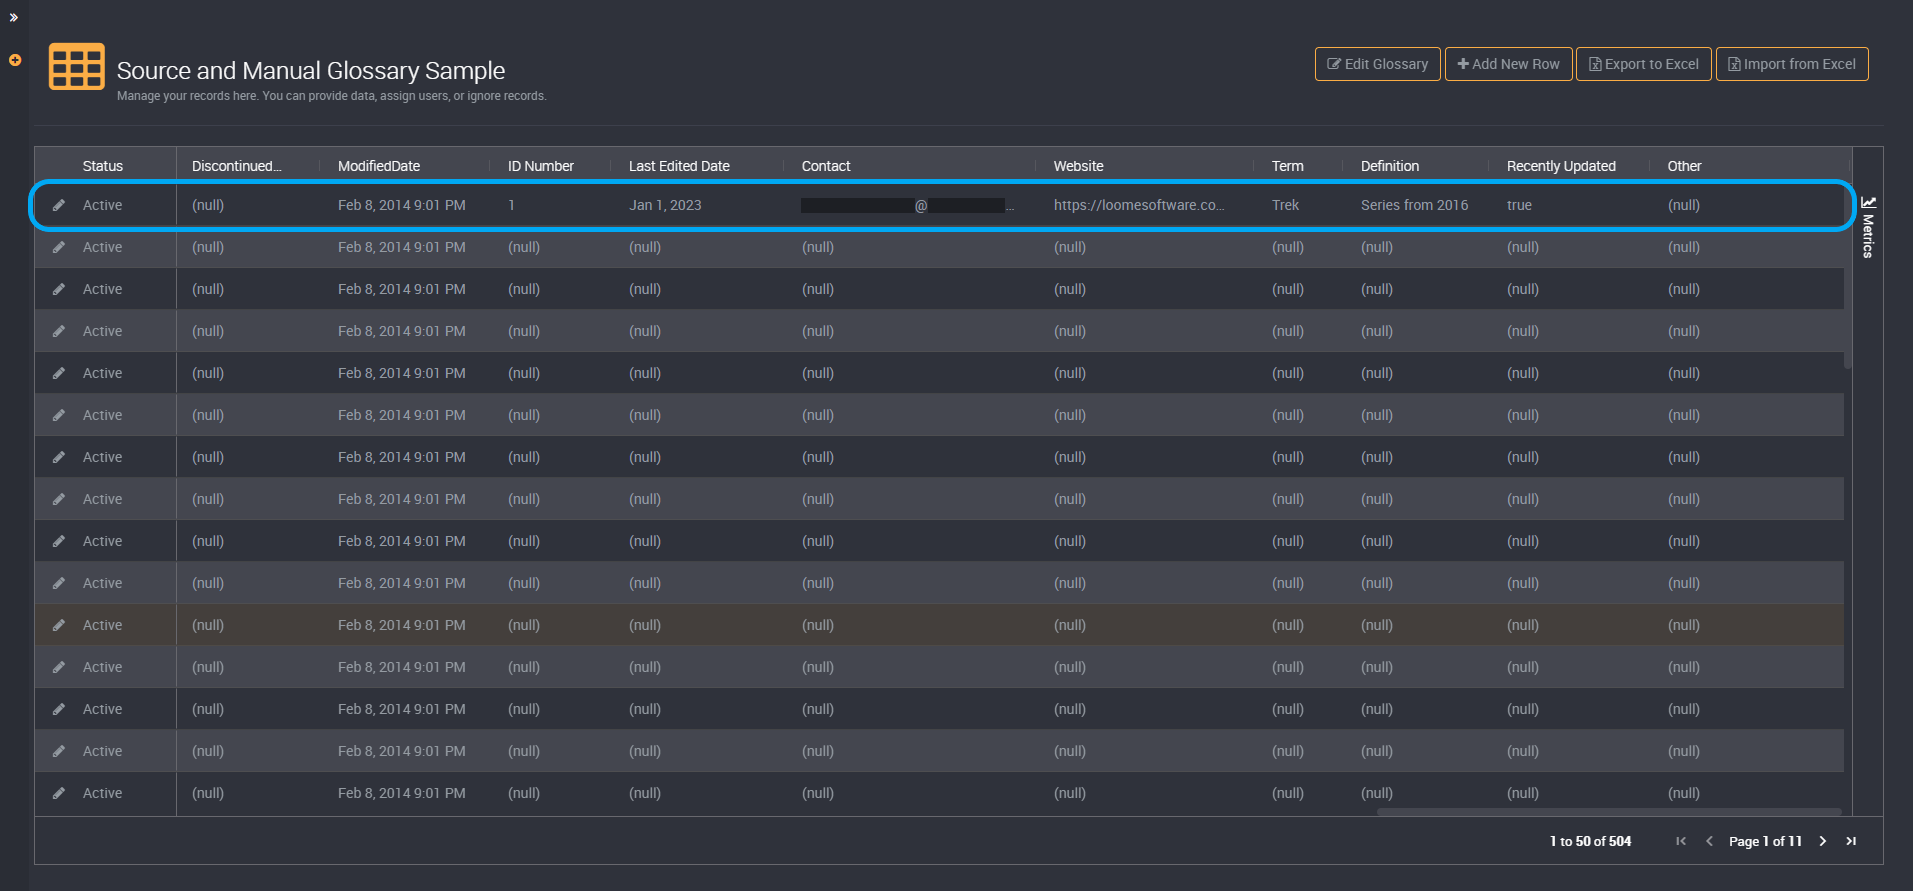
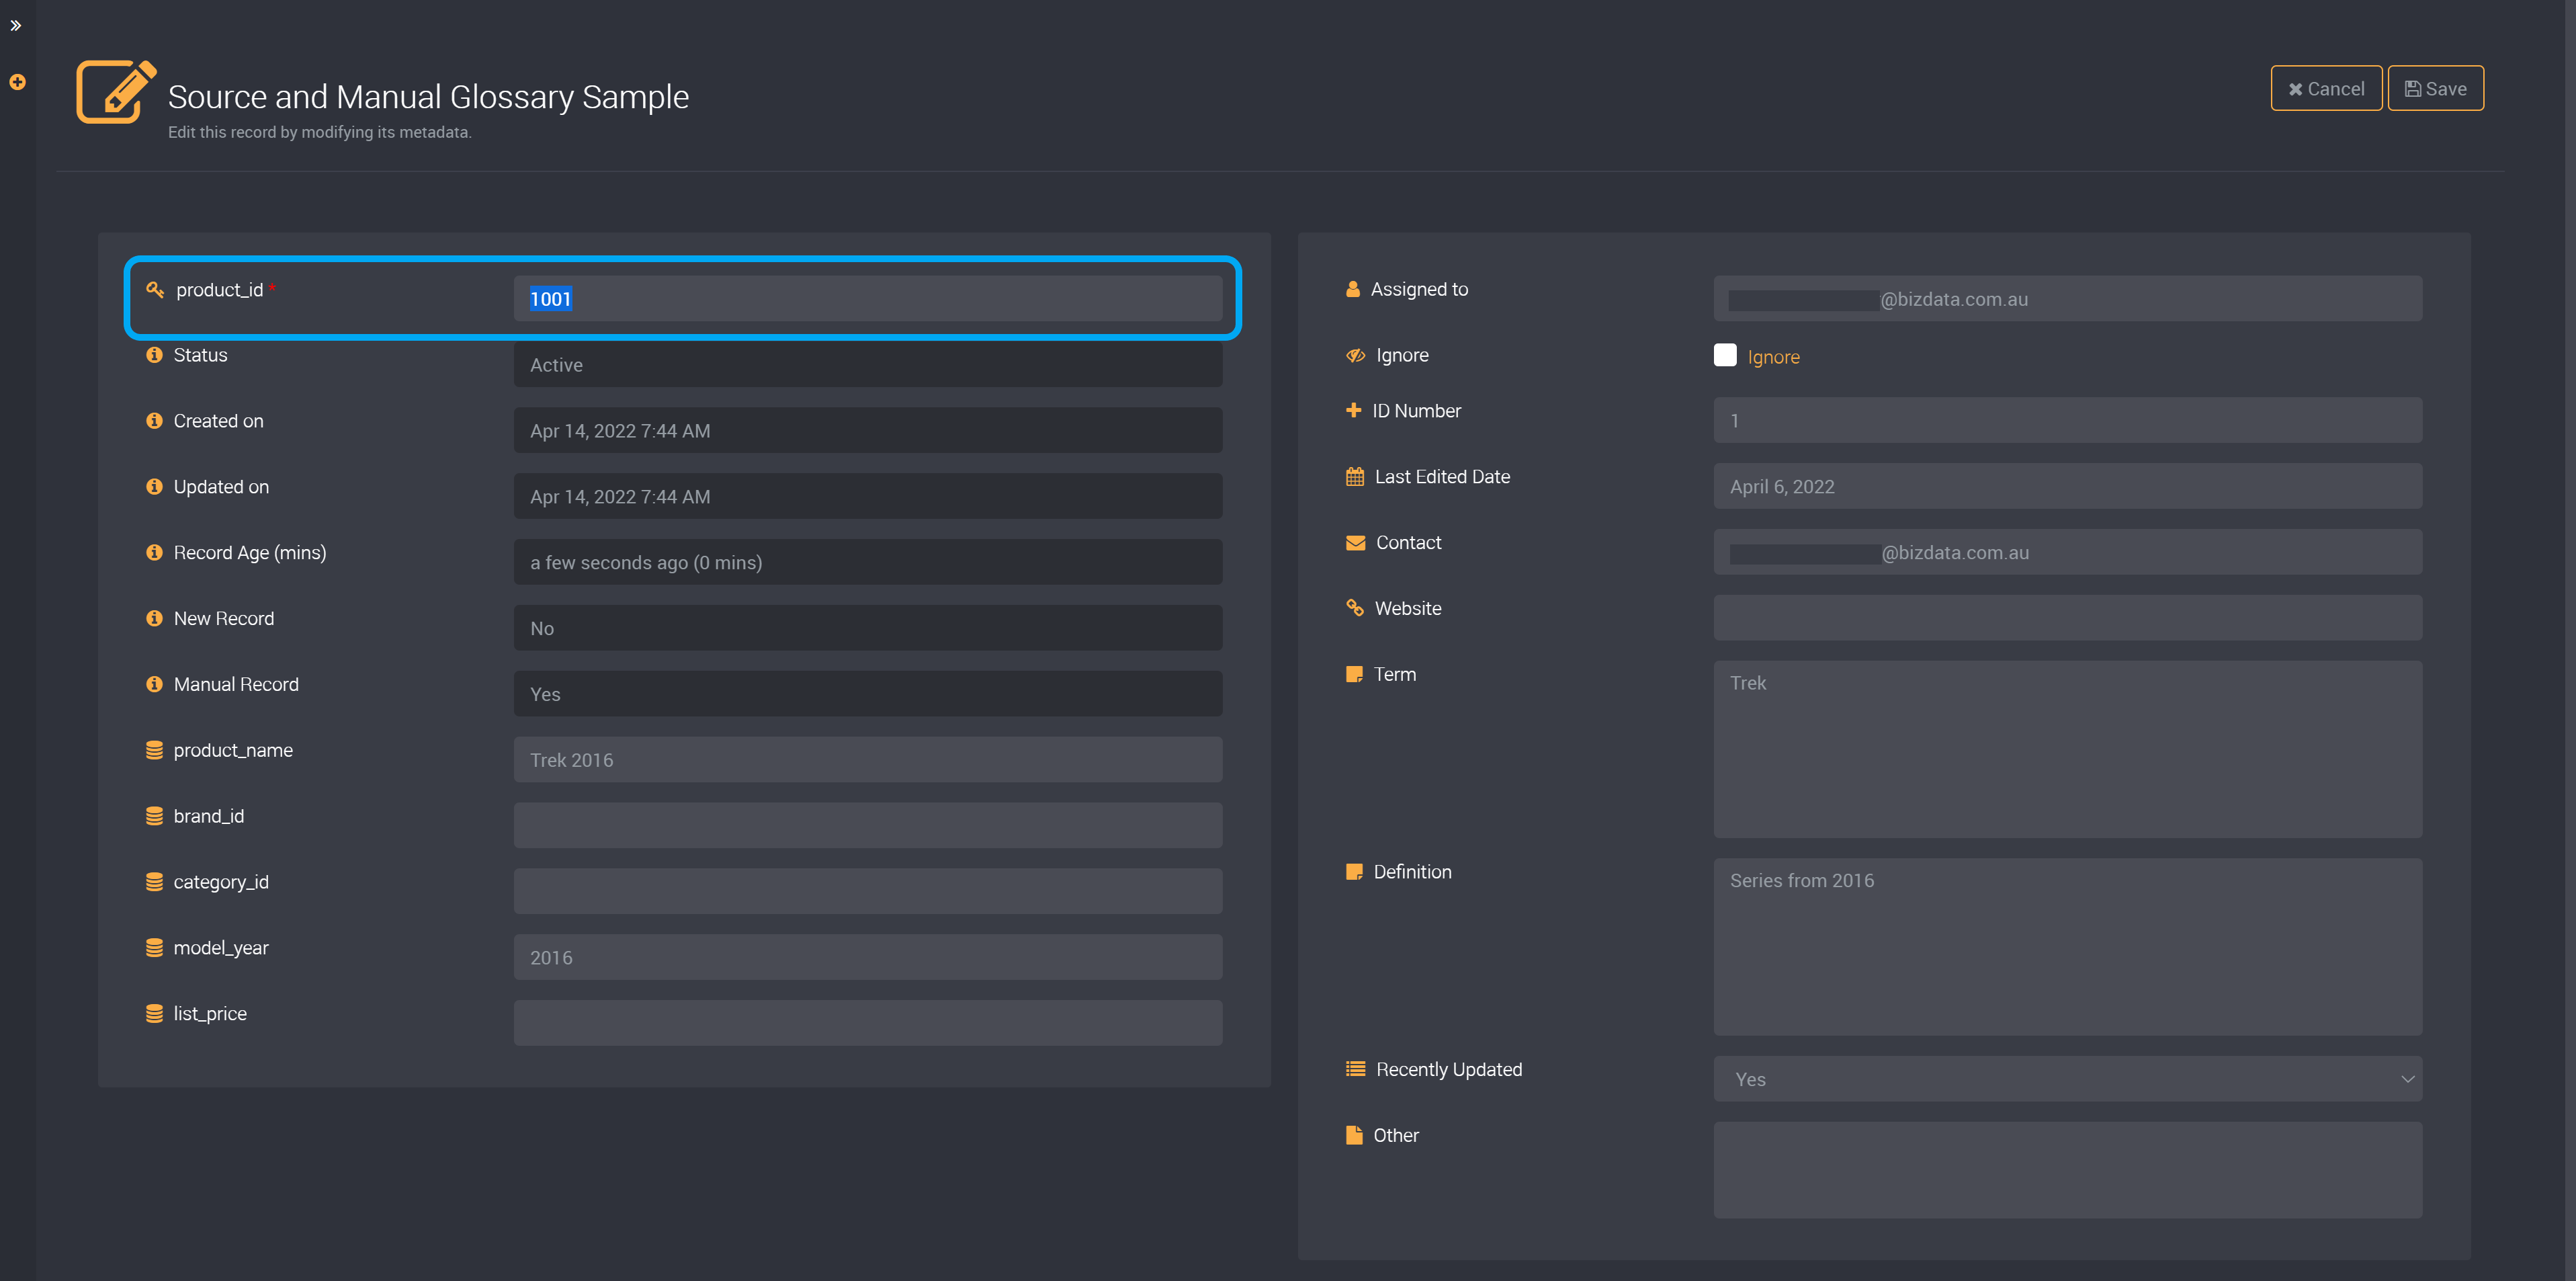
In the following image, you can see that we have manually added a row to this data set.
We added data to its custom fields and provided a key column value to this new row.
Edit this row and you will find that you are able to edit the key column value.
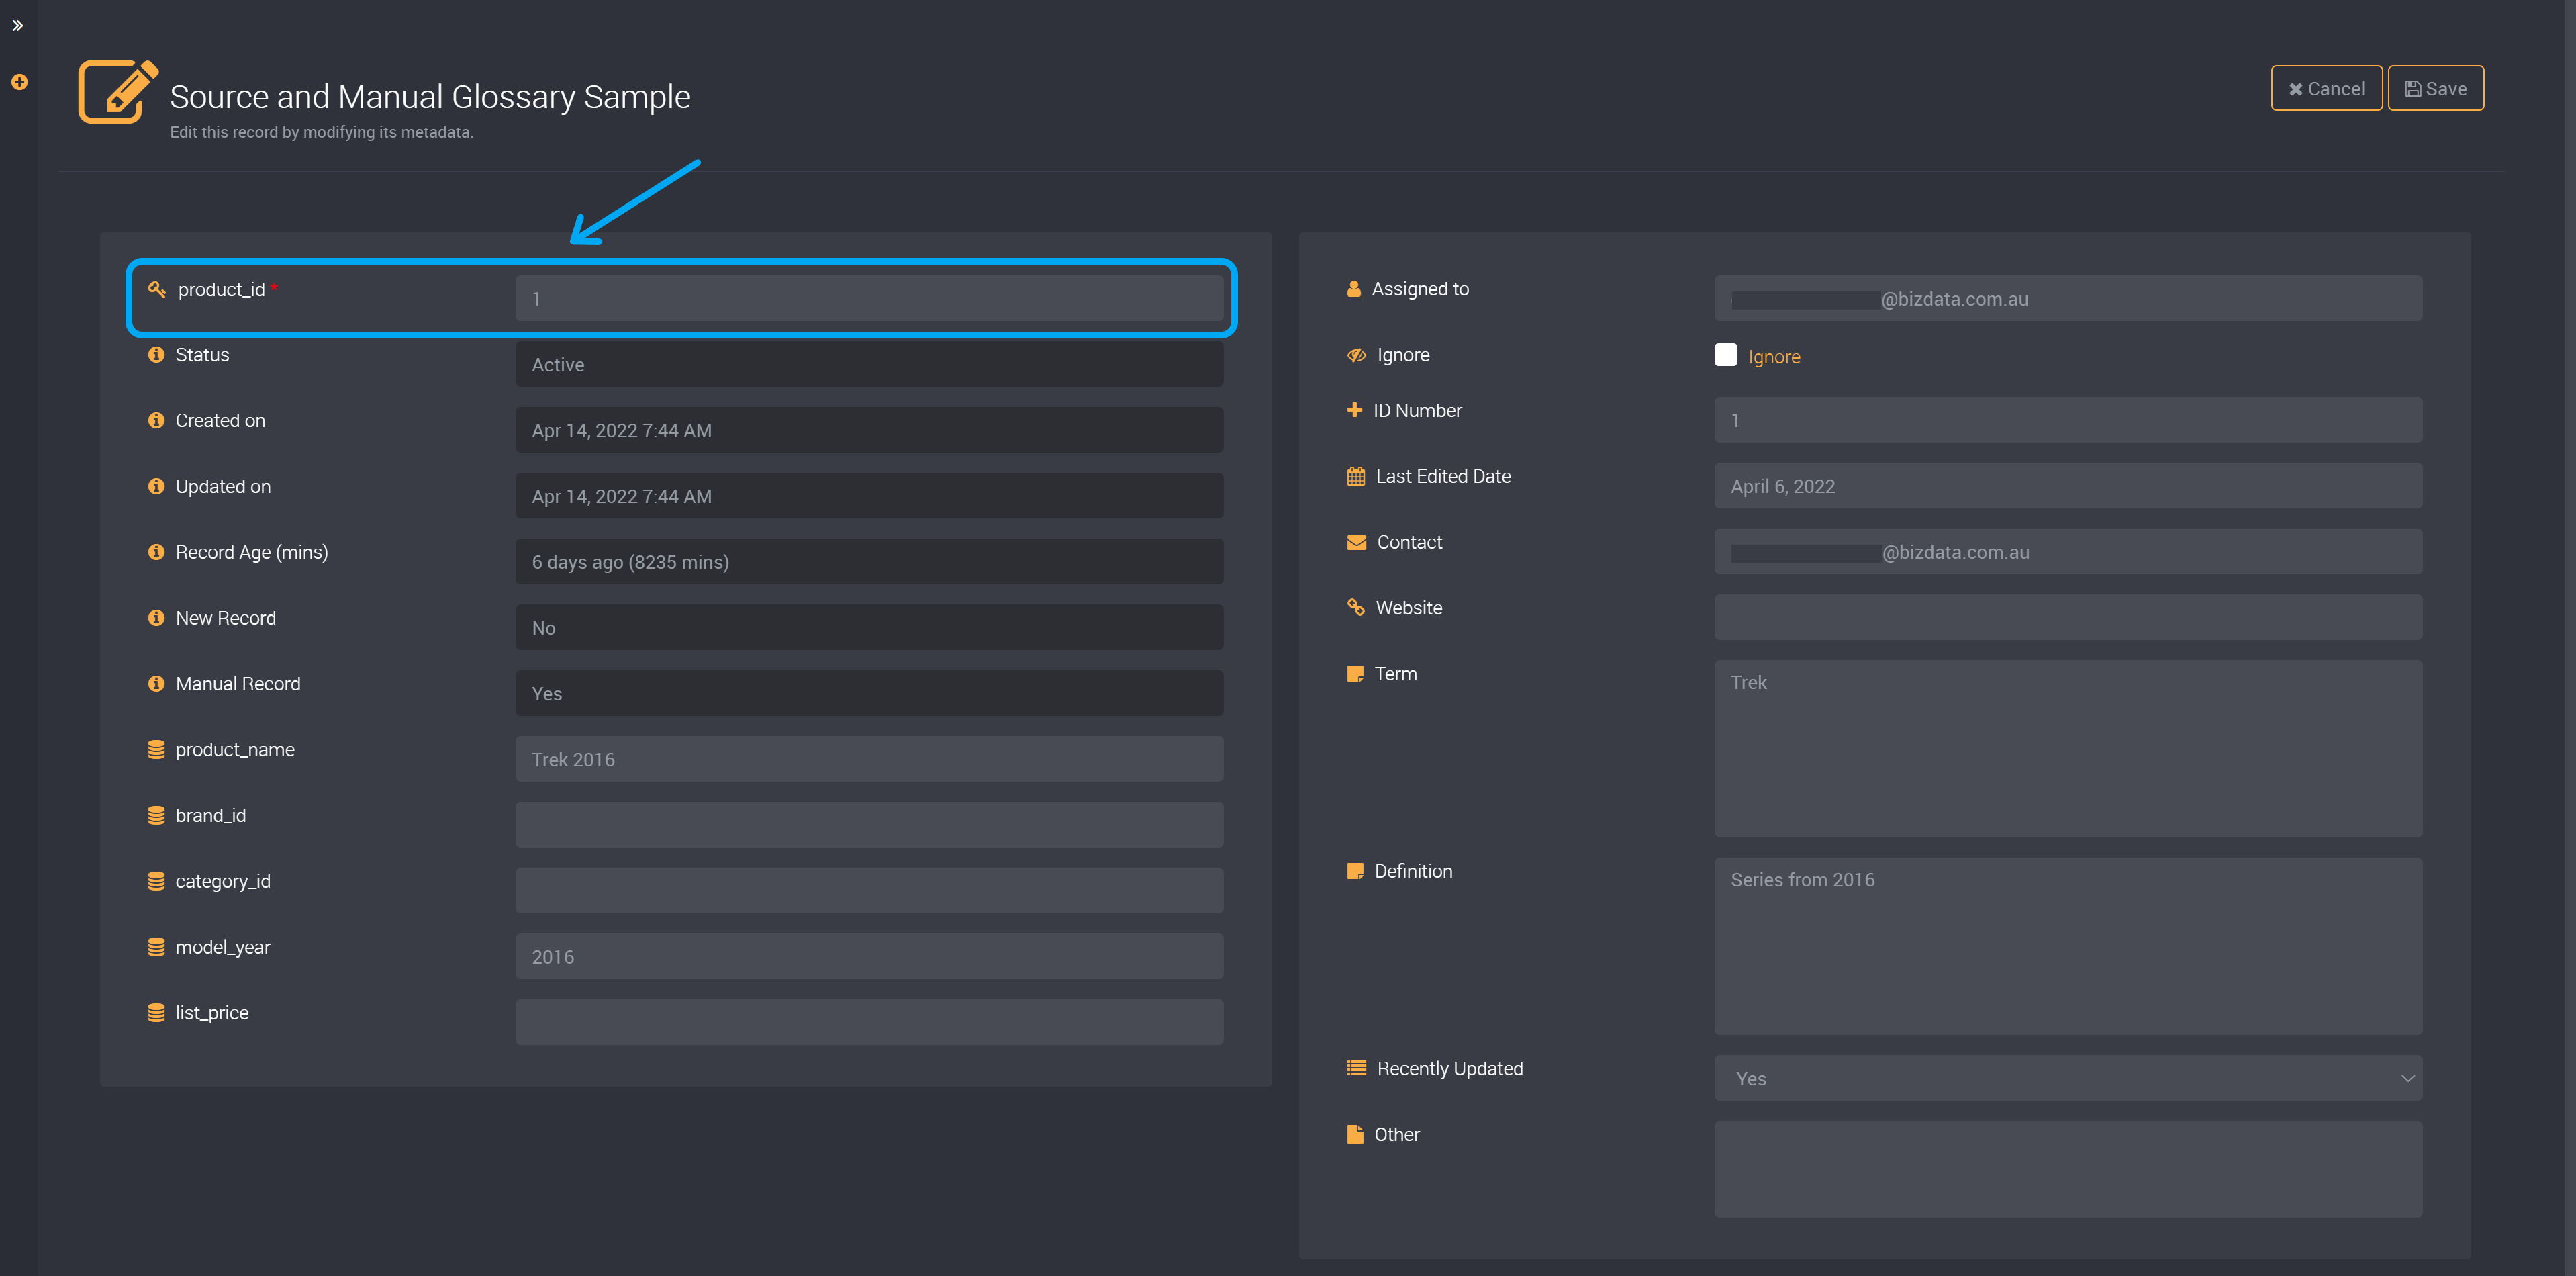
Change the key column value to the value of the source data row you would like to merge this row with. In this example, we have changed it to ‘1’.
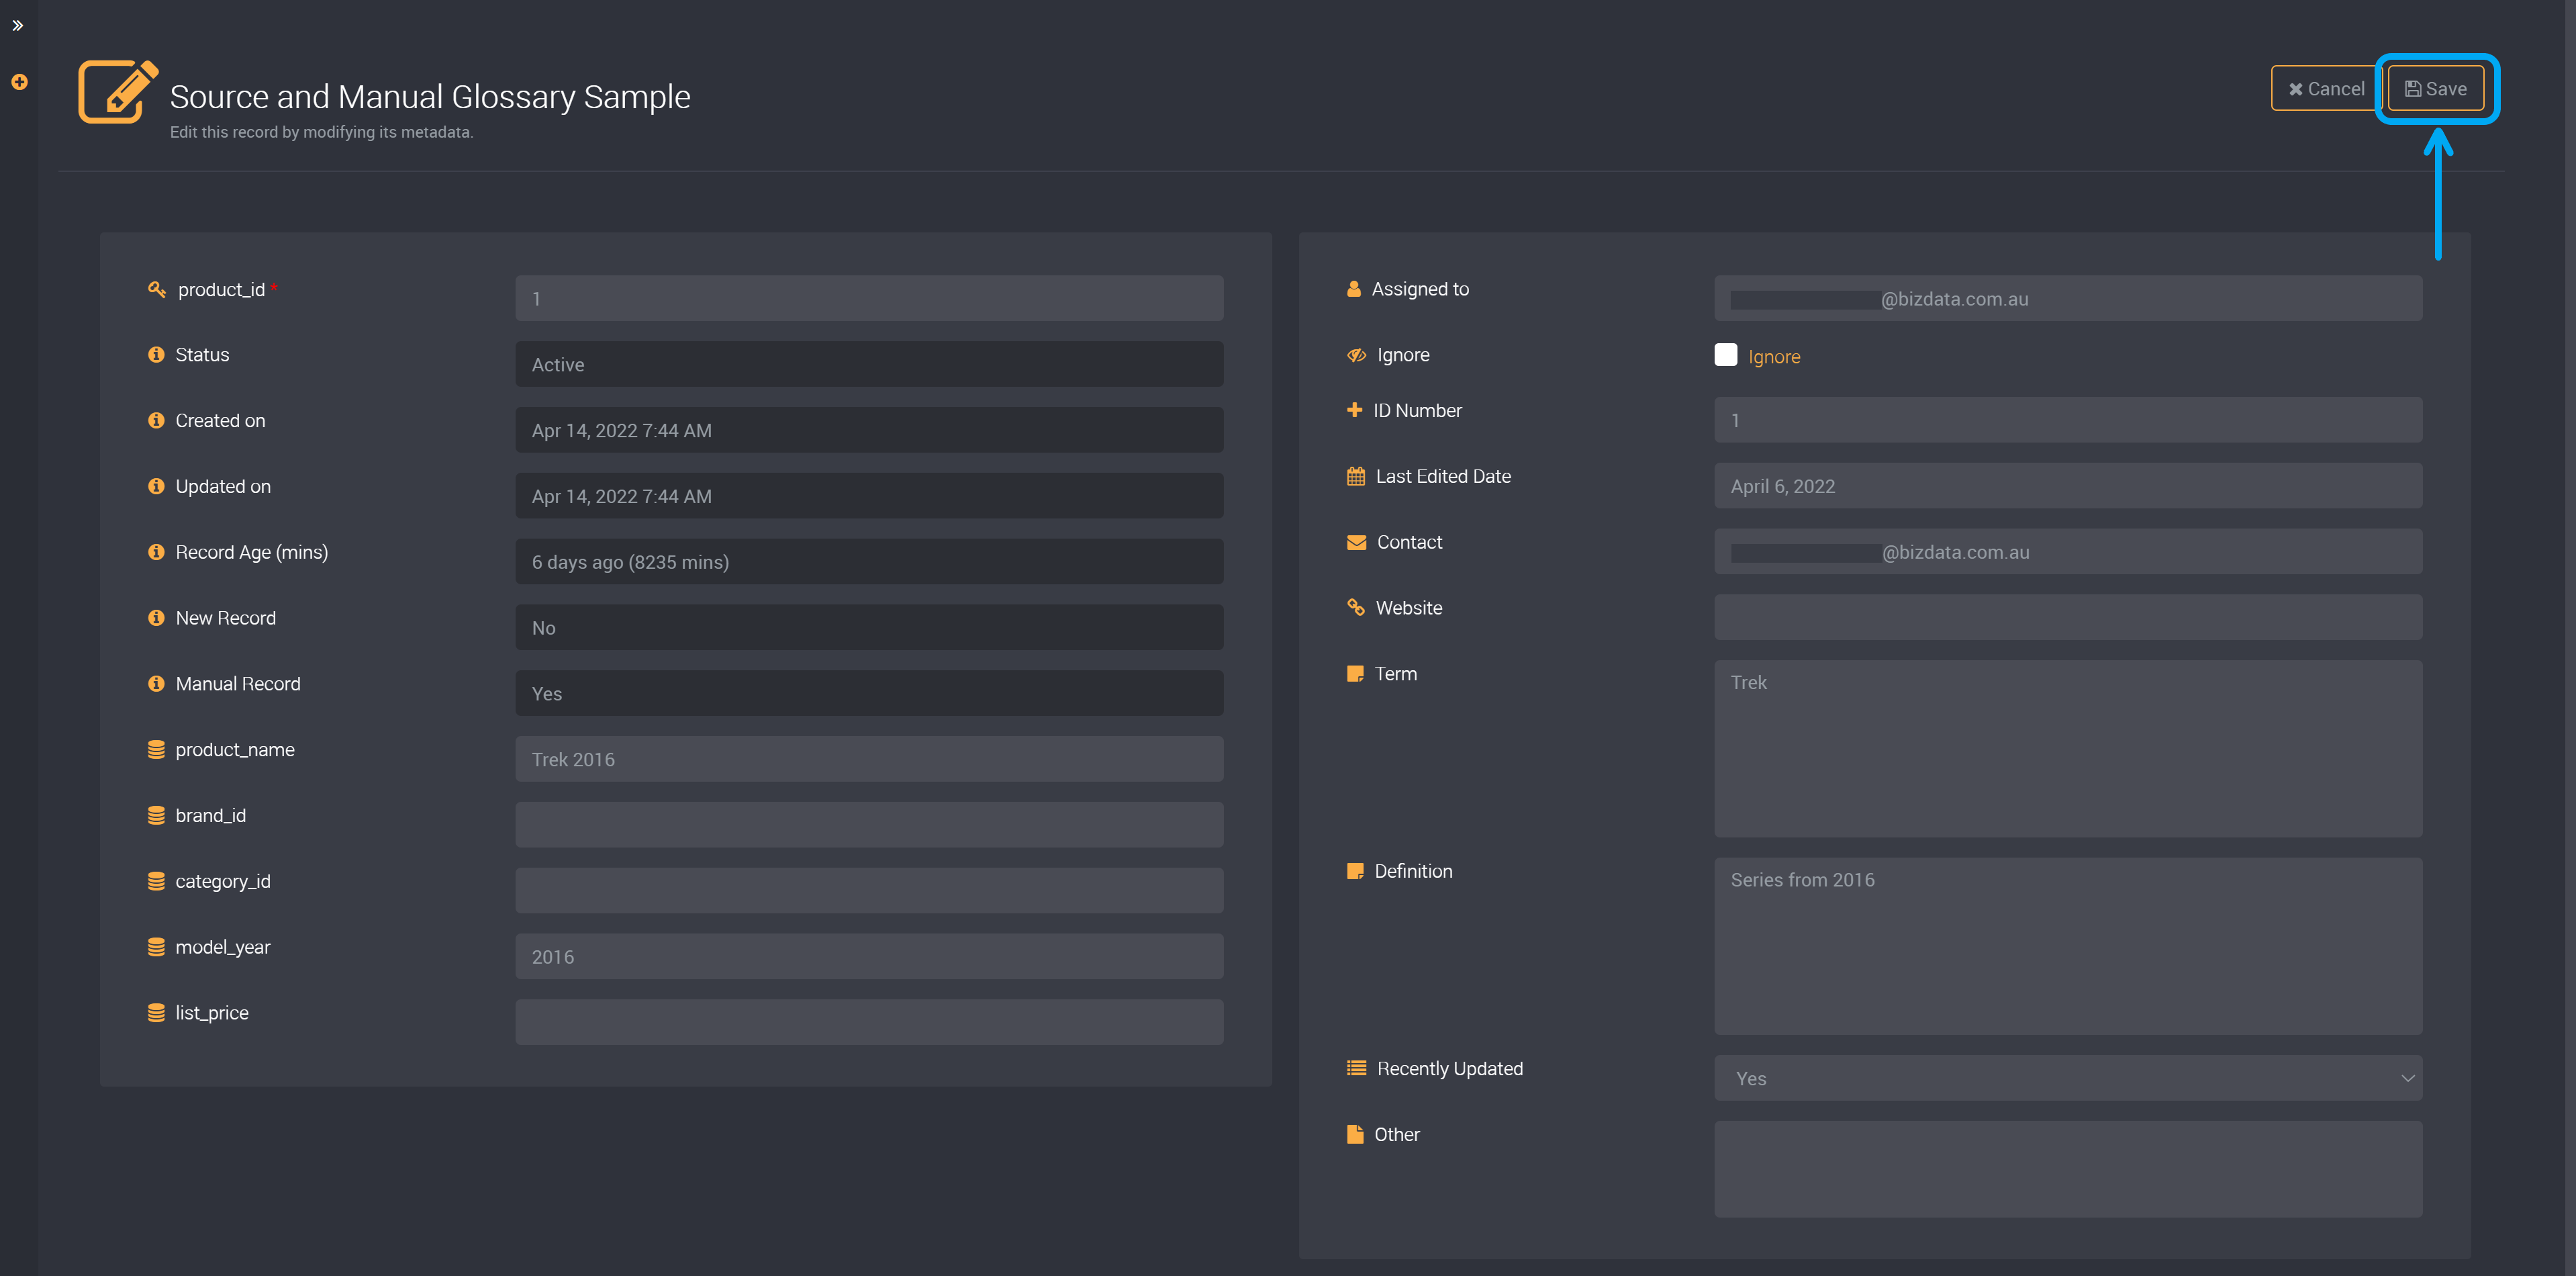
Click on ‘Save’ at the top right of the page.
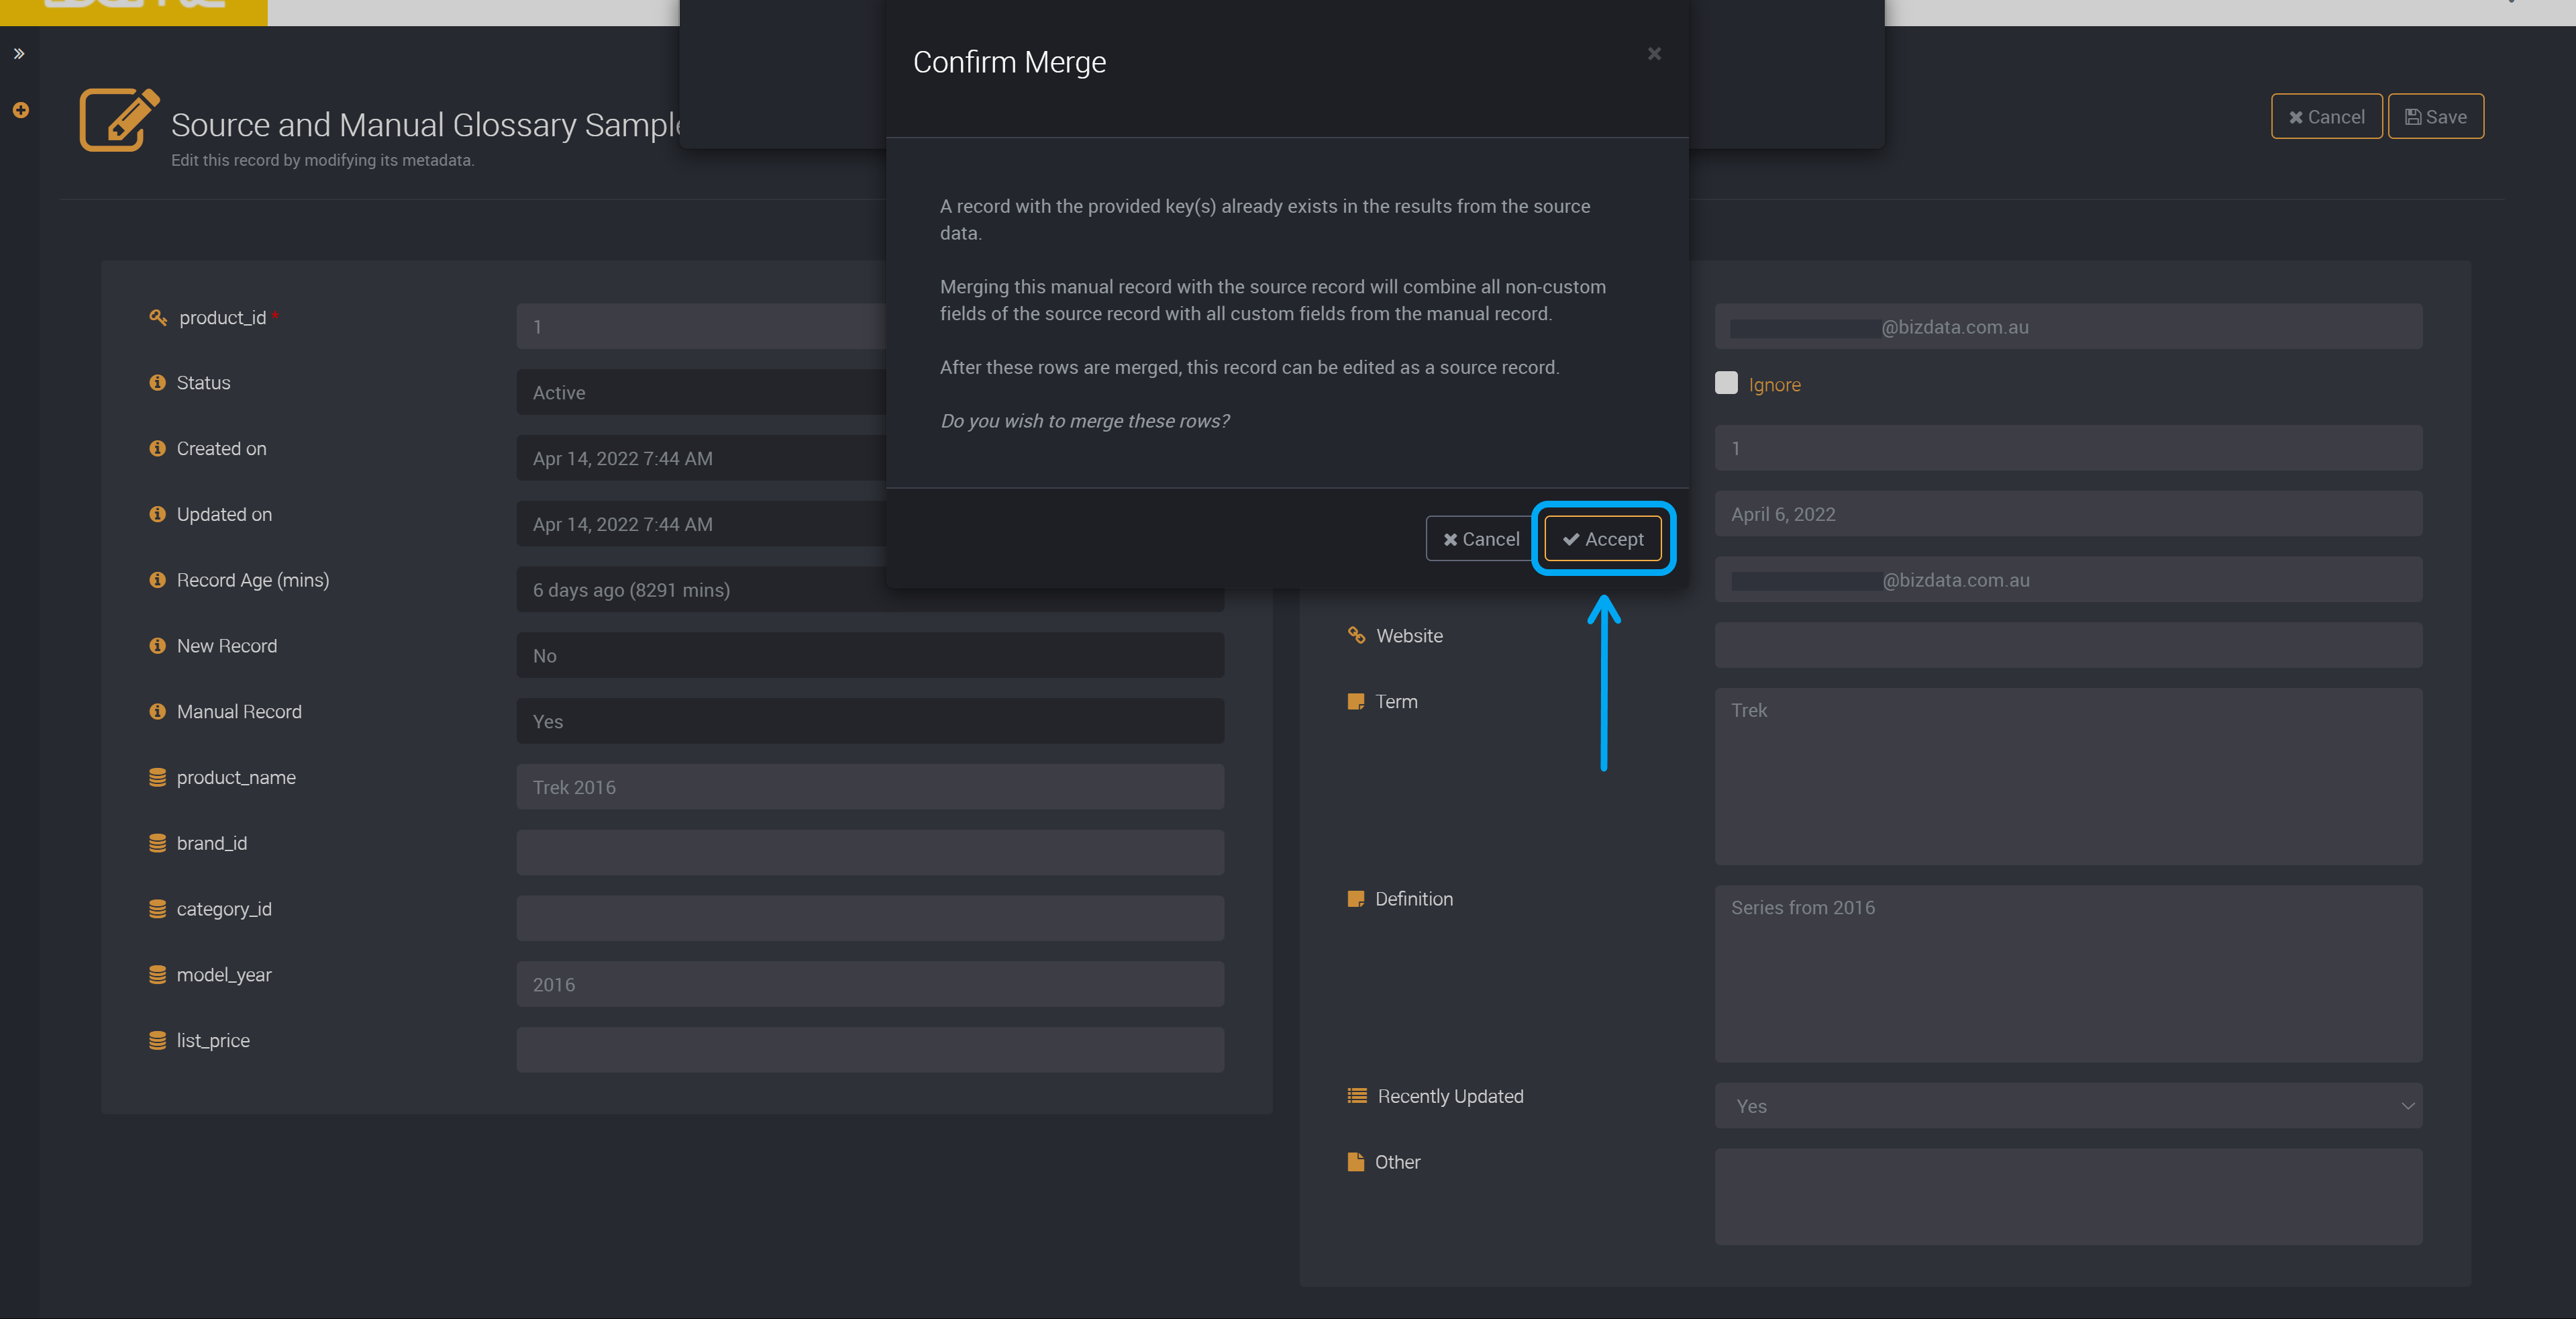
You will be asked to confirm that you would like to merge these rows. It will save the custom fields of the manual row to the source data record.
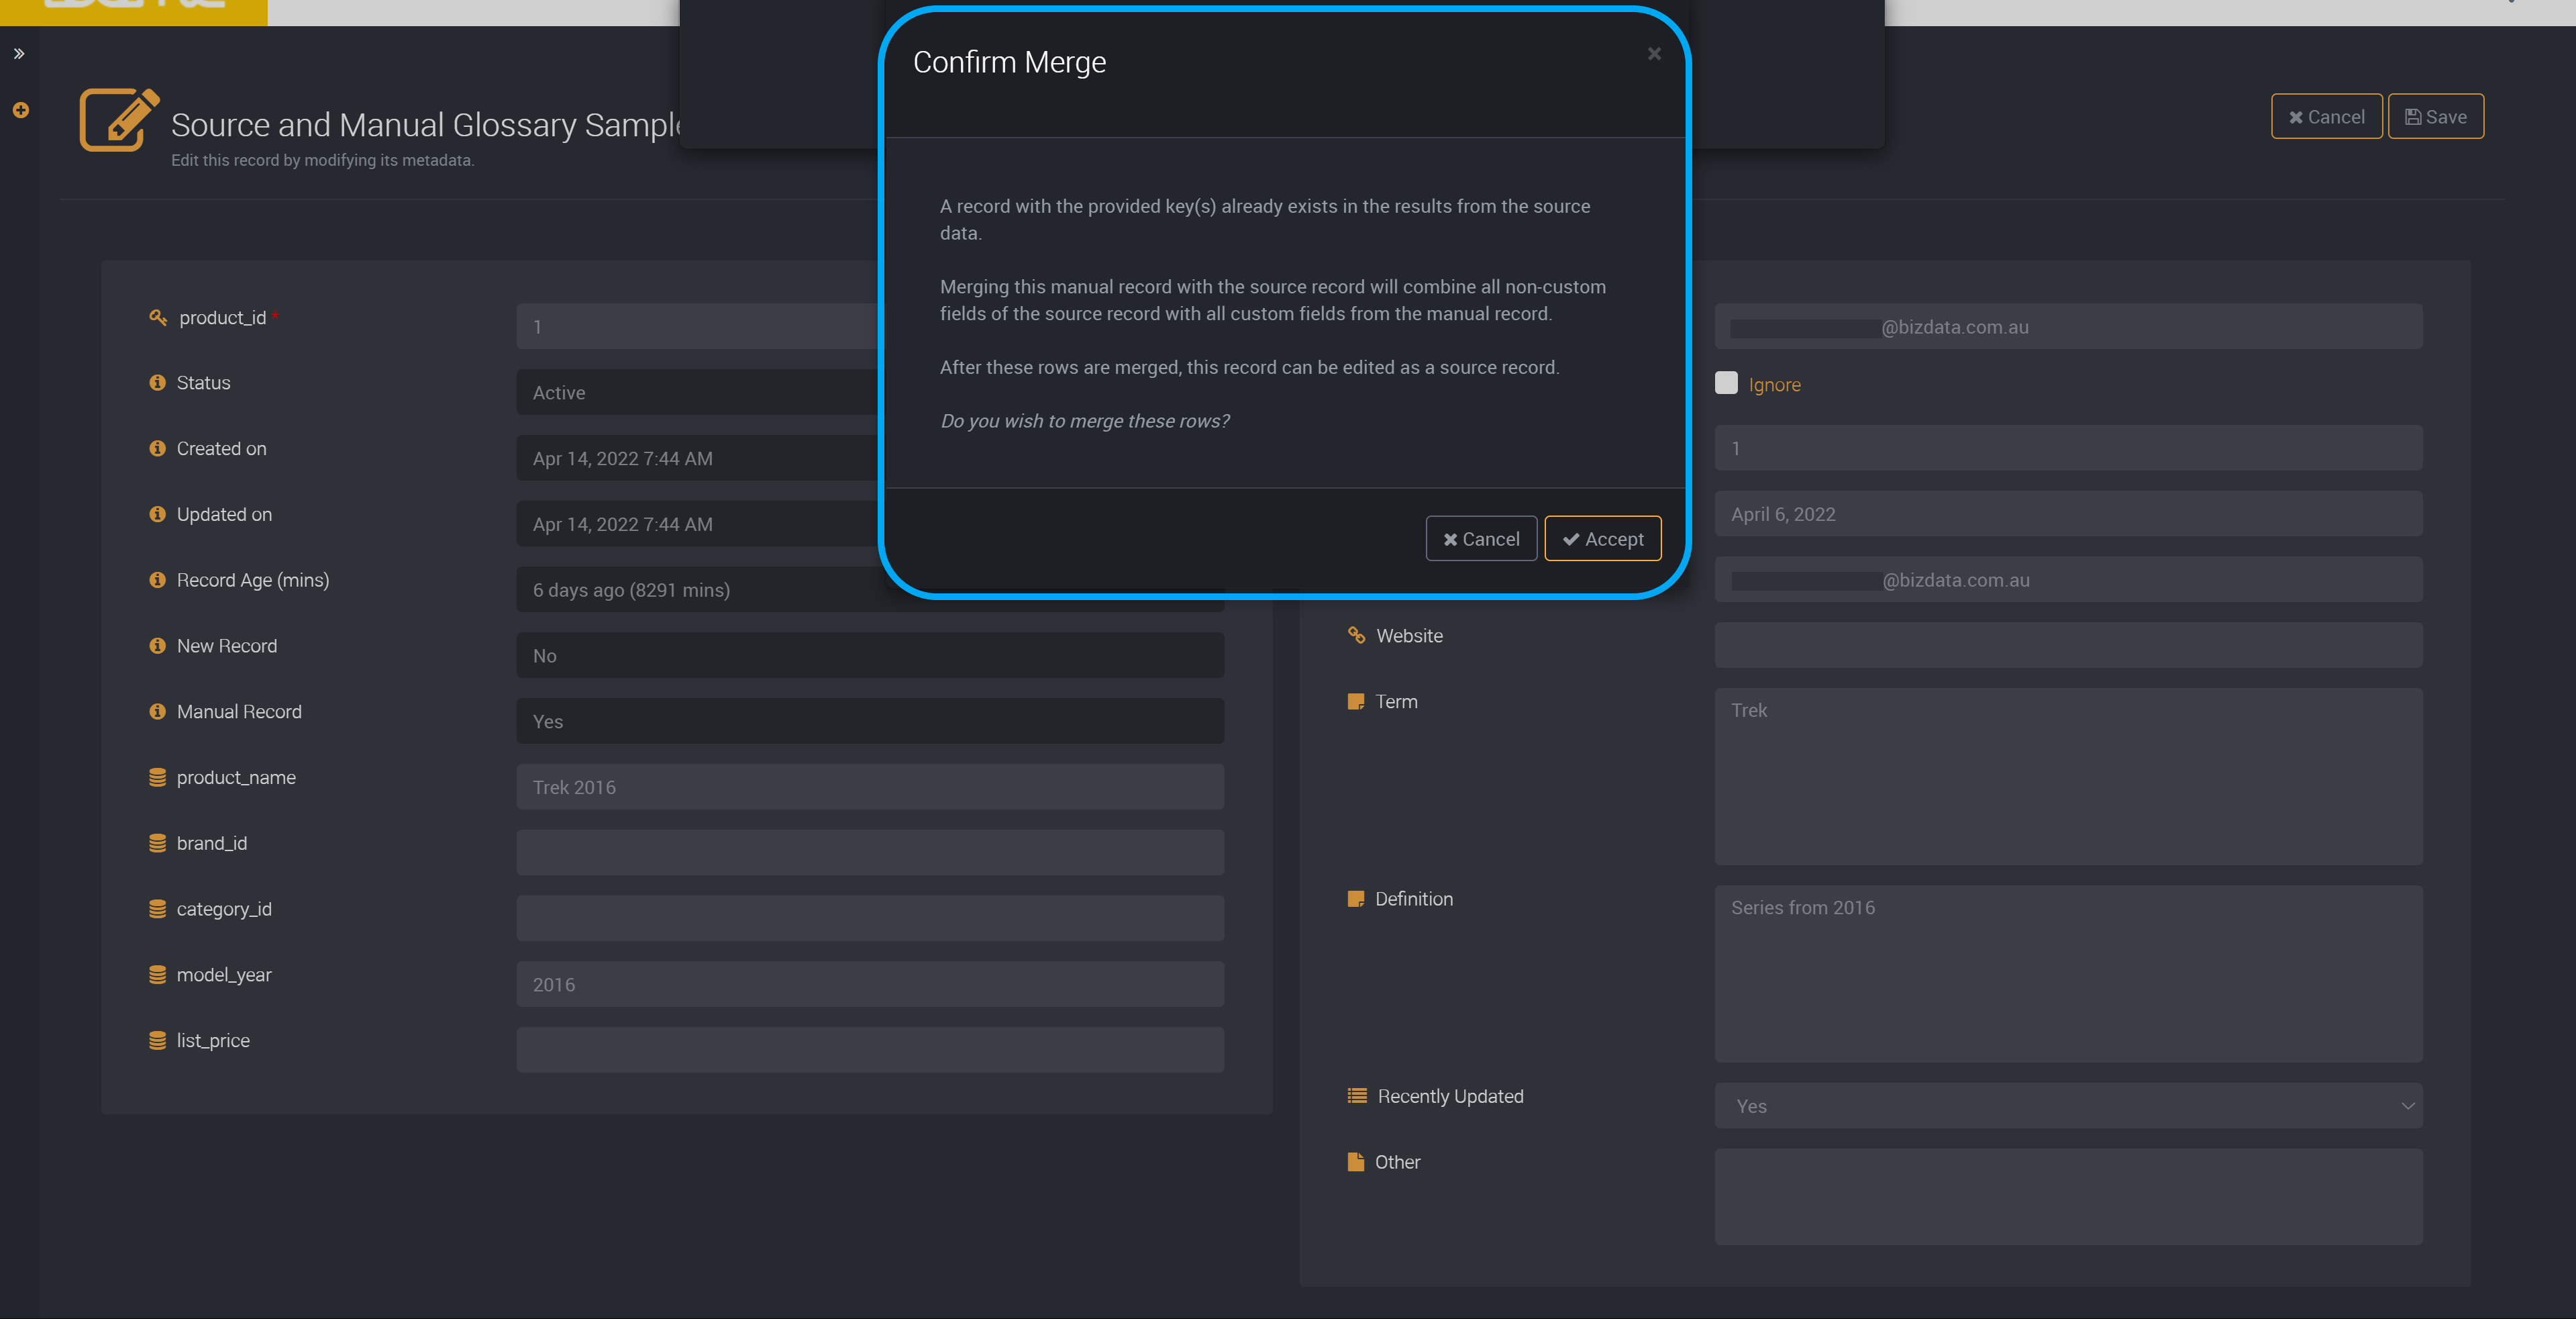
Accept these changes to merge these rows.
You can now view this merged row in your results table. The record contains the source data of the source data record with the custom field data of the manual record.
