Managing Connections
How to Add a Connection
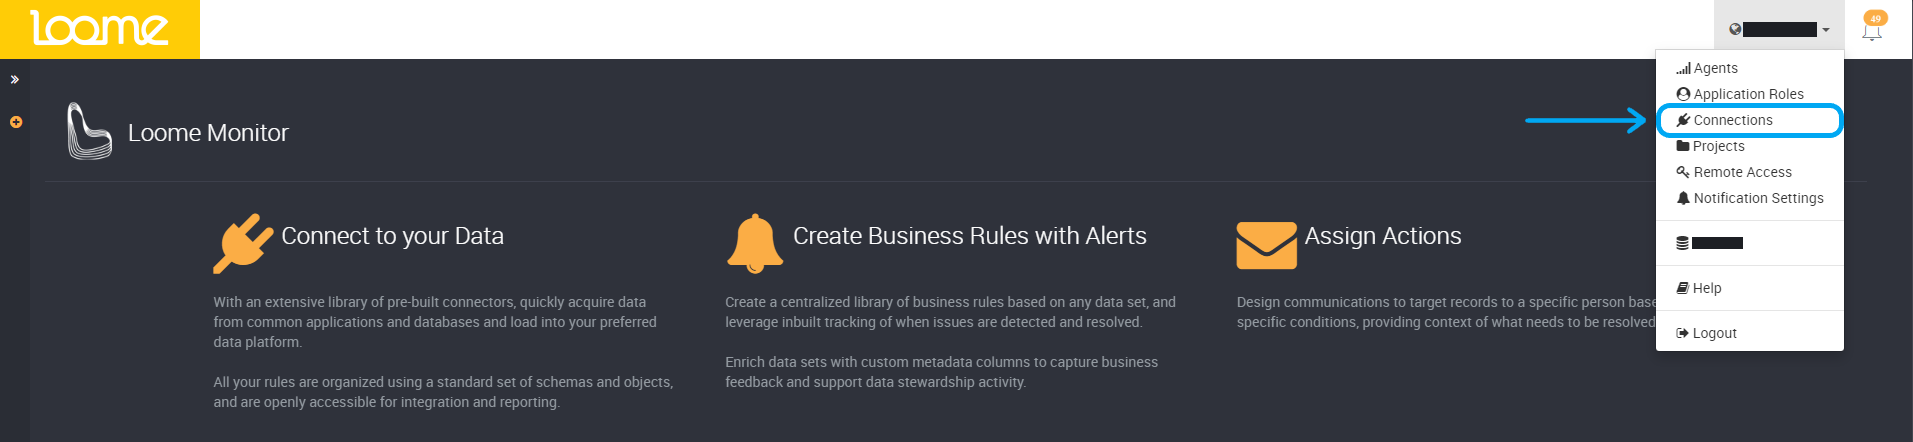
Click on Connections in the dropdown menu.
Click on Add Connection to start creating a connection to your data platform.

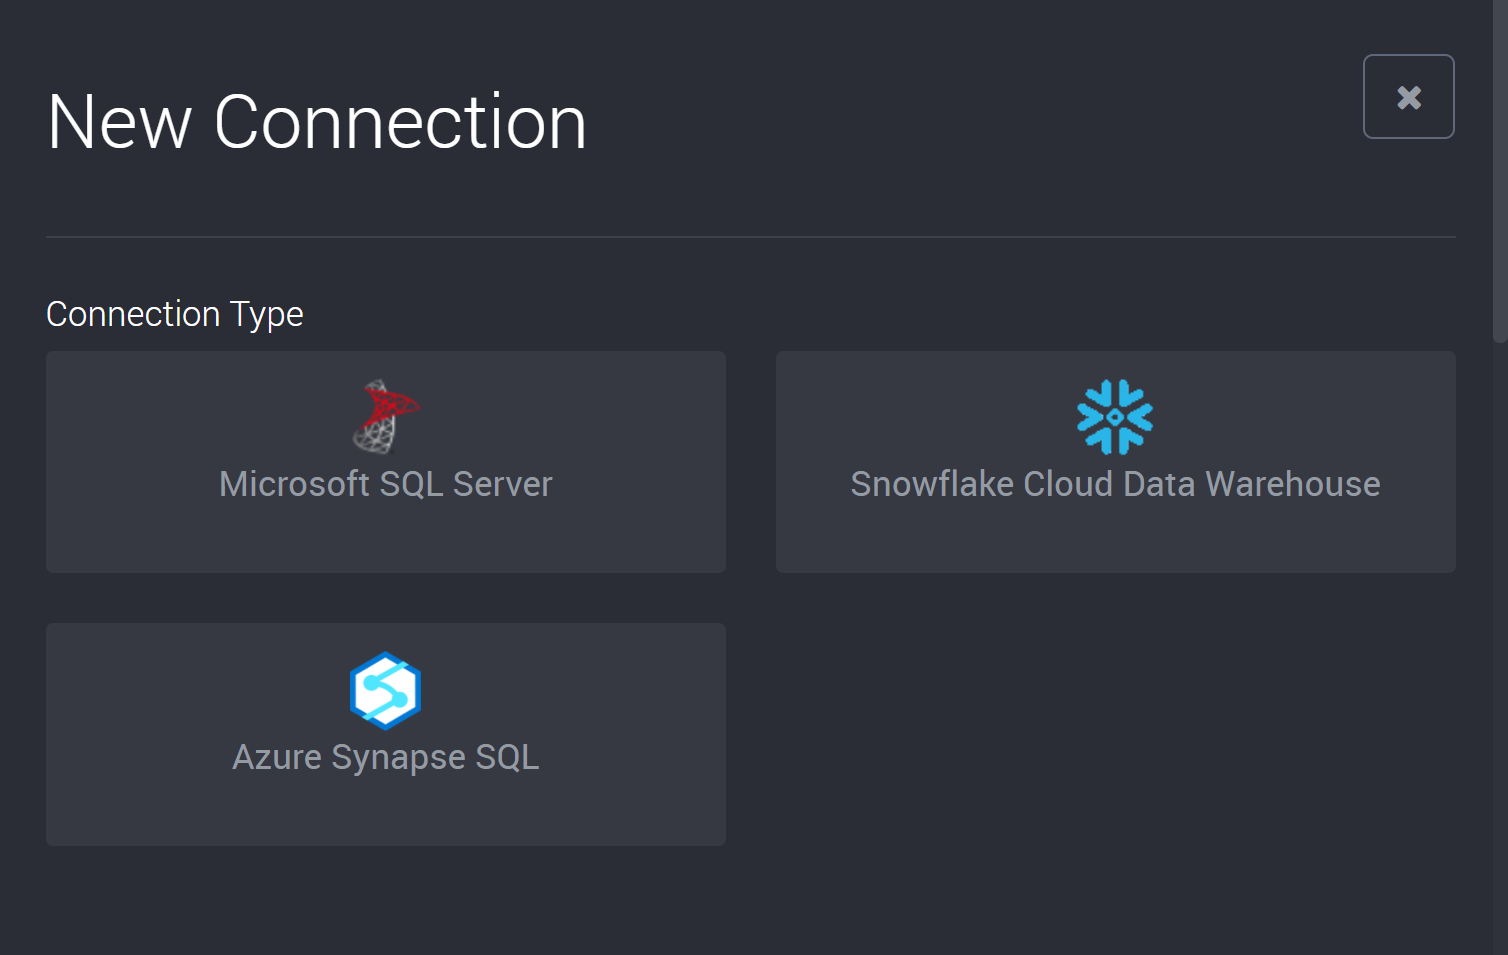
Select the connection type.
Once you have selected a connection type, complete the following fields to create a connection.
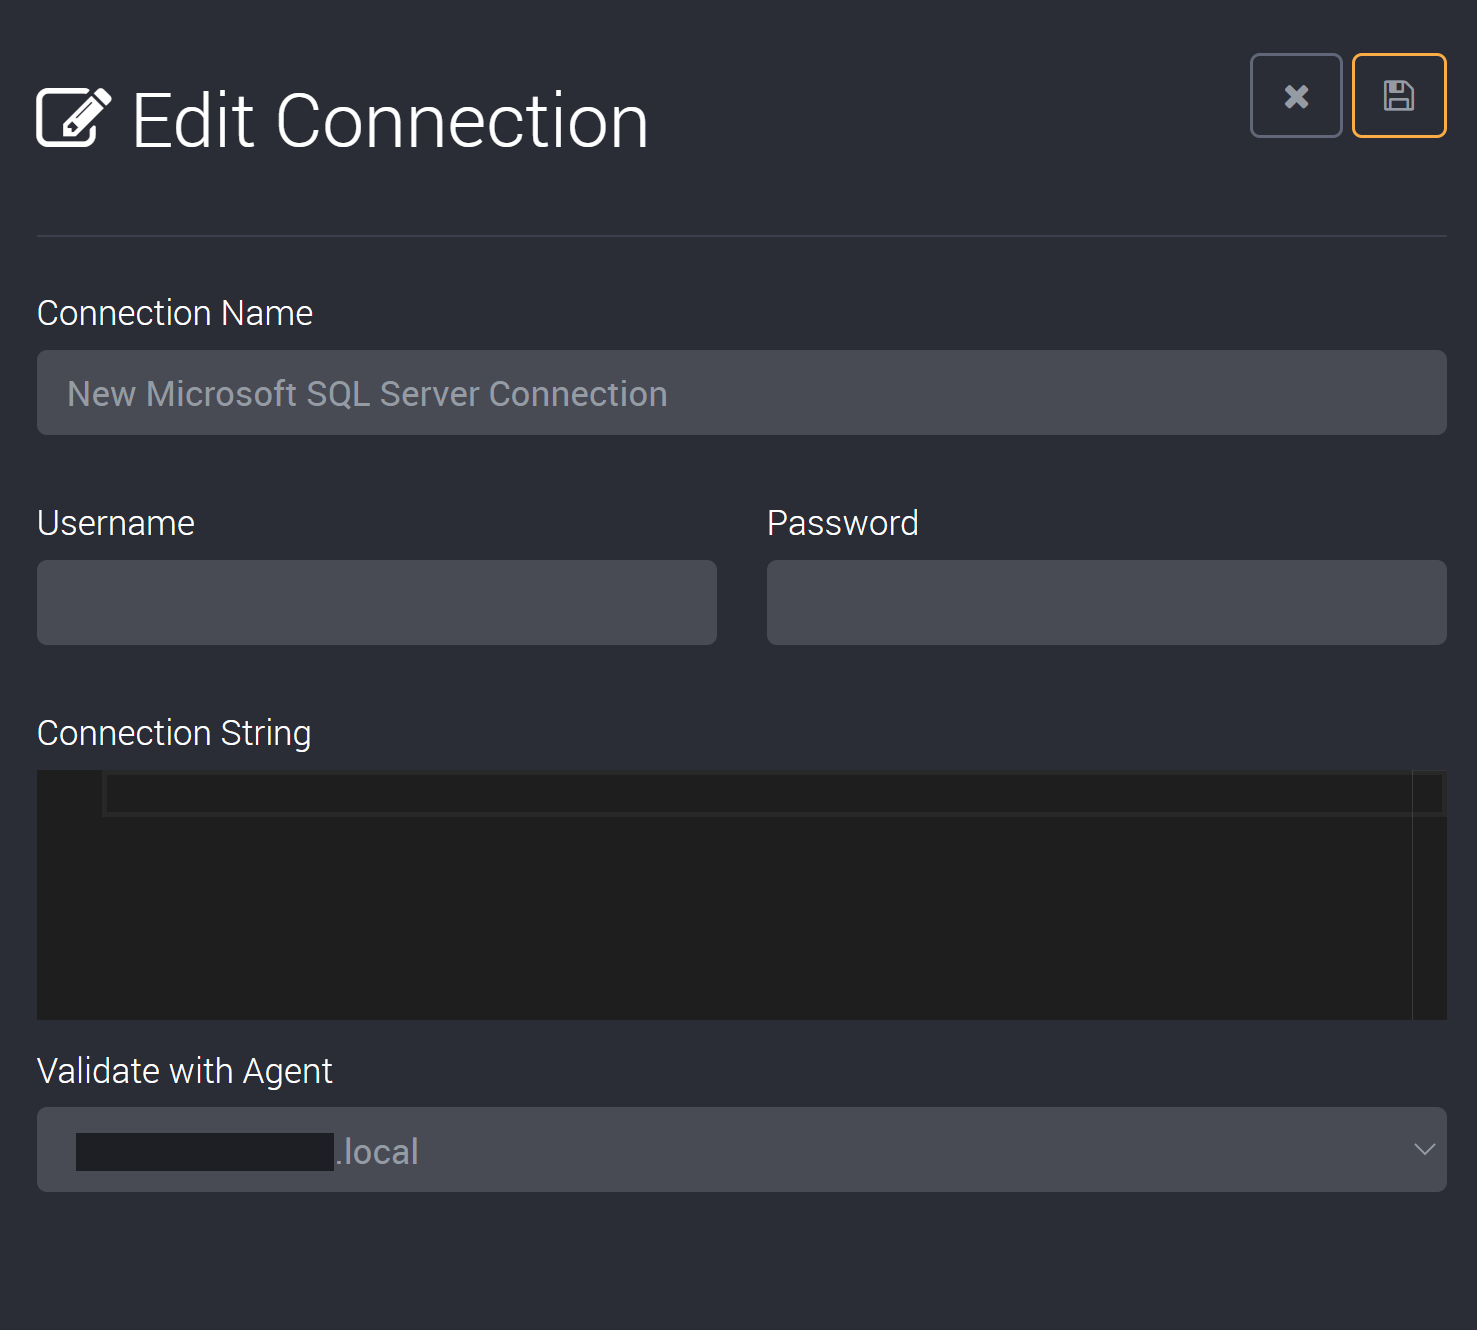
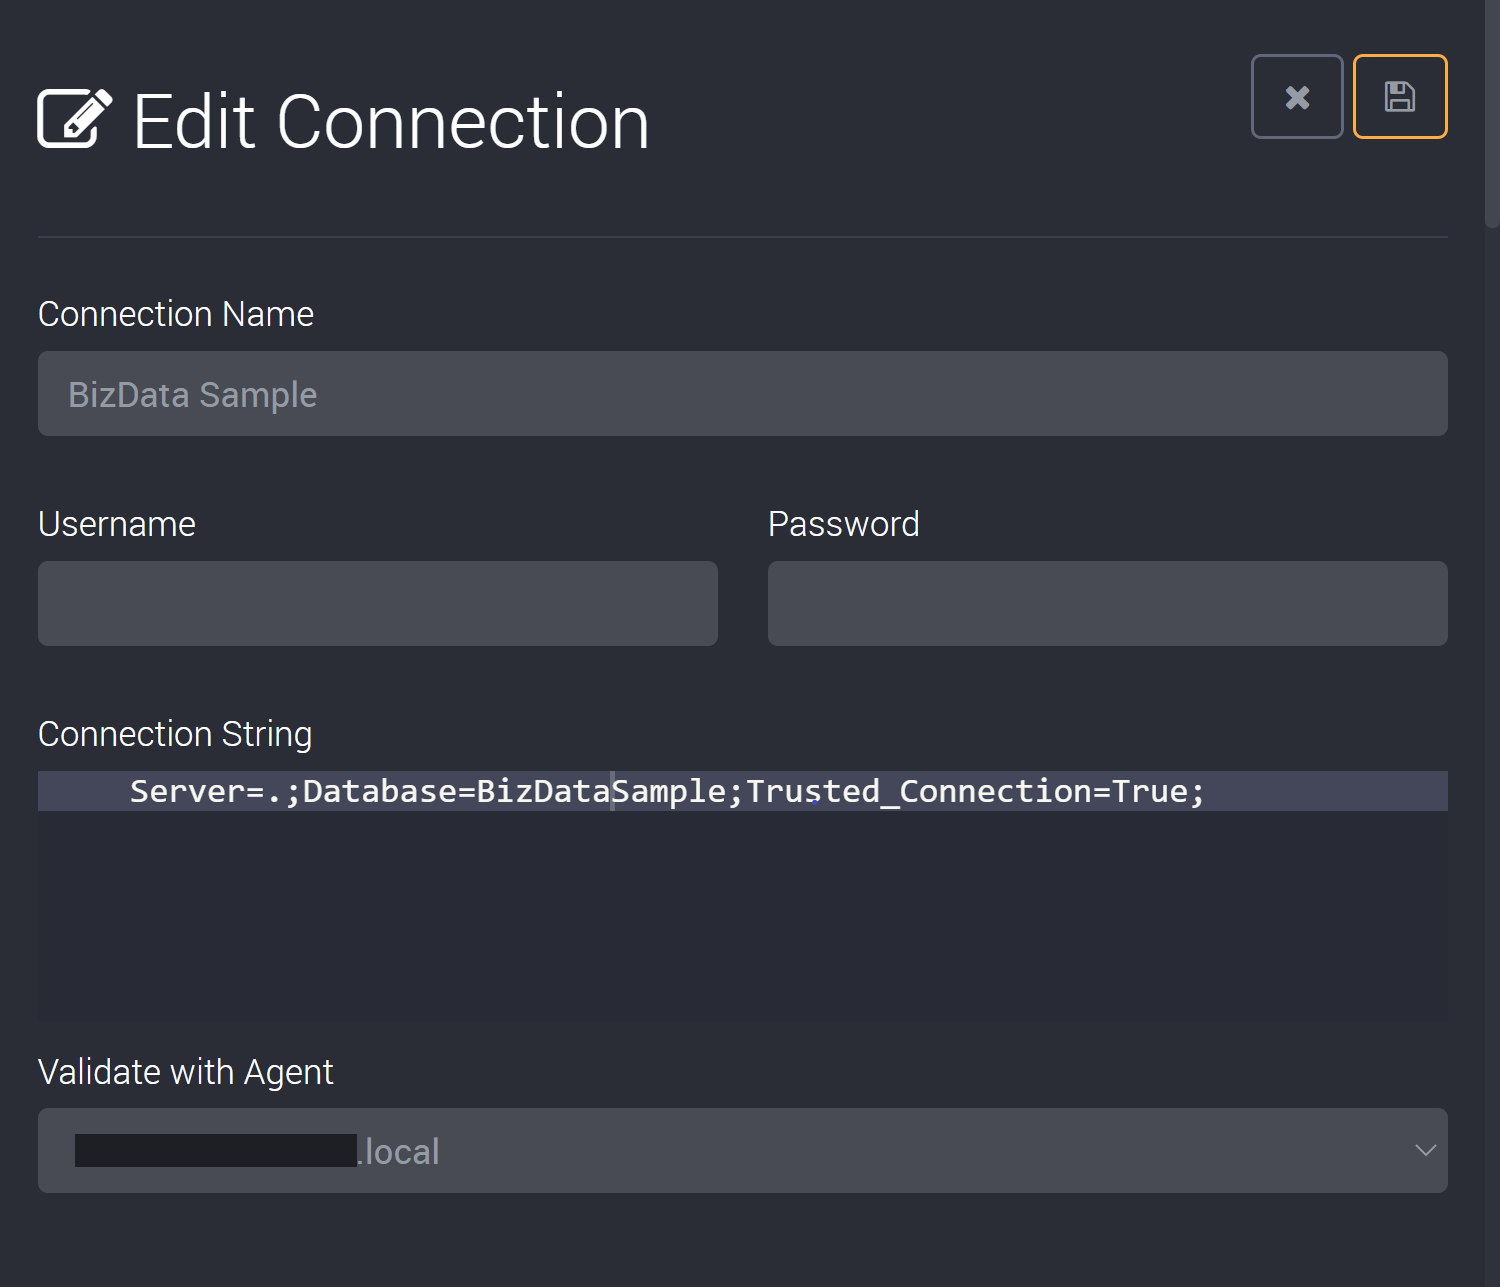
First, provide a friendly name to easily identify this connection.
If you do not want to provide your username and password in your connection string, you can add your username and password (or your Personal Access Token) in the username and password fields and Loome will provide these fields separately from the connection string. What details you provide here can vary depending on the connector type. In this SQL Server connection example, this would be the same credentials you use to log into your SQL Server.
Then add your connection string. Please find templates for the connection strings of SQL Server and Snowflake Data Warehouse on their connection detail pages.
Select the agent that will validate this connection.
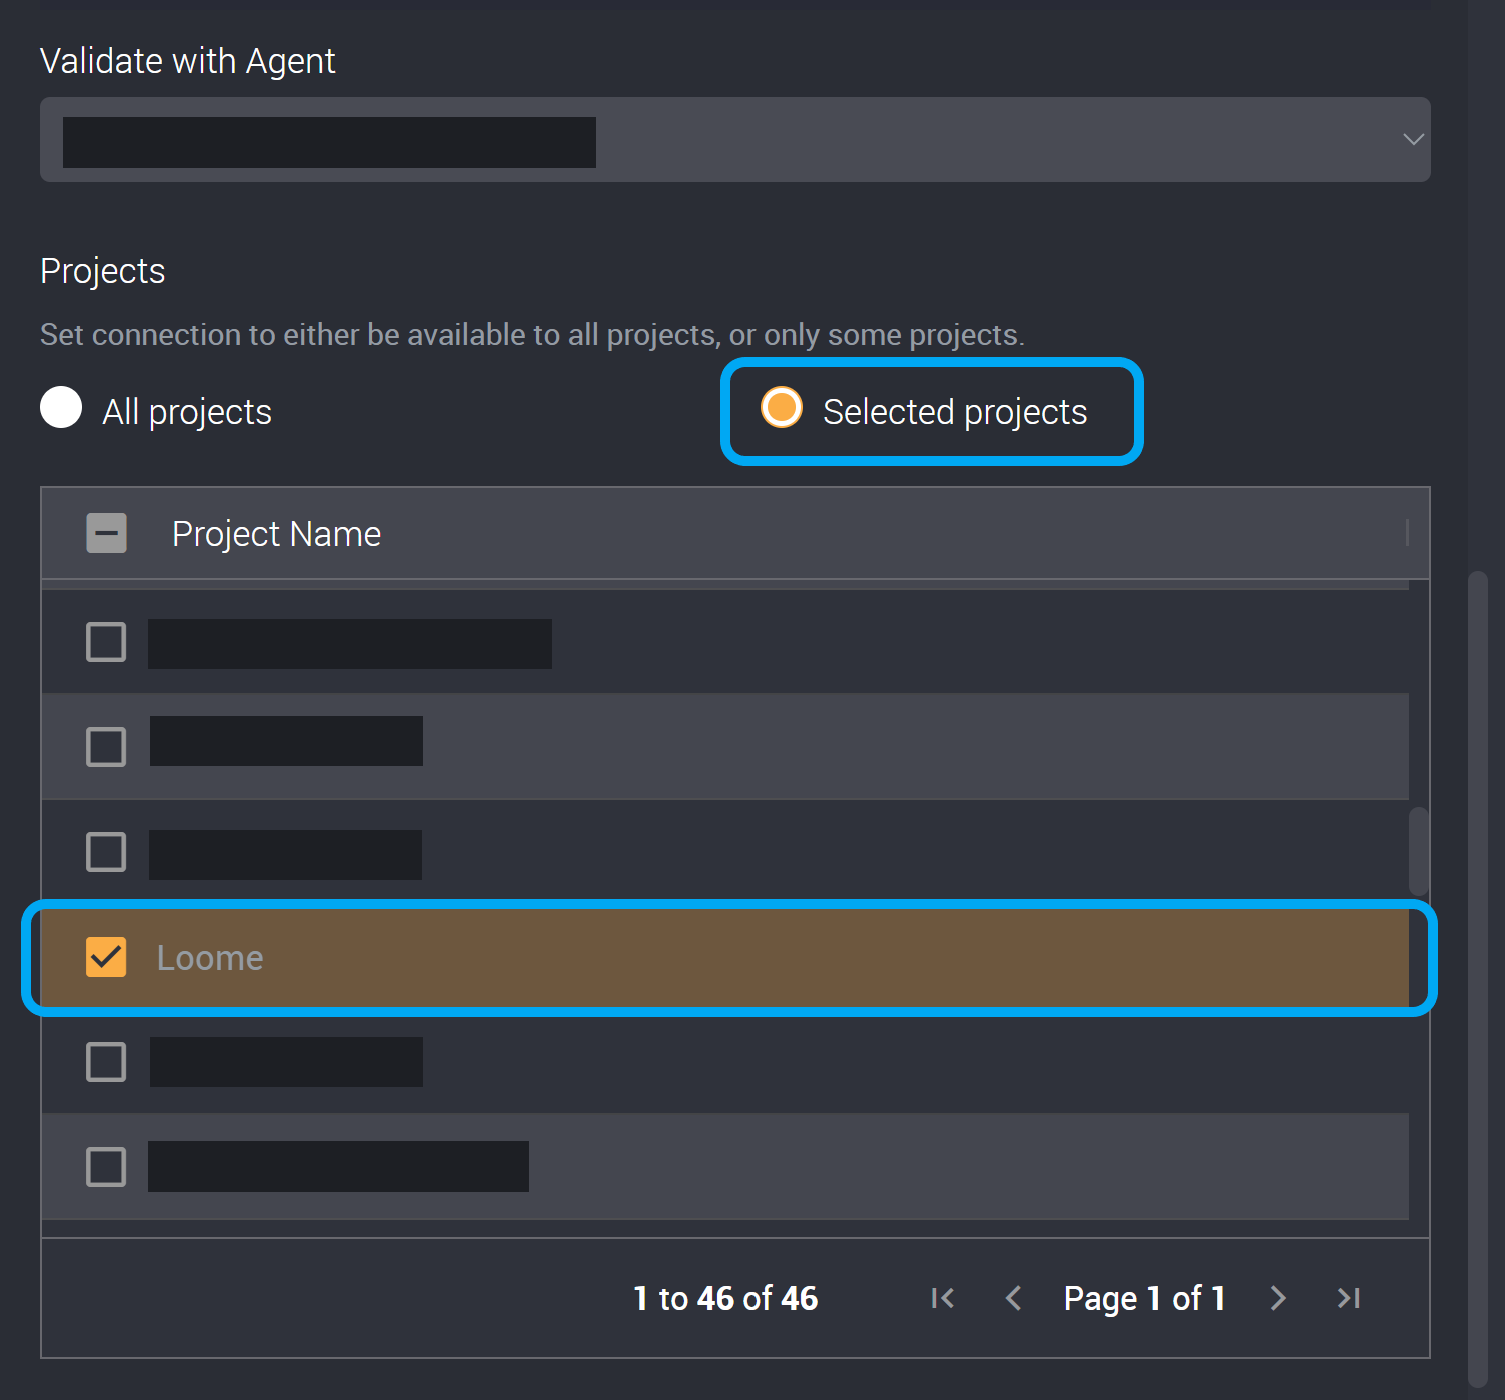
Next, choose whether this connection will be available in all projects or selected projects.
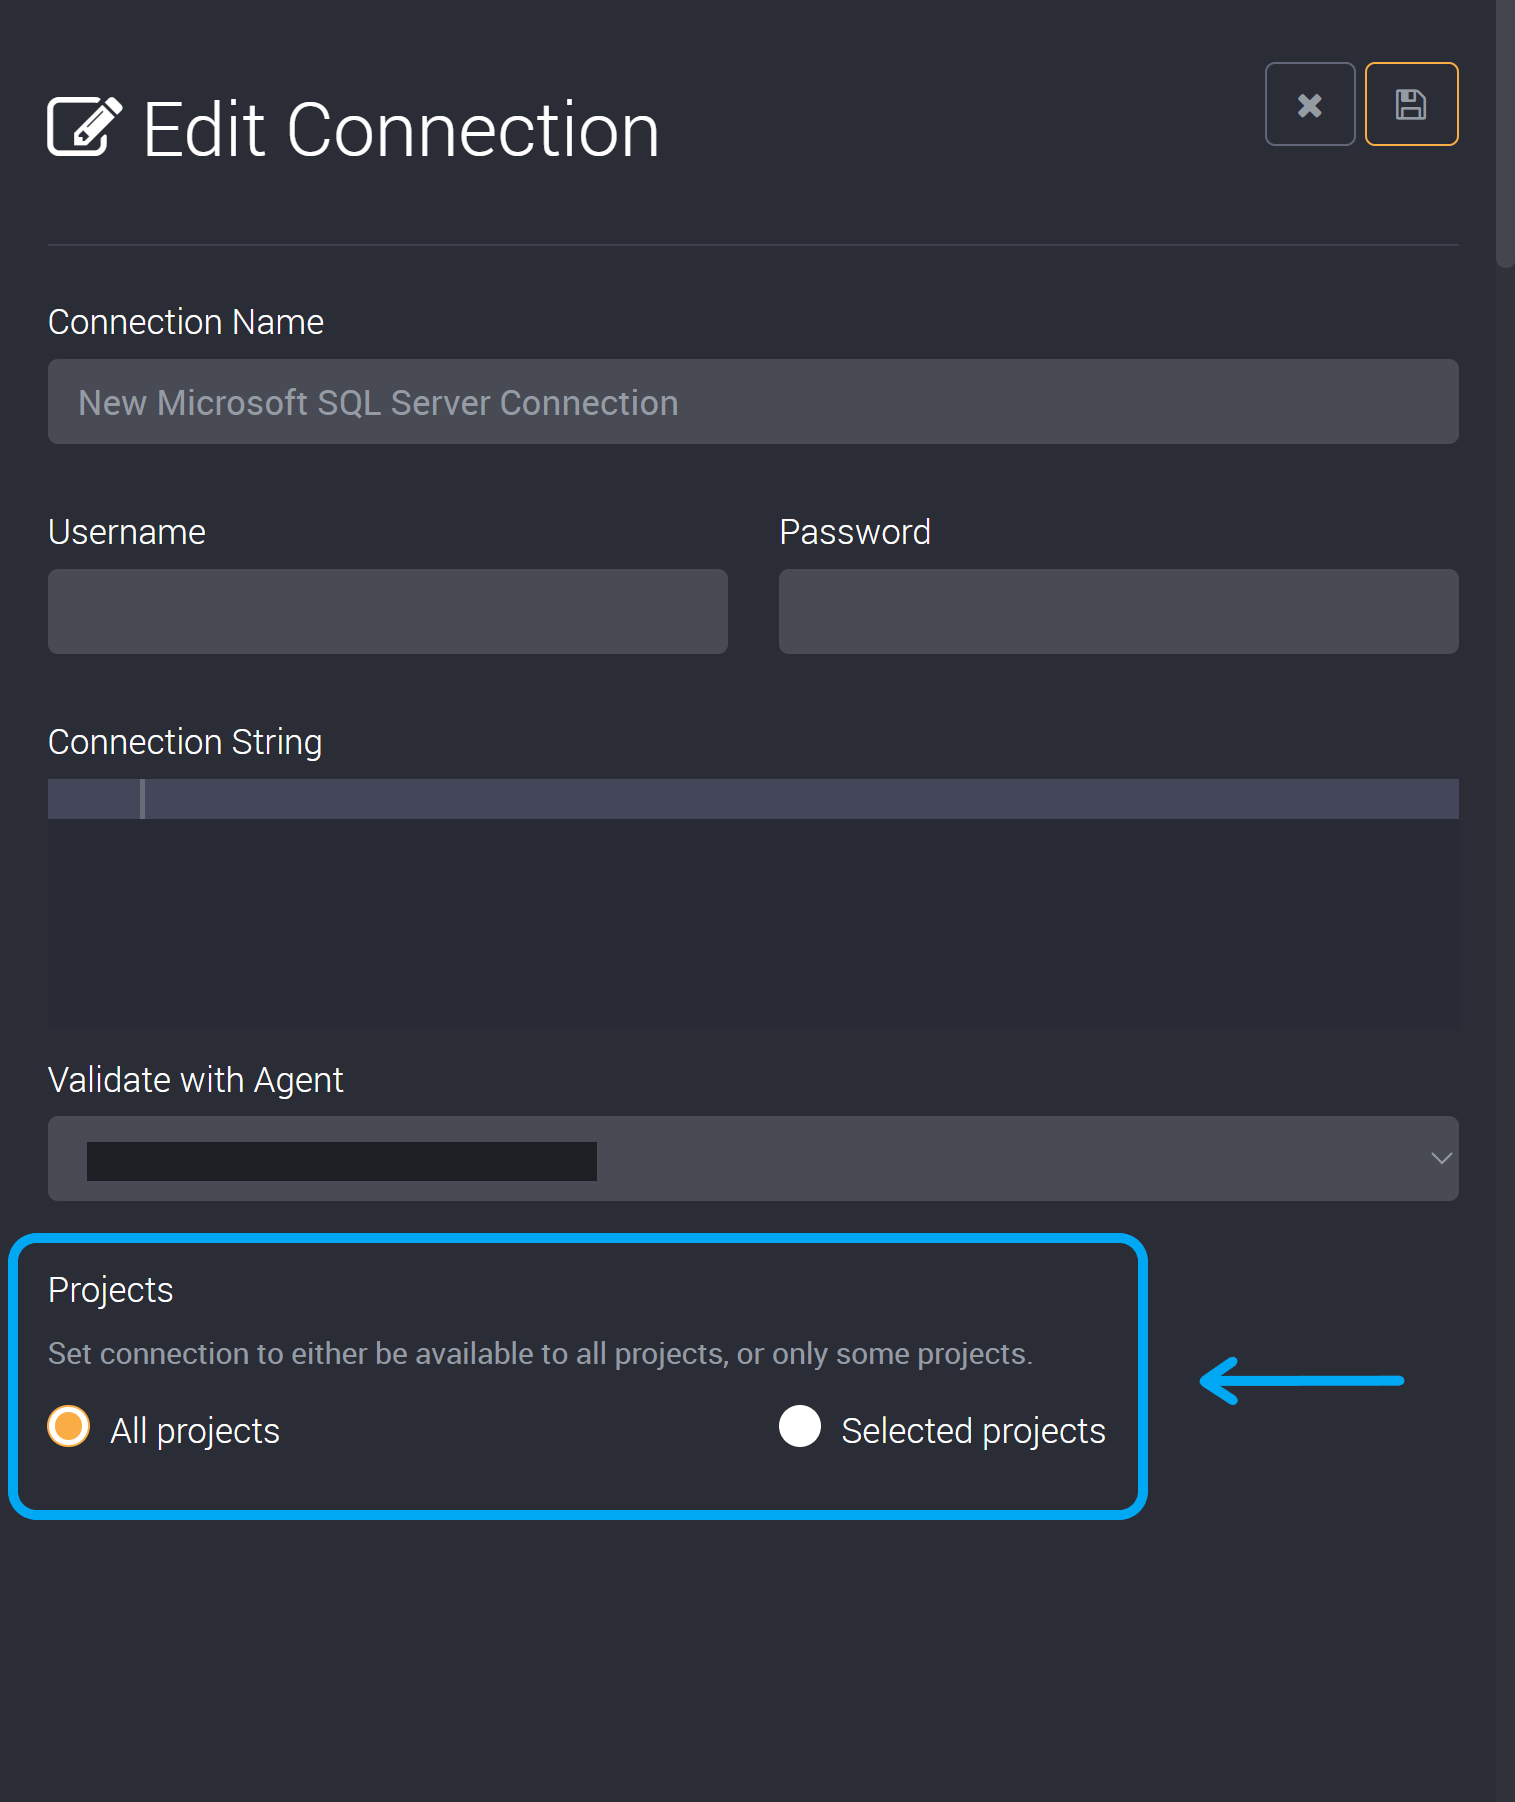
If it should only be available in your chosen projects, click ‘Selected Projects’ and tick the checkbox beside each project you would like to use this connection. It will not be available in other projects.
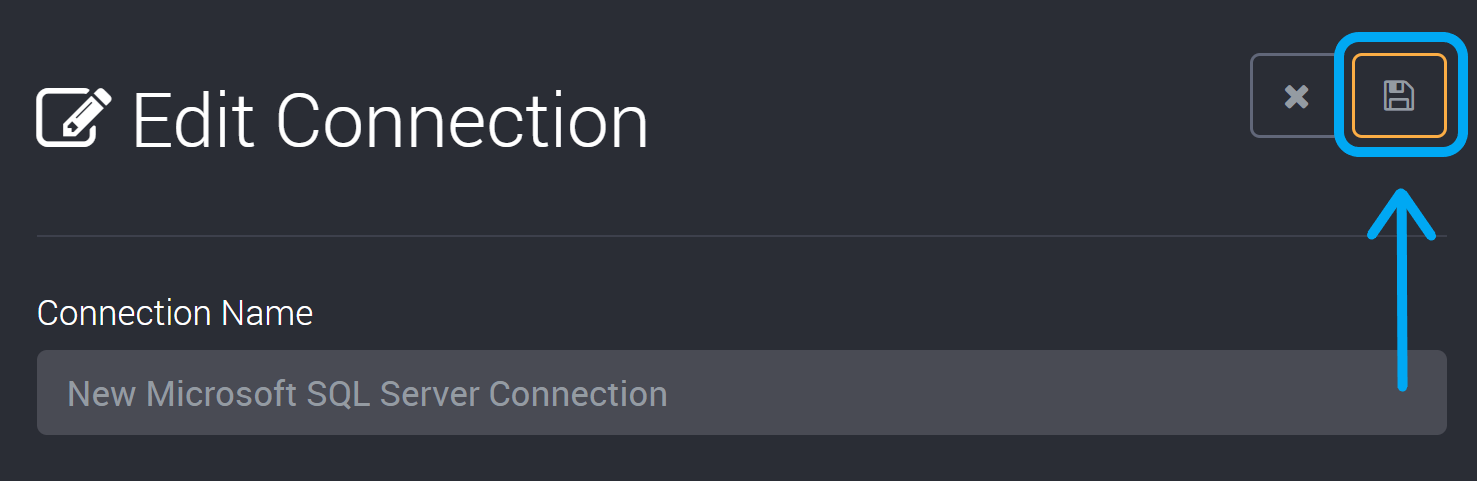
Once you have completed these fields, please click on the save button in the top right corner and you will have added this connection.
You can now use this connection when creating and editing rules.
How to Edit a Connection
Click on the Edit Connection button available on the right of the connection you would like to edit.
The images below include an example of sample connections.
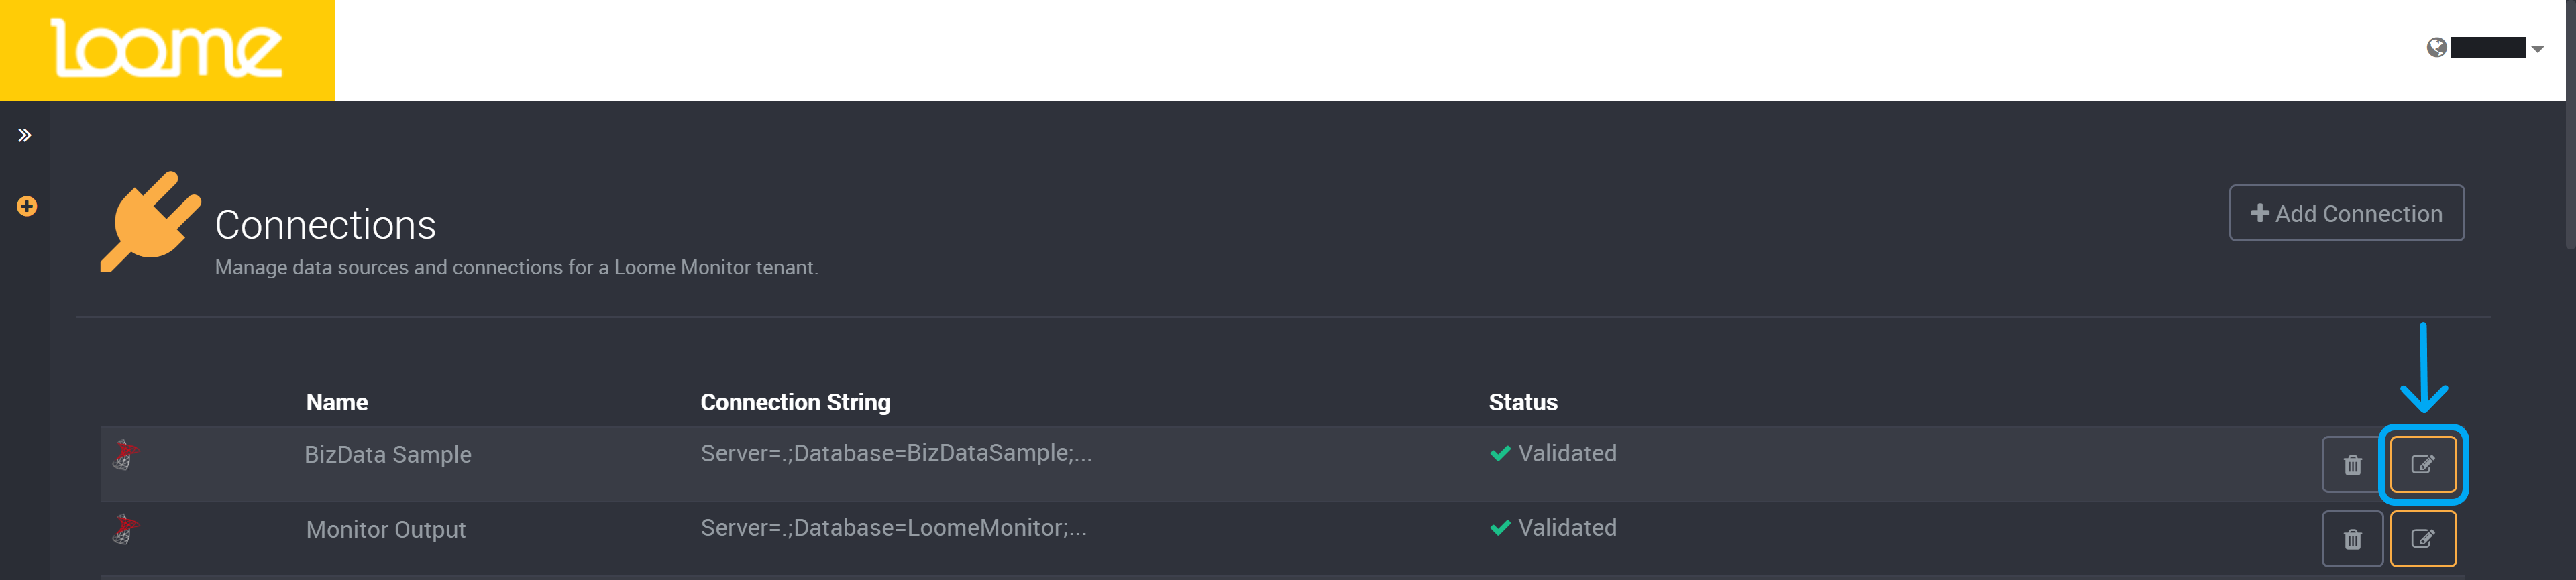
This will expand the slideout where you can edit any of the connection’s details.