Workstations
You can create a workstation using a template and your chosen specifications following the instructions below.
How to Create a Workstation
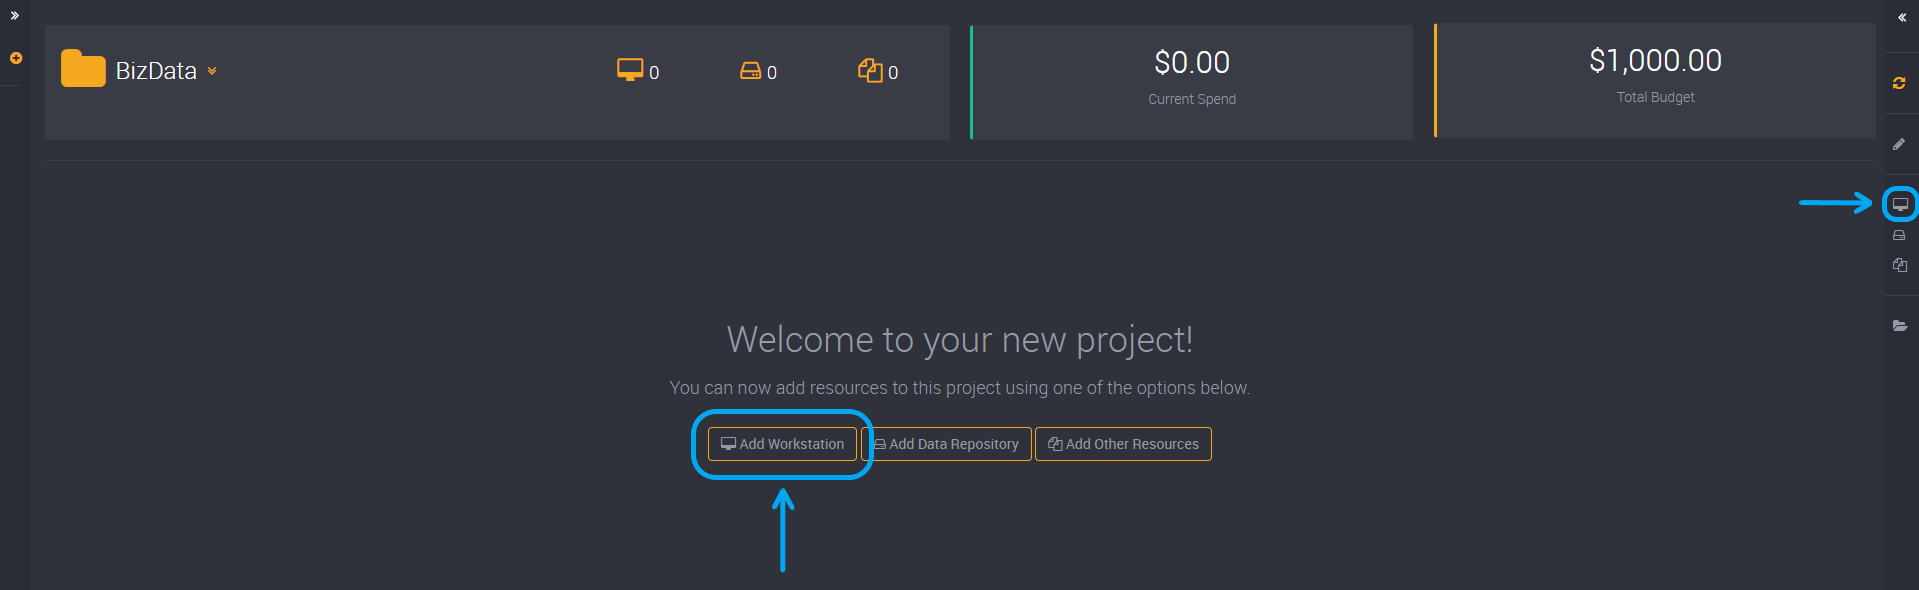
Find Add Workstation in the right action slide-out of your selected project.
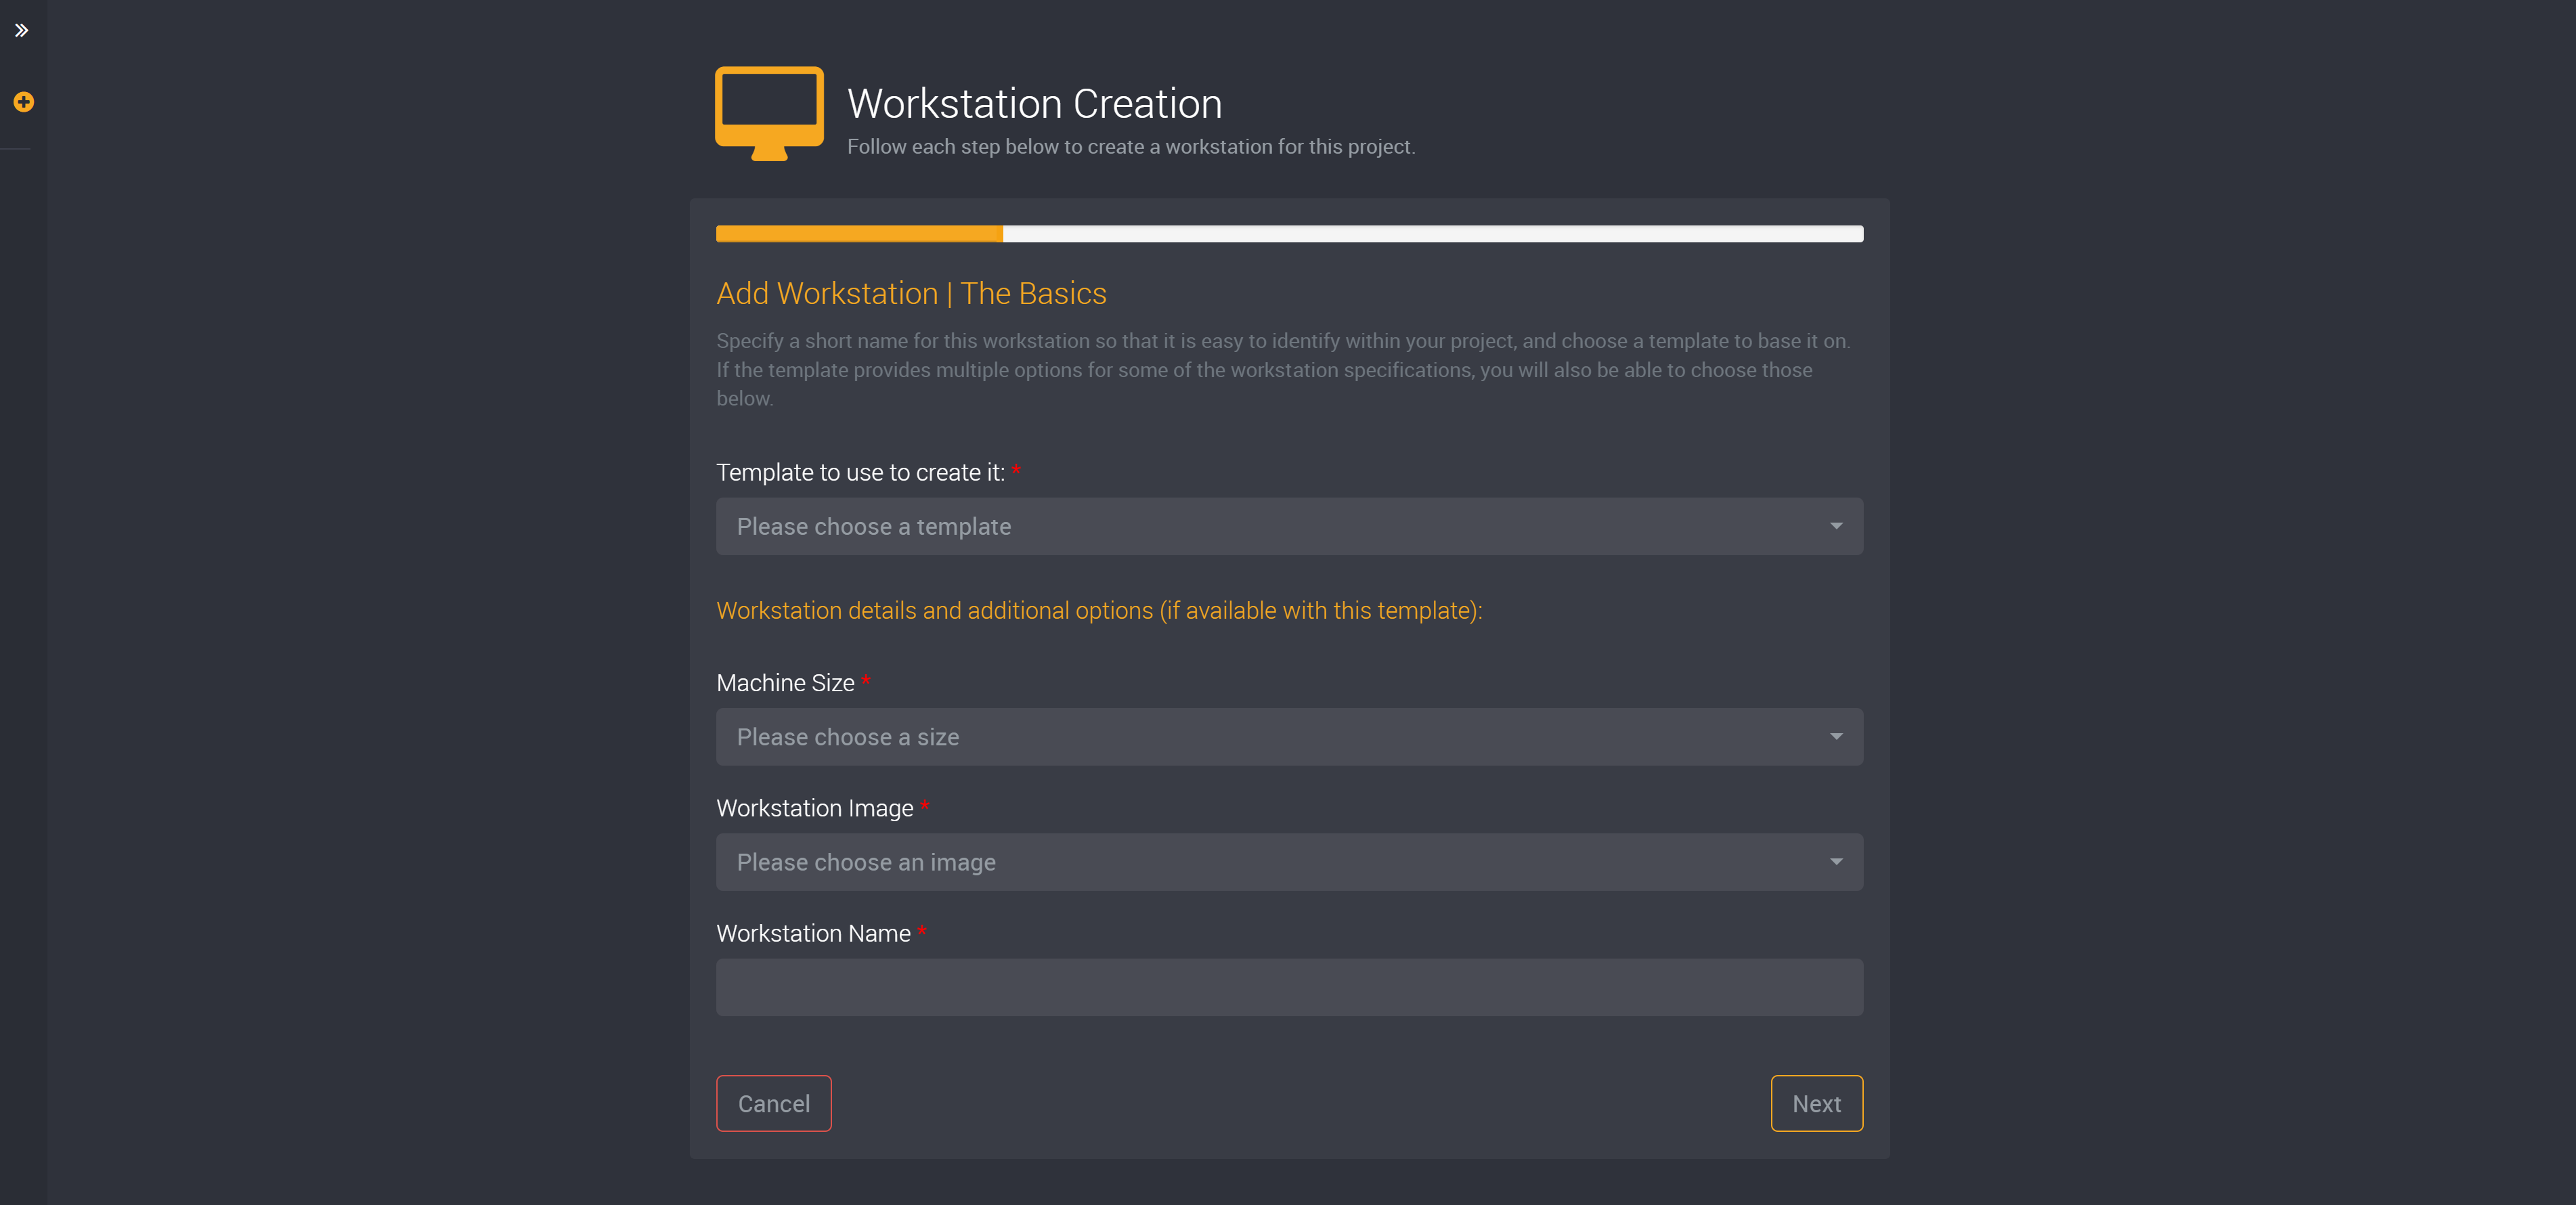
First, choose a template from the dropdown.
The machine size and workstation images that are available depends on your selected template.
Choose a Machine Size and Workstation Image from the dropdown fields.
Provide a Workstation Name so you can easily identify this workstation later.
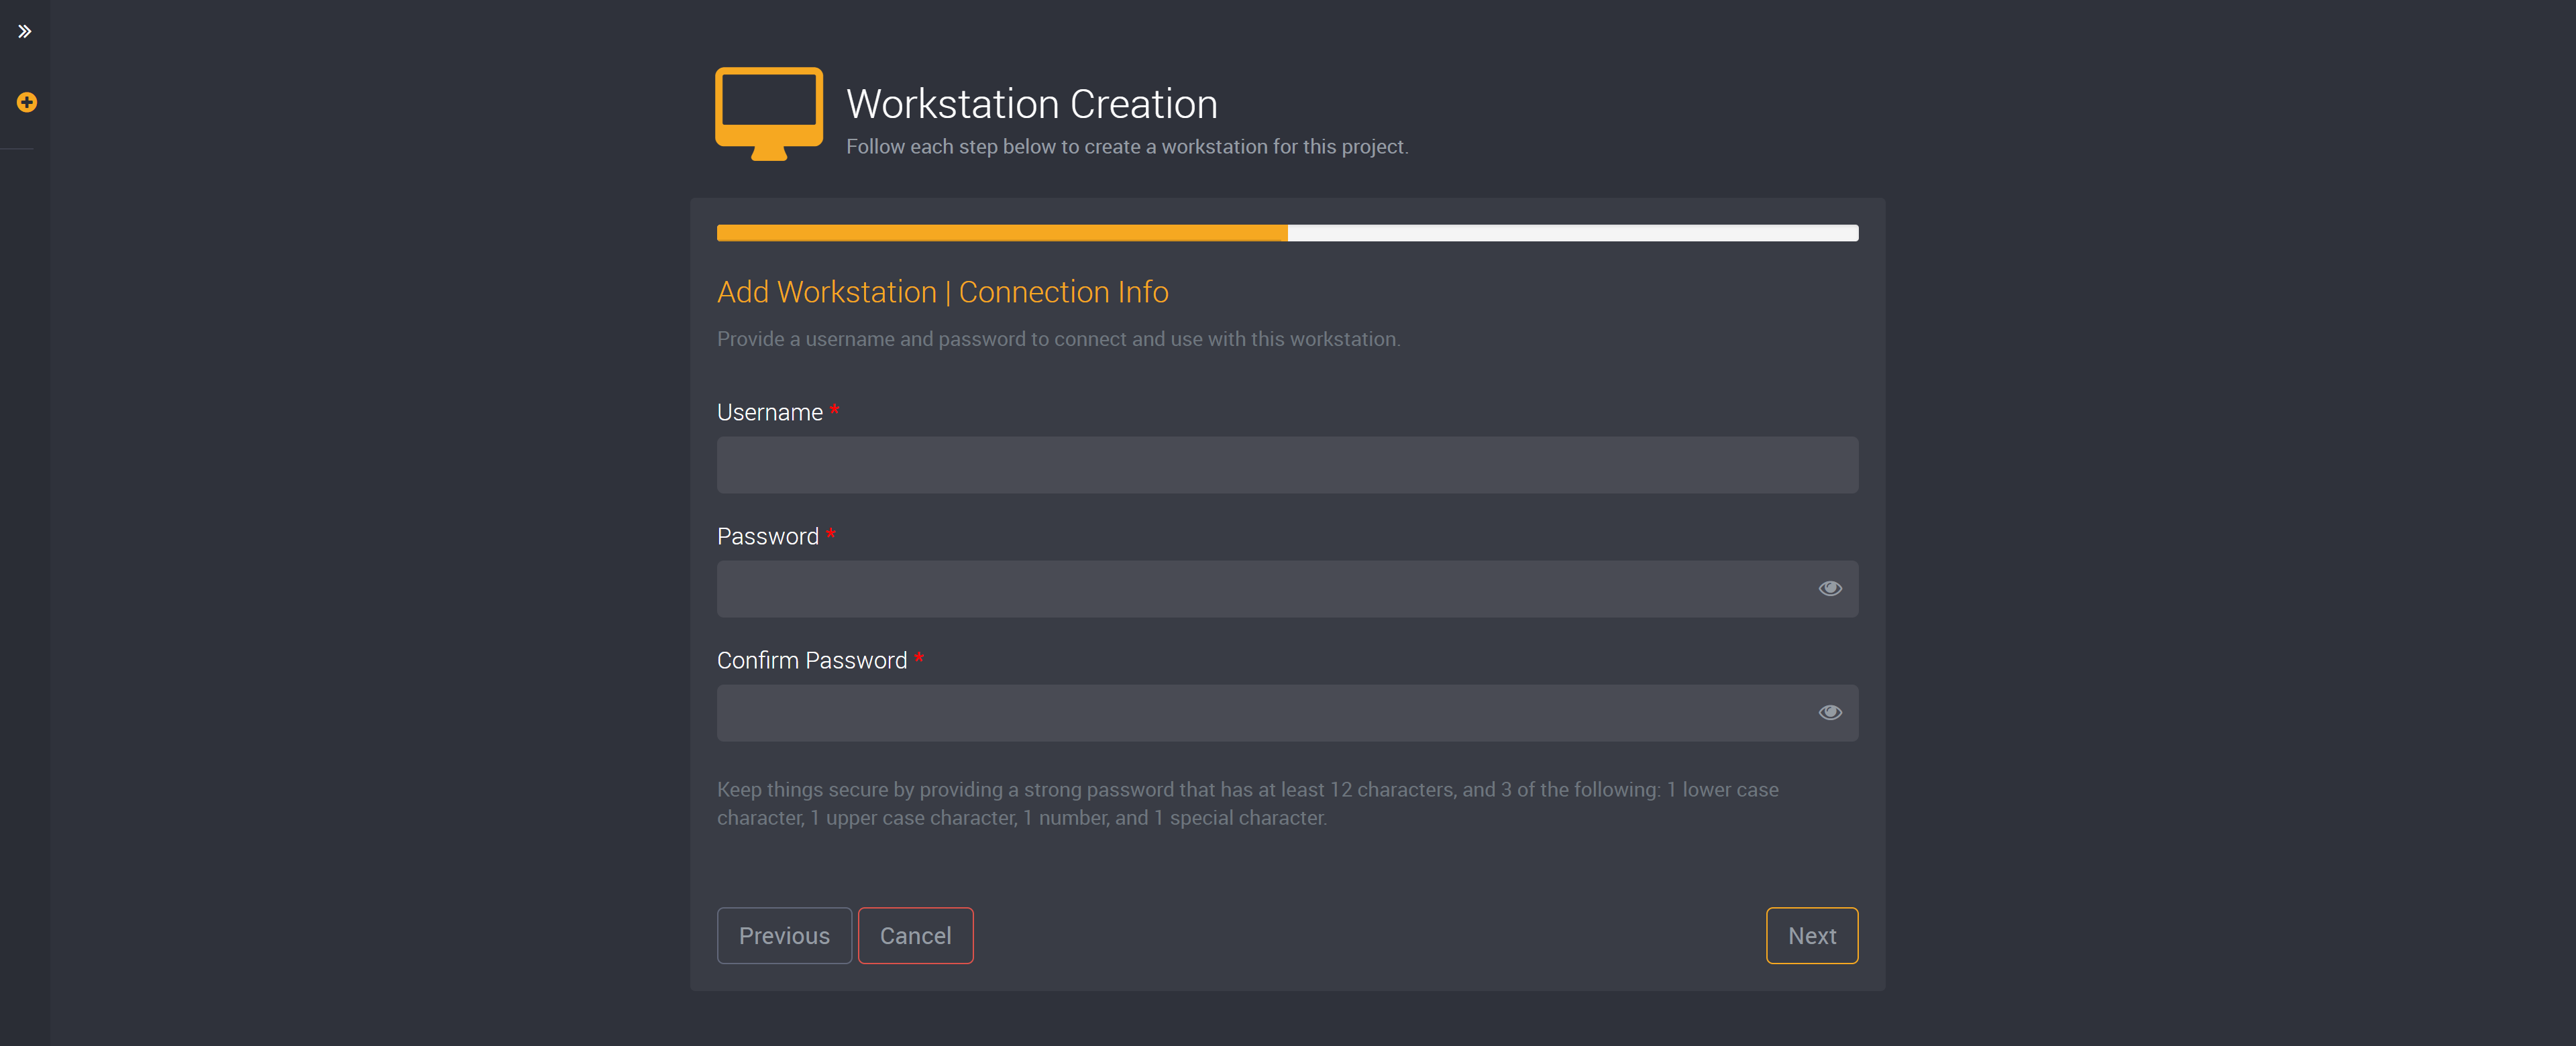
Next, create a username and password to connect to this workstation.
You will need a password with a minimum of 12 characters. It must also include at least one uppercase character, one lowercase character, one number and special character.
You can choose to select a data repository and it will be available in this workstation as a local drive.
You can select a data repository, as shown in the image below, if you have already added a data repository to this project following the steps here.
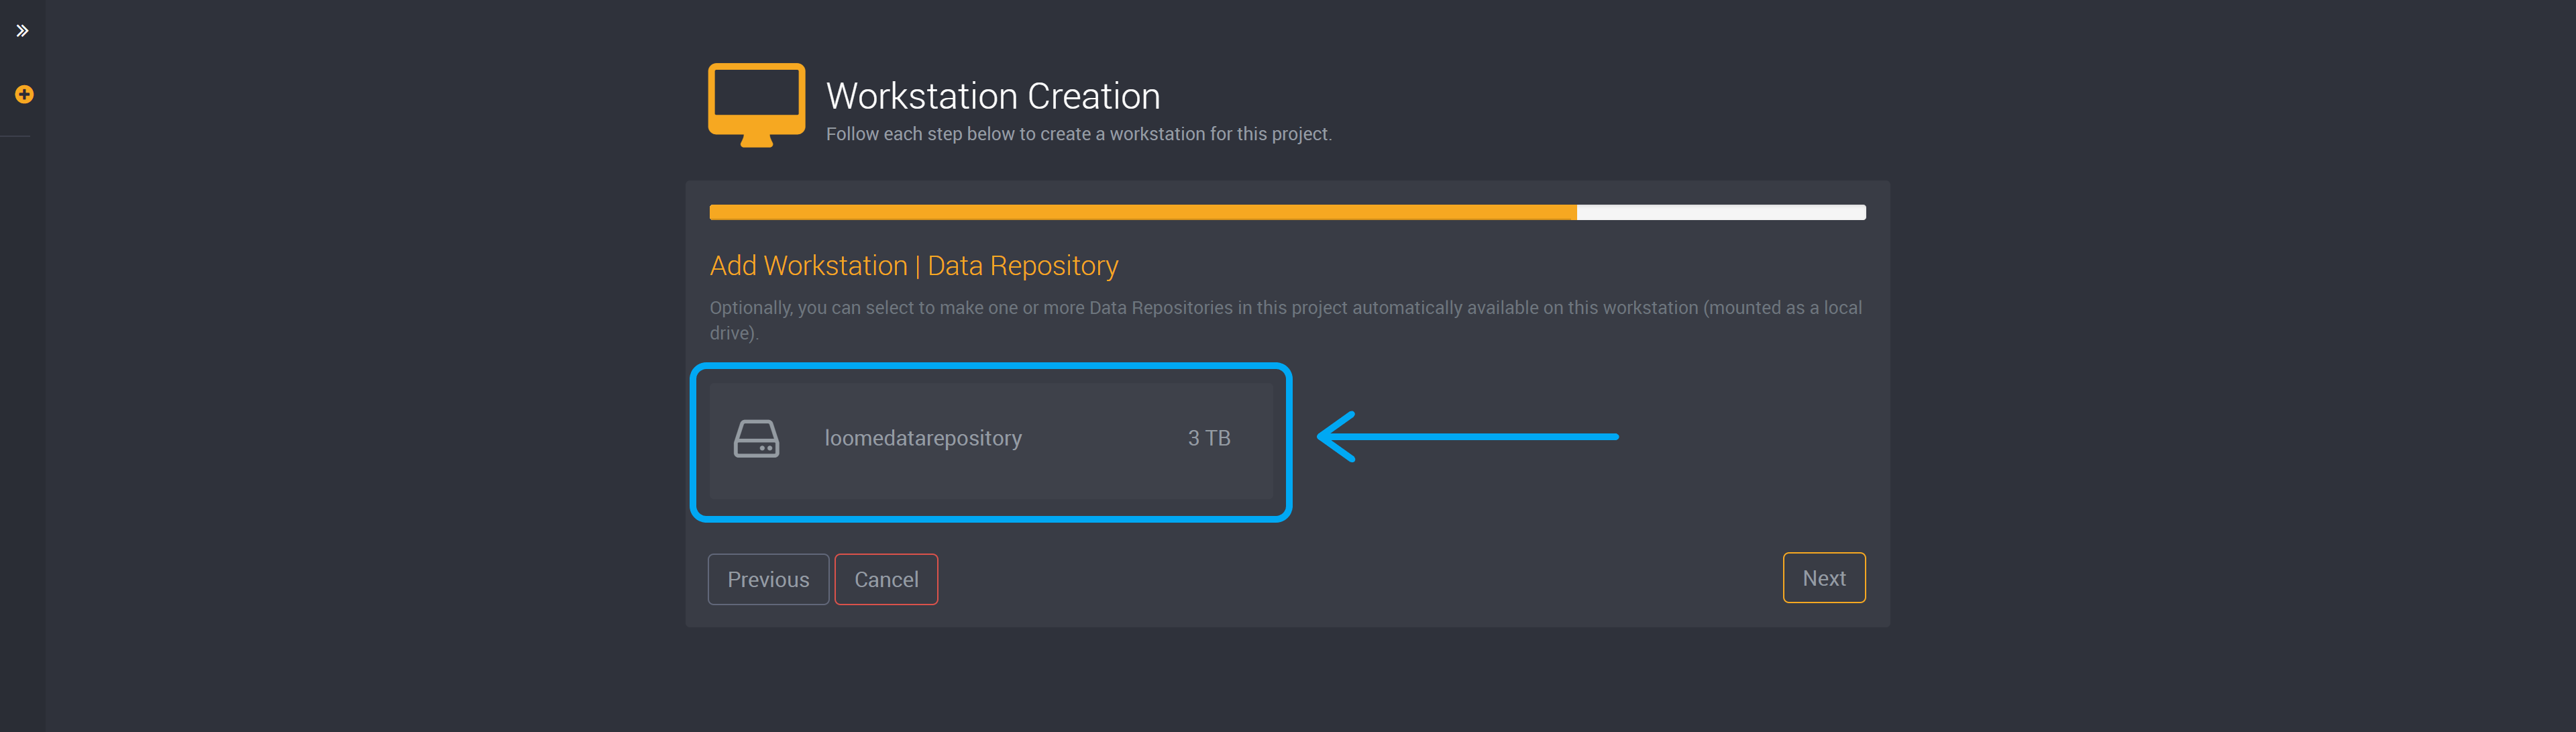
Please note that data repositories can only be used by one workstation. So if you would like to use a data repository but cannot view it here, it is likely already used by another workstation.
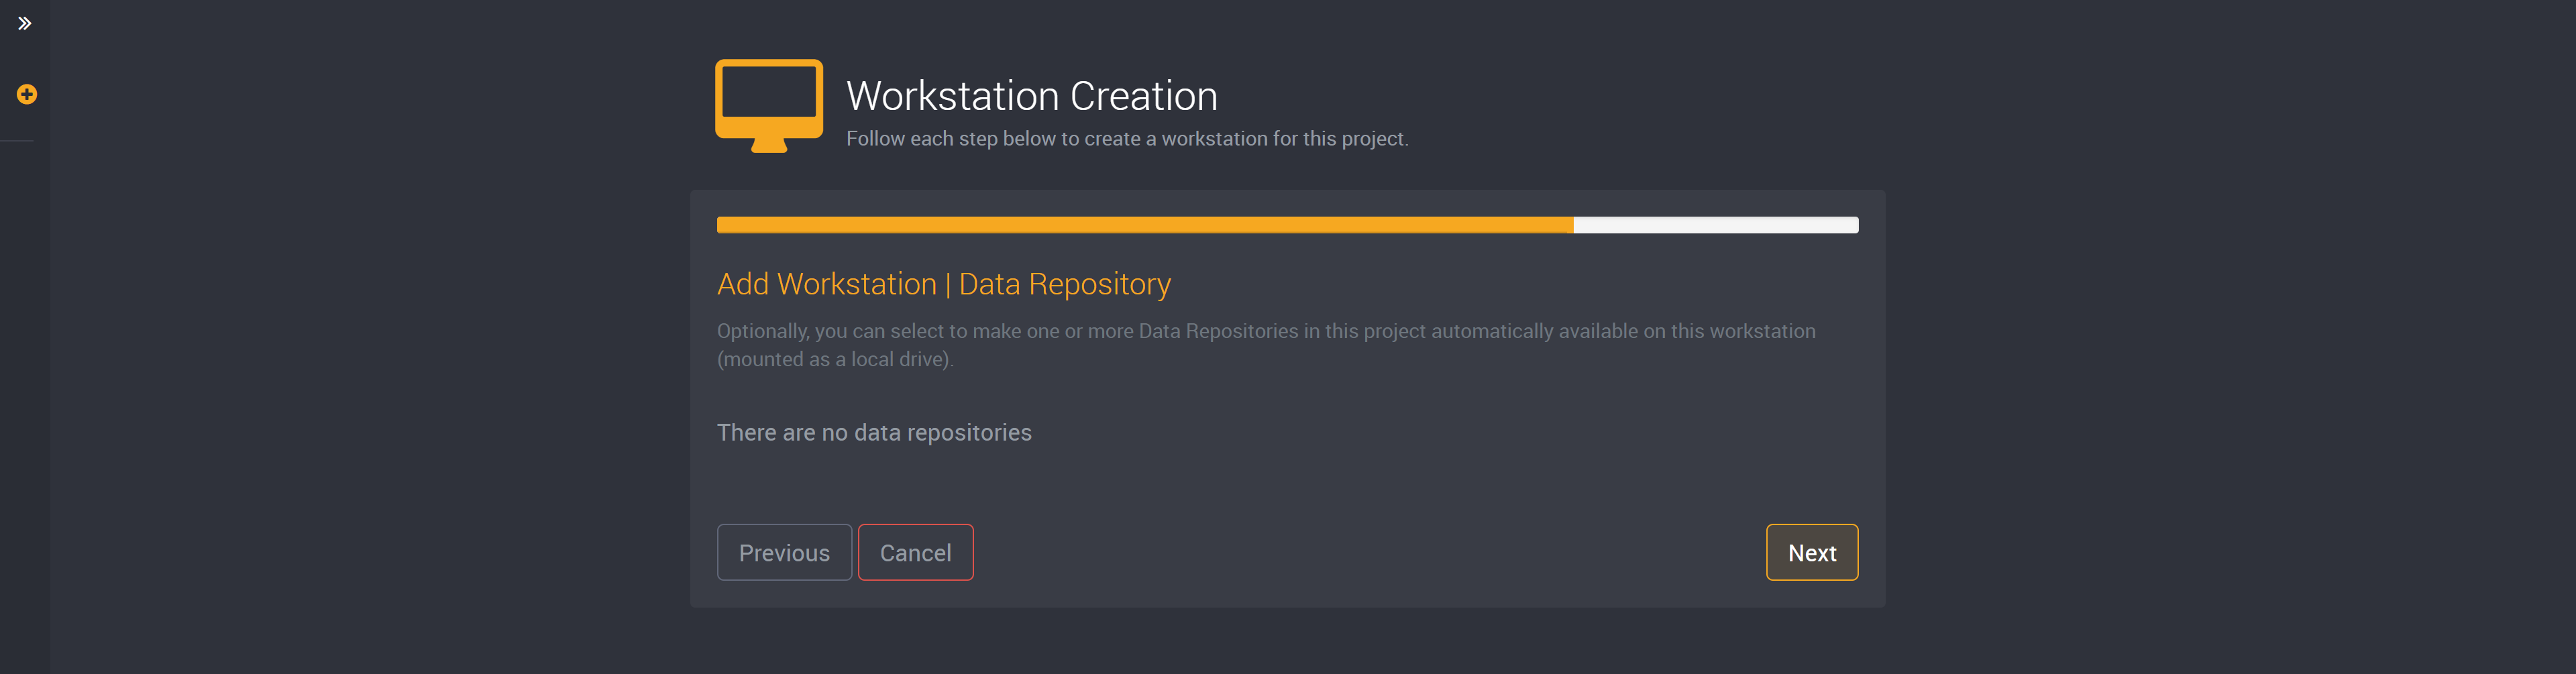
Or you can choose to skip this step and select Next if you would not like to provide a data repository.
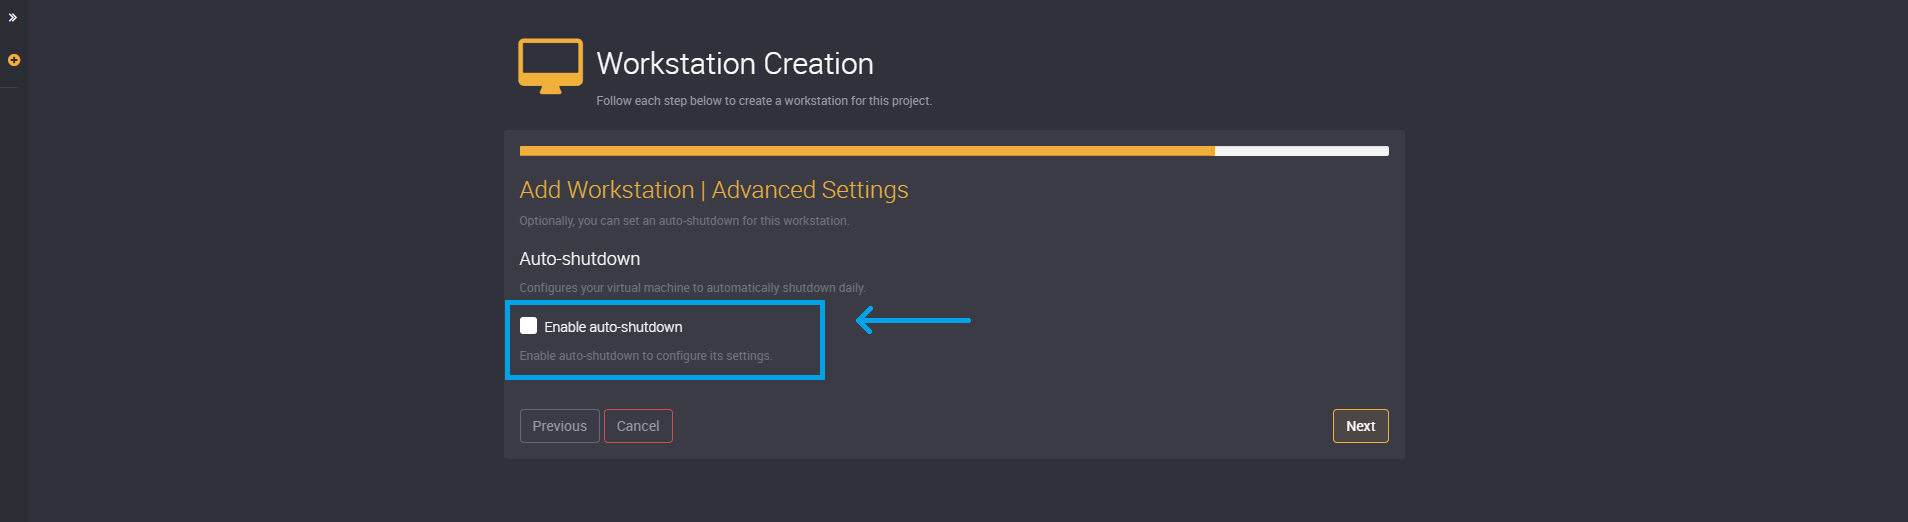
You can enable auto-shutdown by clicking on the checkbox for ‘Enable auto-shutdown’.
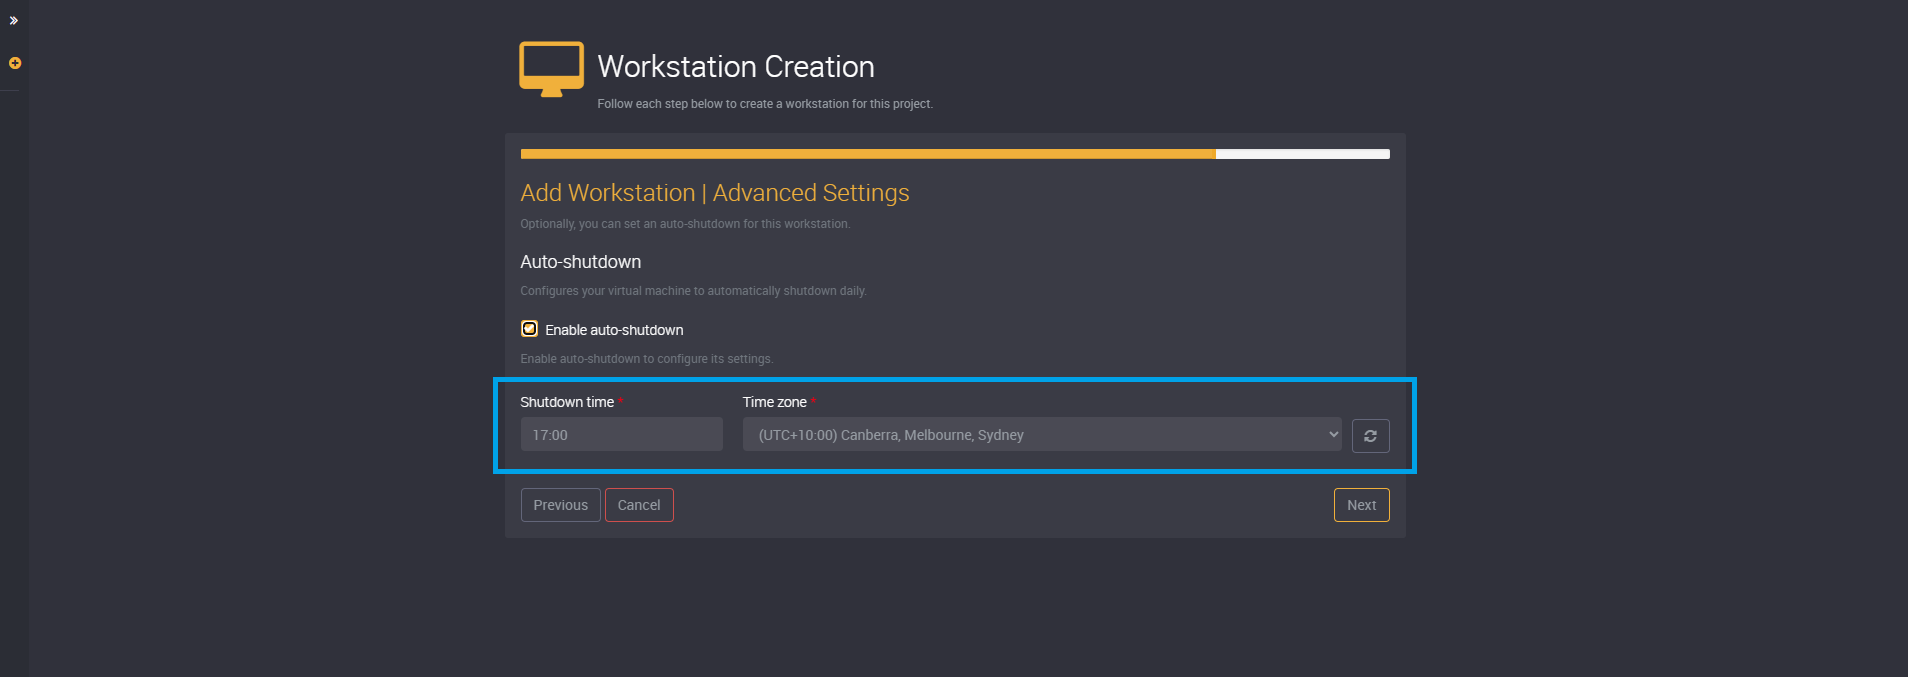
Choose the time that the workstation will start to shutdown and the timezone.
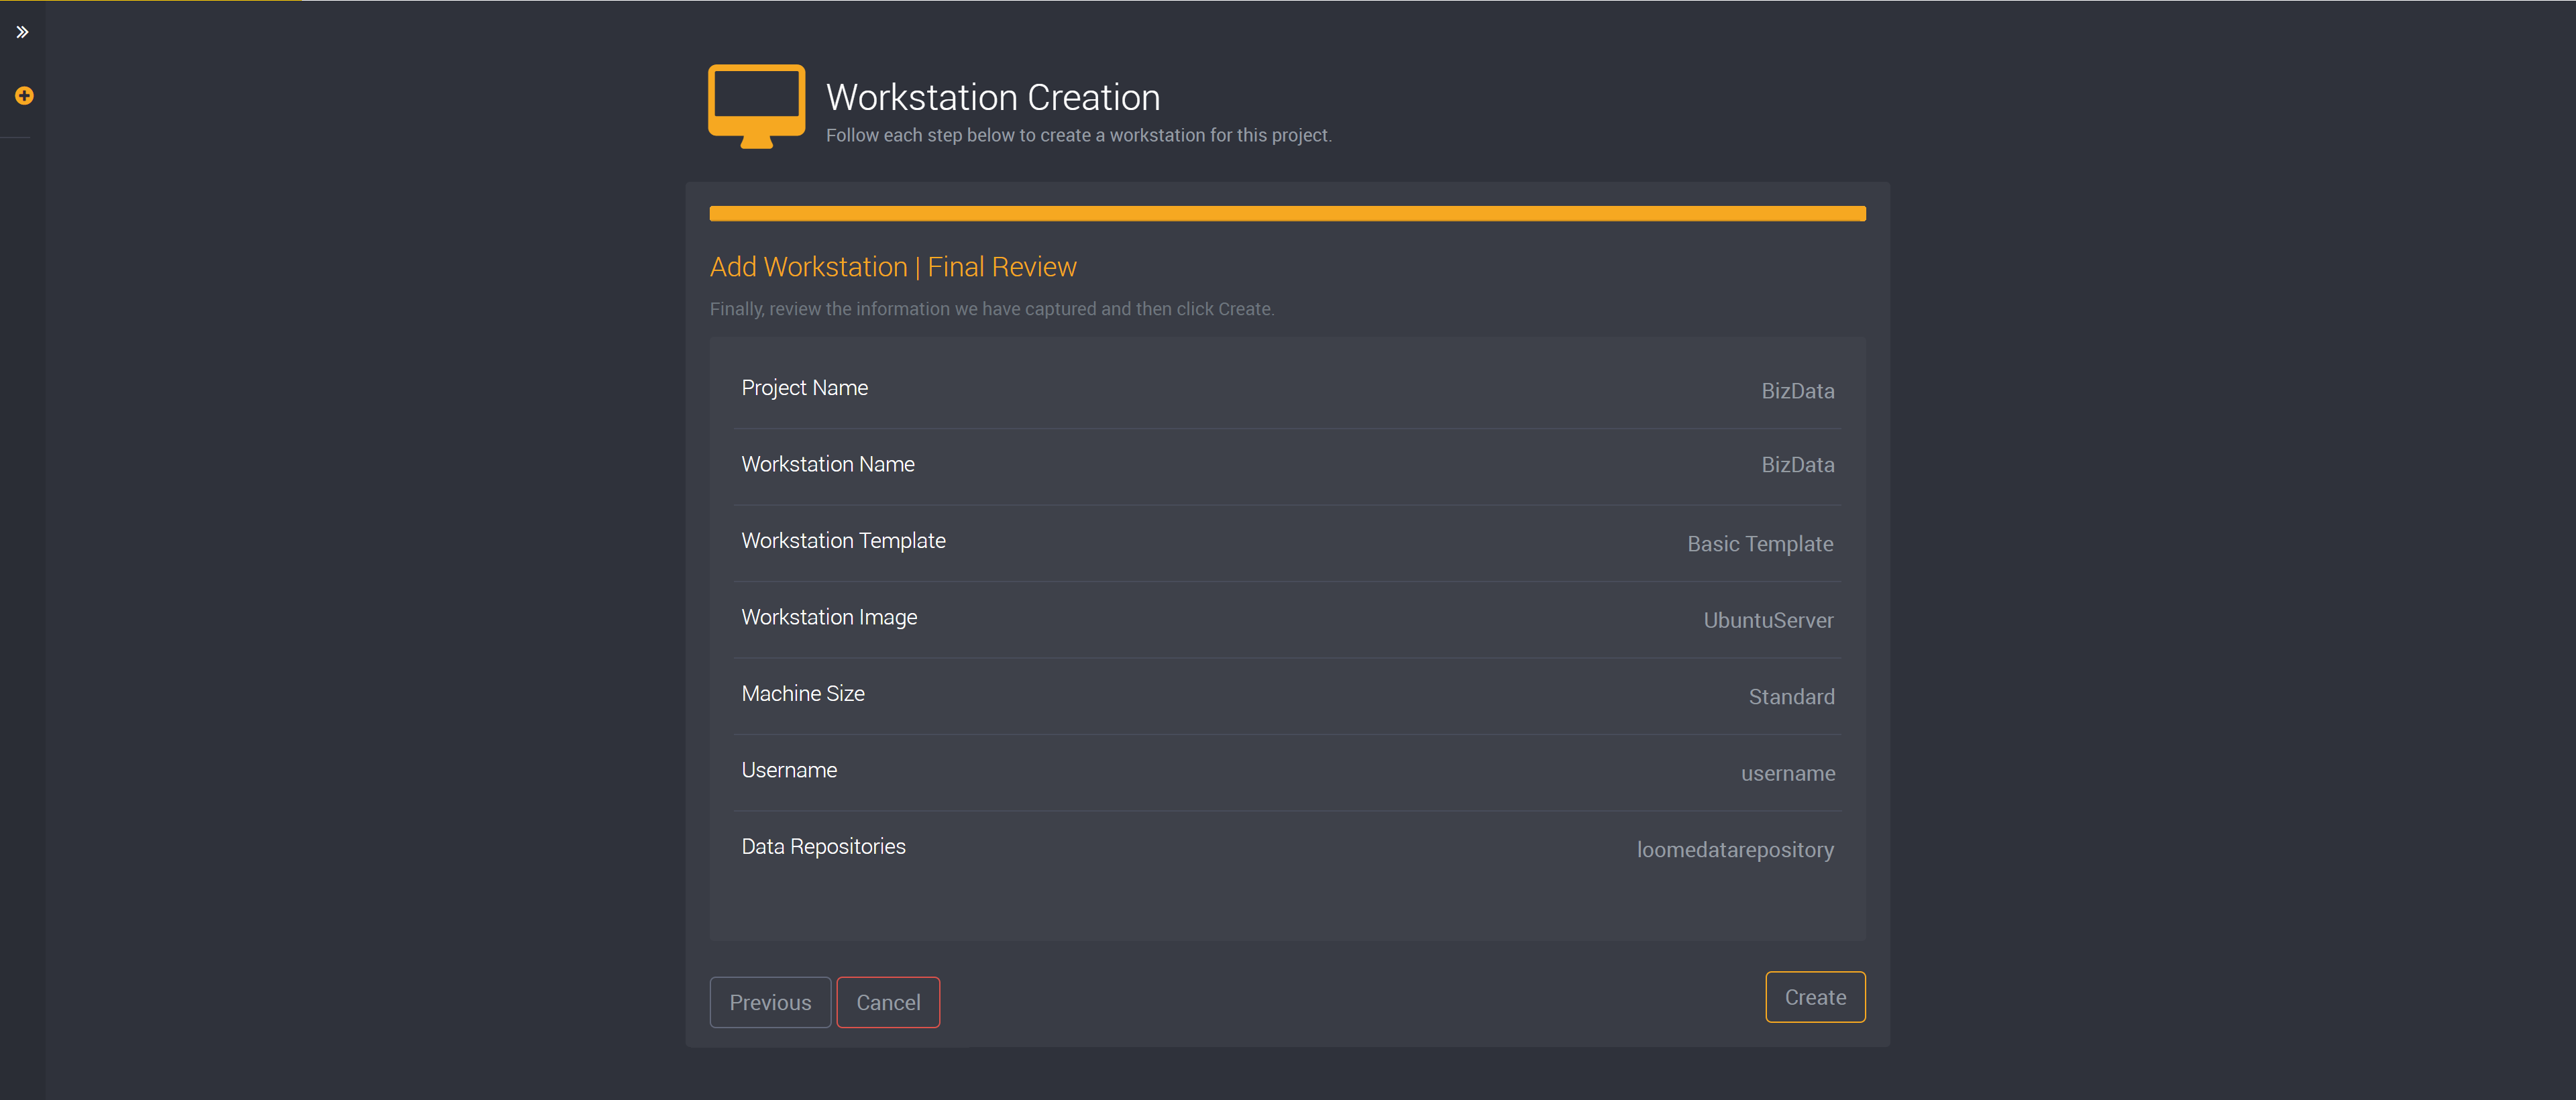
Then you can review all settings for this workstation and click Create to save this workstation.
How to Manage Workstations
Any user who belongs to a project can start and stop a workstation in that project.
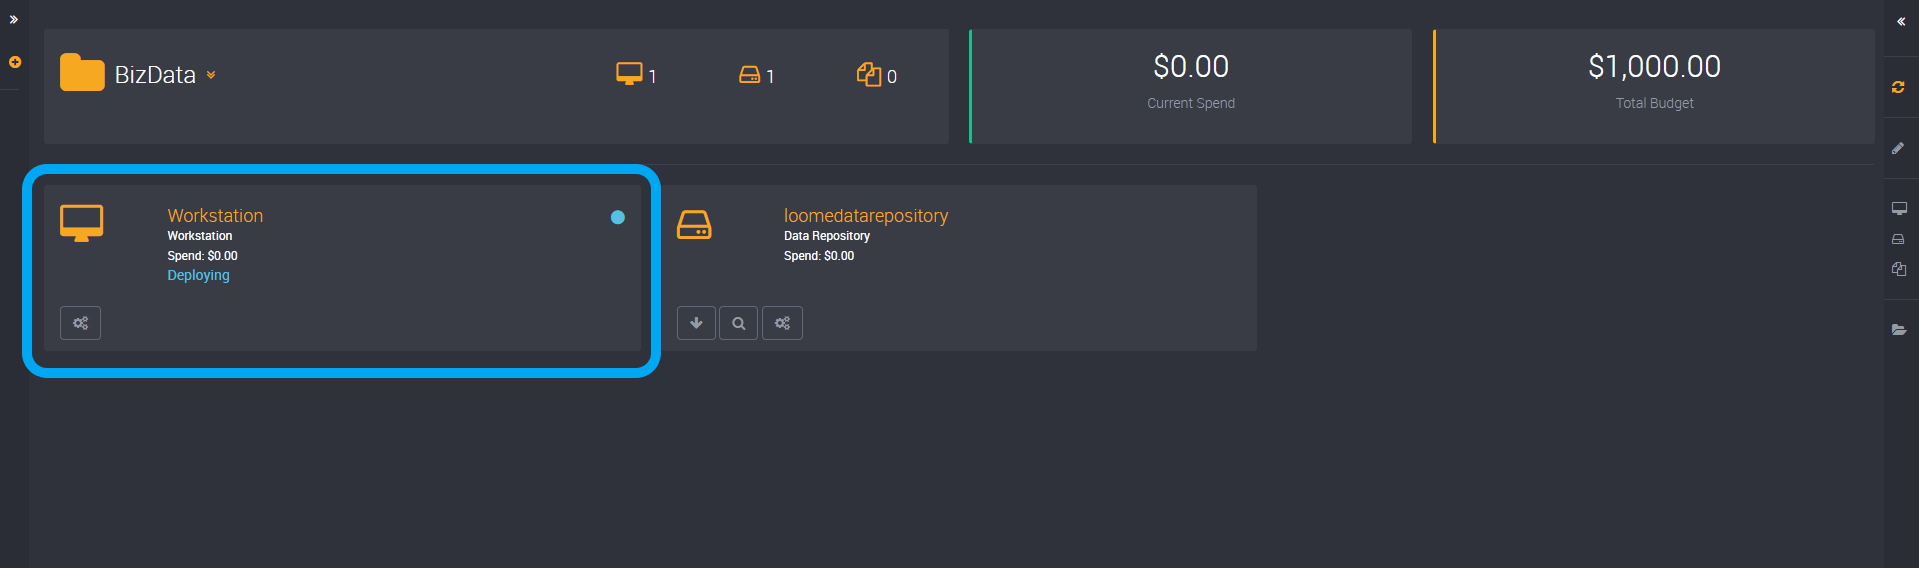
Once you have added a workstation, it will first display a flashing blue icon while loading.
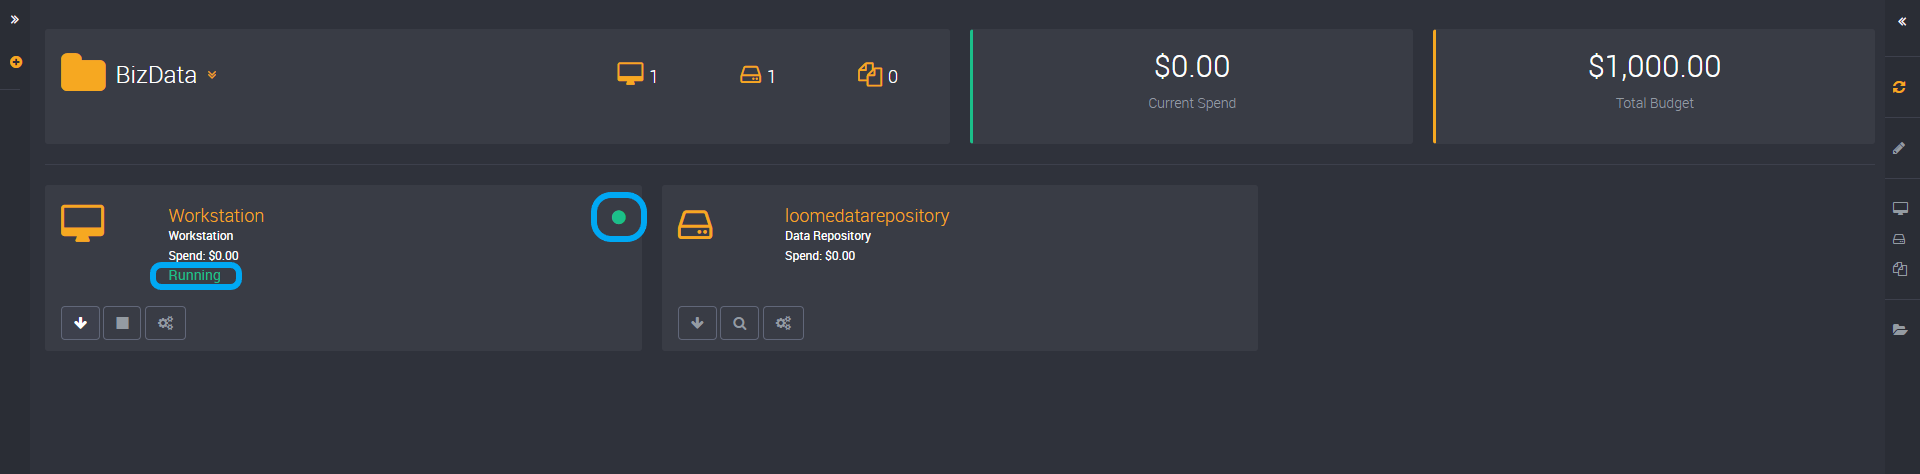
It will automatically be enabled when you have first added a workstation. The green icon will indicate that it is online.
Manage your Workstation Details
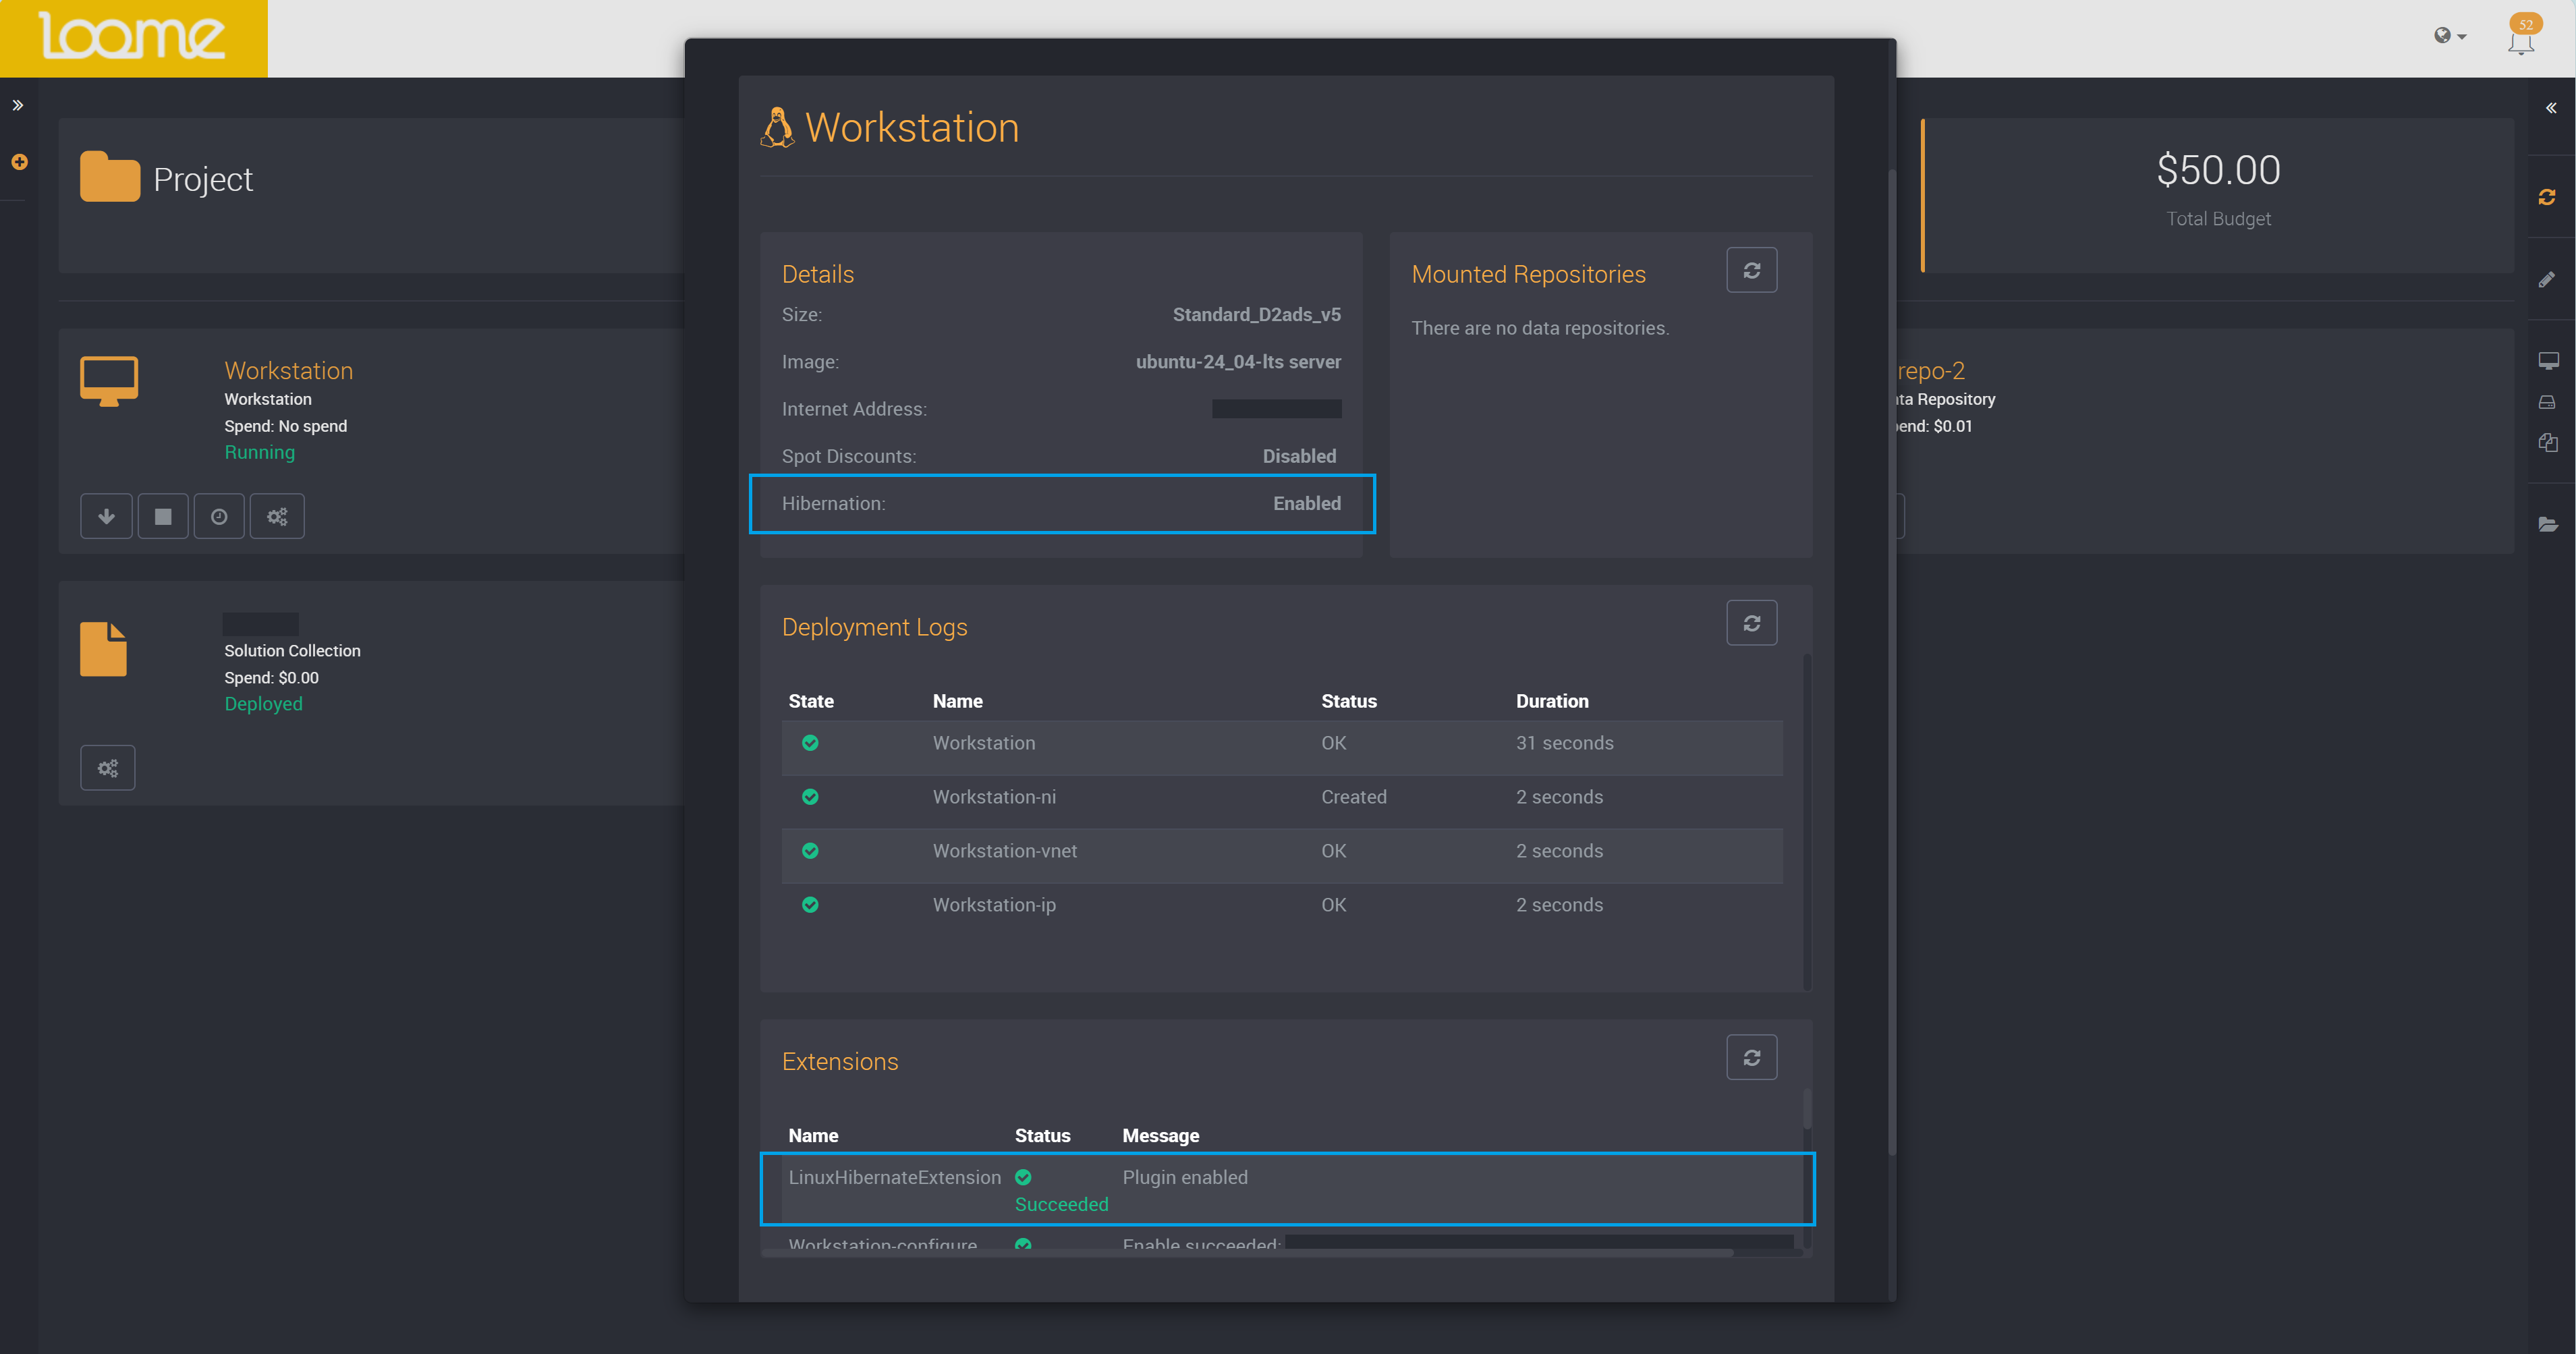
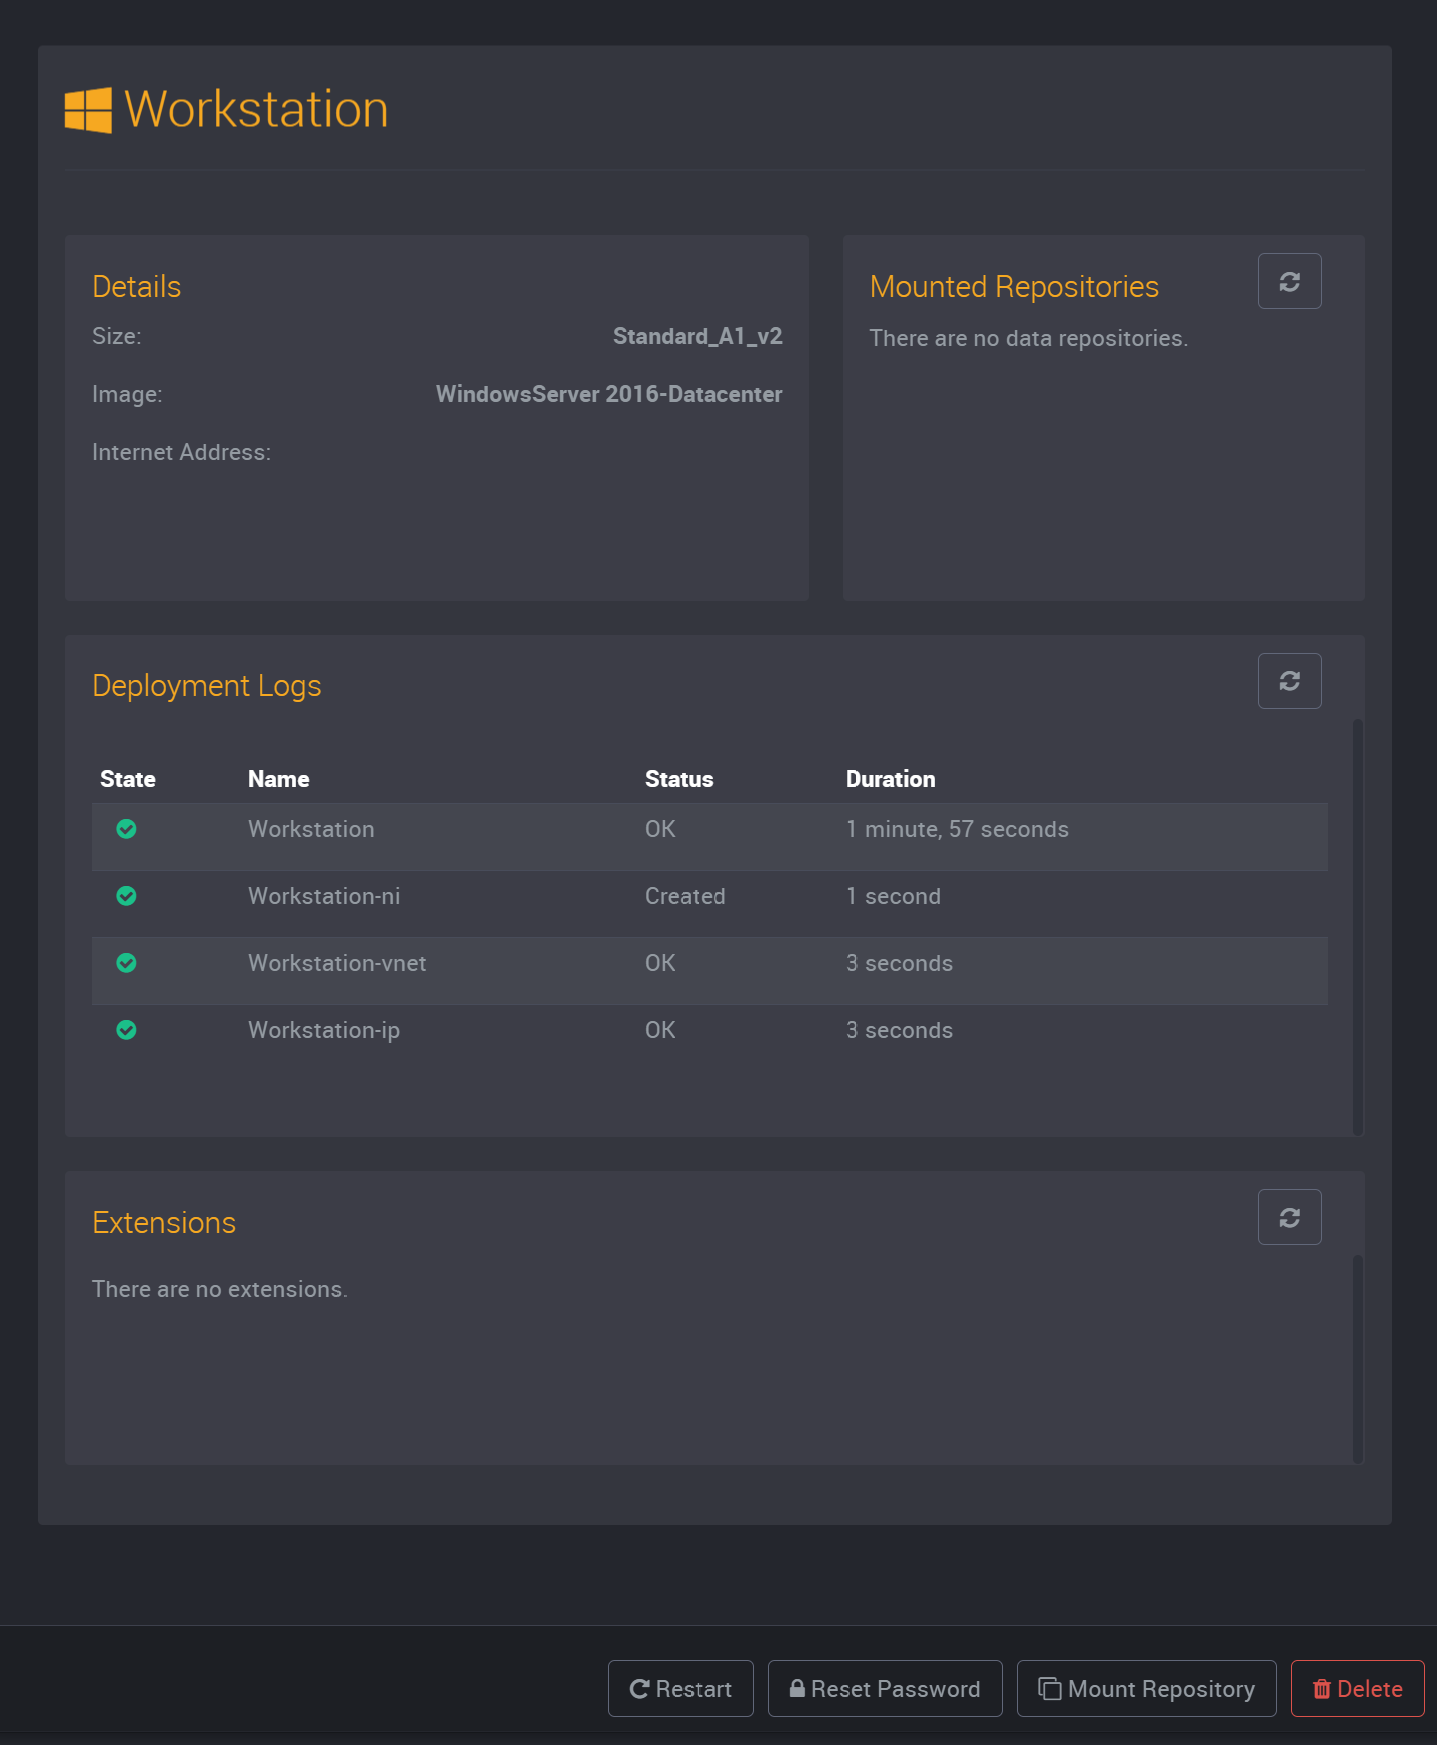
You can manage the details of a workstation by using the ‘Manage’ button as highlighted below.
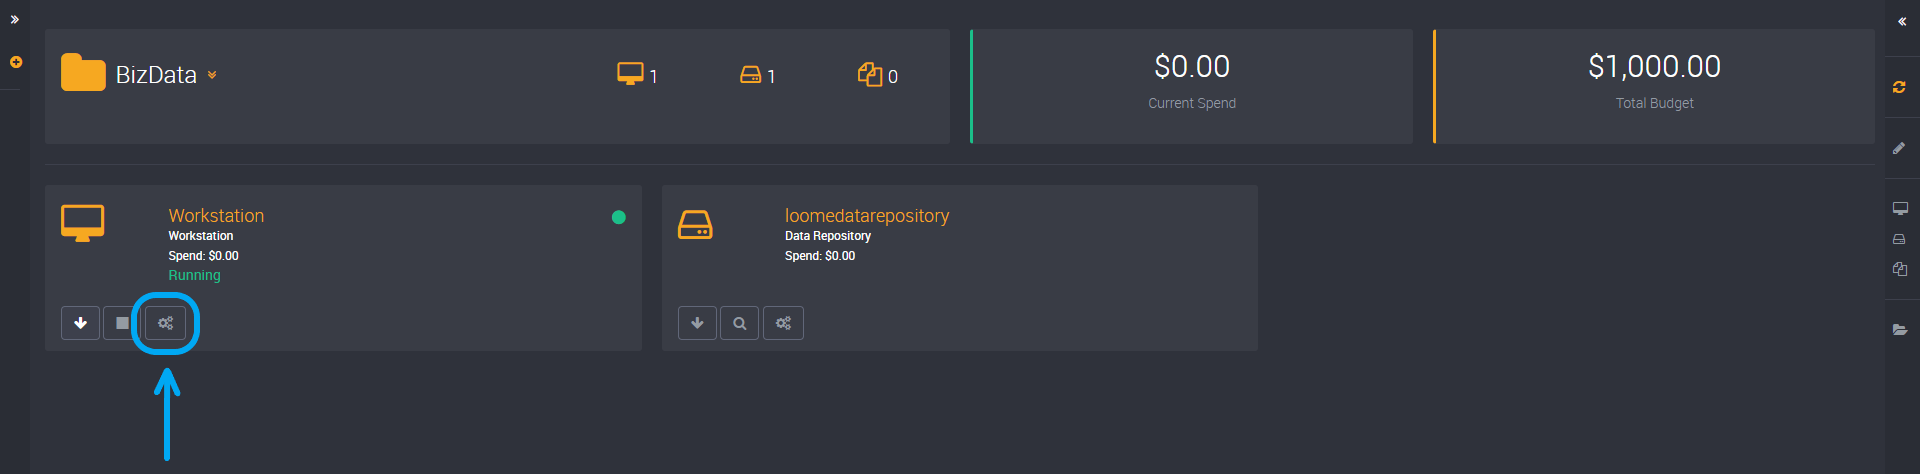
It will display a window where you can view its details, deployment logs, mounted repositories and extensions.
In this window, you can also choose to restart the workstation, reset your password for this workstation, mount a repository, change auto-shutdown, or delete this workstation.
Please note that if your workstation has been deleted in Azure, you will not be able to access it in Loome and will be provided the option to delete it in your project.
Connect to a Workstation
You can also connect to this workstation using the ‘Connect’ button on the workstation card.

This will display a view of your connection details. Here, you can copy the IP address to connect to the workstation.
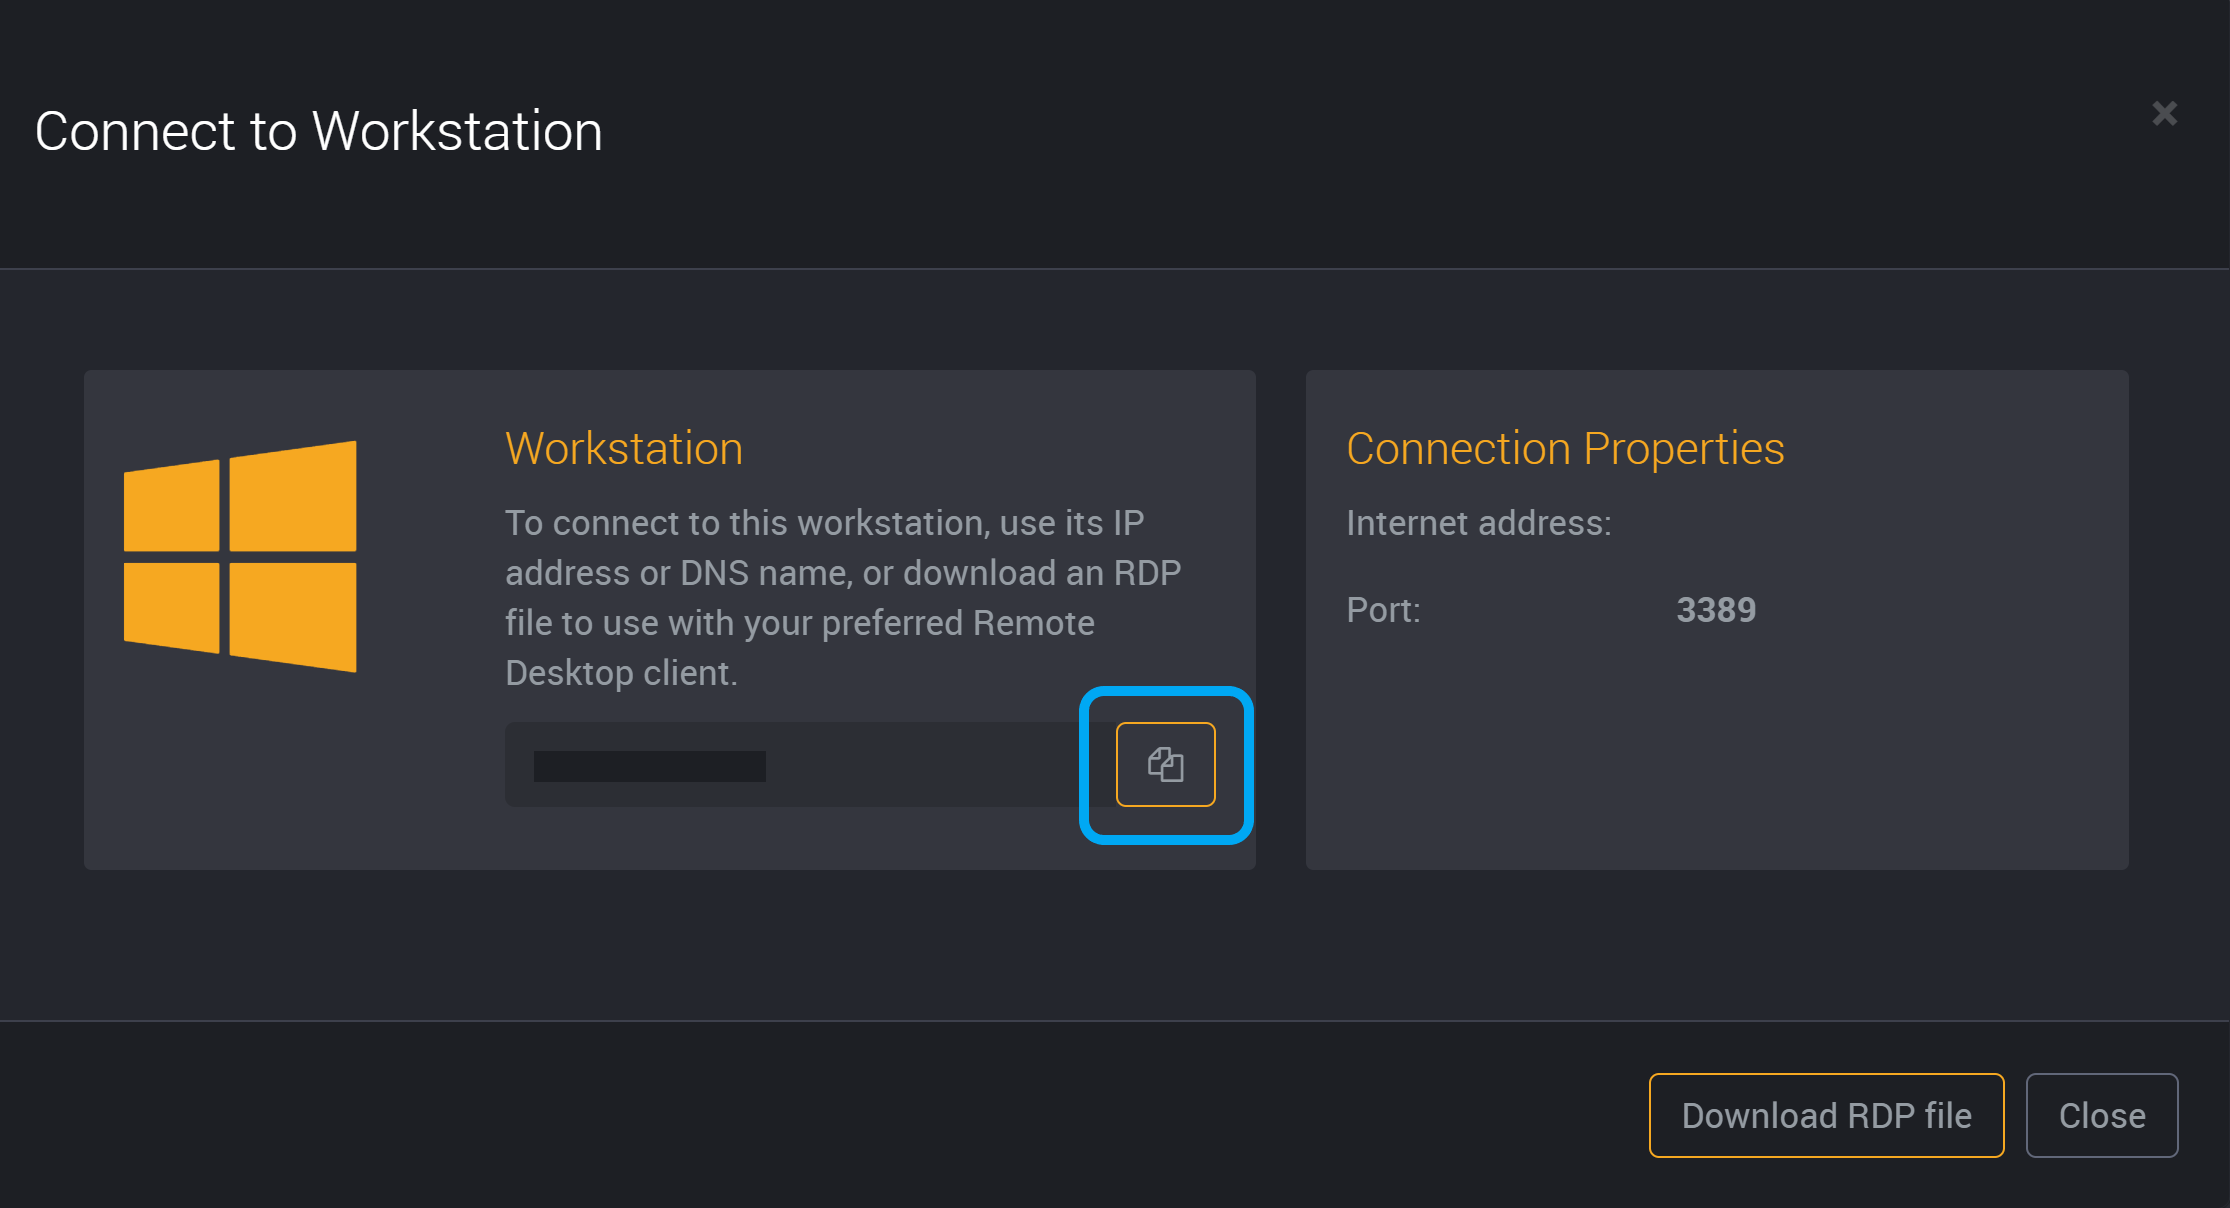
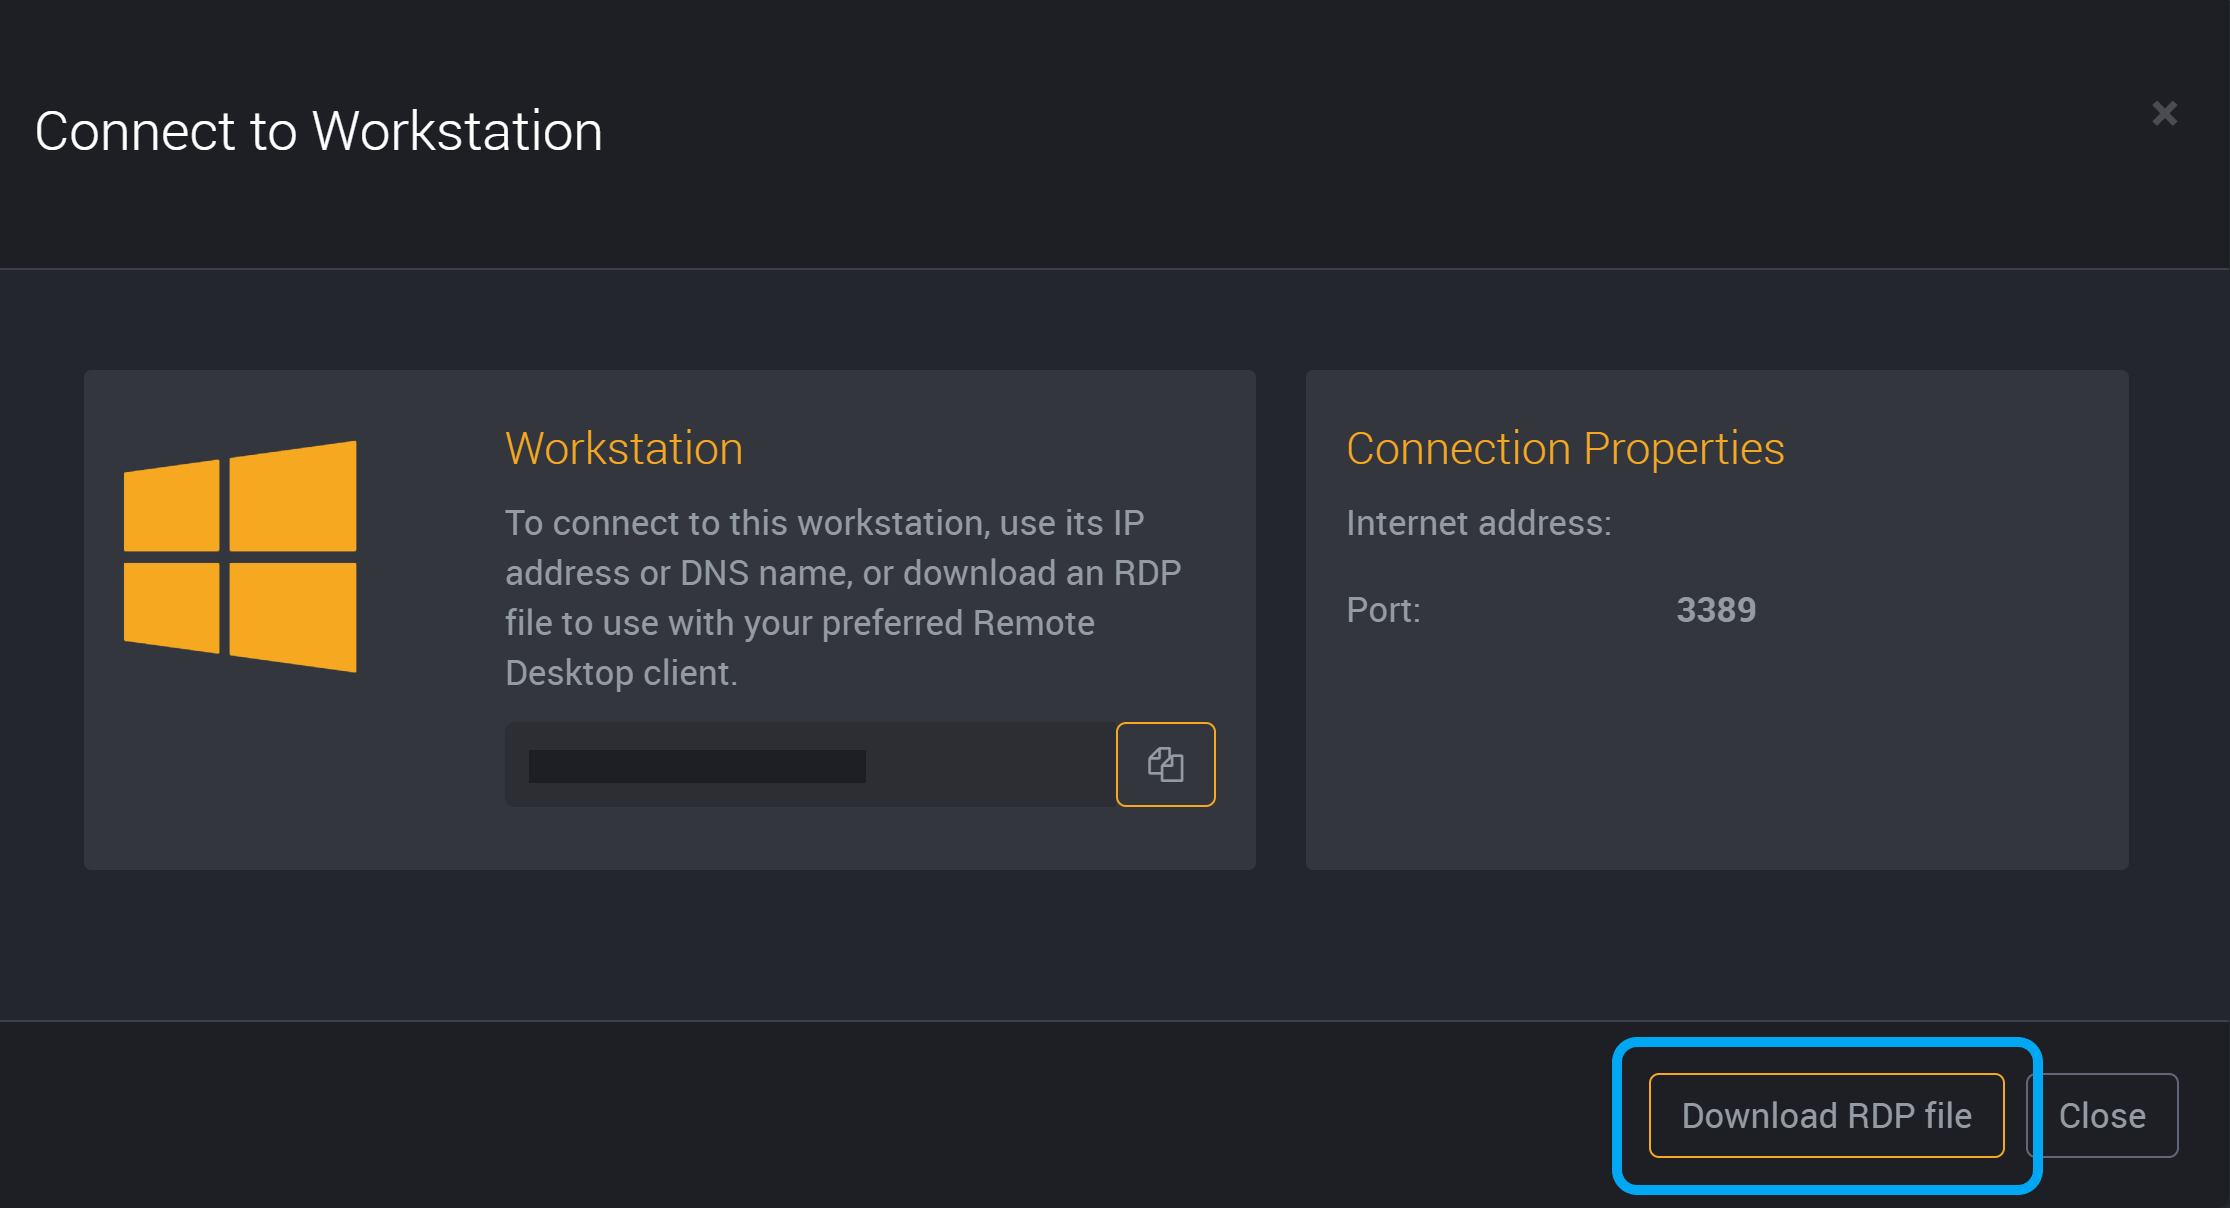
You can also download an RDP file to use with your remote desktop client.
If you are accessing your workstation via Teams, you will be asked to confirm that you would like to download this RDP file.
Stop a Workstation
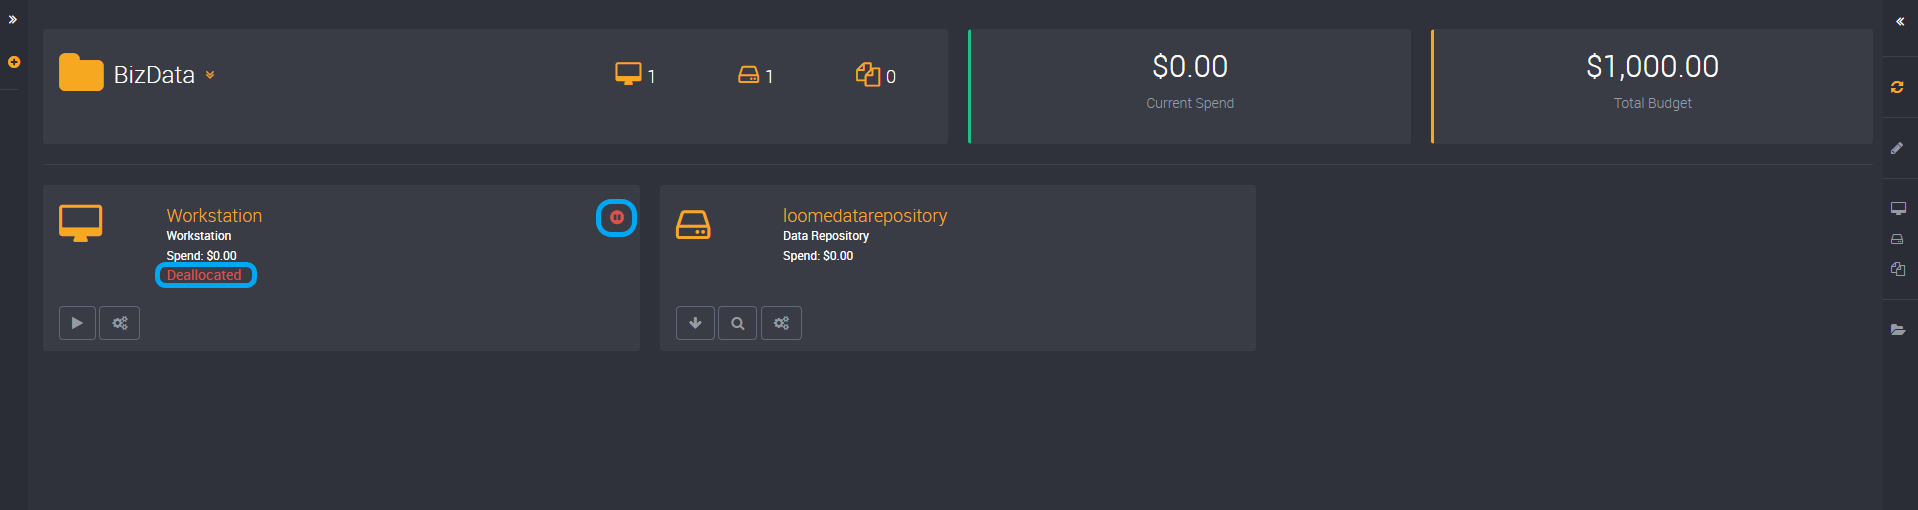
You can find the ‘Stop’ button on the workstation card to disable your workstation.

It will flash red as it deallocates the workstation.
Once it has completed, you will see the pause symbol in the red icon.
Start a Workstation
To start an existing workstation, you can find the ‘Start’ button on the workstation card.

Hibernate a Workstation
If you have enabled hibernation in the workstation template that was used to create the workstation, you will have the option to hibernate your workstation. (The project account will also need to have the same region as the region in the hibernation-enabled workstation template.)
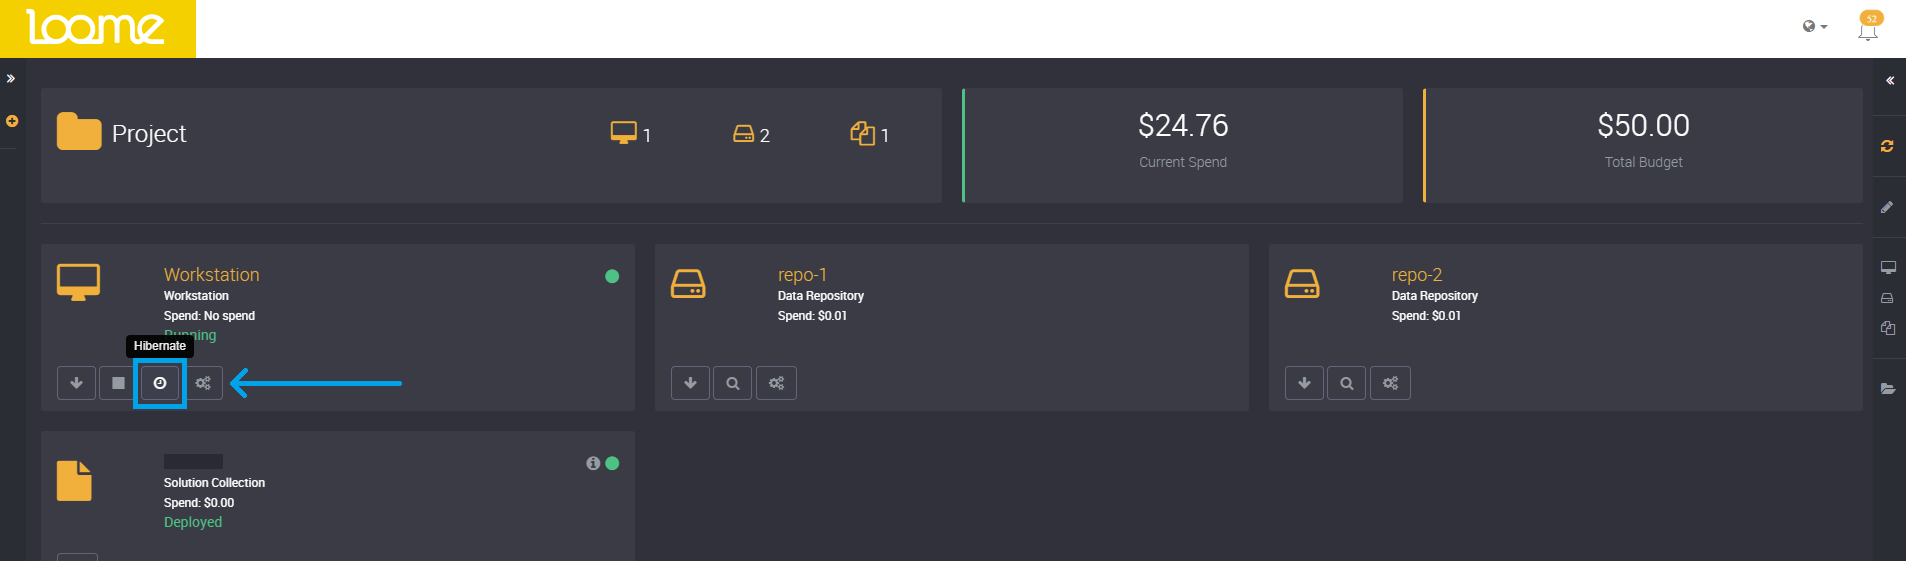
Click on ‘Hibernate’ in the workstation actions.
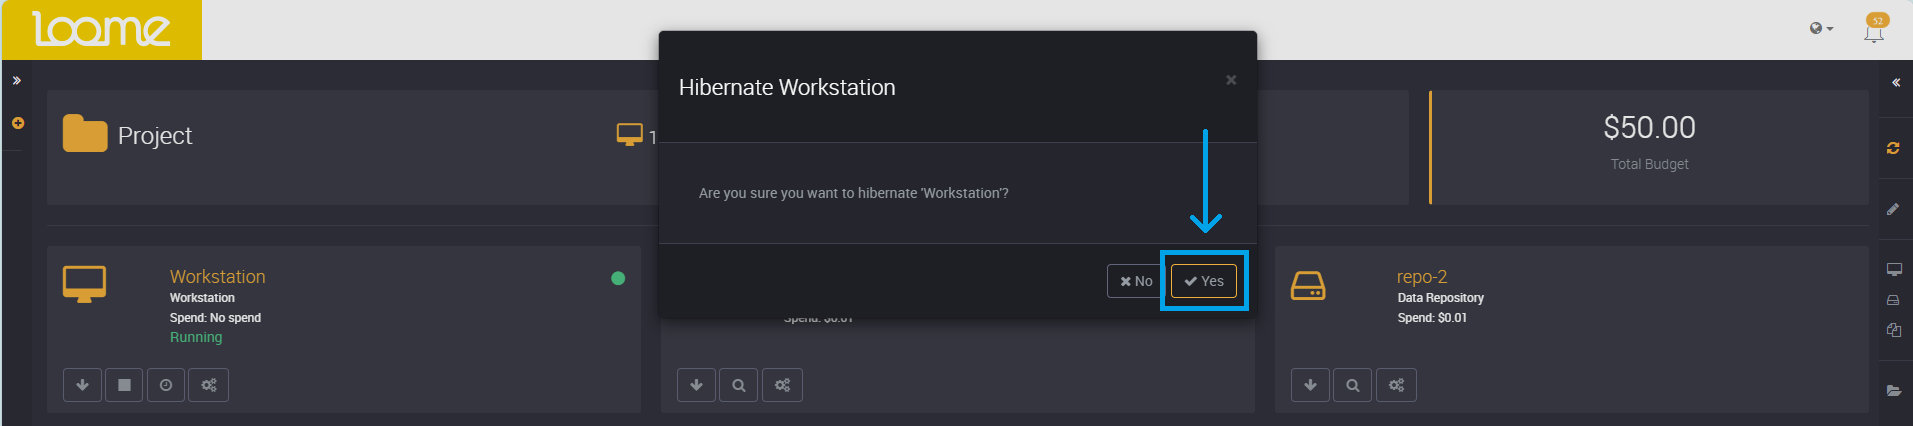
Confirm that you would like to hibernate this workstation.
You can view whether a workstation is hibernated from its status.
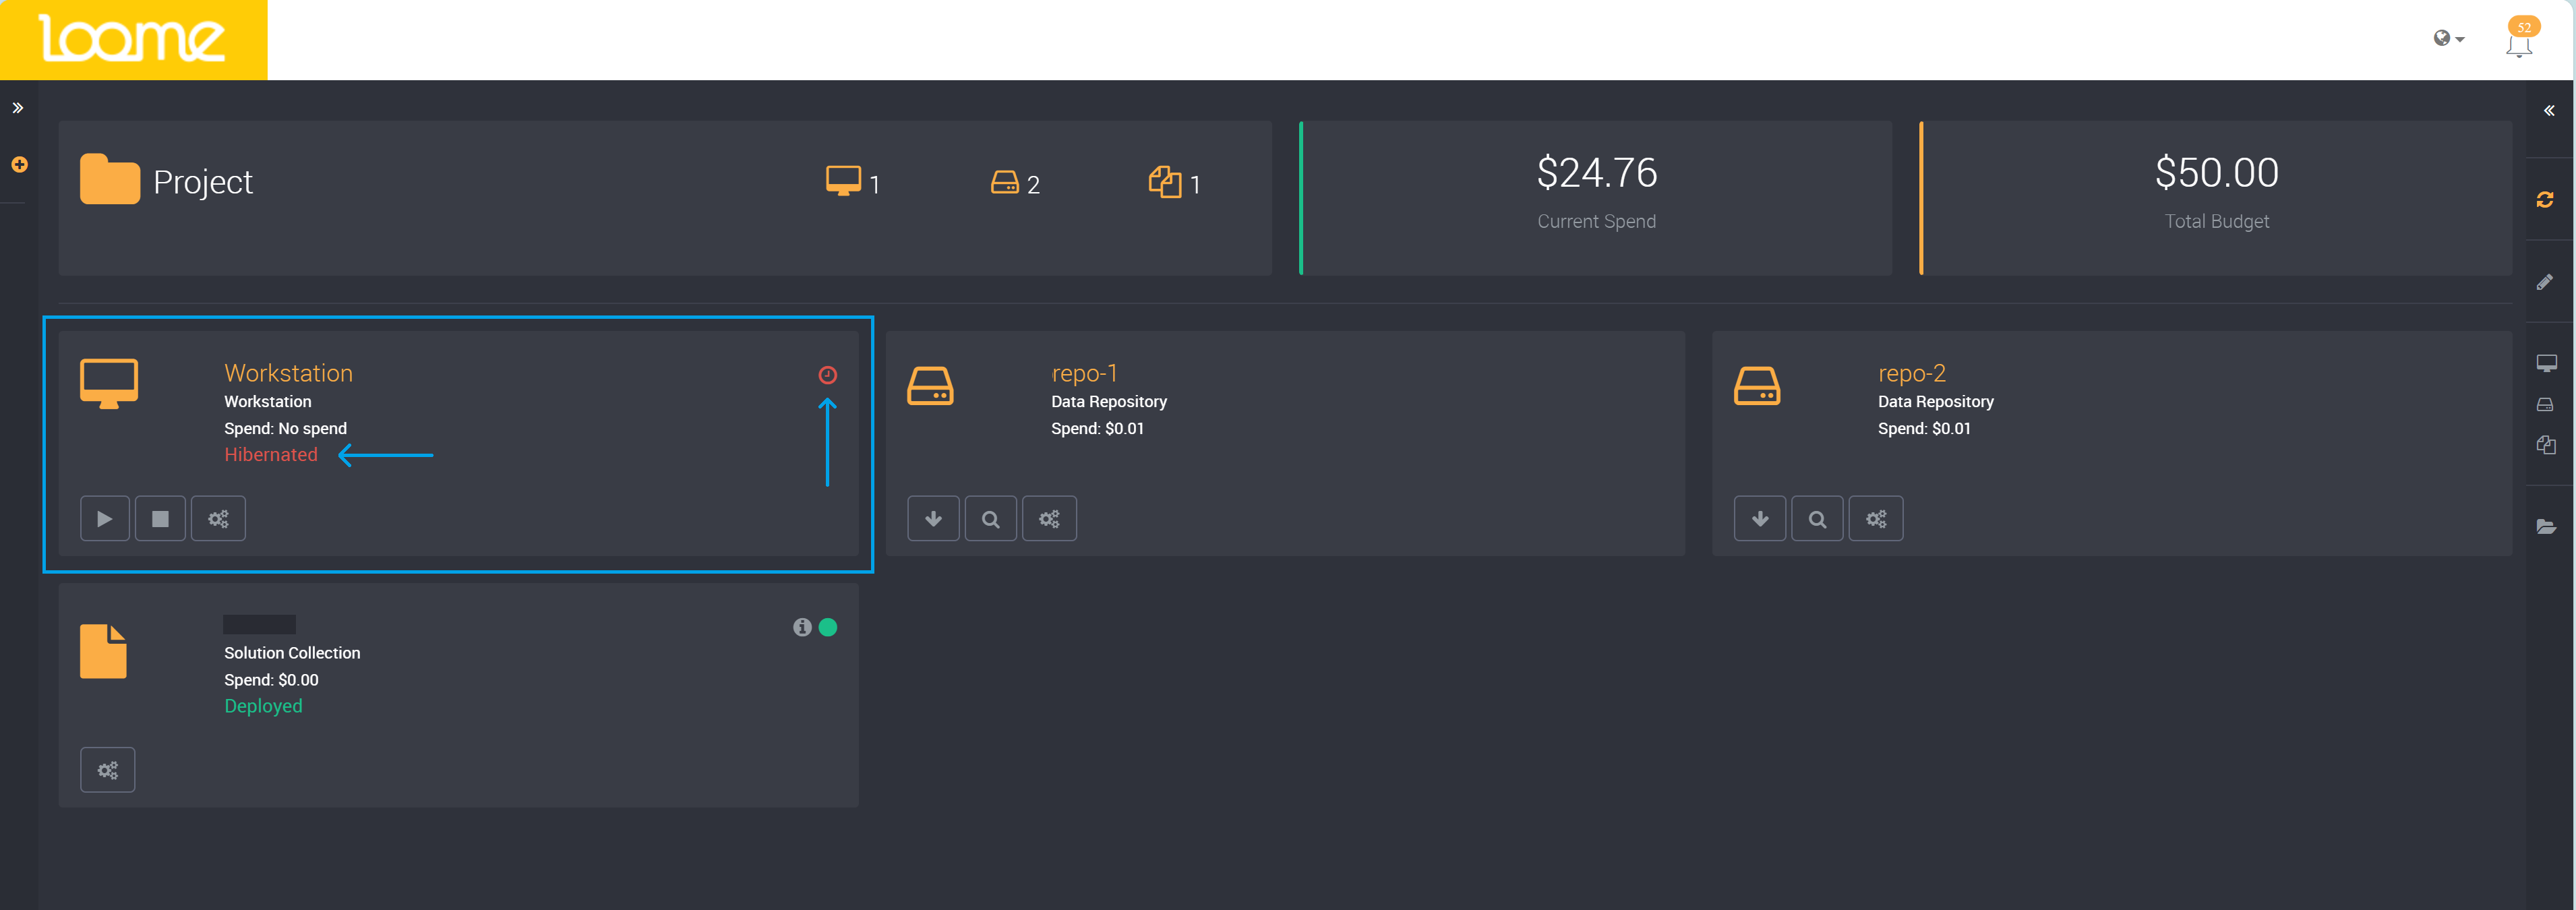
You can view more details about a workstation in hibernation in the details view.