Data Repositories
You can upload data to a data repository, which can be accessed from workstations and other project resources, and shared with others.
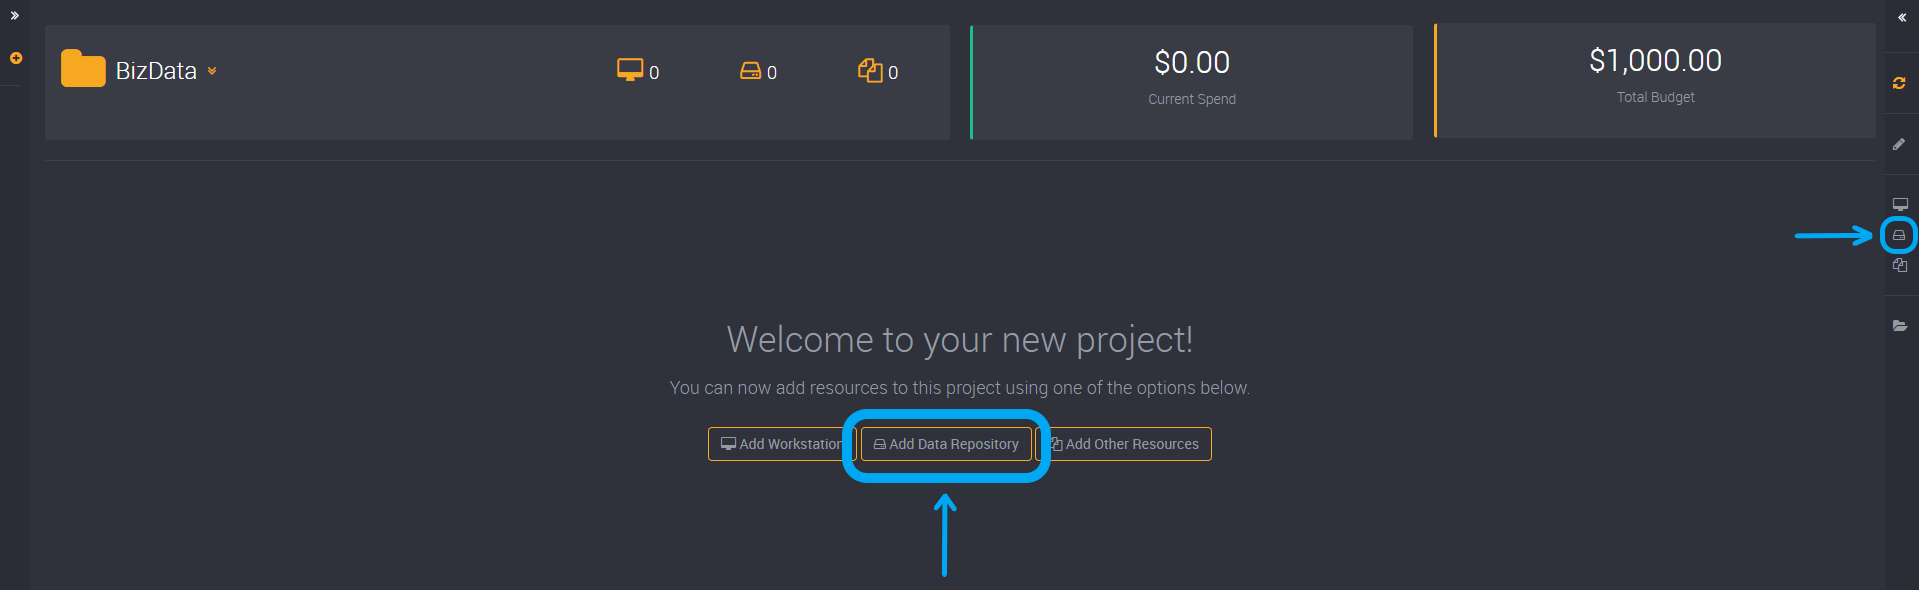
How to Add a Data Repository
In the project you would like to add this data repository to, find the option to add a data repository in the right action slide-out.
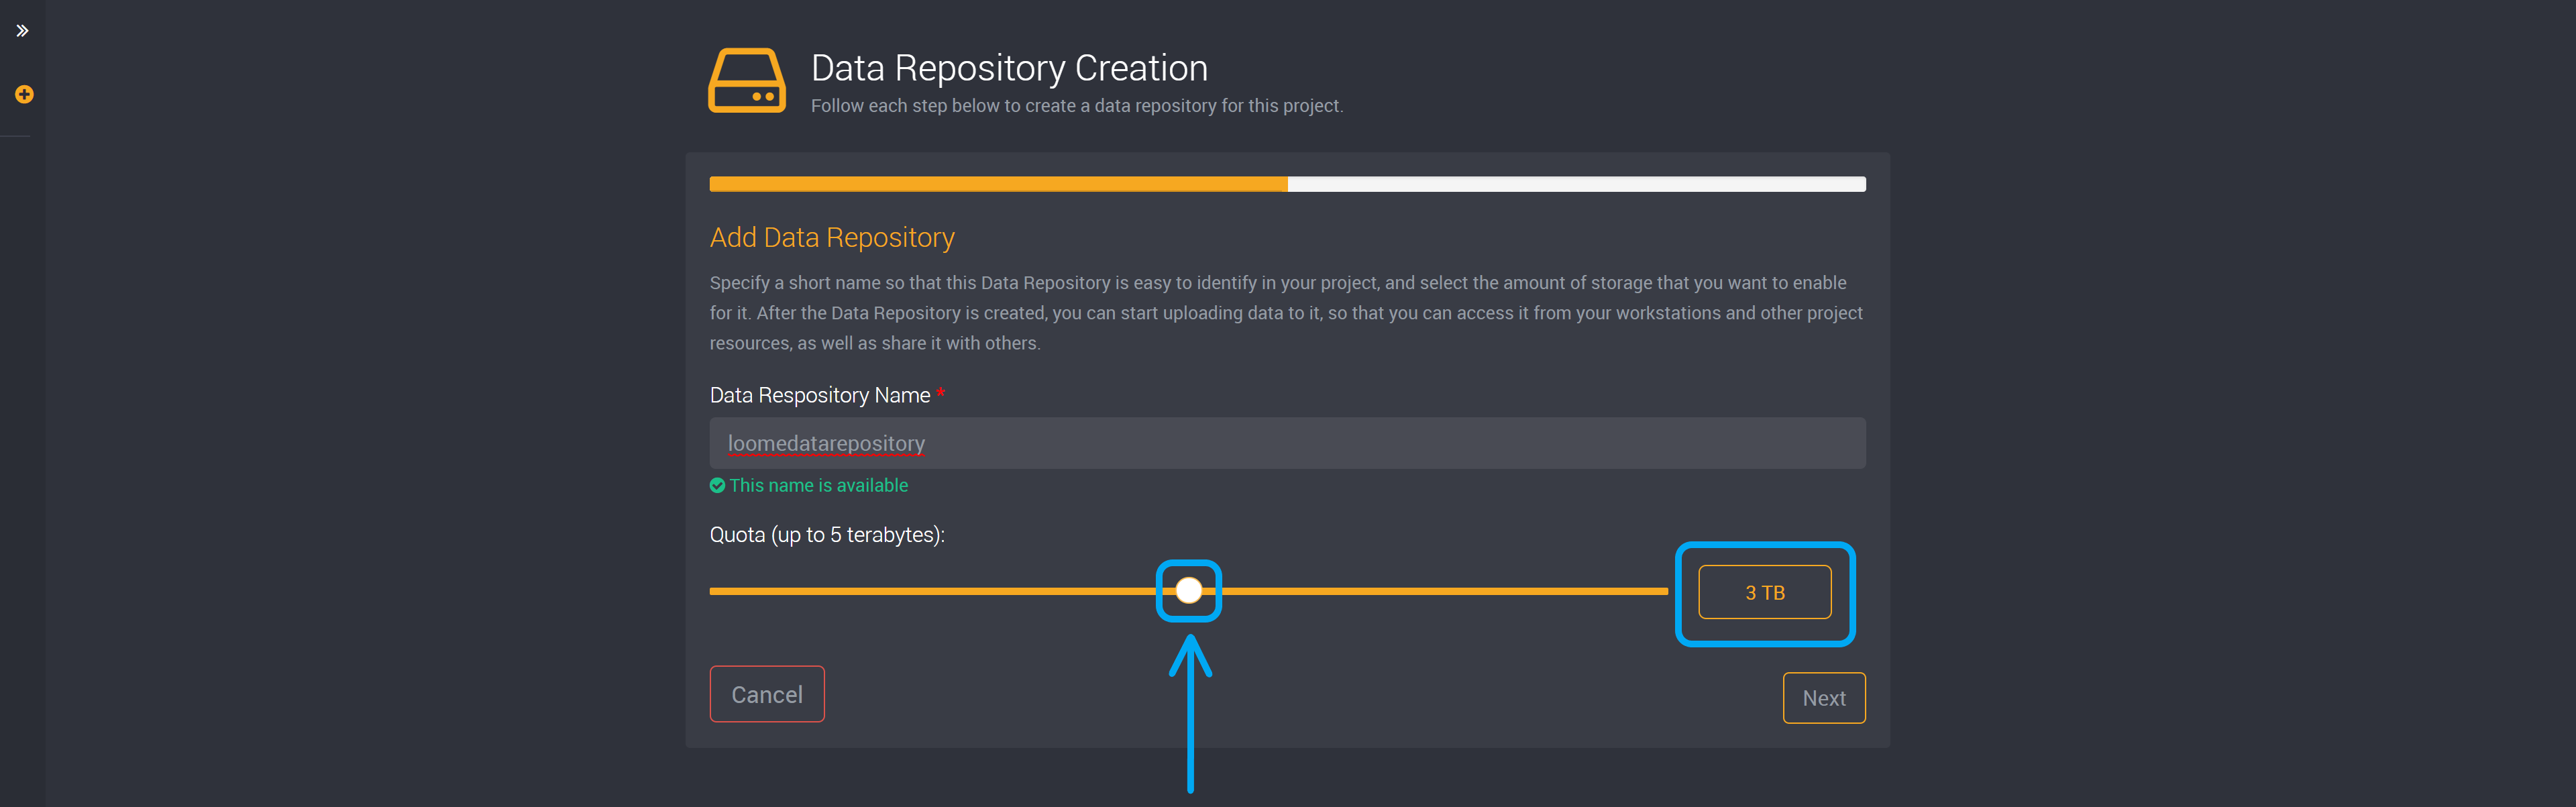
Provide a name so that you can easily identify this data repository.
You will need to provide a name that has a minimum character length of 3 and a maximum length of 63. It can contain only lowercase letters, with no spaces, and it must begin with an alphanumeric character. It may also contain a hyphen.
The data repository name does not need to have a globally unique name as the storage account will have a globally unique name, and the two will be linked to create a unique name when combined.
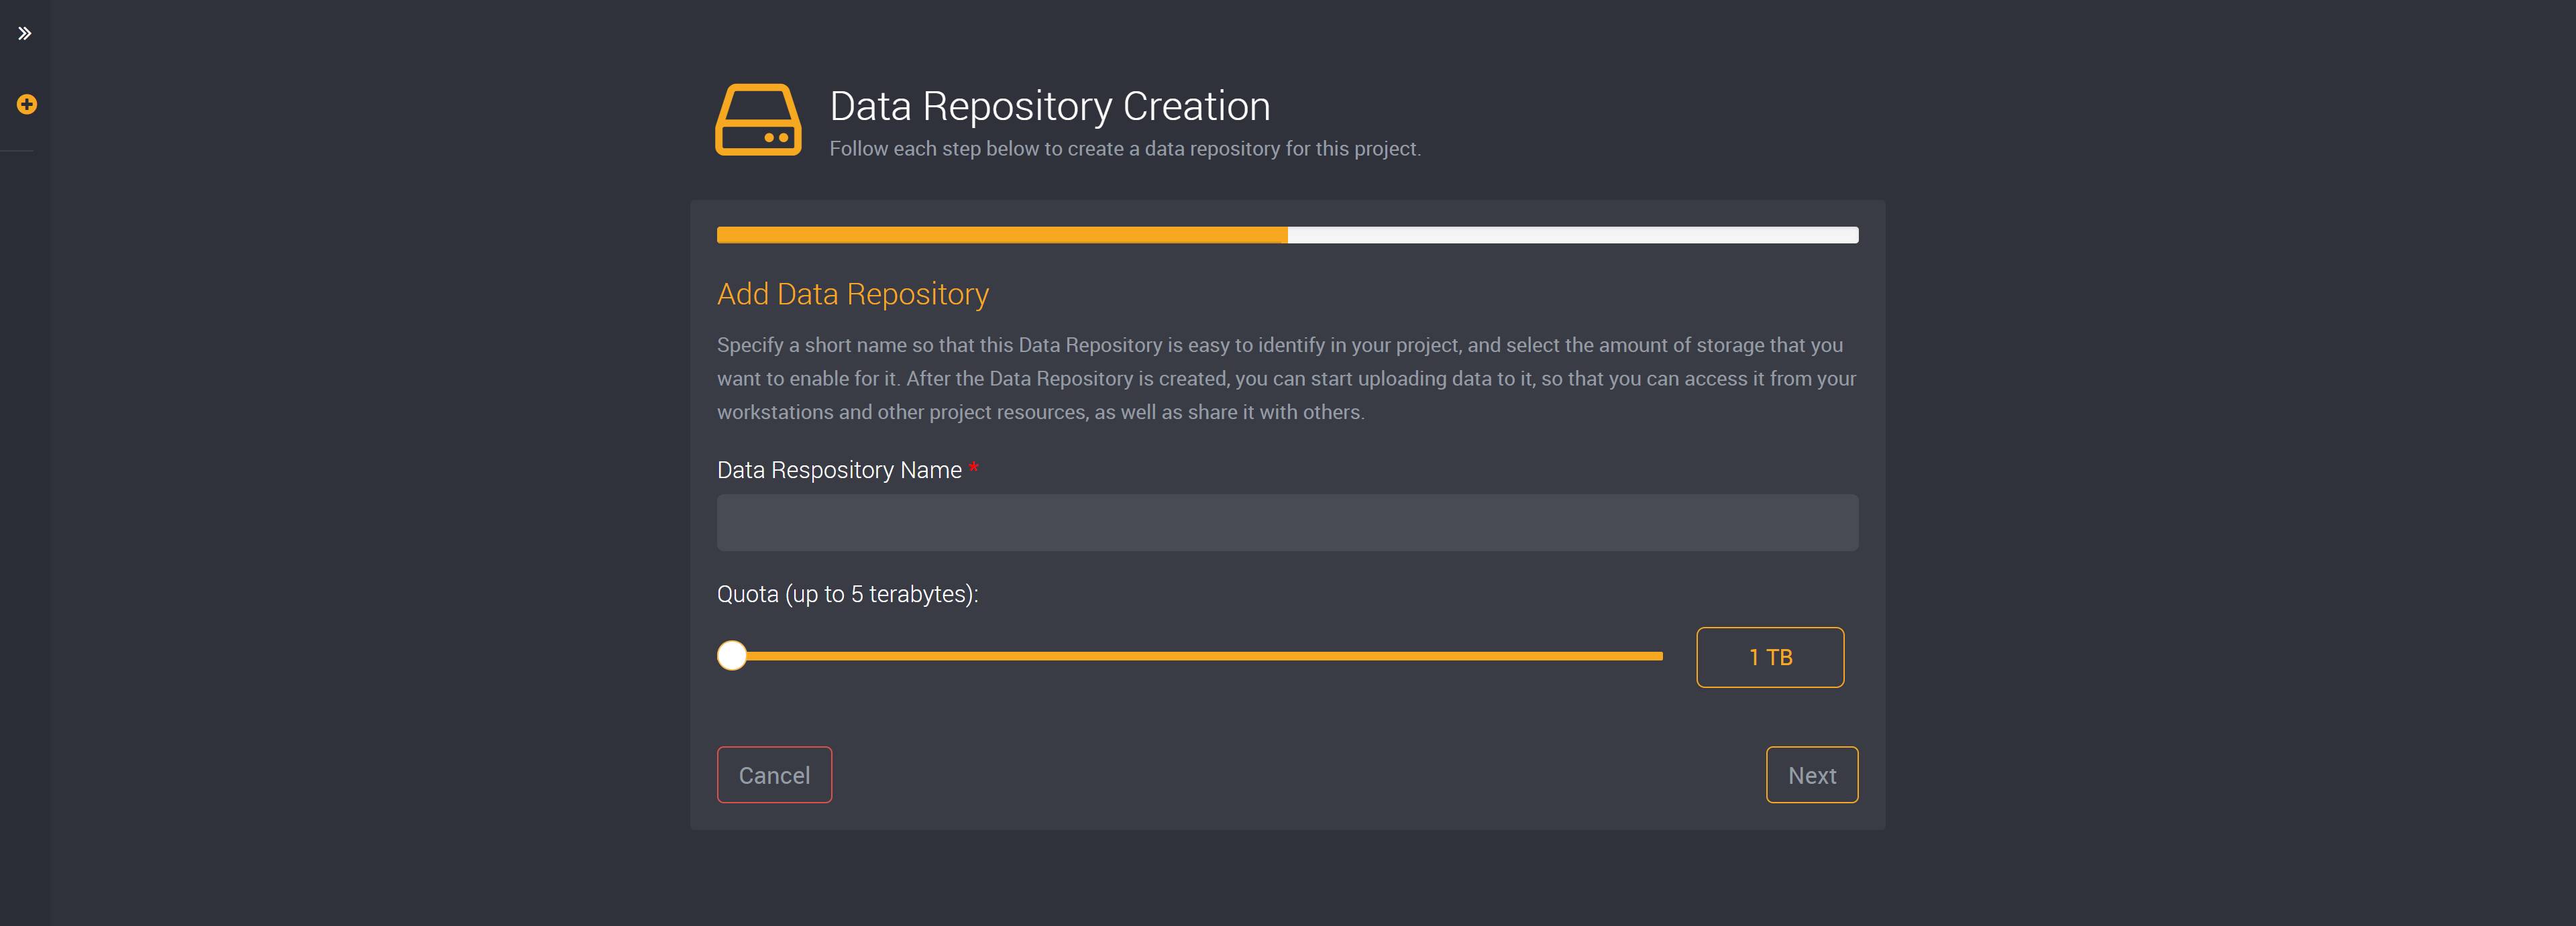
Select your quota. This is the amount of storage that you want to enable.
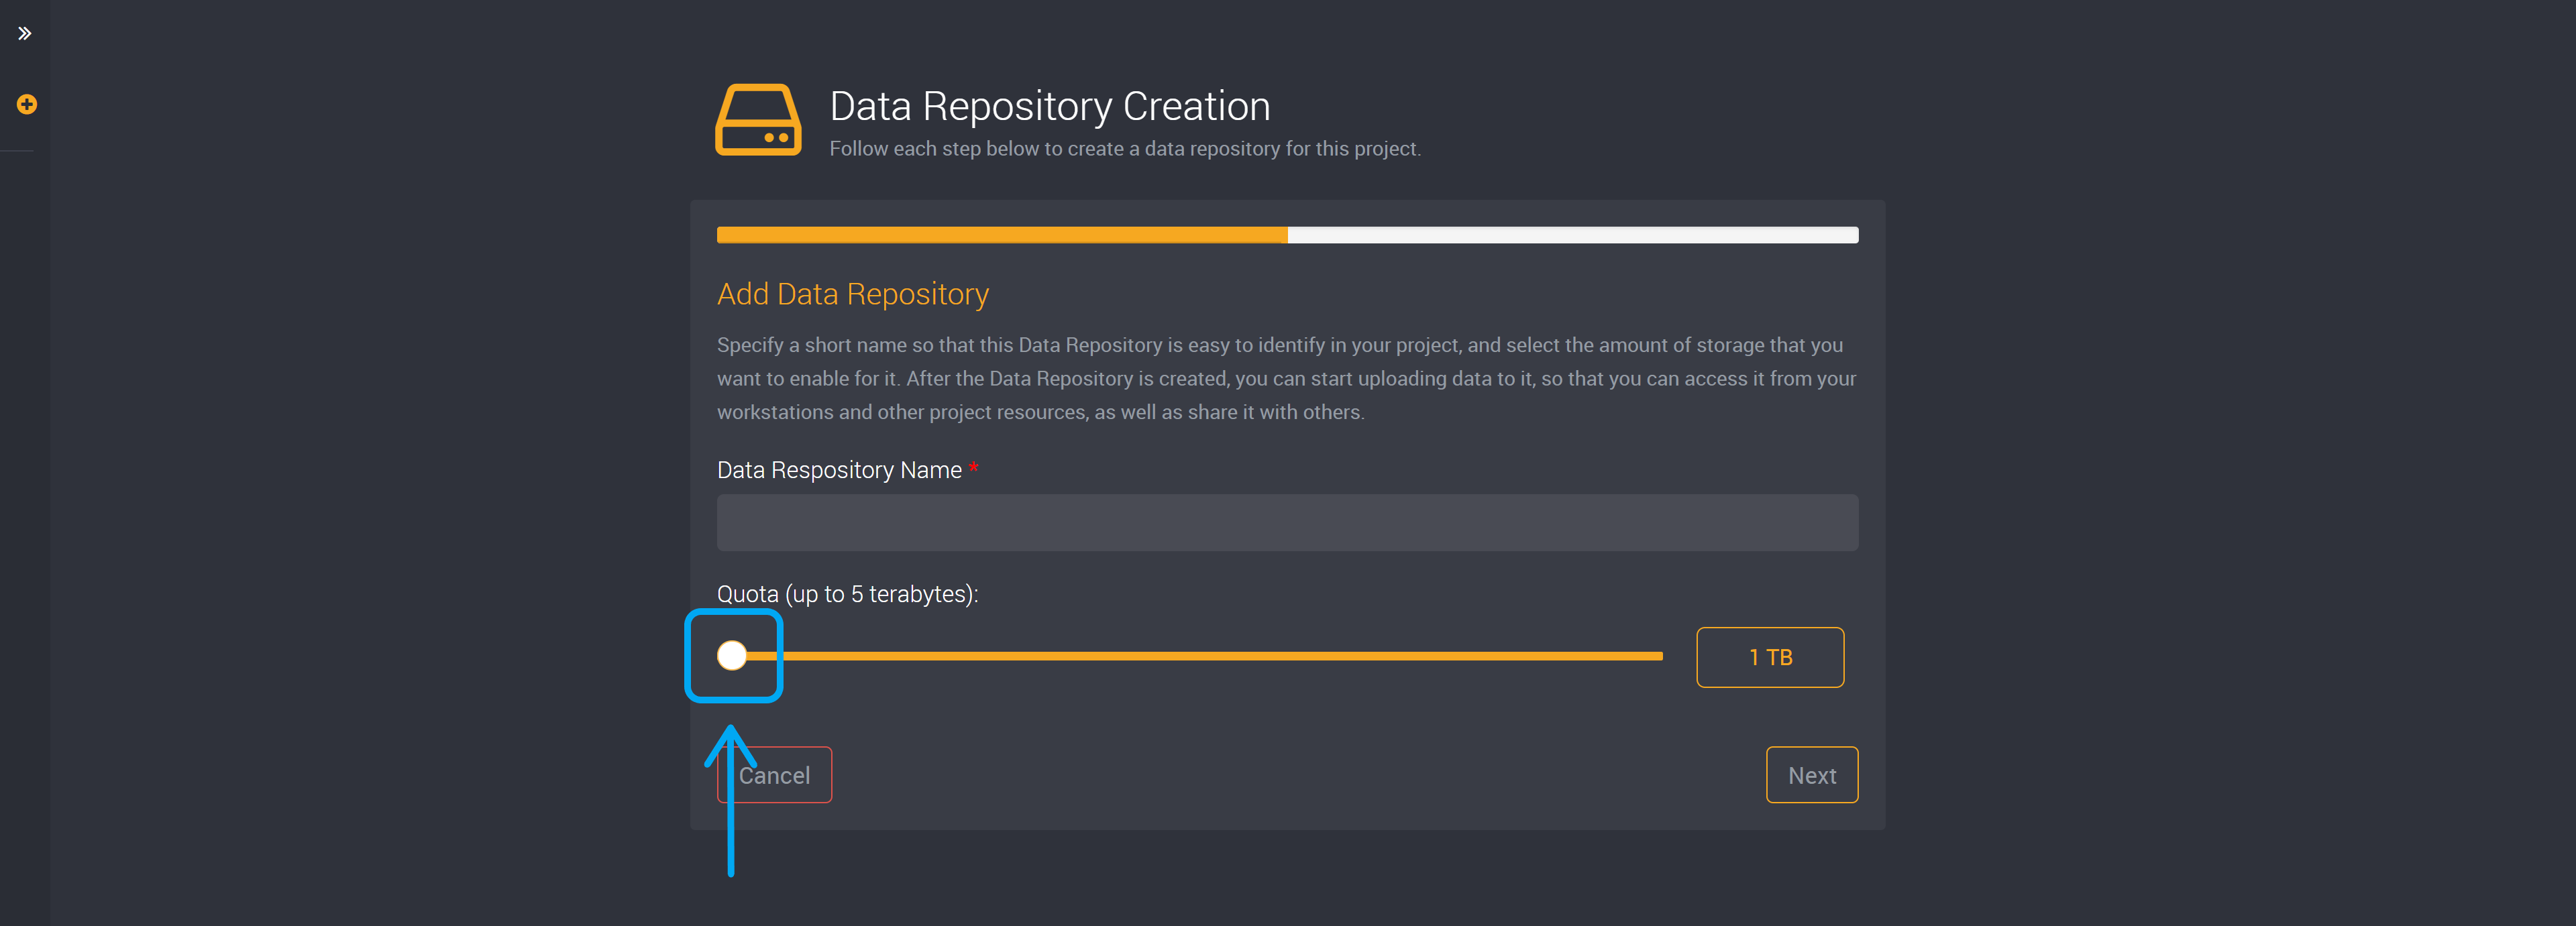
You can change this value by dragging the slider left and right. You can view the amount of TB from the display on the right of the slider.
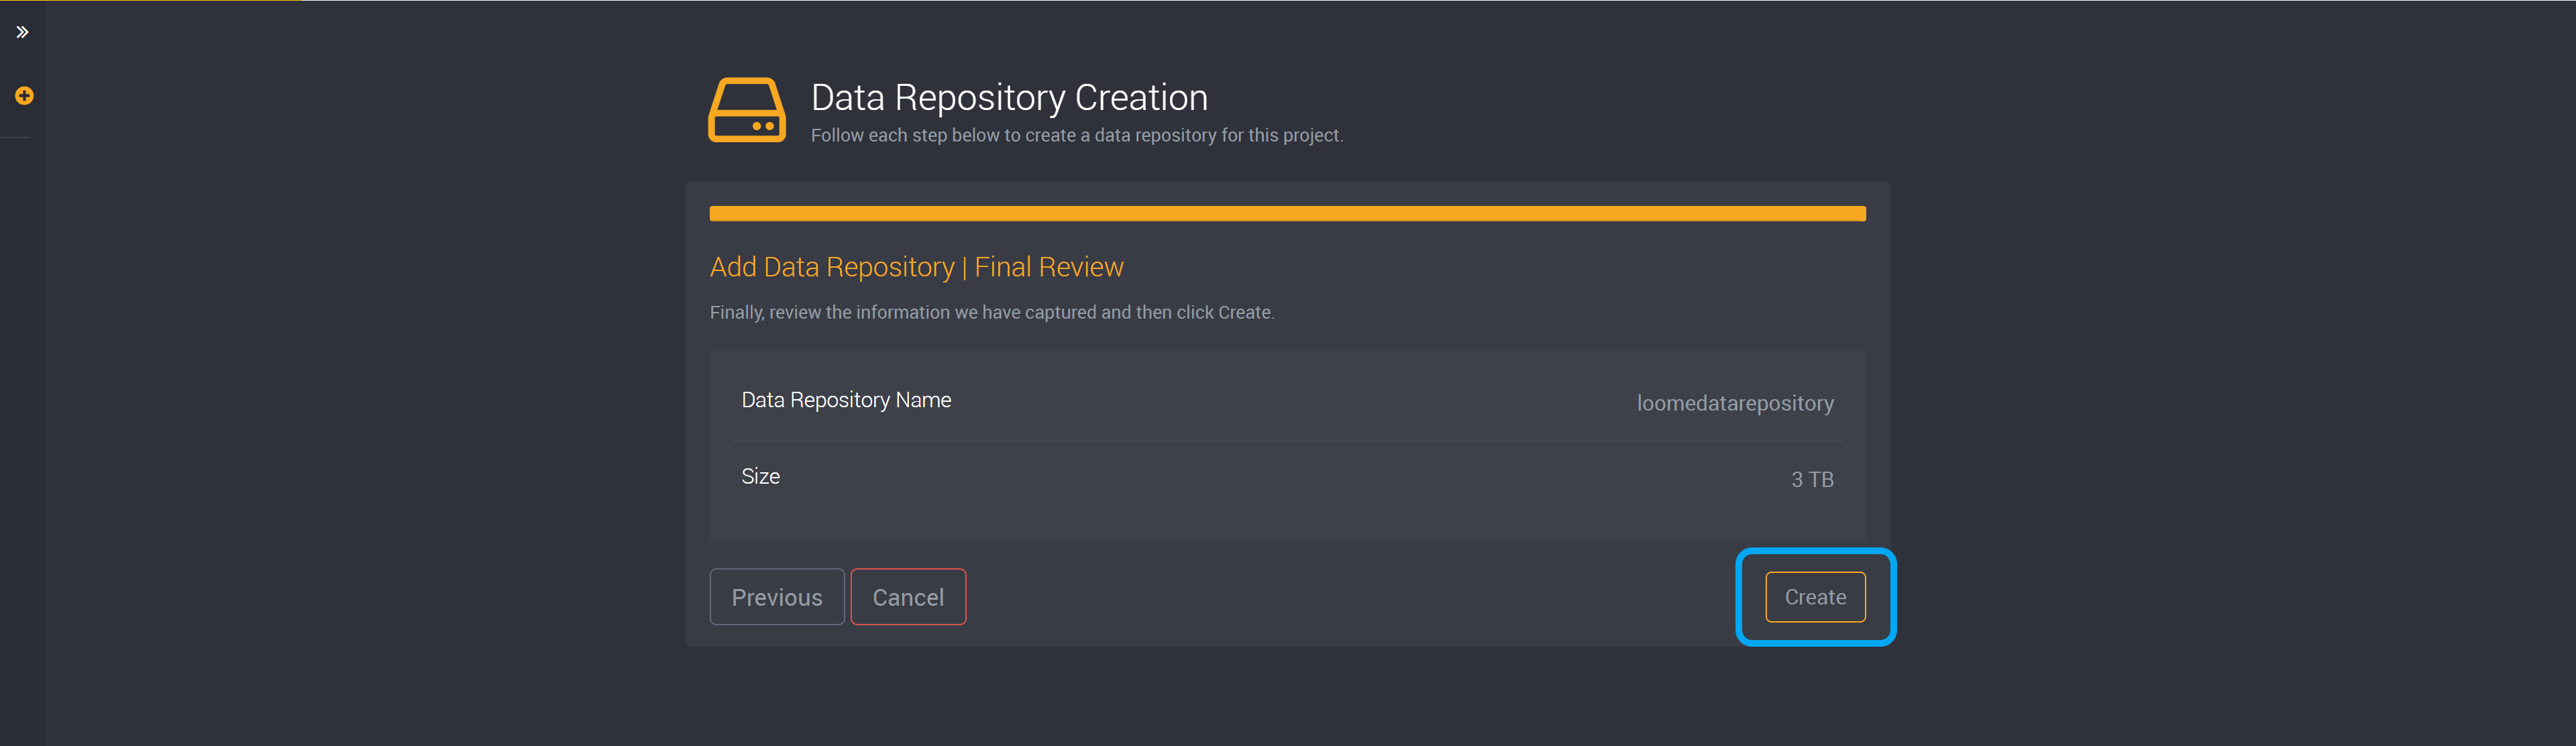
You can then review this data repository and click Create to save.
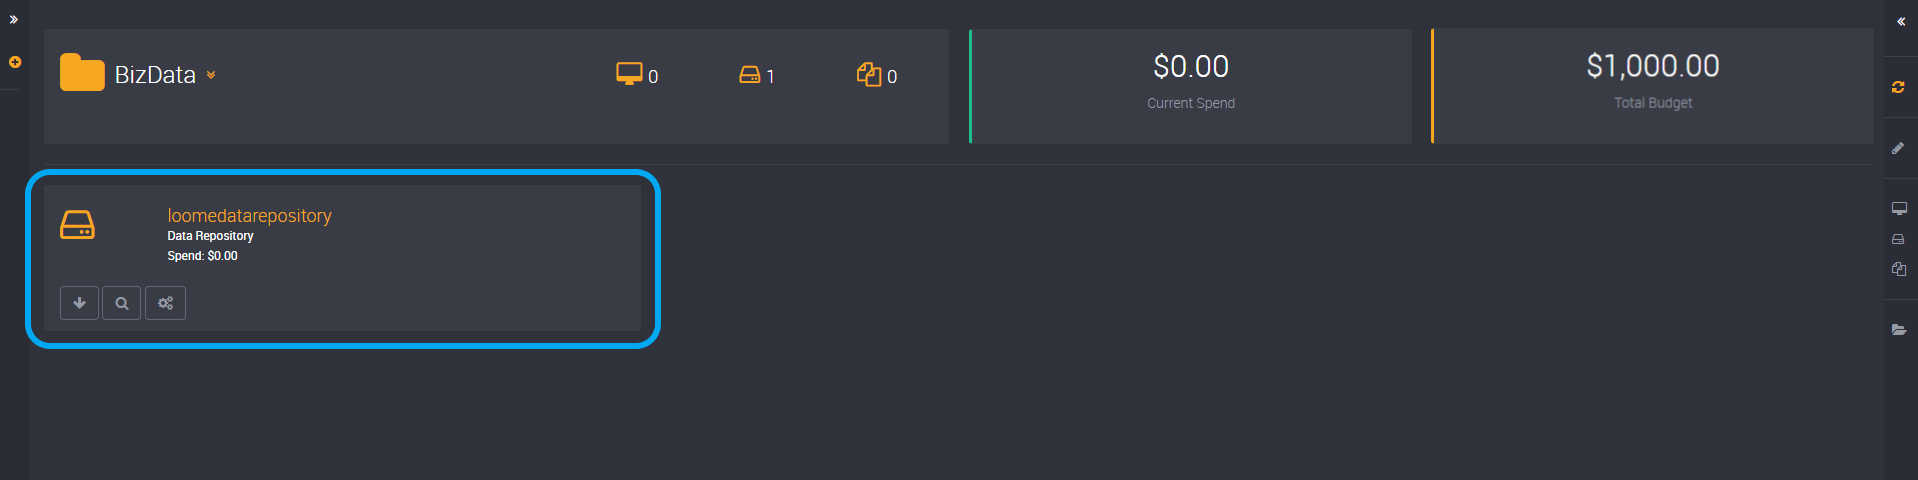
You can then view this added data repository in your project.
View the Details of a Data Repository
You can manage a data repository by clicking on the manage button below the data repository you would like to view.

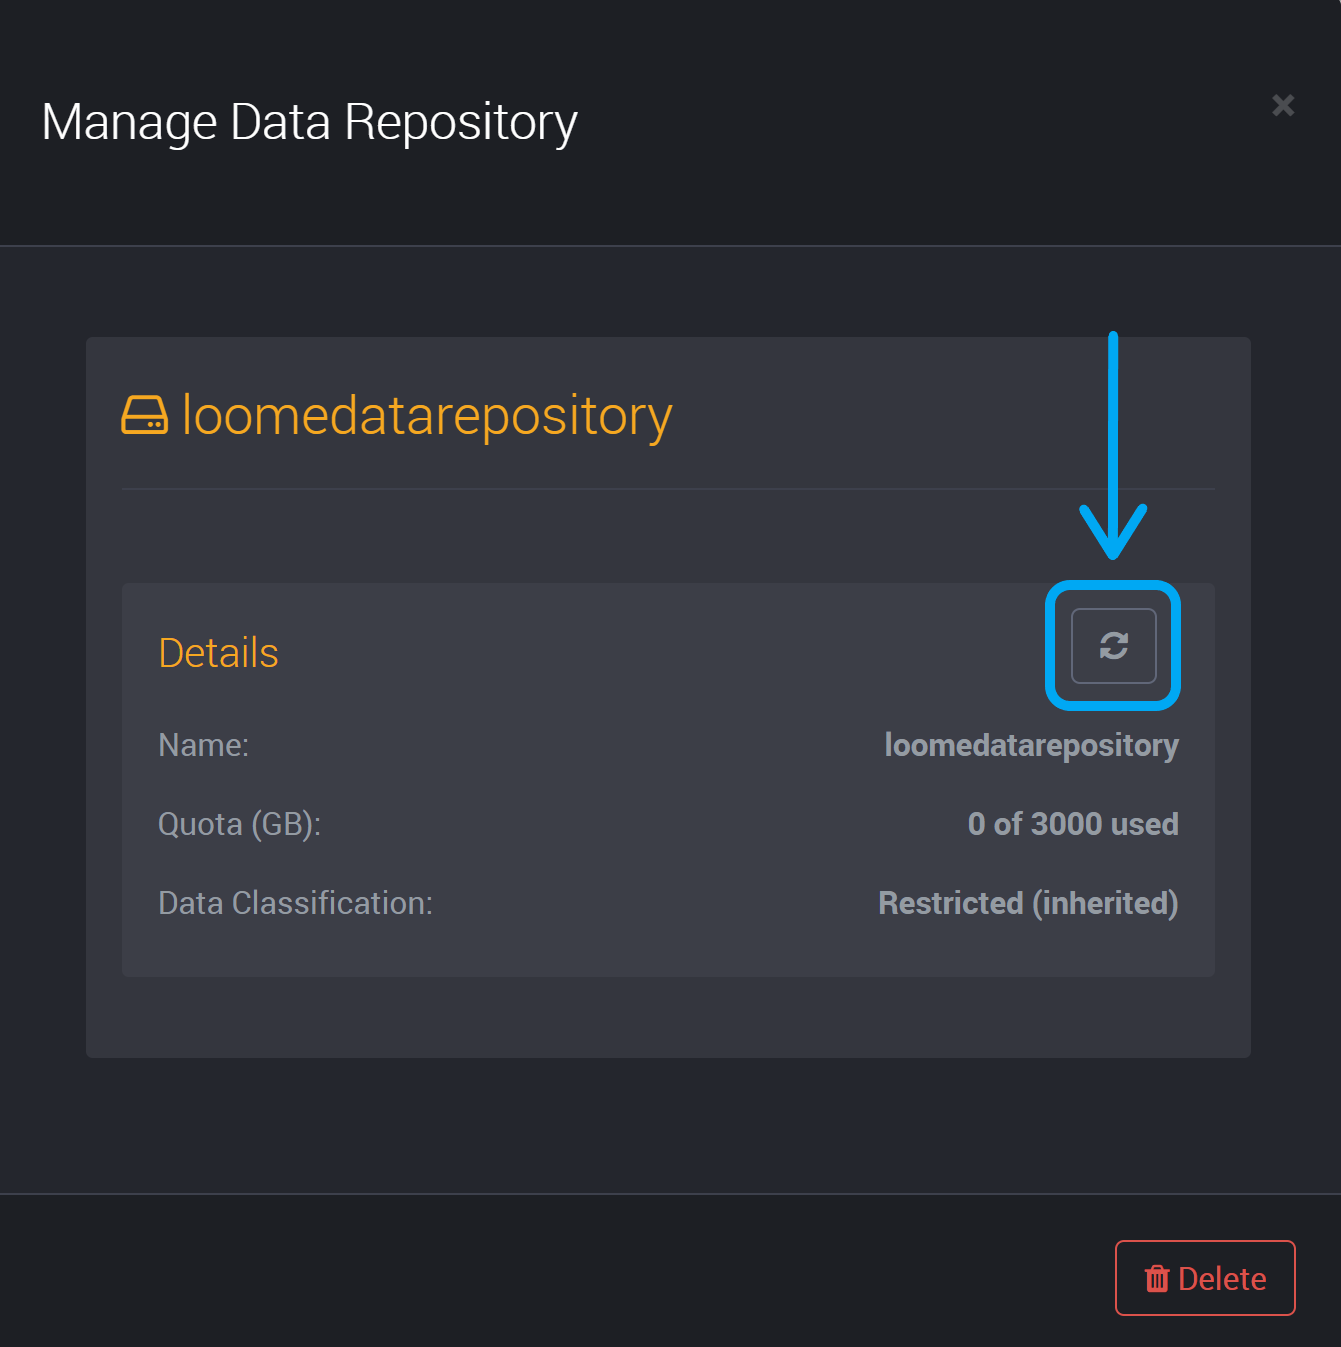
You can then view the settings that were configured for this data repository.
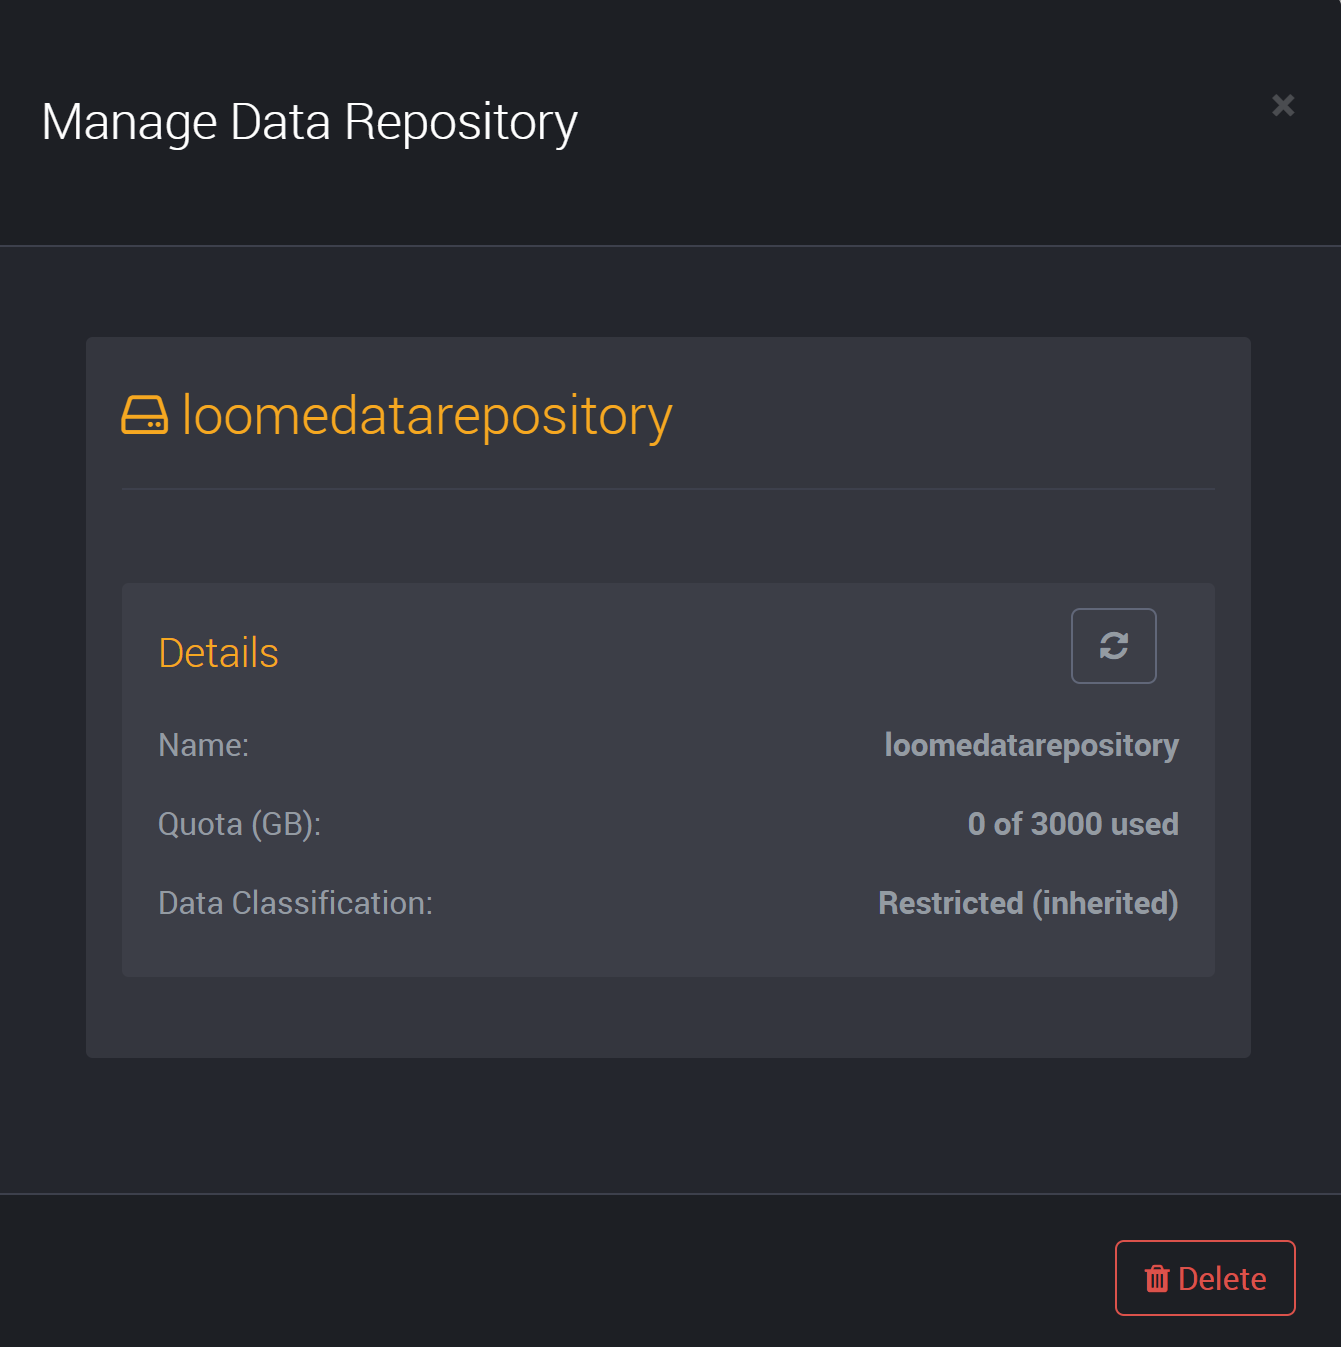
You can refresh the details of this data repository by using the top-right refresh button and it will update these details. If you have used any of this quota, you will see the quota usage here.
Delete a Data Repository
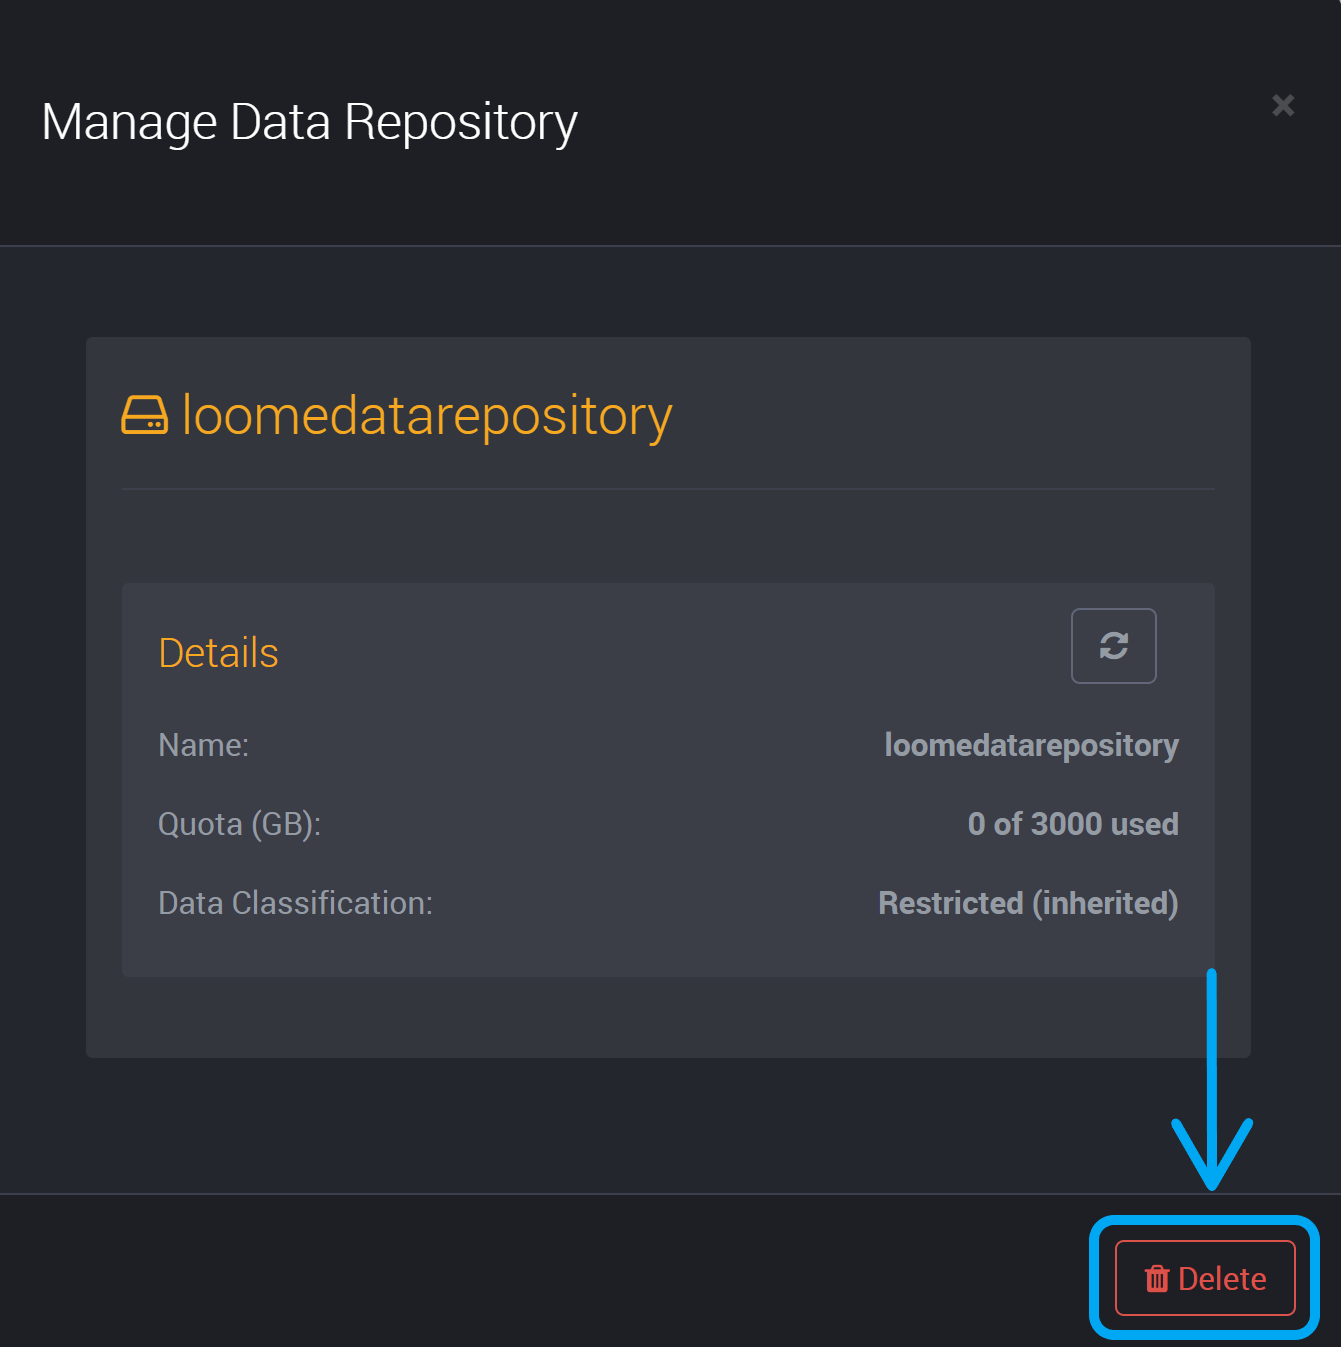
Delete a data repository by first clicking on the Manage button shown above.
You can find the delete button at the bottom of the details of the data repository.
Refresh Data Repositories
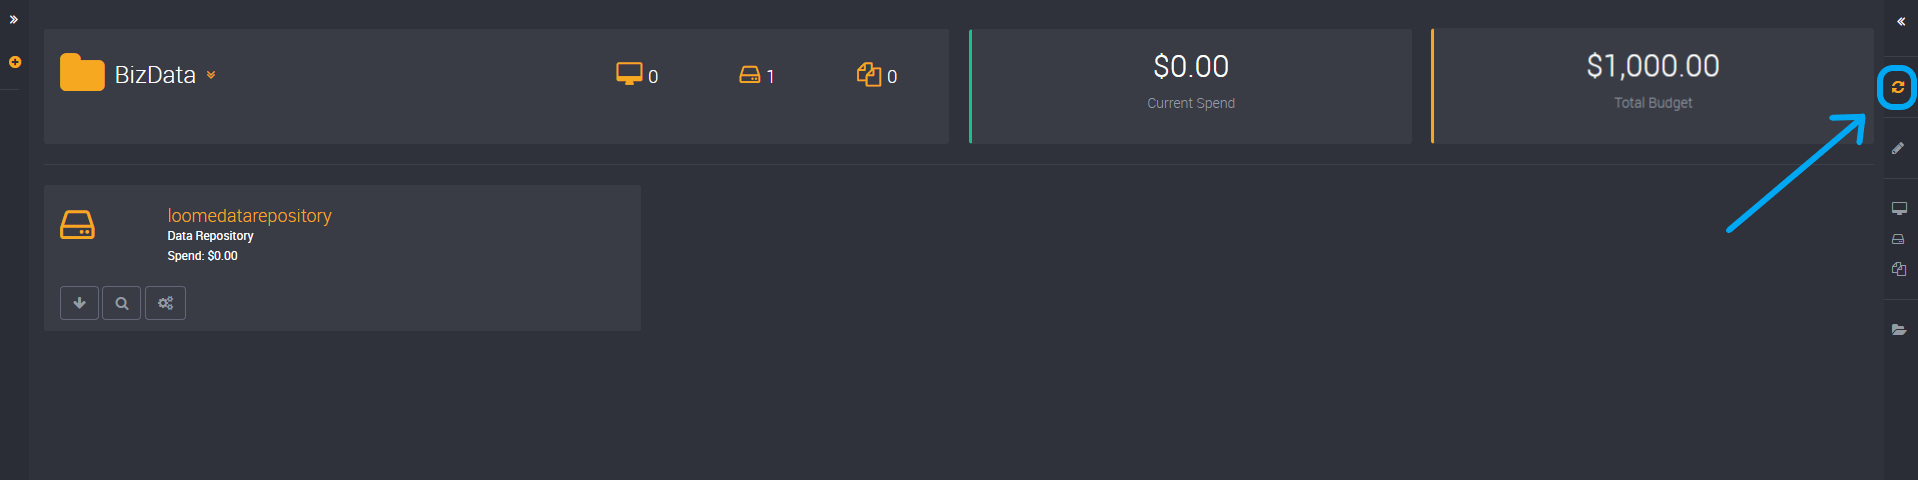
You can refresh all data repositories of a project by clicking on refresh at the top right corner of the page.
Connect to a Data Repository
If your administrator has enabled the option to connect to a data repository for your project’s data classification, you can connect to your data repository and upload files.
You can click on Connect to display connection options for Windows, Linux and macOS.
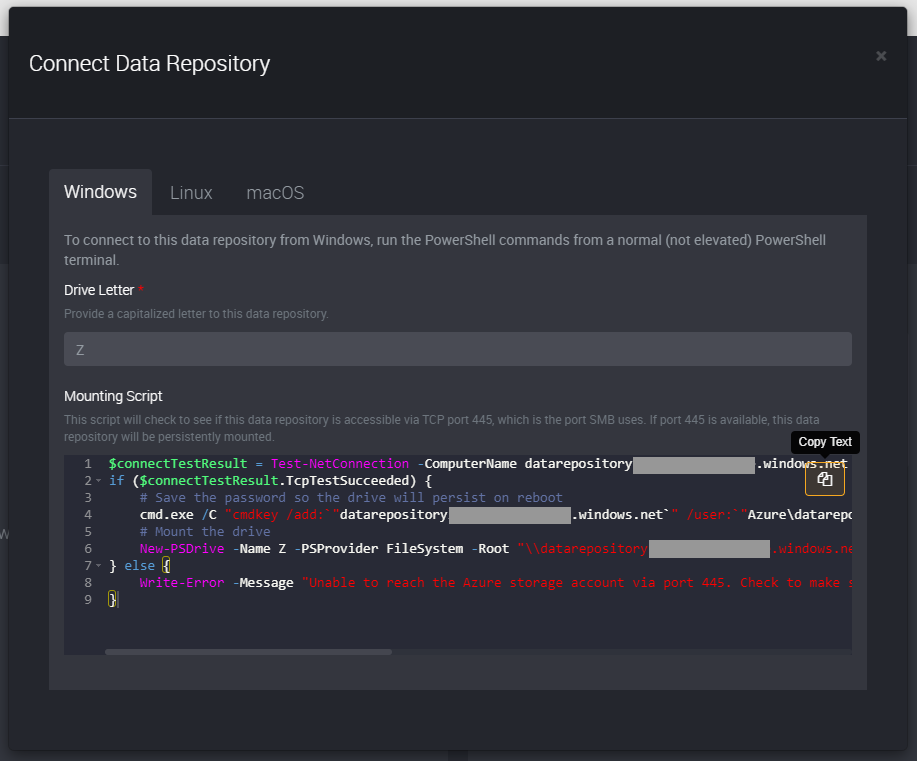
Windows
In Windows, you will first need to provide a capitalized letter to this data repository in the field Drive Letter.
You can copy the mounting script using the copy button, in the top-right corner of the script field, to then run in PowerShell from a normal (not elevated) PowerShell terminal.
The mounting script will check to see if this data repository is accessible via TCP port 445, which is the port SMB uses. If port 445 is available, this data repository will be persistently mounted.
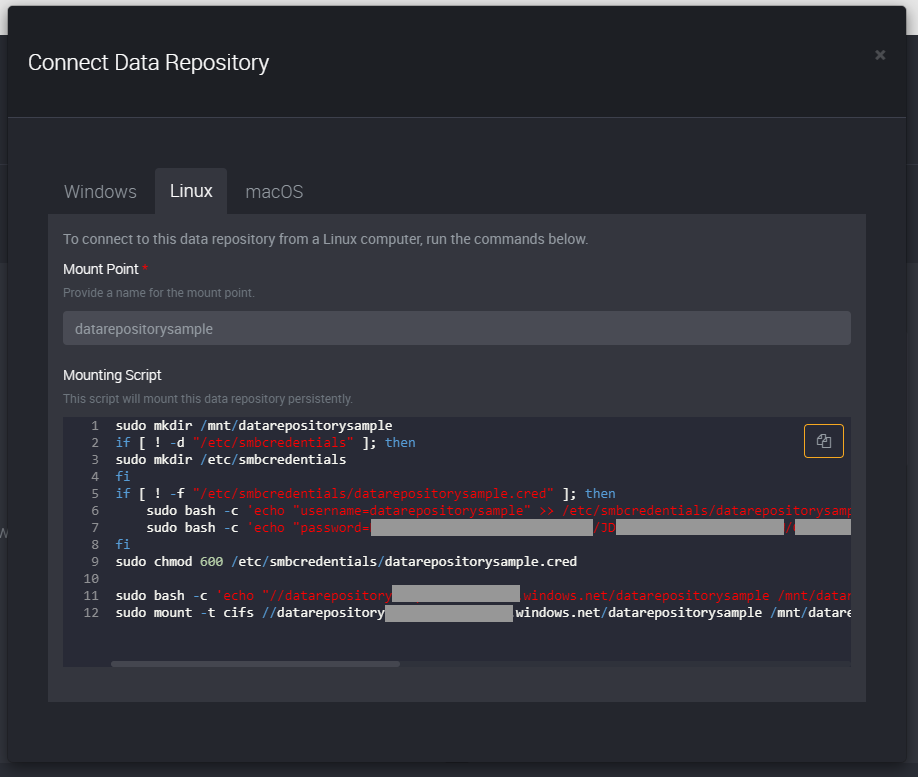
Linux
To connect to a data repository from a Linux computer, you will first need to provide a name for the mount point.
Copy the mounting script and run these commands to connect to a data repository in Linux. The mounting script will mount this data repository persistently.
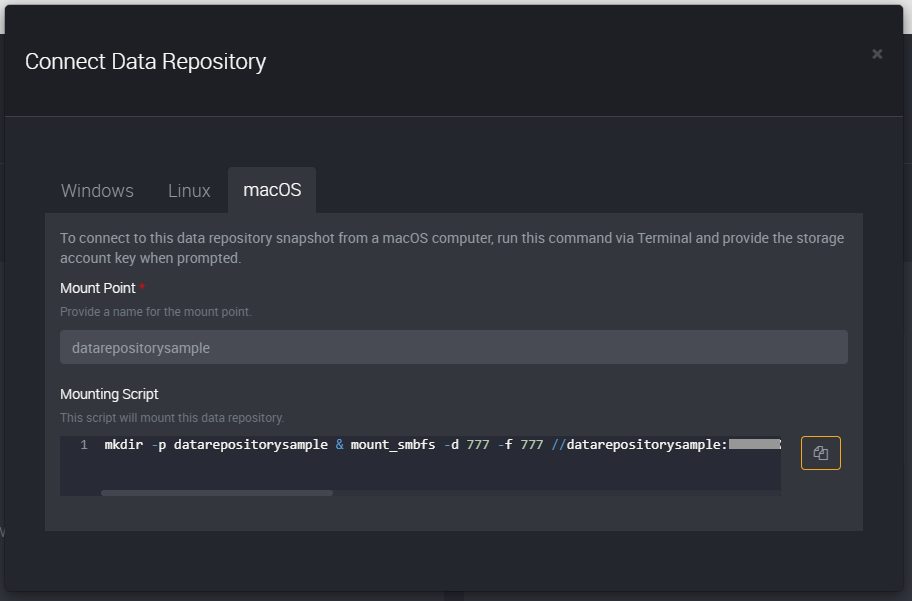
macOS
In macOS, to connect to this data repository snapshot, you will need to first provide a name for the mount point.
Then run the mounting script via Terminal and provide the storage account key when prompted.
The mounting script will then mount this data repository.
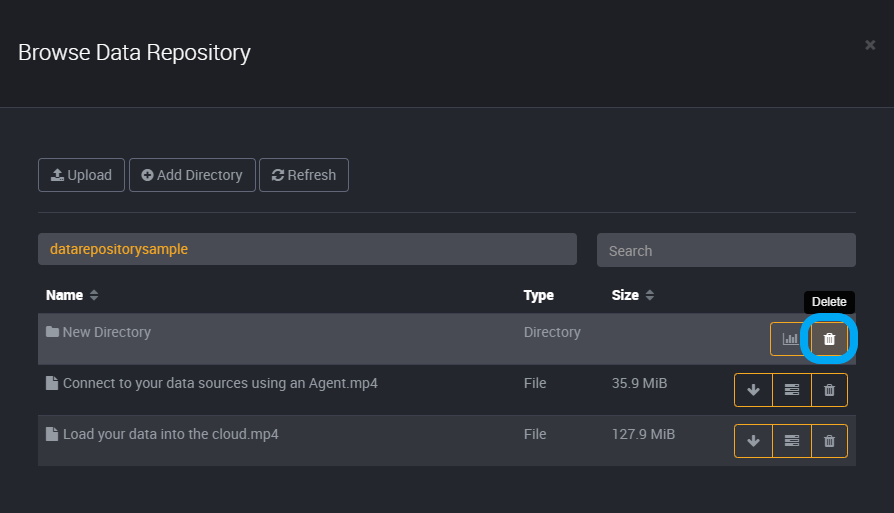
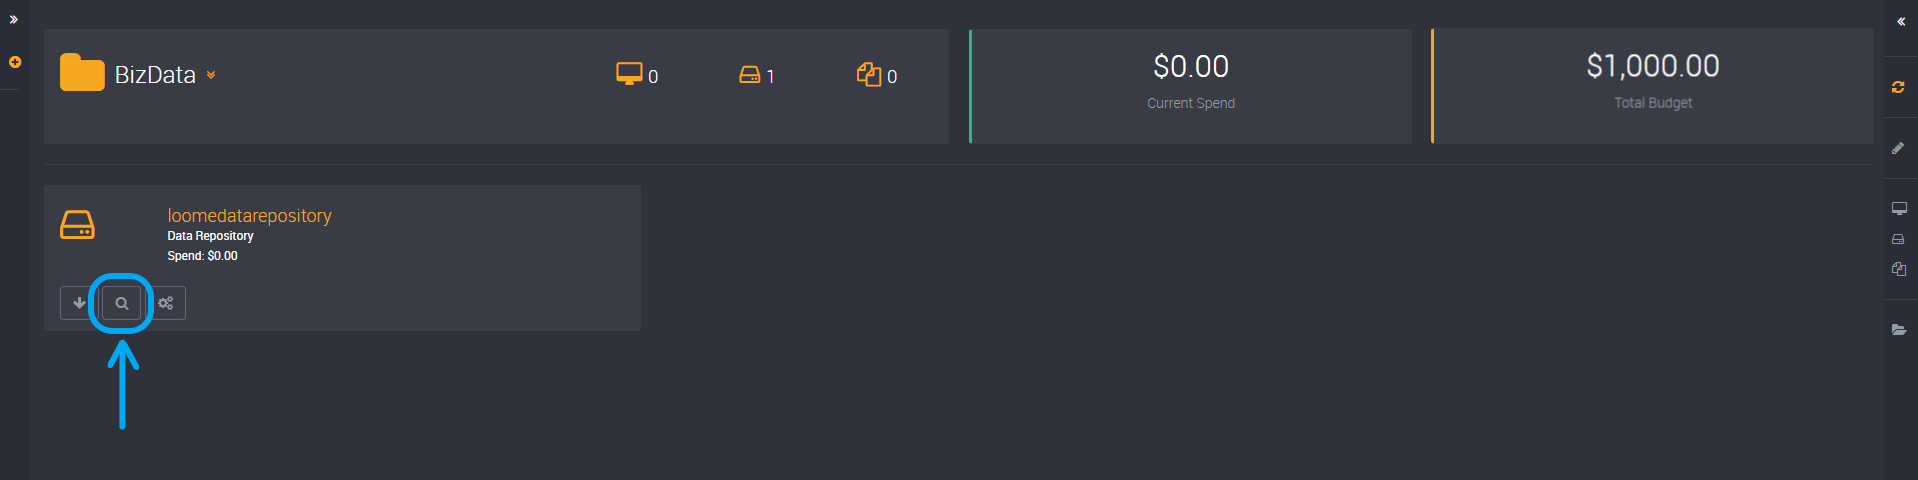
Browse a Data Repository
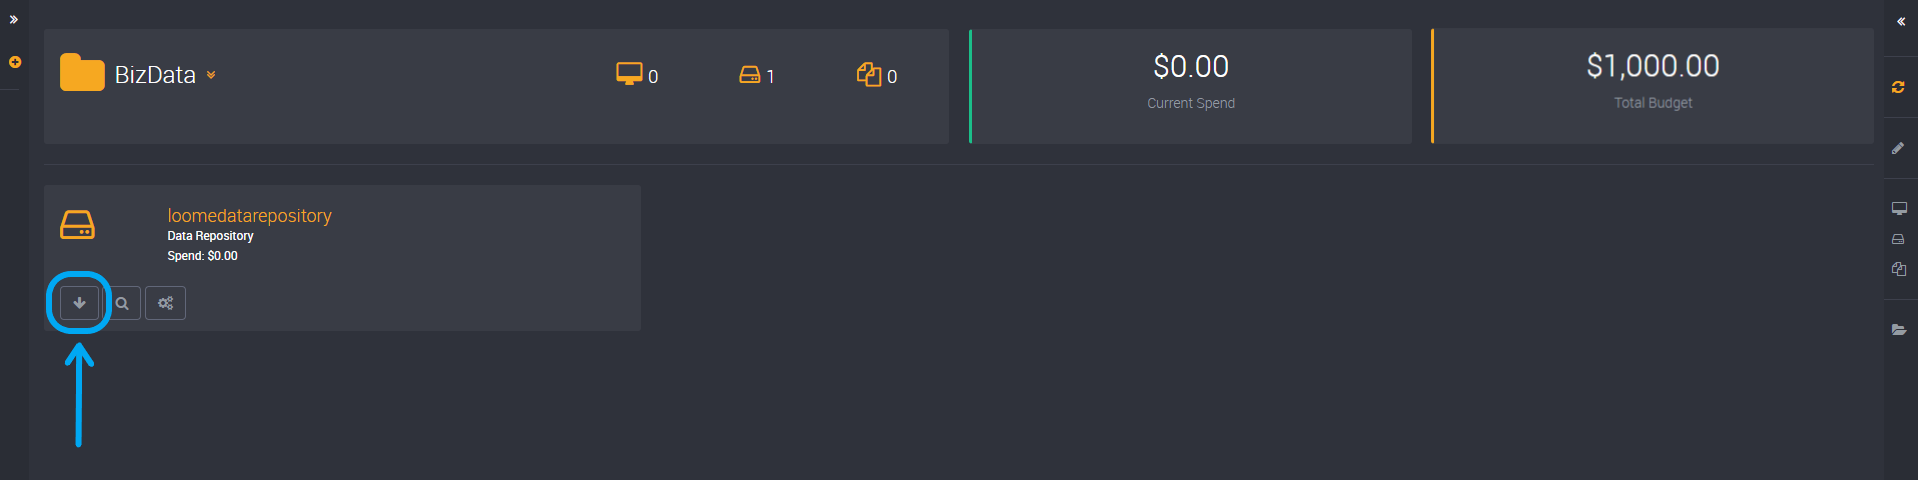
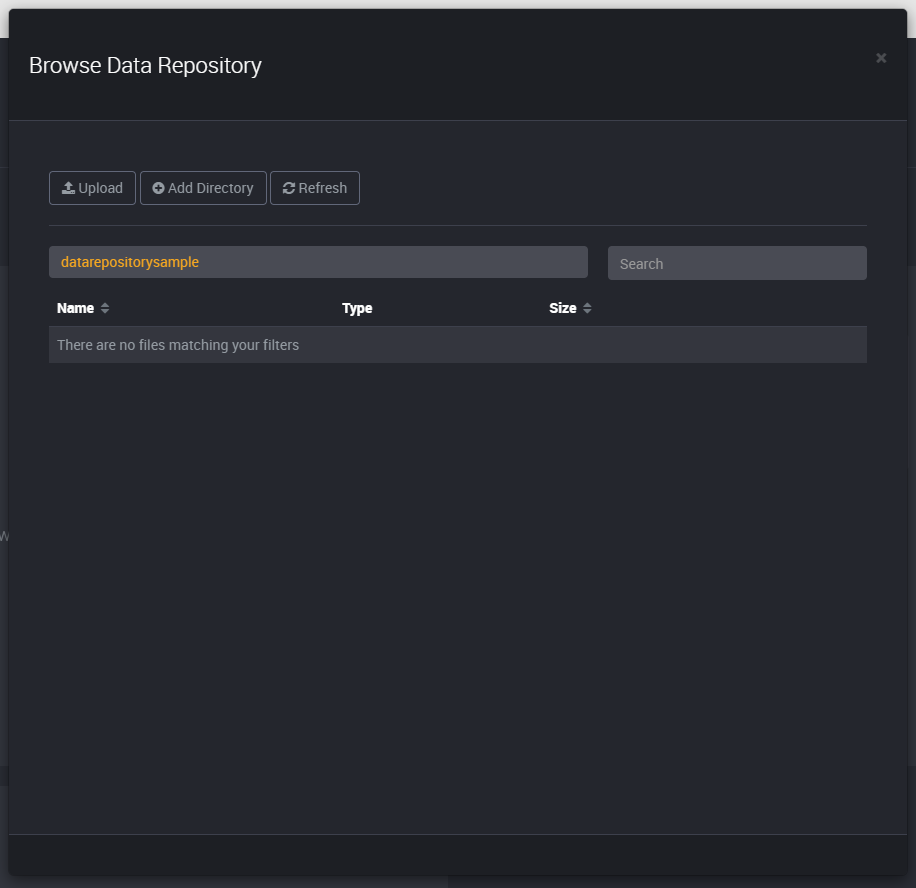
To browse a data repository, click on Browse on the data repository card.
You will then have the option to upload files, add directories, and refresh the data repository.
How to Upload Files to a Data Repository
To upload files to this data repository, click Upload and a slide-out will expand where you can choose your files.
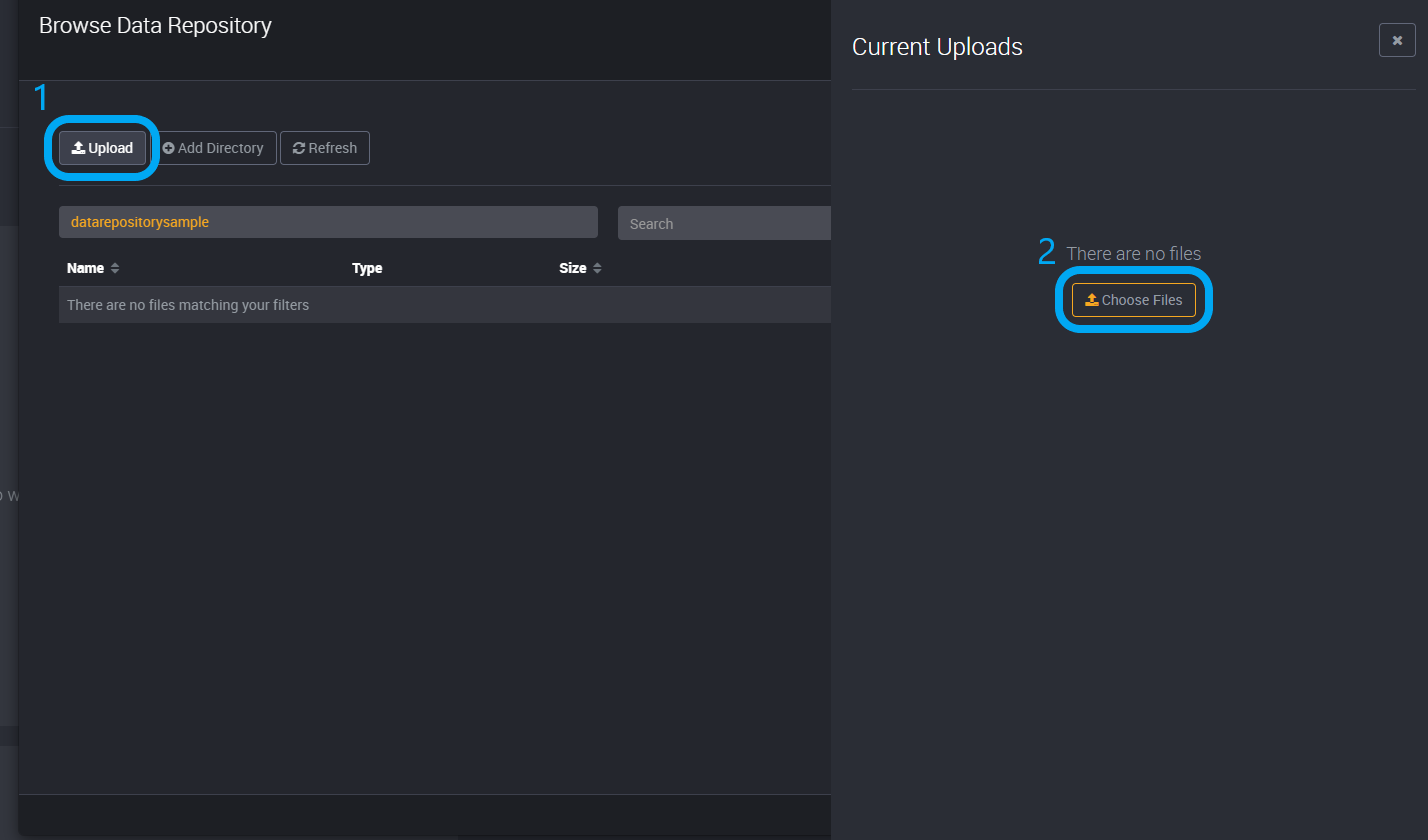
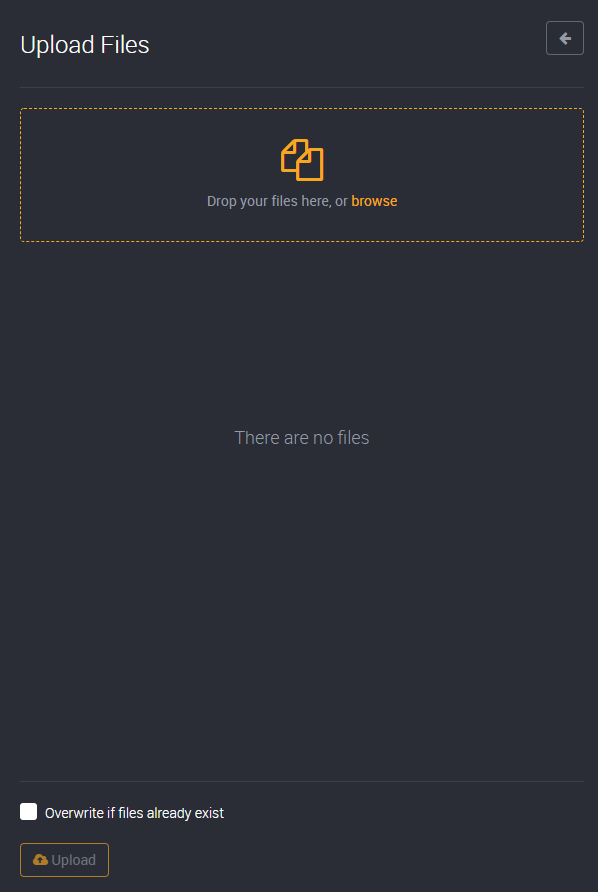
Select Choose Files and you can then either browse for your files or drag and drop them into the upload area.
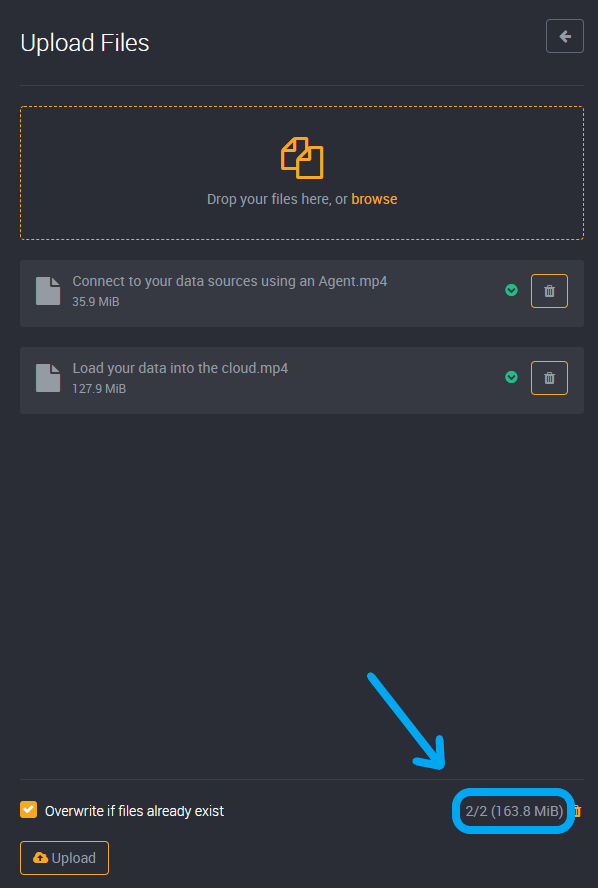
Once you have chosen your files, they will display here.

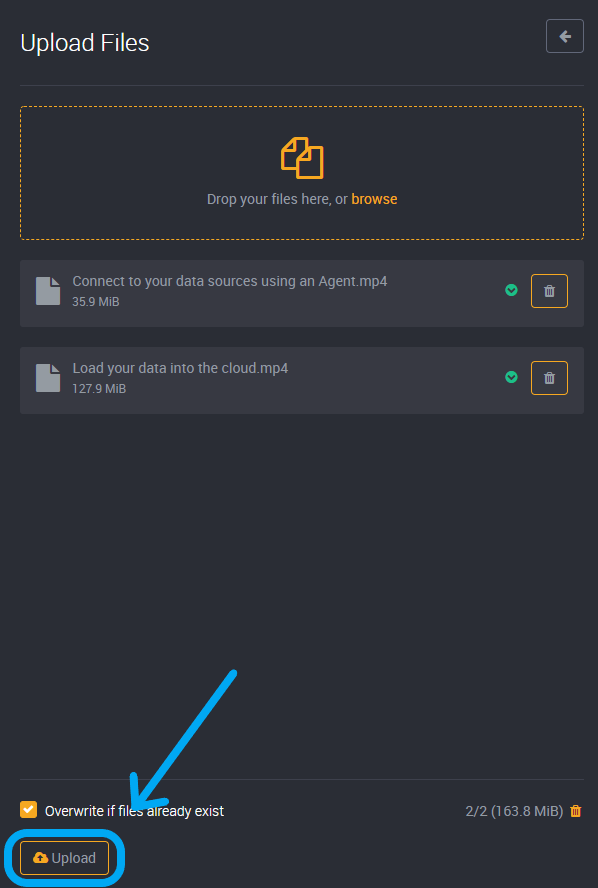
You can choose to overwrite these files if they already exist in your data repository.
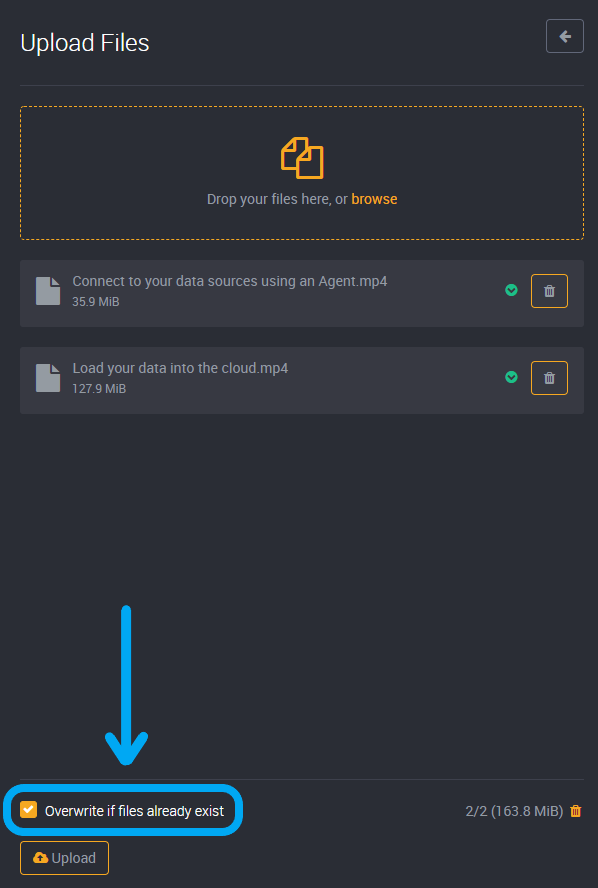
You can view the total size of your selected files in the bottom right corner.
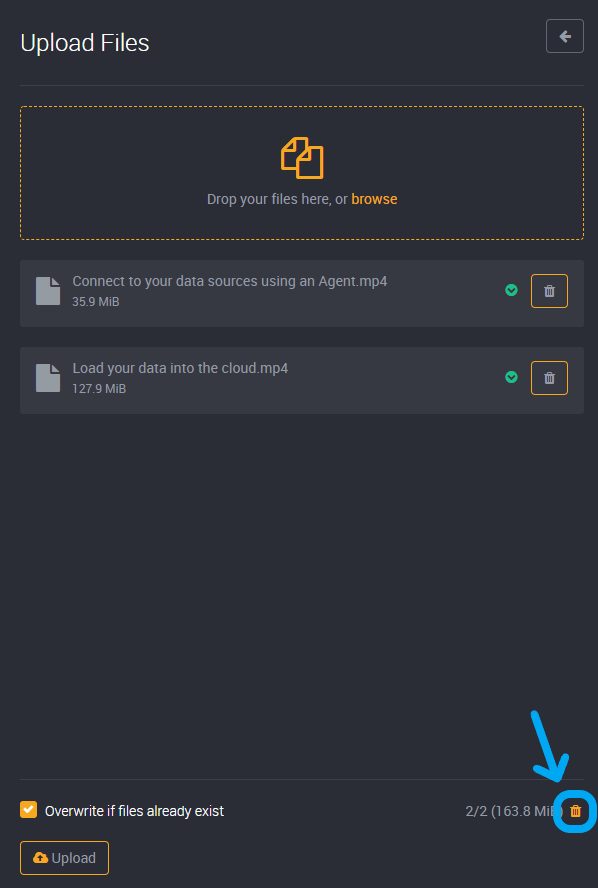
You can delete all selected files at the bottom right of the slide-out.
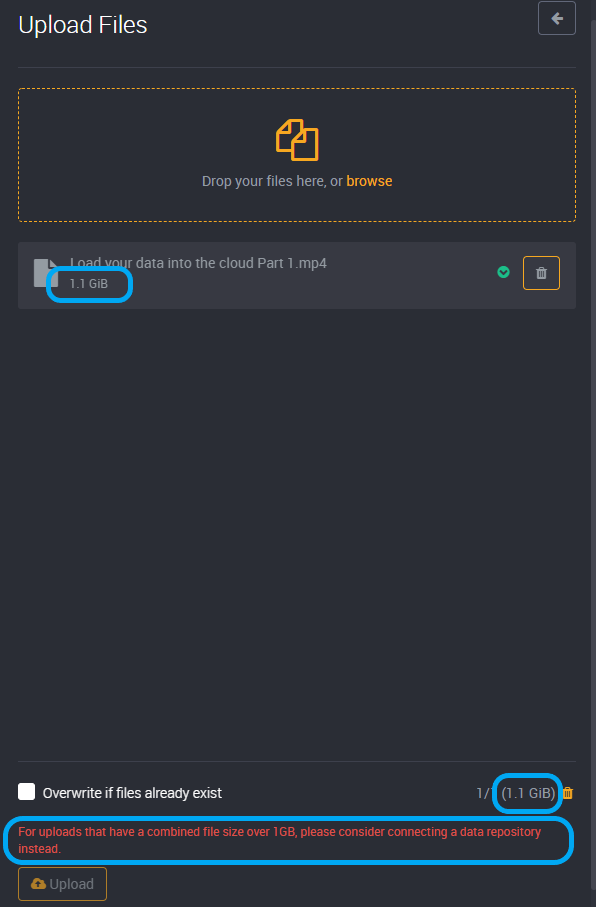
There is a limit of 1GB when uploading files. If the total size of your files exceeds 1GB please consider connecting to a data repository instead, as shown in our guide above.
The file browser is the quick method to get files into your data repository. If you have a larger upload, which may be over 1GB, mount it locally by clicking Connect and use your OS with the OS-specific scripts to mount it on your local computer and keep track of those larger uploads (i.e., SMB protocol, which takes care of any scenarios you might otherwise stumble on with the Azure Storage API).
Once you have selected your files, you can upload these to this data repository using the Upload button.
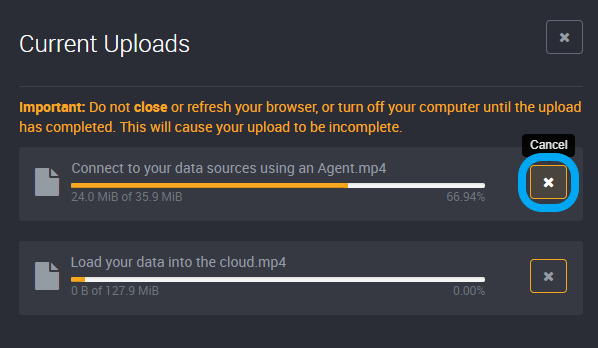
Once you have begun to upload your files, if you would like to cancel the upload of all files, click on Cancel All at the bottom of the slide-out.
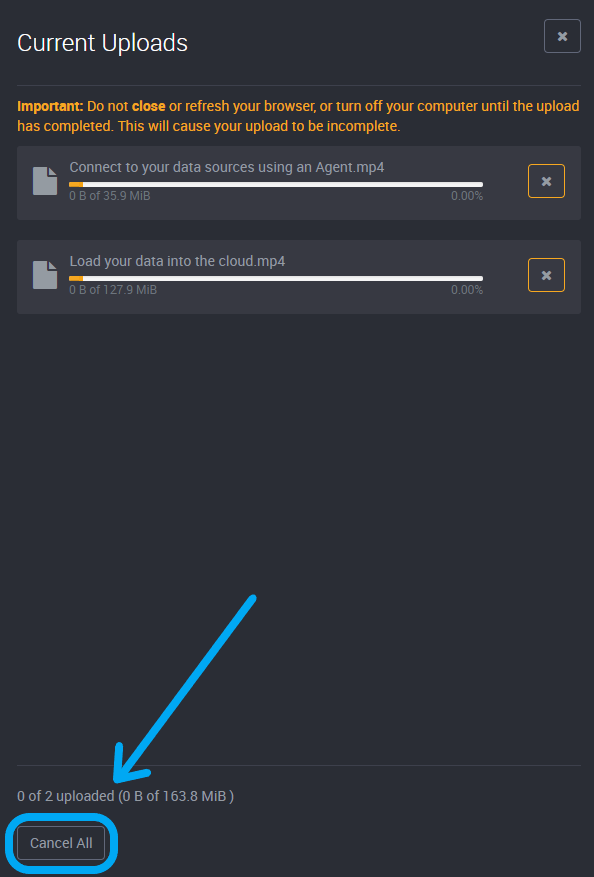
Or you can cancel individual files using the cancel button beside each file.
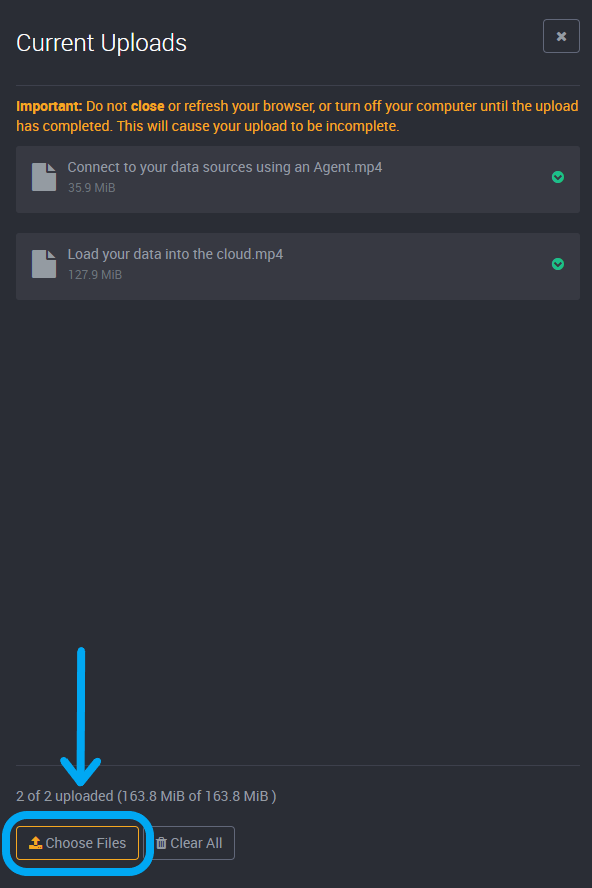
Once uploaded, you can choose to add more files.
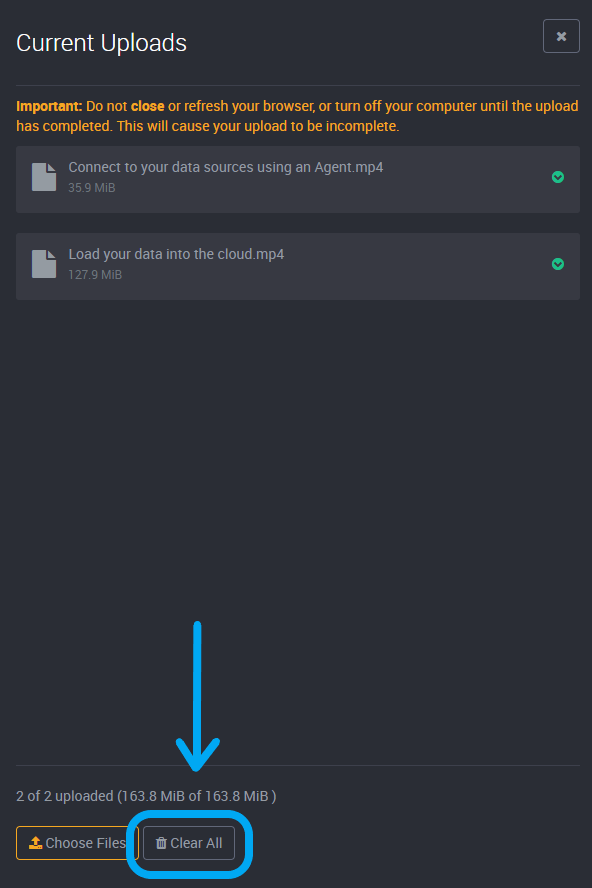
Or you can clear all files from this list now that they have been uploaded.
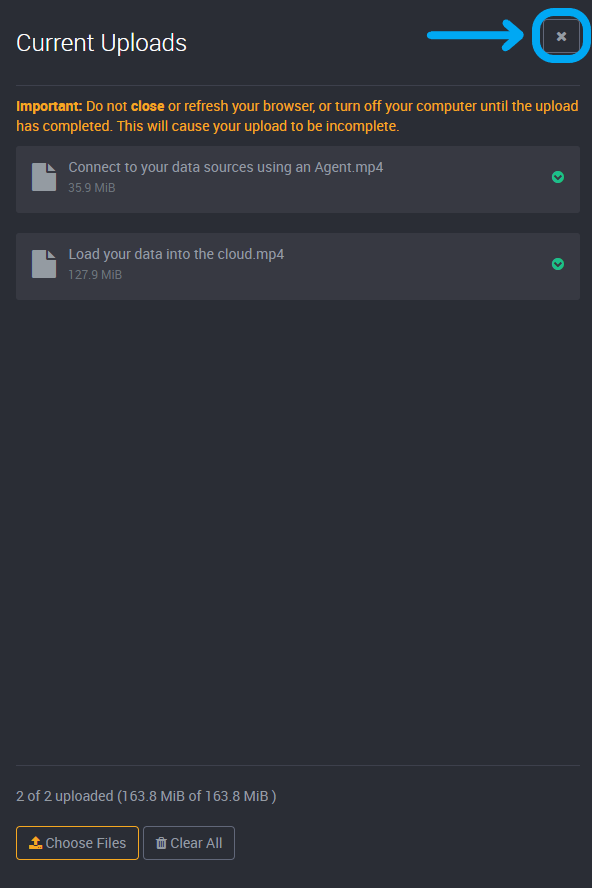
You can dismiss the slide-out using the close button at the top-right, but please note that if you dismiss the slide-out during an upload you will cancel the upload and your files will be incomplete. Your upload will also be incomplete if you close or refresh your browser, or if you turn off your computer. If the upload is cancelled you may find that you have temp files in the data repository, please note that these files are incomplete.
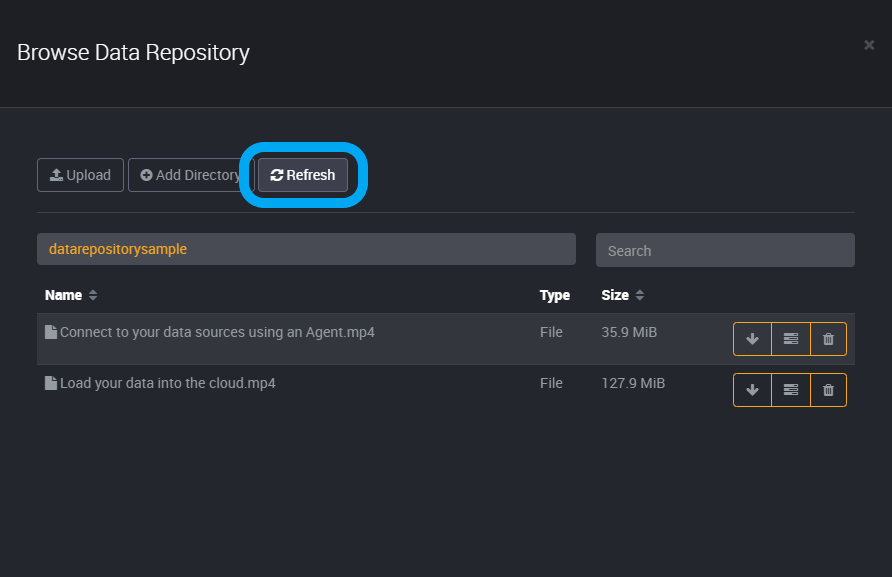
You will then be able to find your files in your data repository. You can refresh the data repository to see any new files using the Refresh button.
Data Repository Files
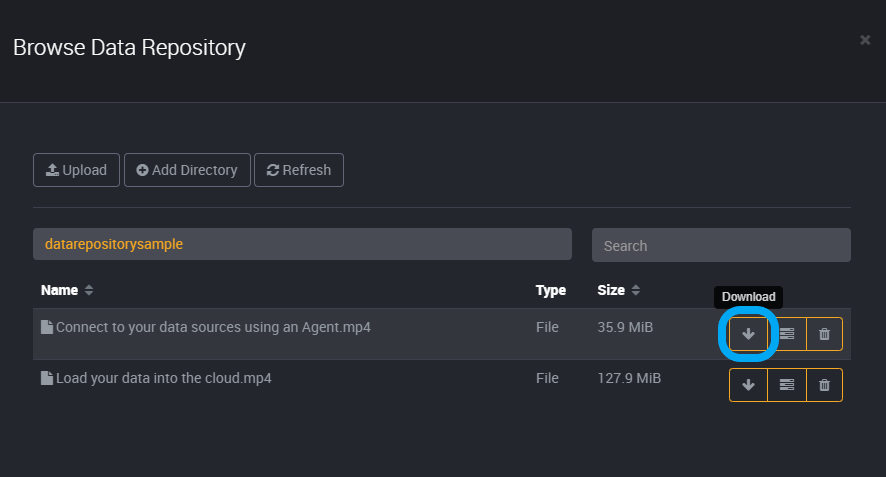
You can download a file from a data repository using the Download button on the right of its row.
If you are accessing your data repository via Teams, you will be asked to confirm that you would like to download this file.
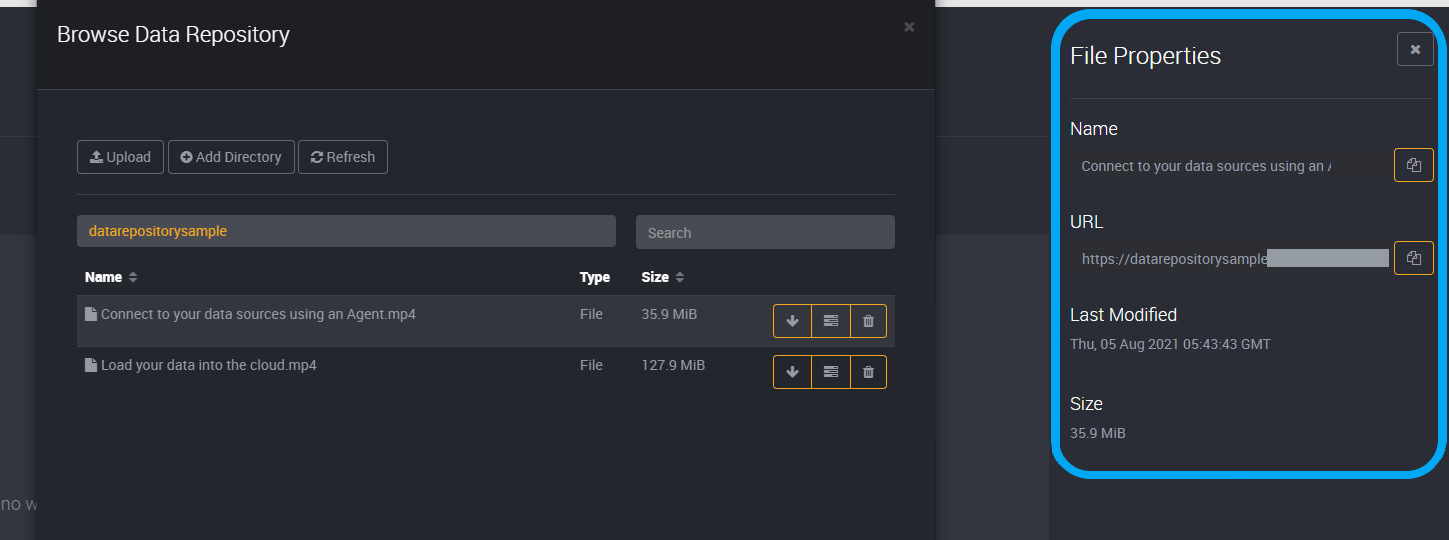
You can view the properties of a file using the Properties button on the right of its row.
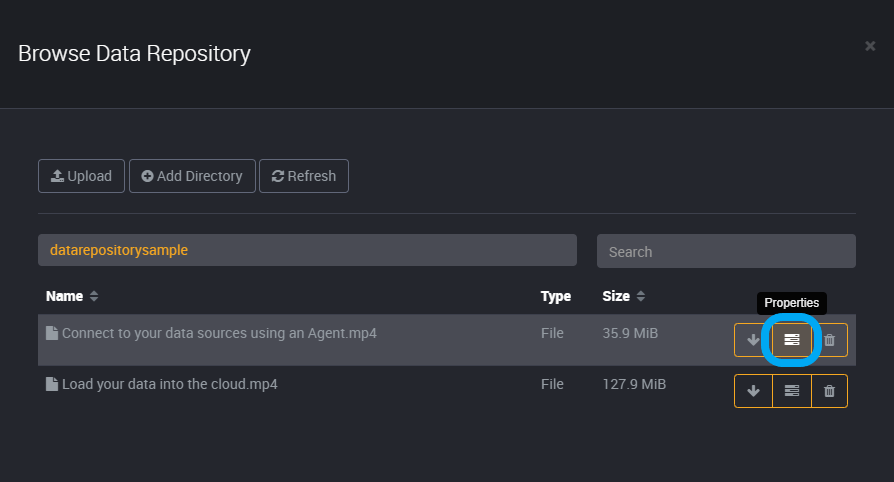
It will display the properties of this file, such as when it was last modified and its size, and provides a button to copy the name and URL.
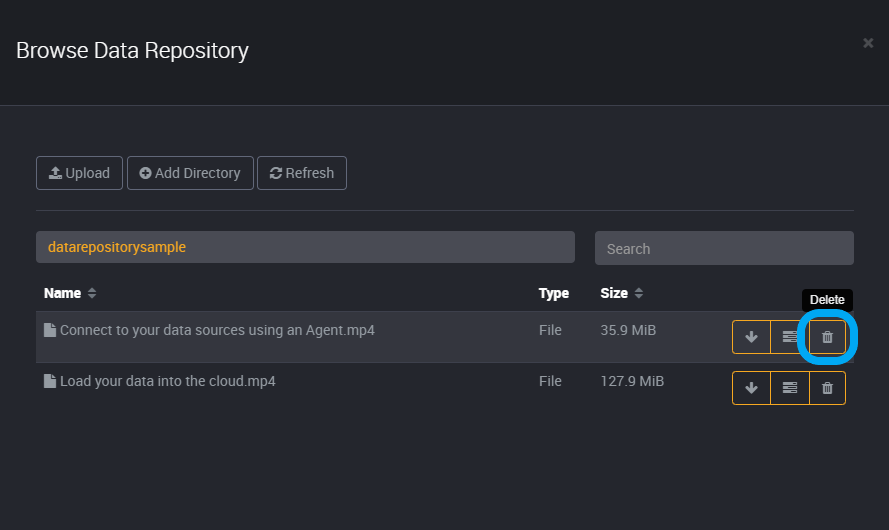
You can delete a file from a data repository using the Delete button on the right of its row.
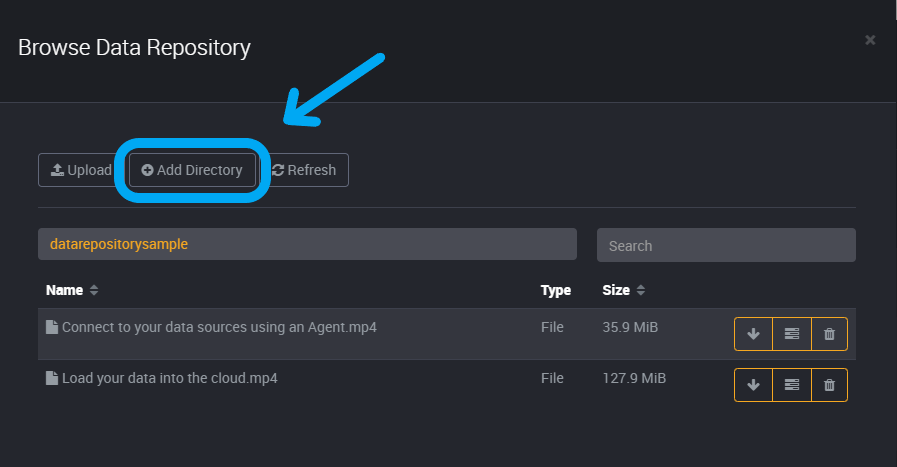
Directories
To add a directory to this data repository, click on Add Directory.
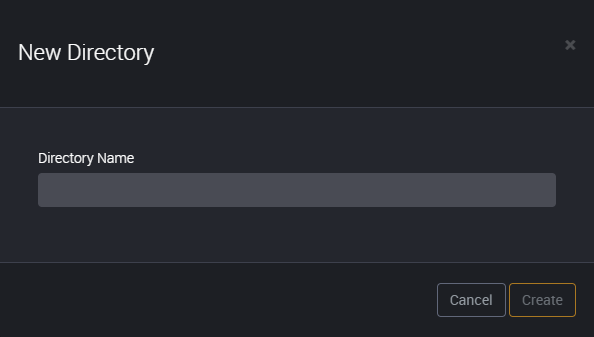
You can then provide a name for this directory.
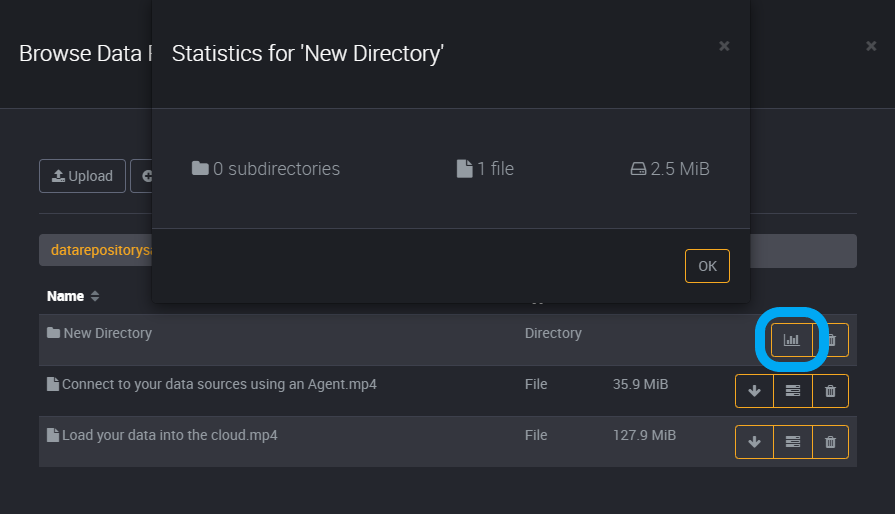
Once you have added files to a directory, you can view the properties of this directory. Click on the Properties button, on the right of the directory’s row, and it will display all details of this directory. You can see whether it has any subdirectories, and the number and size of files.
You can delete a directory using the delete button on the right of its row. You cannot delete a directory if it contains any files.