Consumers
Getting Started
As a consumer, your administrator or project creator will have created projects and other resources you need to get started in a project.
Your homepage and left-hand project slide-out will display all projects that are available to you.
| Step | Description | Related Documentation |
|---|---|---|
| Step 1: Add a Data Repository (Optional) | You can choose the storage size you want to be available in a Data Repository and you can then upload data. | Find out more about data repositories here. |
| Step 2: Add a Workstation (Optional) | A workstation will be specific to this project and can be enabled and disabled. | Learn more about workstations here. |
| Step 3: How to deploy a Workstation (Optional) | You can deploy a workstation. It will use the project budget when deployed. | Learn more about workstations here. |
The following sections will show you how to add a data repository and workstation.
See our application roles page to learn more about which roles have access to different areas of Loome Assist.
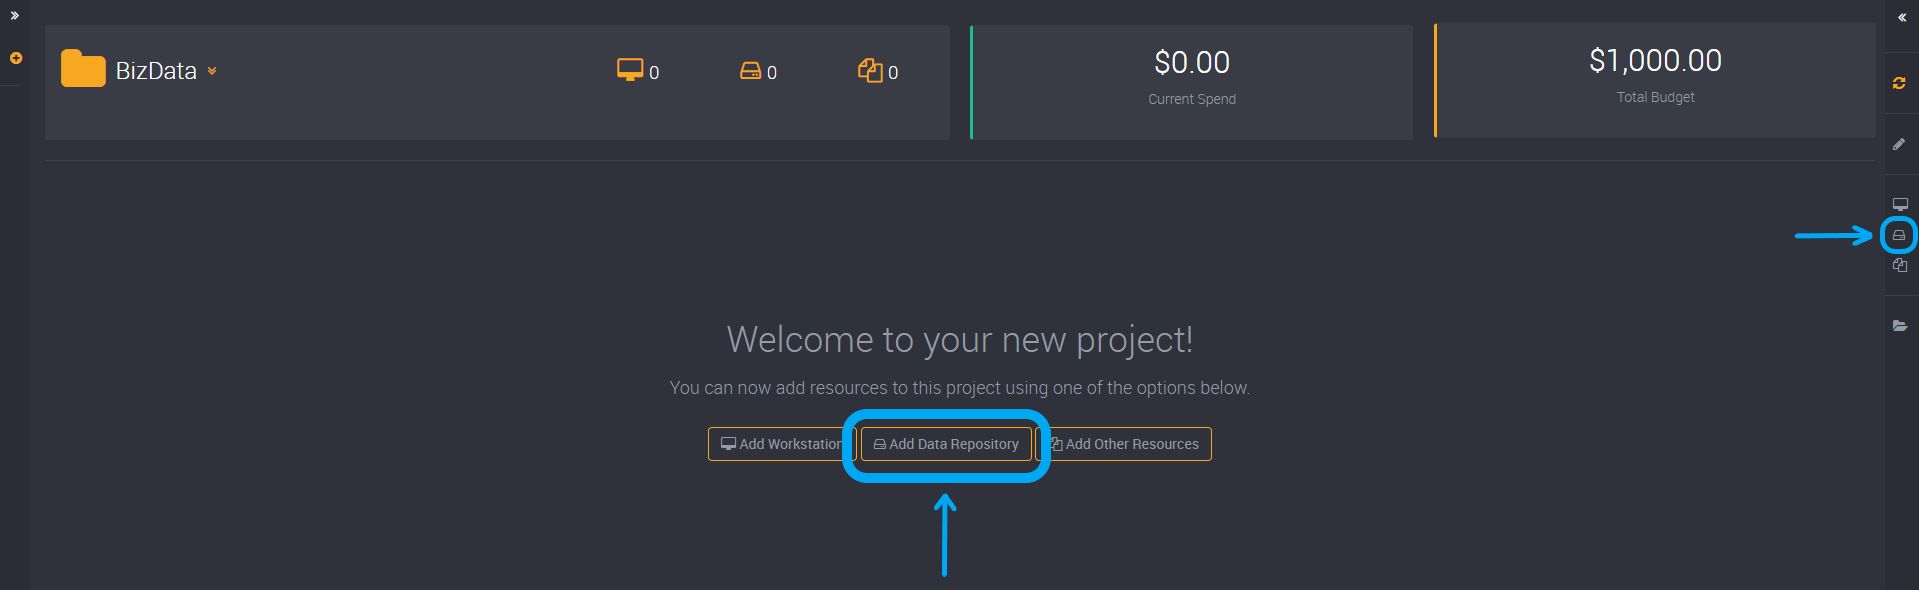
Add a Data Repository (Optional)
In the project you would like to add this data repository to, find the option to add a data repository in the right action slide-out.
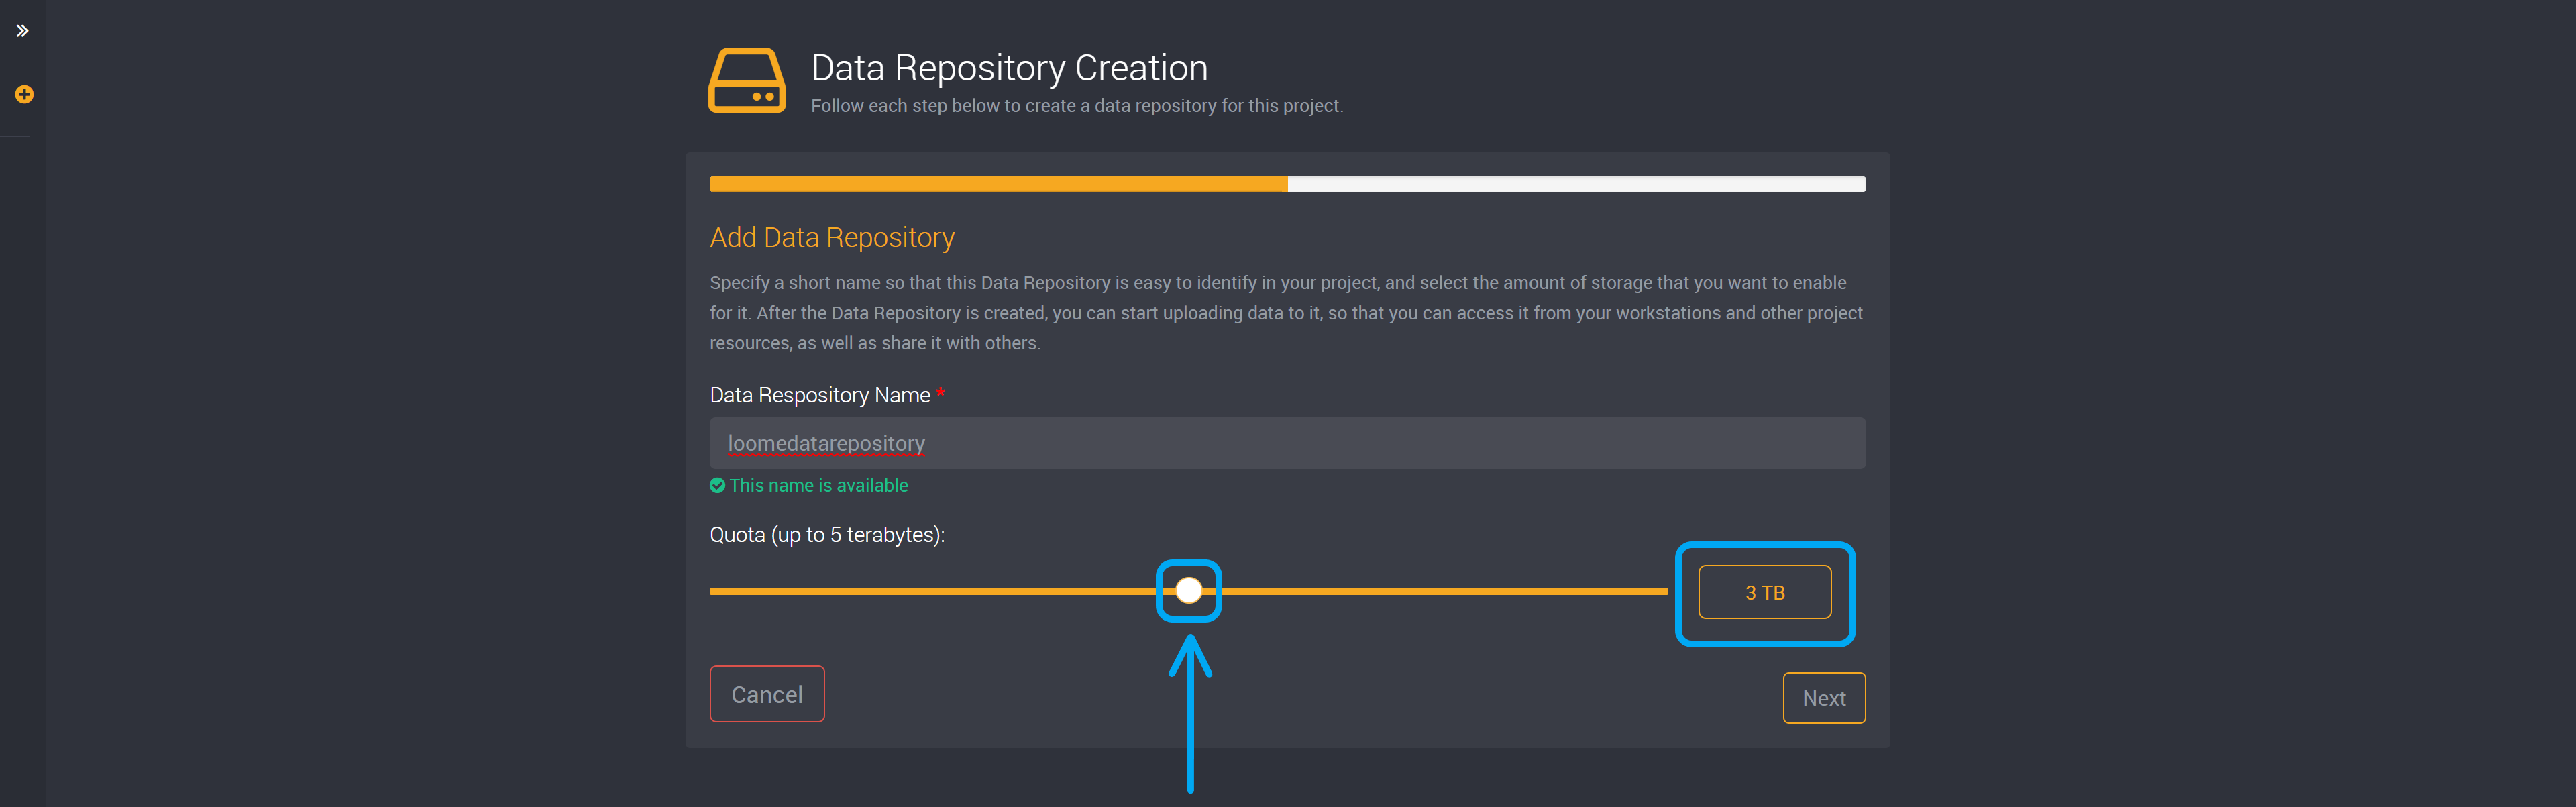
Provide a name so that you can easily identify this data repository.
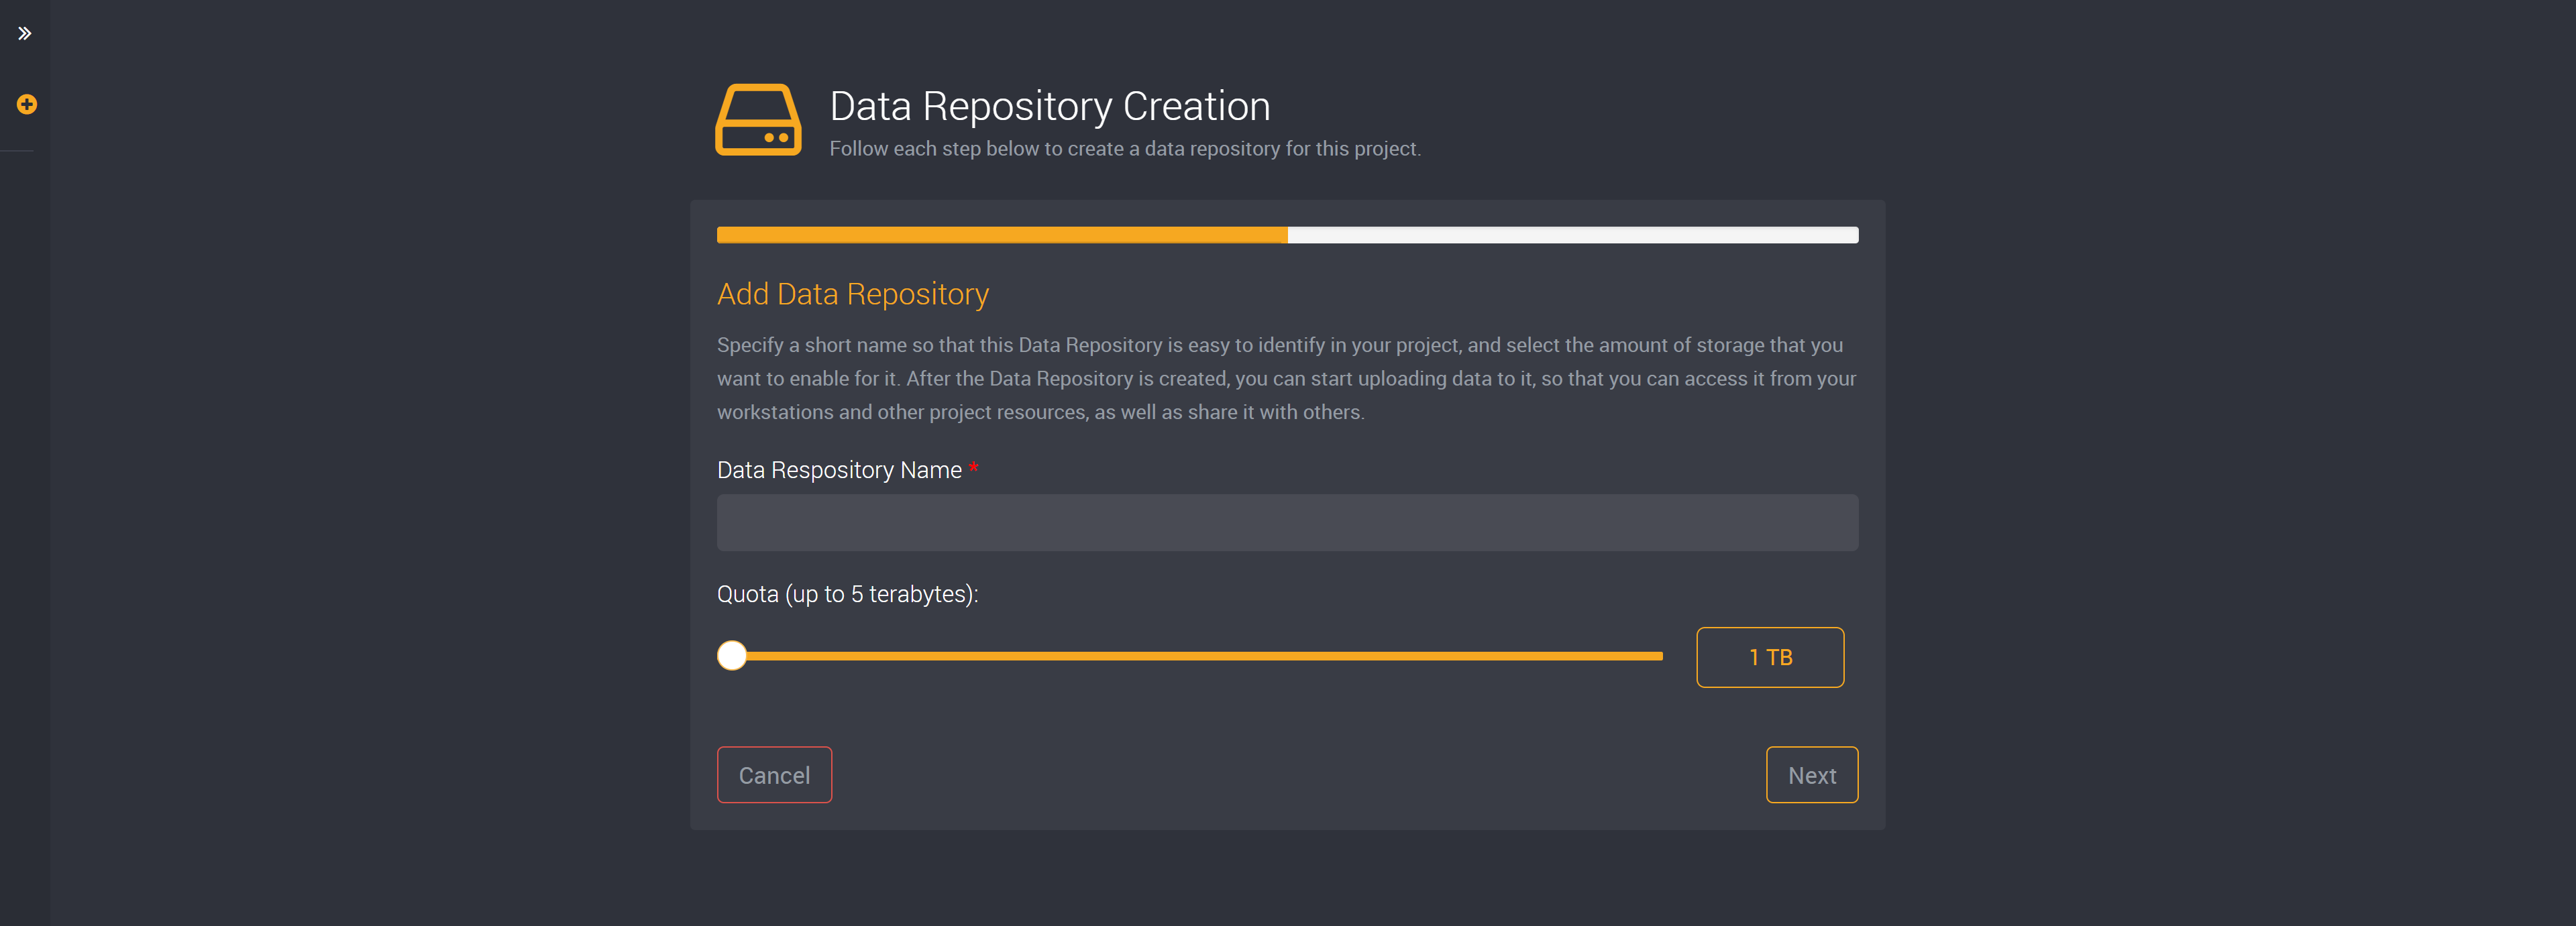
Select your quota. This is the amount of storage that you want to enable.
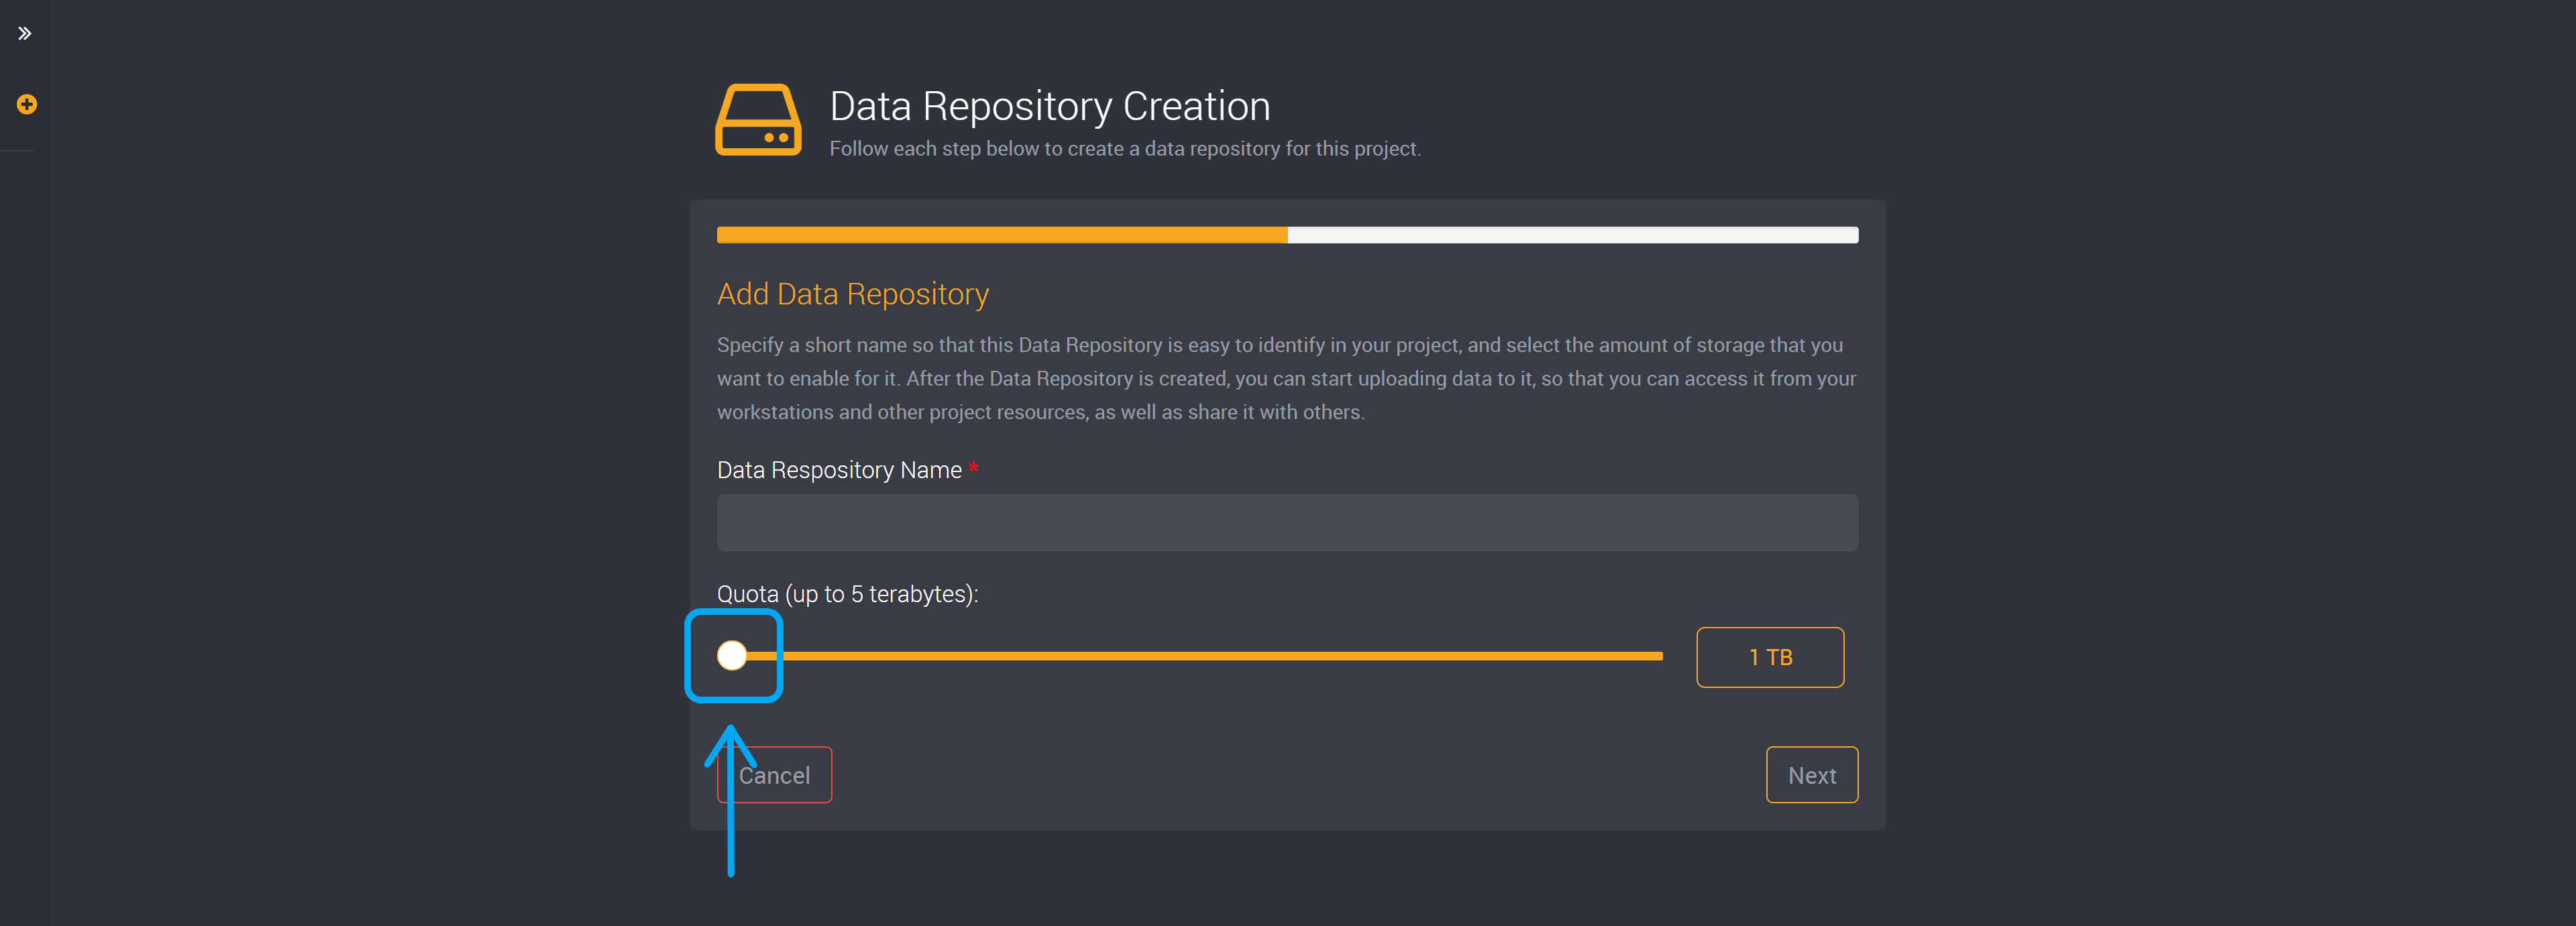
You can change this value by dragging the slider left and right. You can view the amount of TB from the display on the right of the slider.
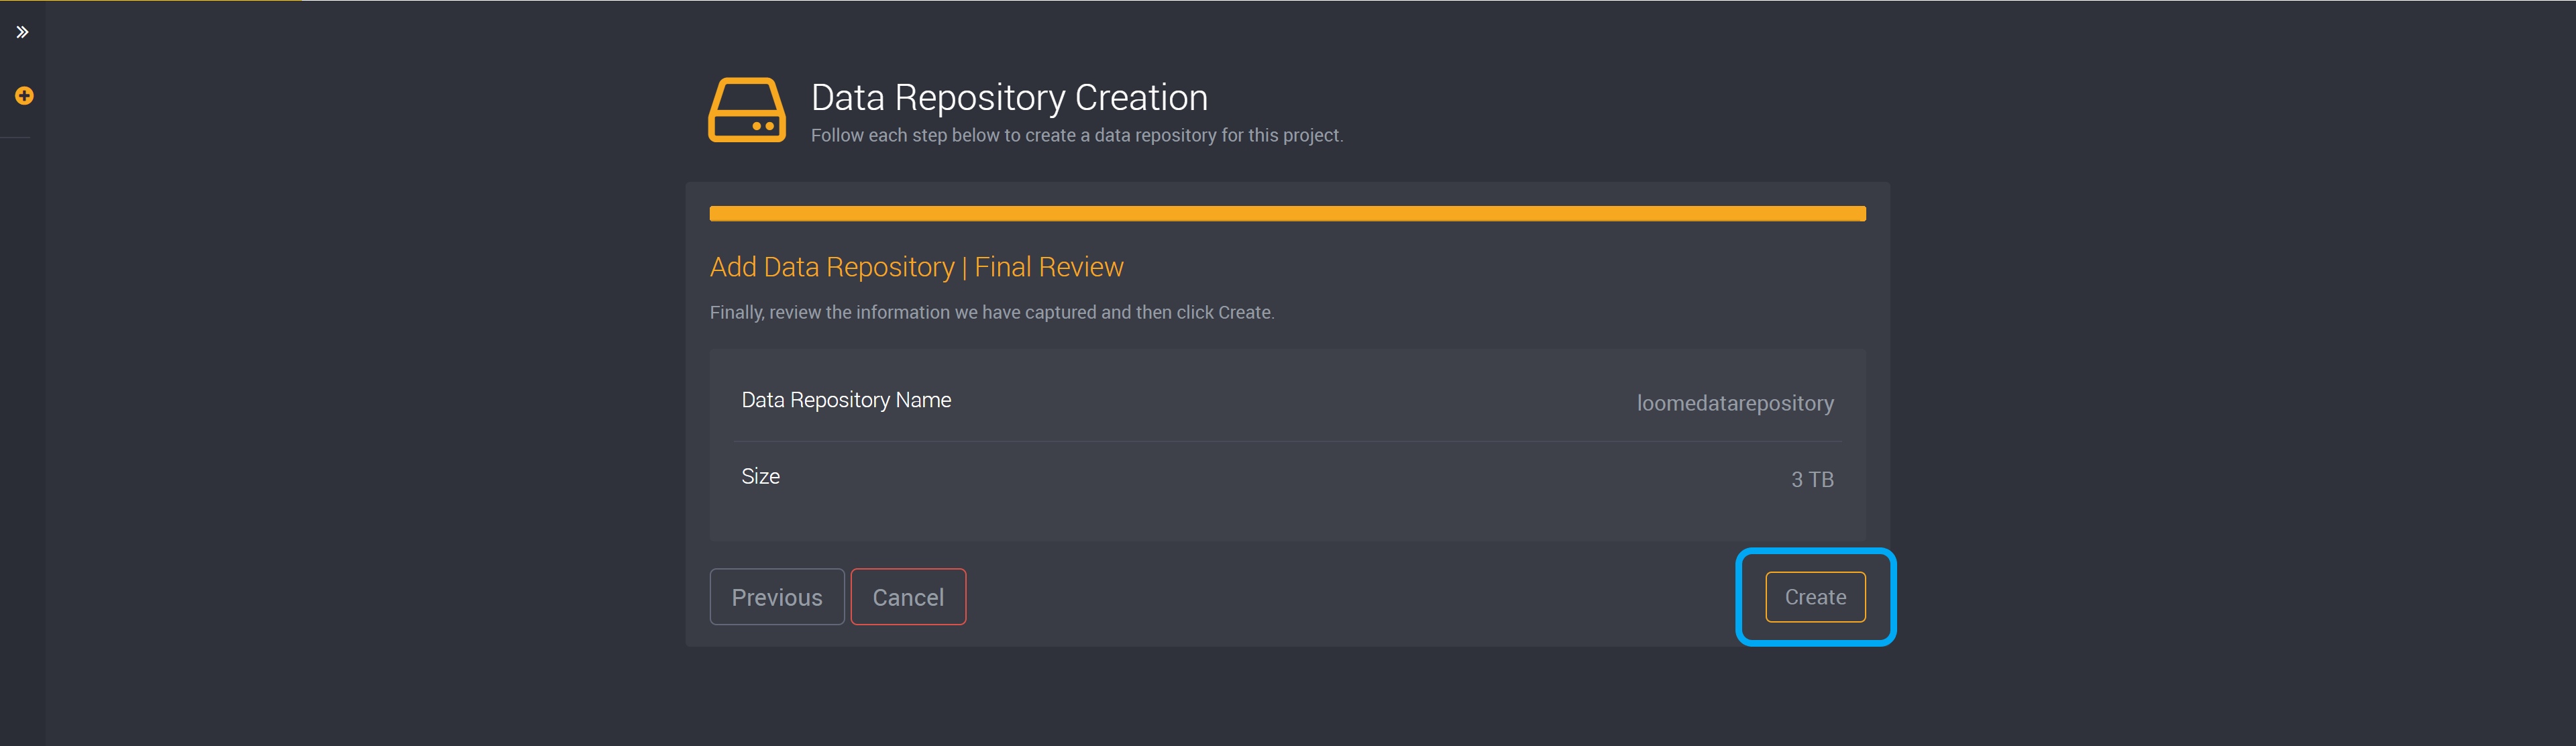
You can then review this data repository and click Create to save.
You can then view this added data repository in your project.
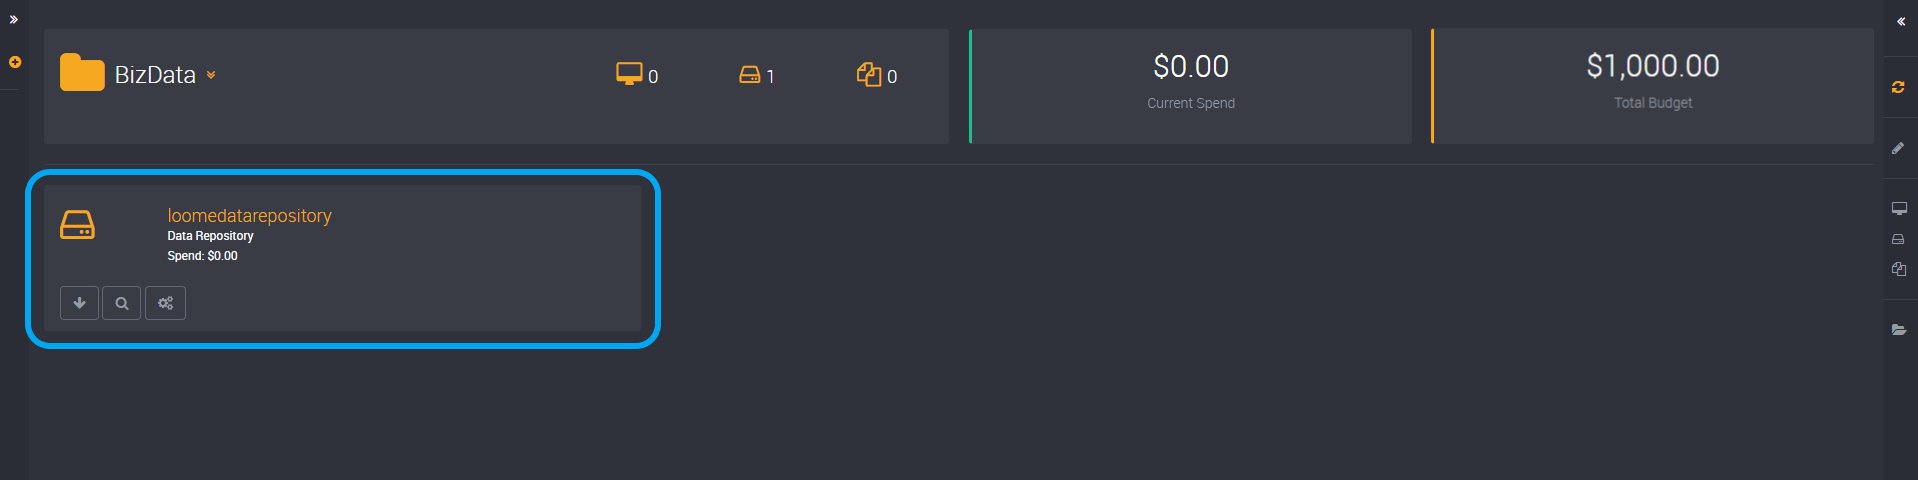
Find out more about data repositories here.
Add a Workstation (Optional)
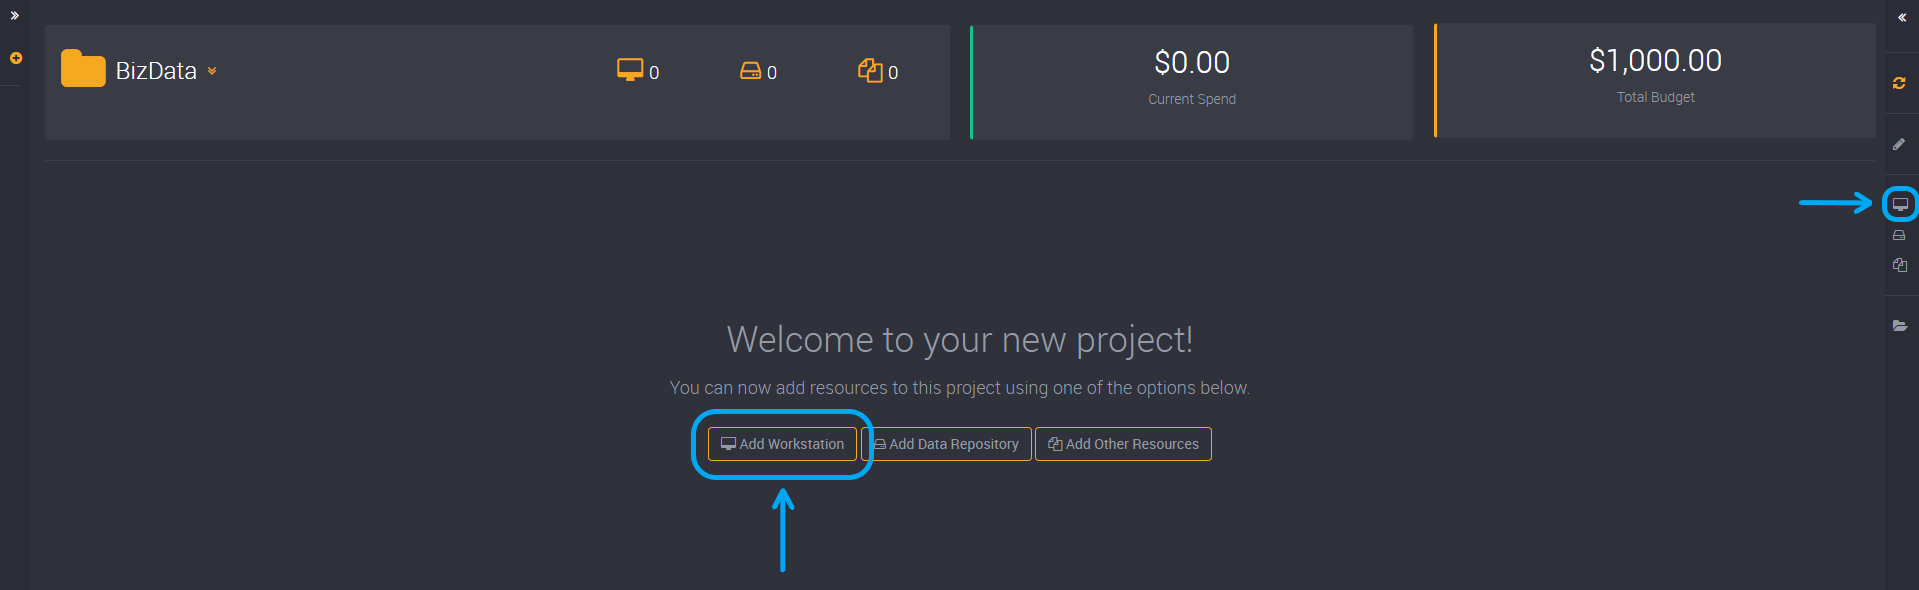
Find Add Workstation in the right action slide-out of your selected project.
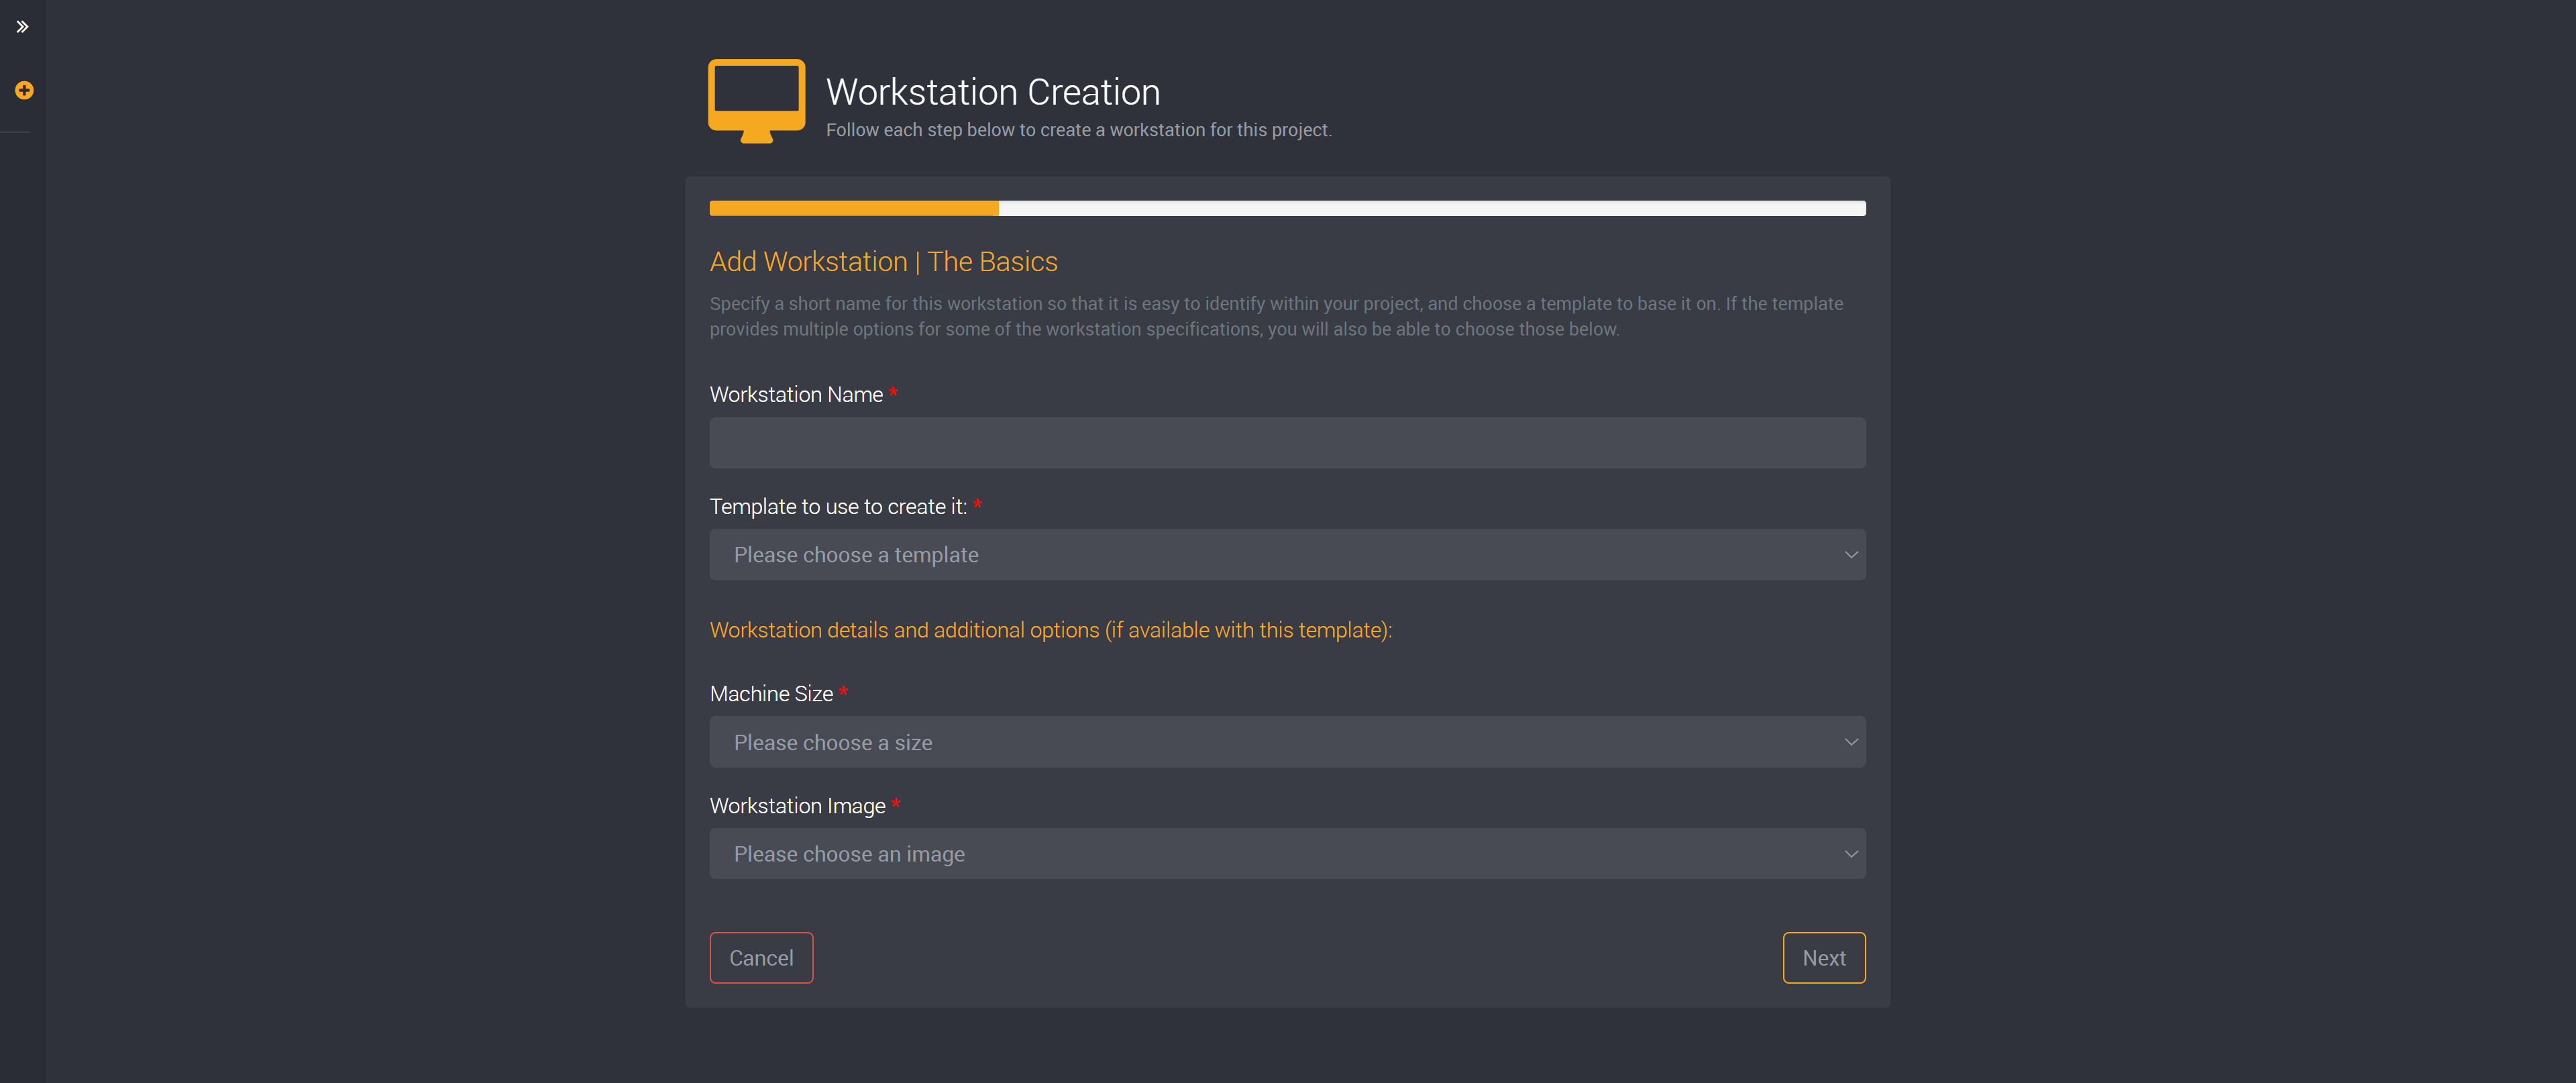
First, provide a name so you can easily identify this workstation later.
Then select a template from the dropdown below. Machine size and workstation image will be populated depending on your selected template.
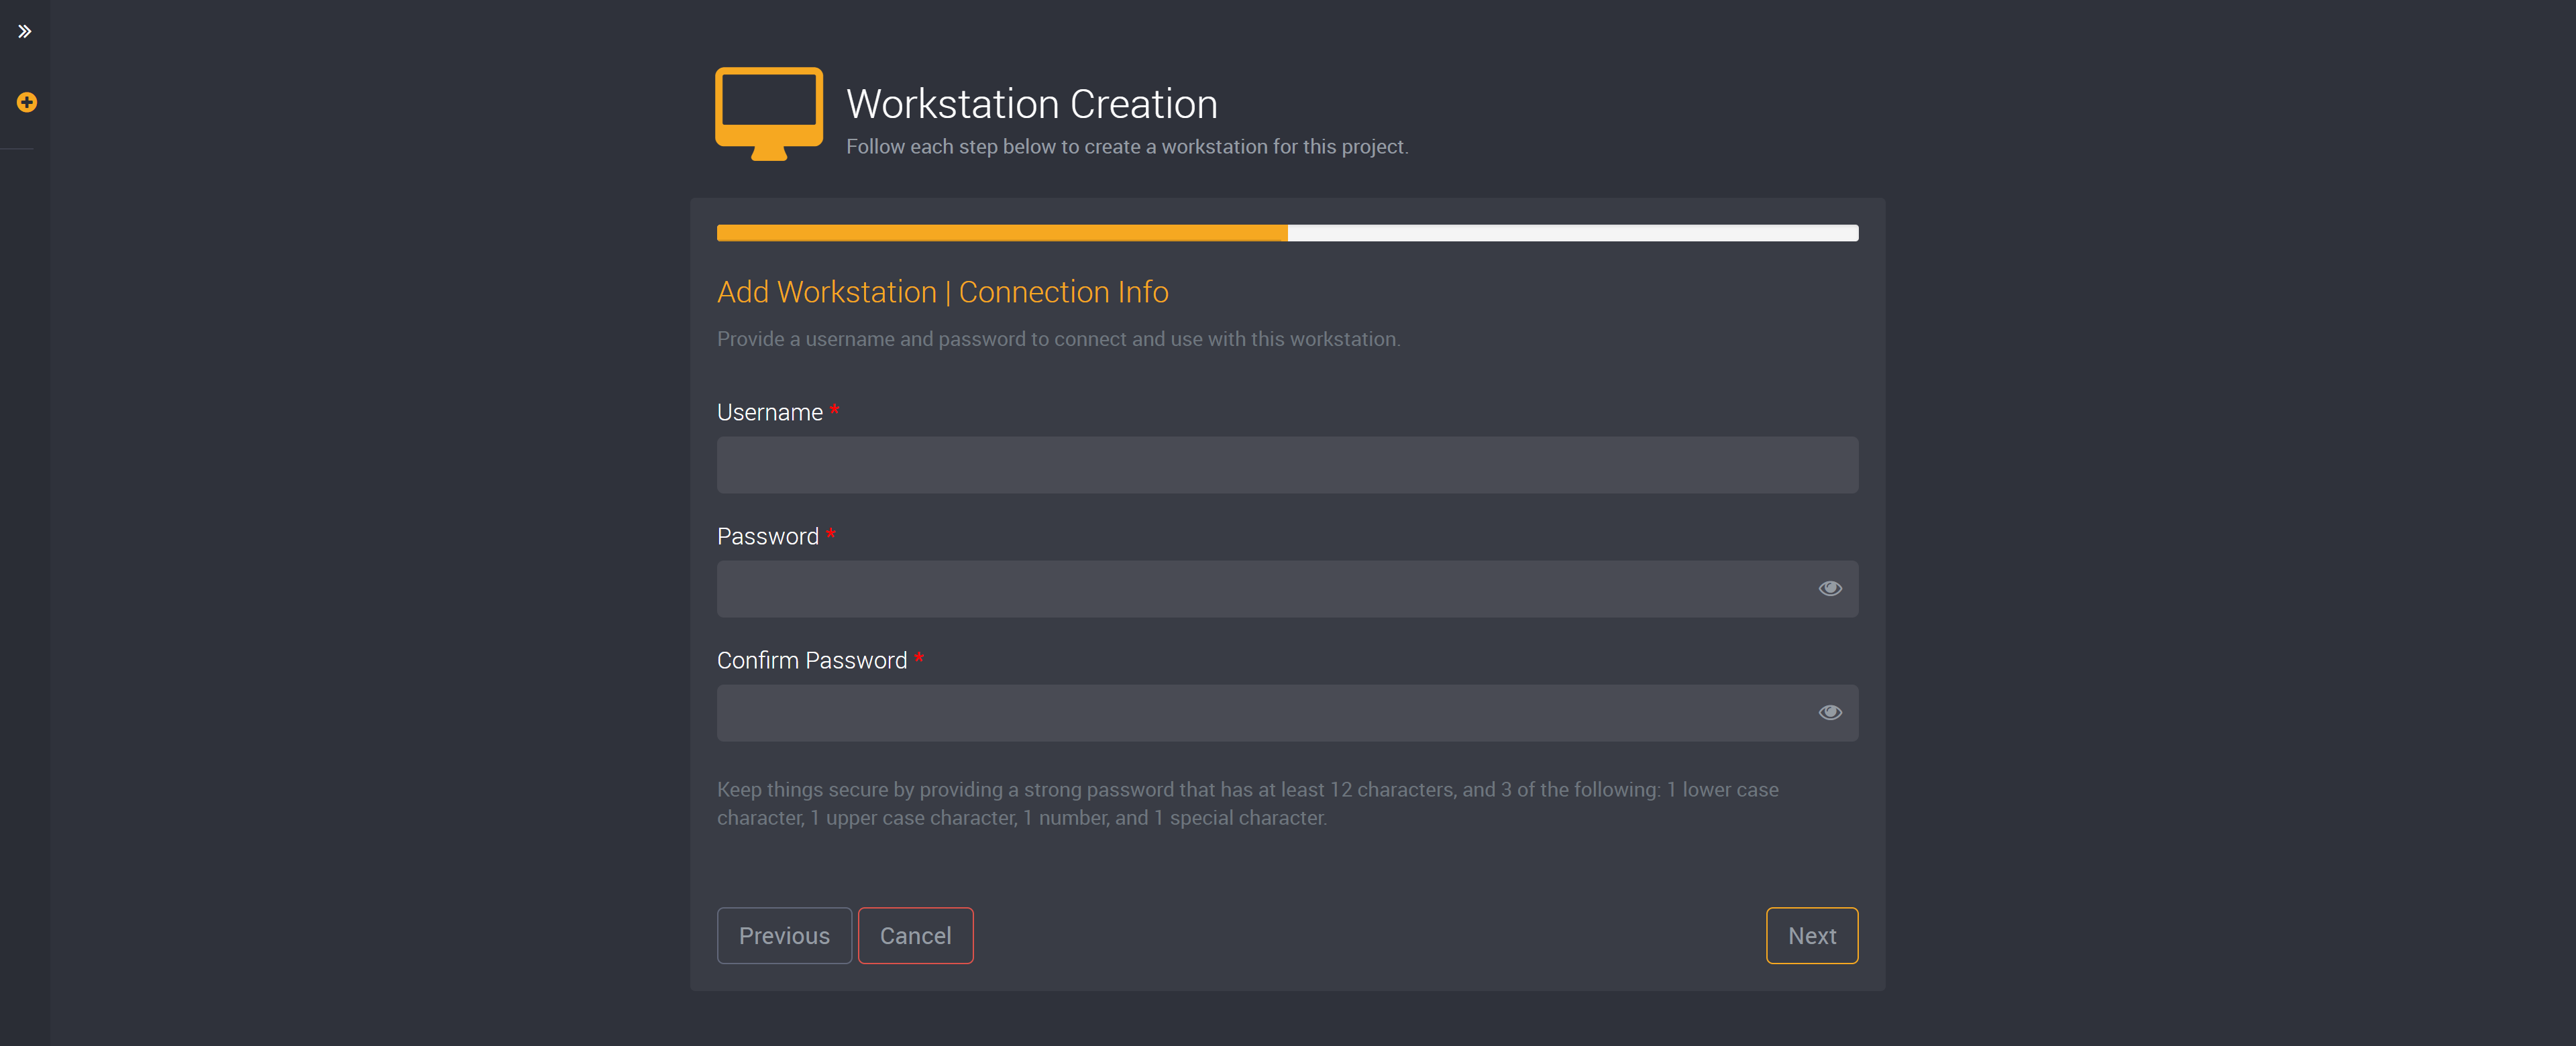
Next create a username and password to connect to this workstation.
You will need a password with a minimum of 12 characters. It must also include at least one uppercase character, one lowercase character, one number and special character.
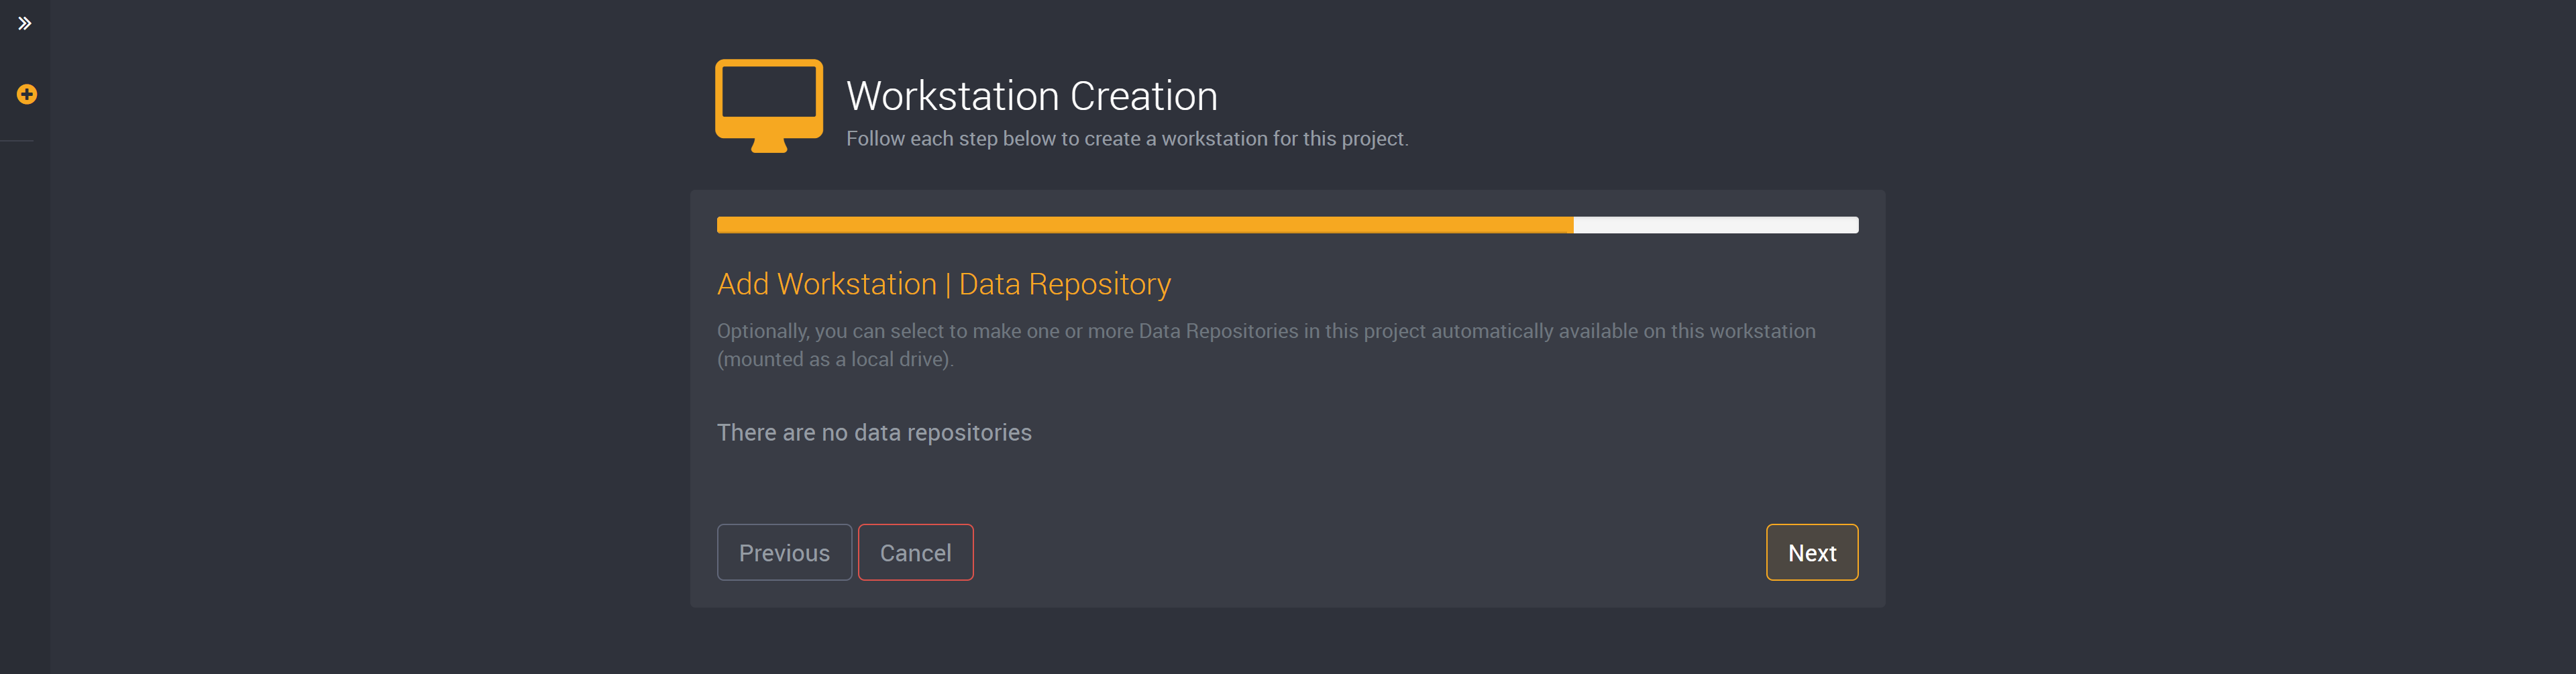
You can choose to select a data repository and it will be available in this workstation as a local drive. You can choose to skip this step and select next if you would not like provide a data repository.
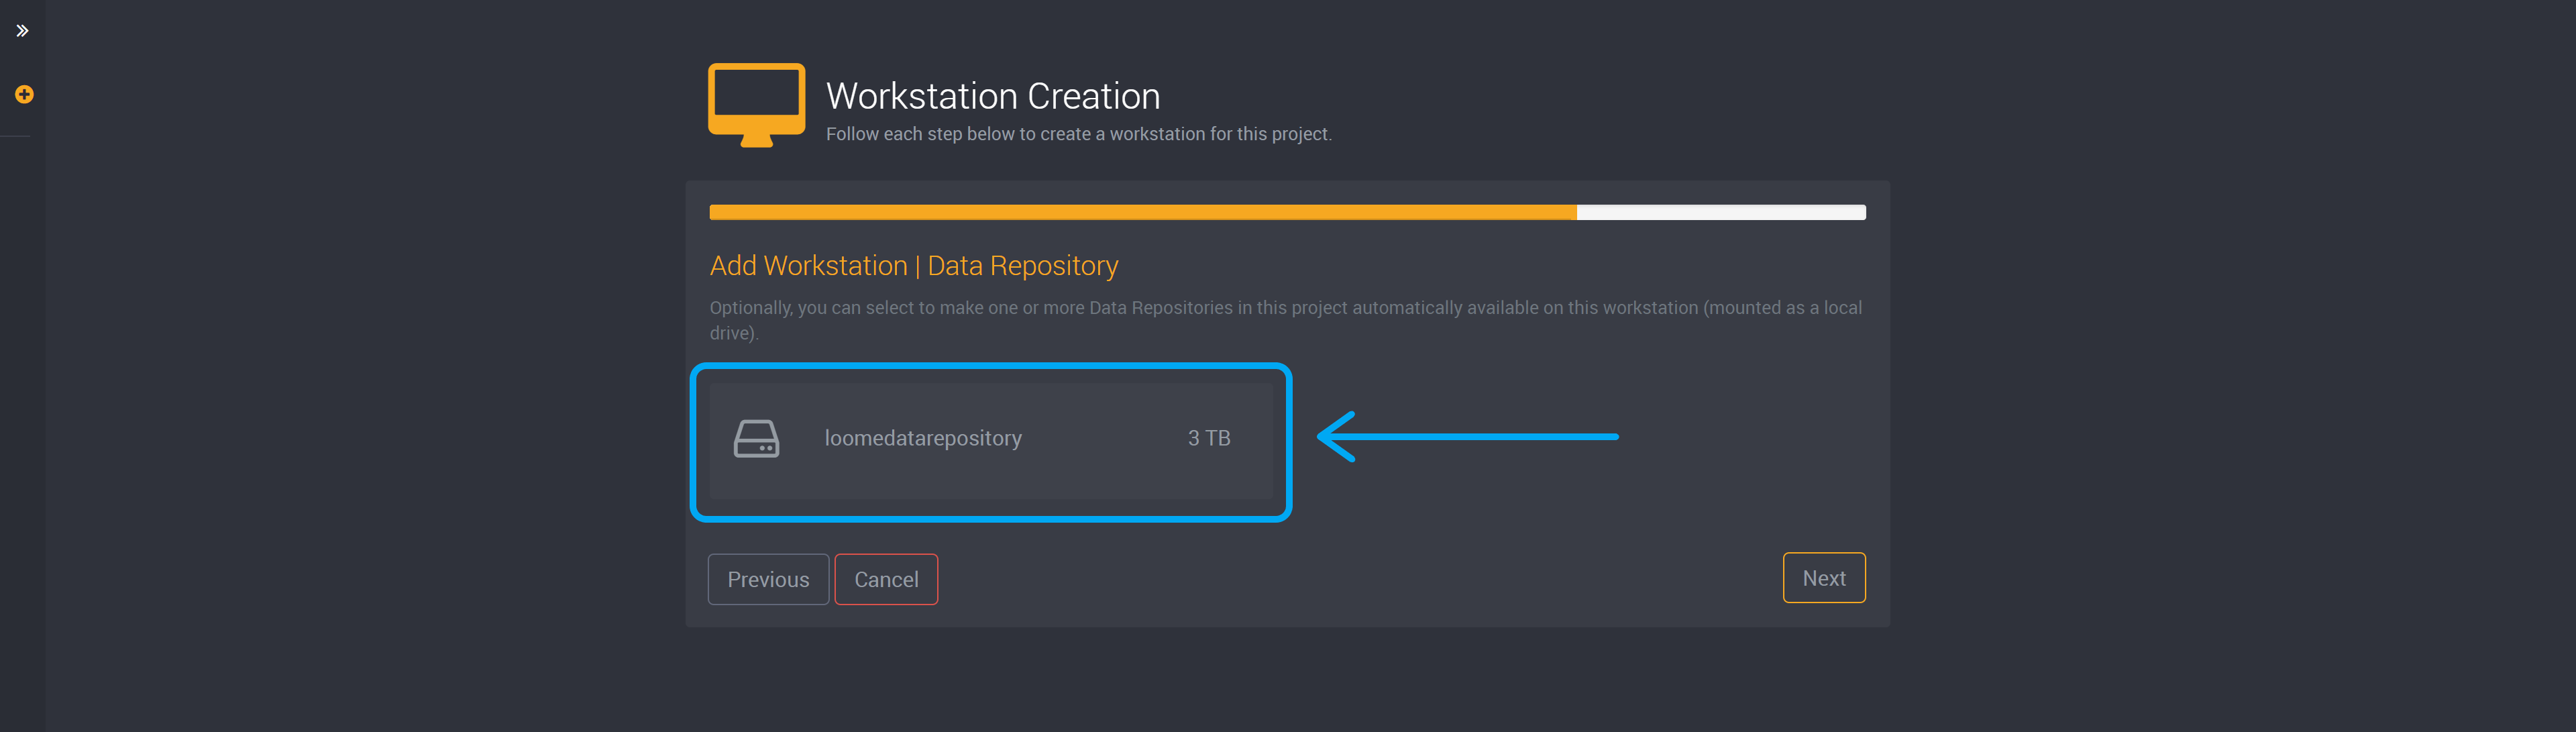
Or you can select a data repository as shown in the image below.
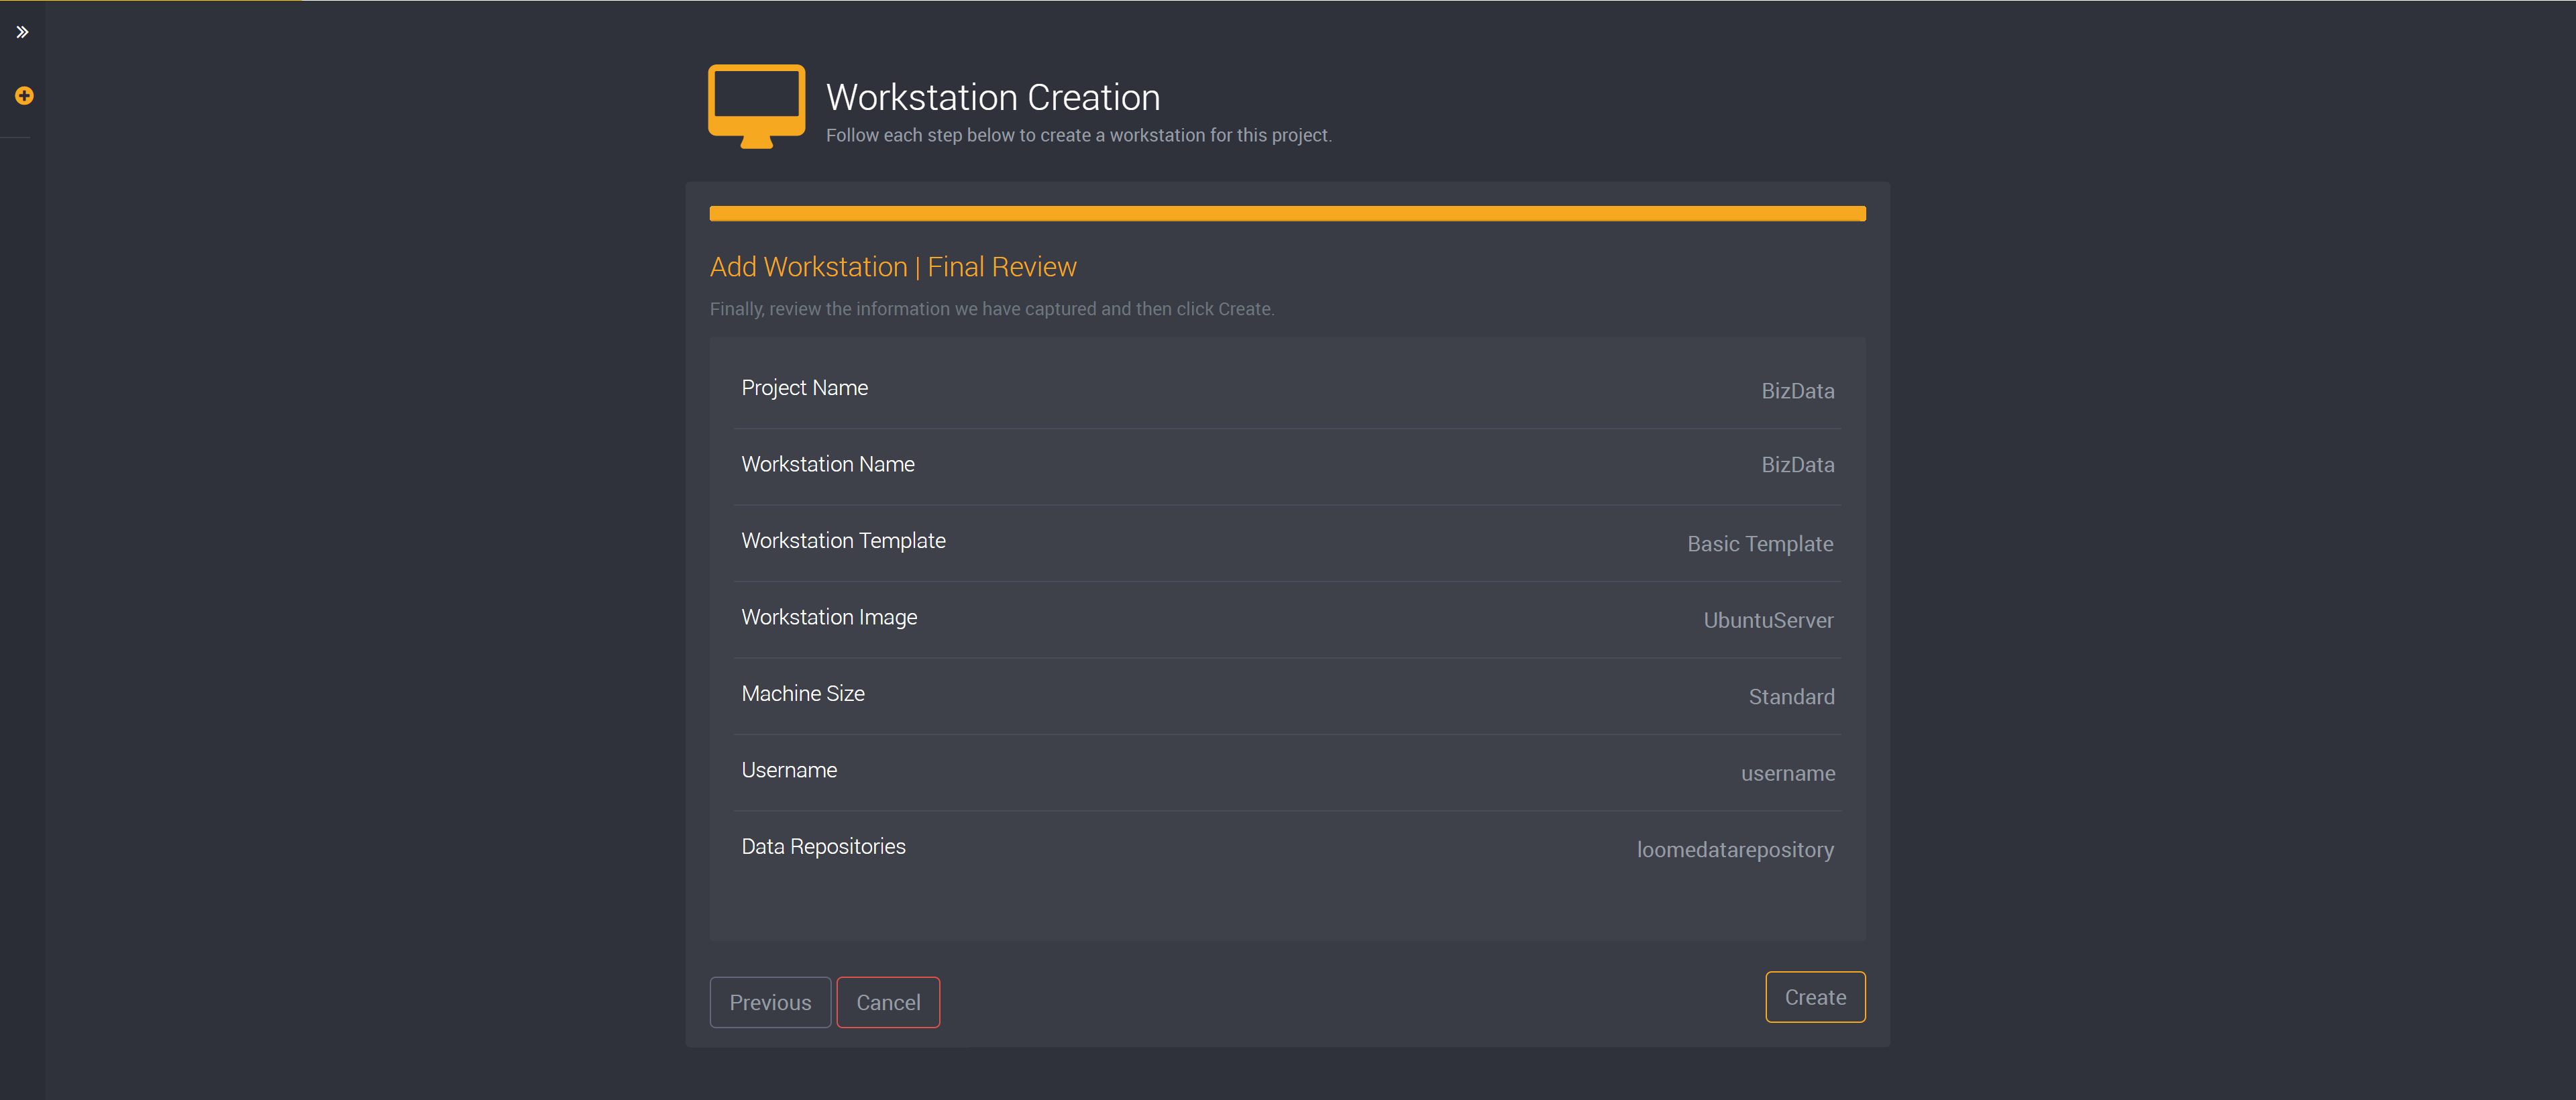
Then you can review all settings for this workstation and click Create to save this workstation.
Learn more about workstations here.
How to Deploy a Workstation (Optional)
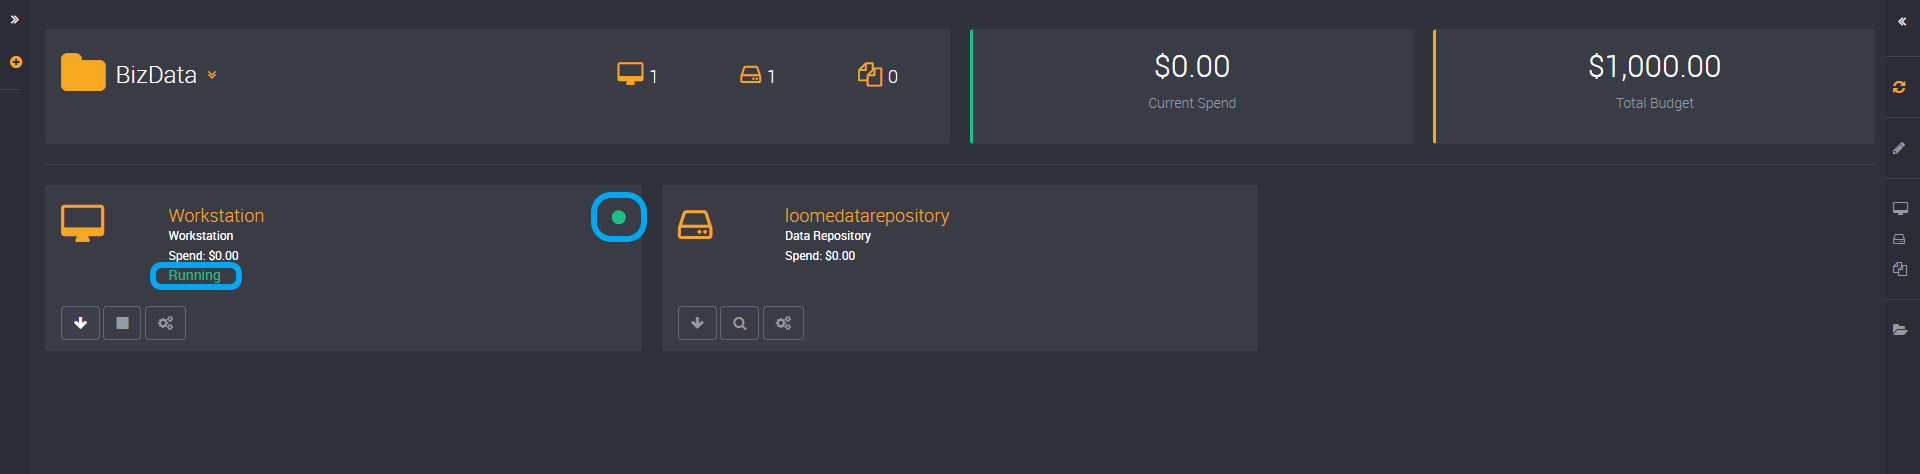
When you have first added a workstation, it will automatically be enabled. The green icon will indicate that it is online.
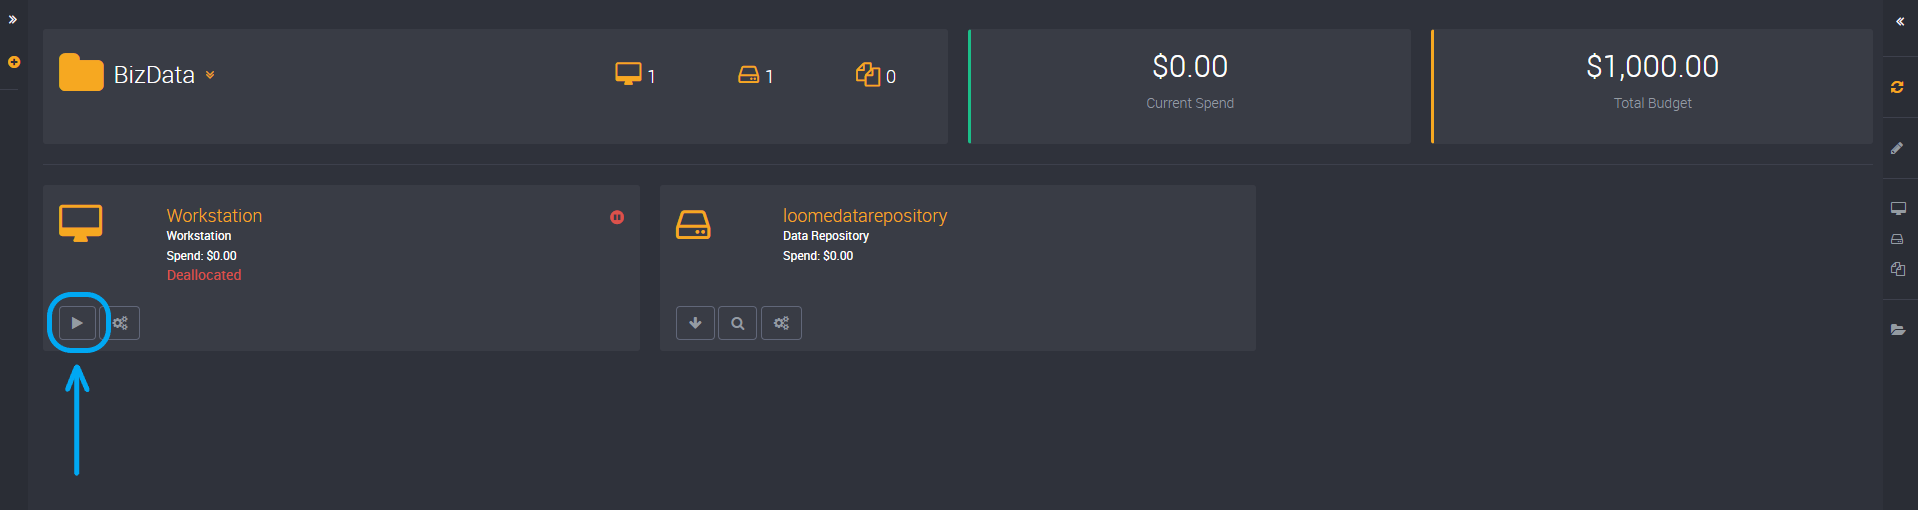
To start an existing workstation, you can find the ‘Start’ button on the workstation card.
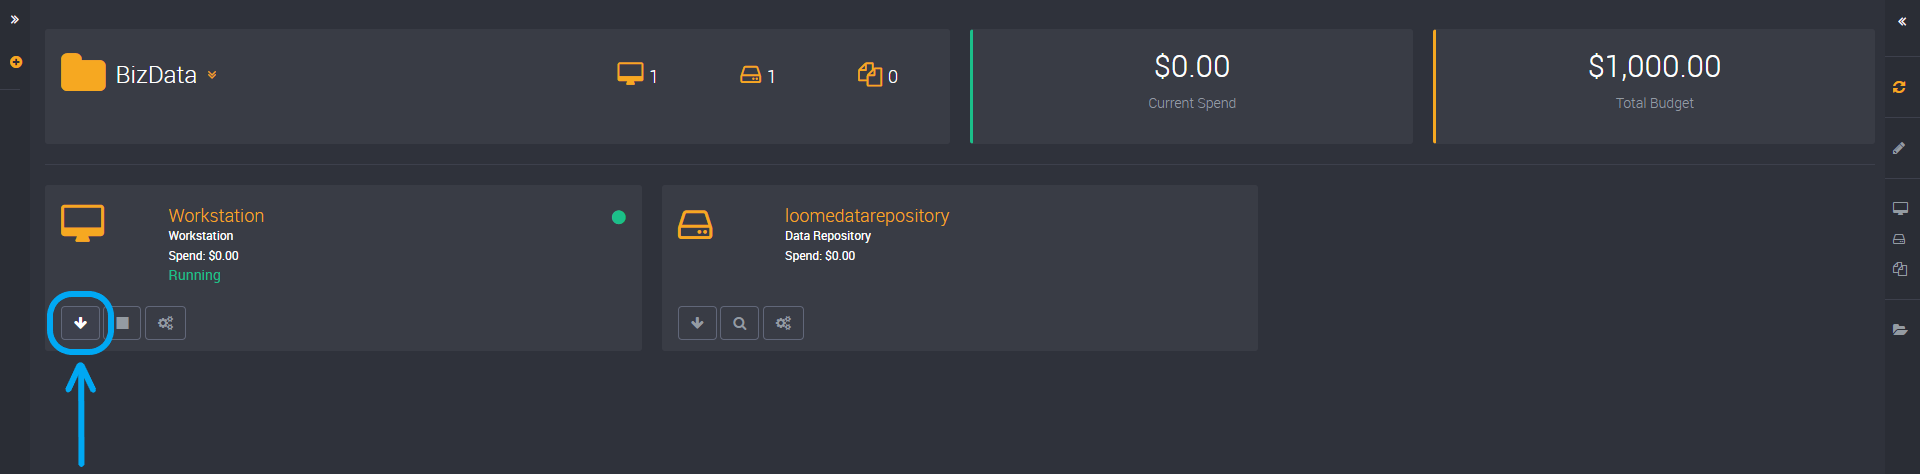
Once enabled, you can connect to this workstation using the ‘Connect’ button on the workstation card, and you can copy the IP address to connect to the workstation or you can download an RDP file.
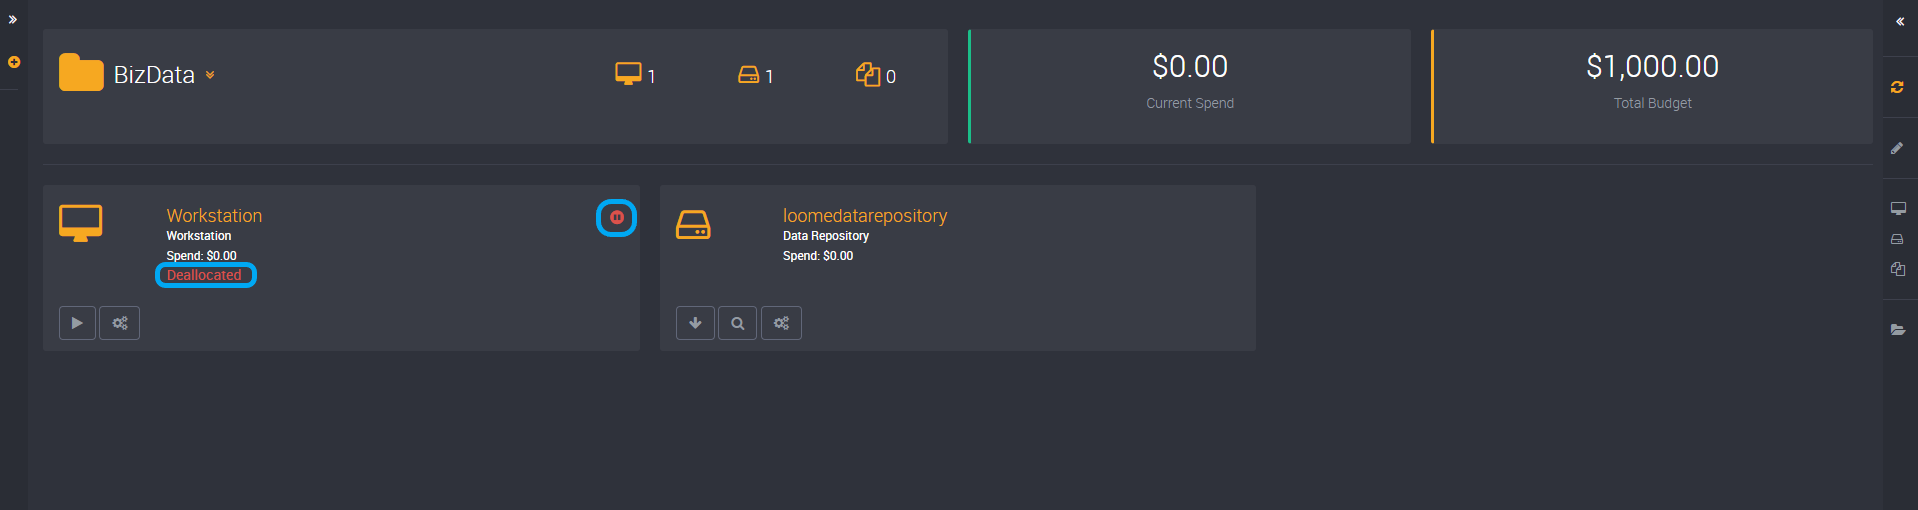
You can find the Stop button on the workstation card to deallocate your workstation.

It will flash red as it deallocates the workstation.
Once it has completed, you will see the pause symbol in the red icon.