Cleaning up the old installation
Remove IIS Site and Application Pool
Follow the below steps to remove the IIS site and Application Pool from the previous installation.
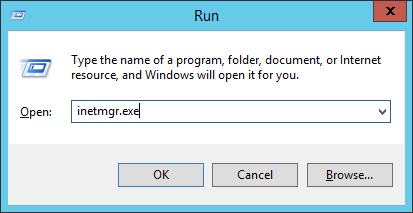
- Open inetmgr.exe from Start Menu > Run
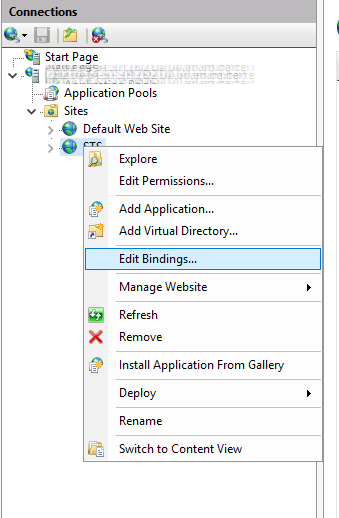
- Right click on your existing IIS Site in the sites list on the left-hand navigation.
- Click on ‘Edit Bindings’
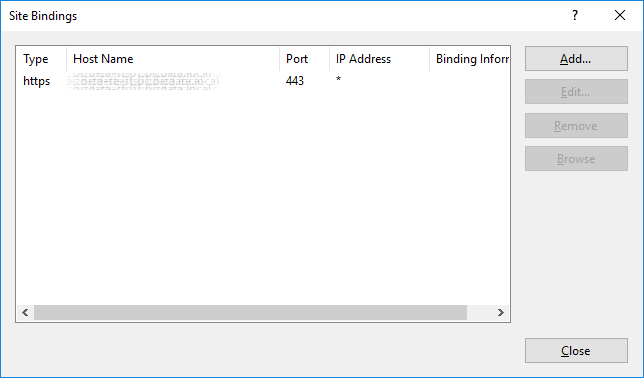
- Make a note of the binding details here, you will need them later when you recreate the site.
- Click ‘Close’
- Click on your existing IIS Site in the sites list on the left-hand navigation.
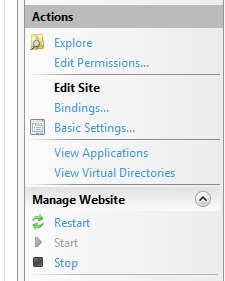
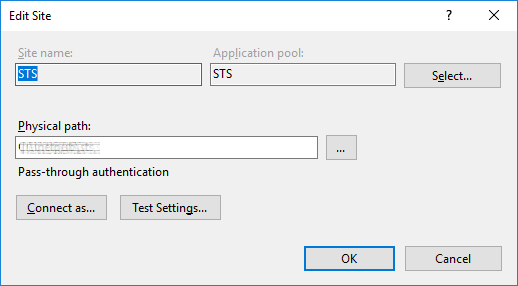
- Click on ‘Basic Settings’ from the right-hand menu
- Make a note of the ‘Application Pool’ name, you will need this to know which application pool to remove.
- Make a note of the Physical Path, you will need to remove this folder from the file system.
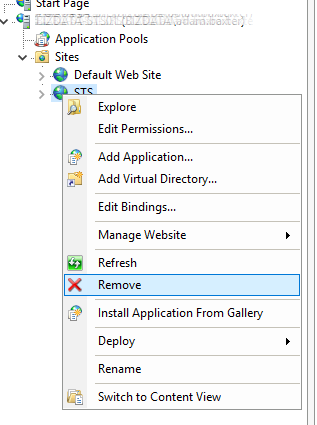
- Right click on your existing IIS Site in the sites list on the left-hand navigation.
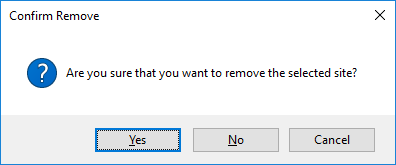
- Click on ‘Remove Site’
- Click ‘Yes’ to the prompt
- After removing the site, browse to and remove the Physical Path from the file system on your server.
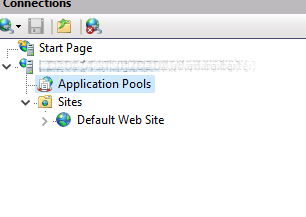
- From the left-hand menu, click on ‘Application Pools’
- Find the Application Pool used by the deleted website.
- Make a note of the Identity value, this is the service account used and likely the one you want to configure with the new install.
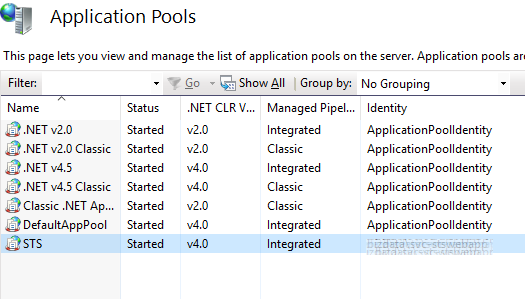
- Right click on the Application Pool and select ‘Remove’
- Click ‘Yes’ to the confirmation prompt that appears


Remove the SQL Database
Follow the below steps to remove the SQL database from the previous installation.
- Open SQL Server Management Studio from the start menu
- Connect to your database instance where the database will be stored
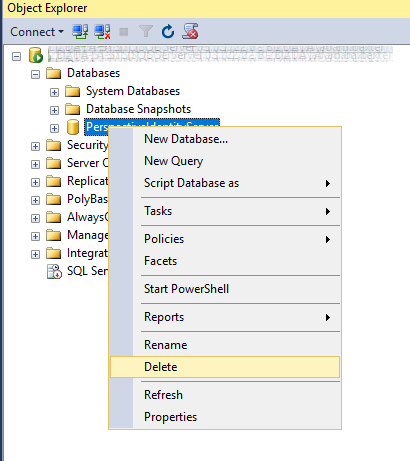
- Find the Loome Identity database from the previous installation underneath ‘Databases’
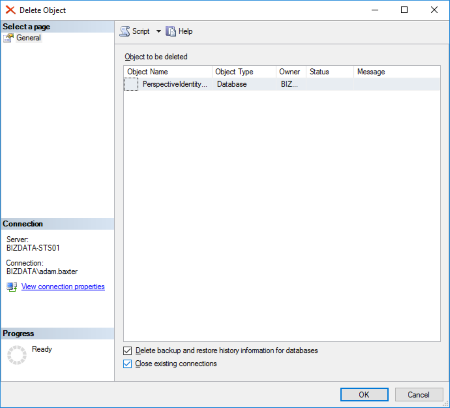
- Right click on the database and select ‘Delete’
- Select ‘Close existing connections’
- Click ‘OK’ to remove